
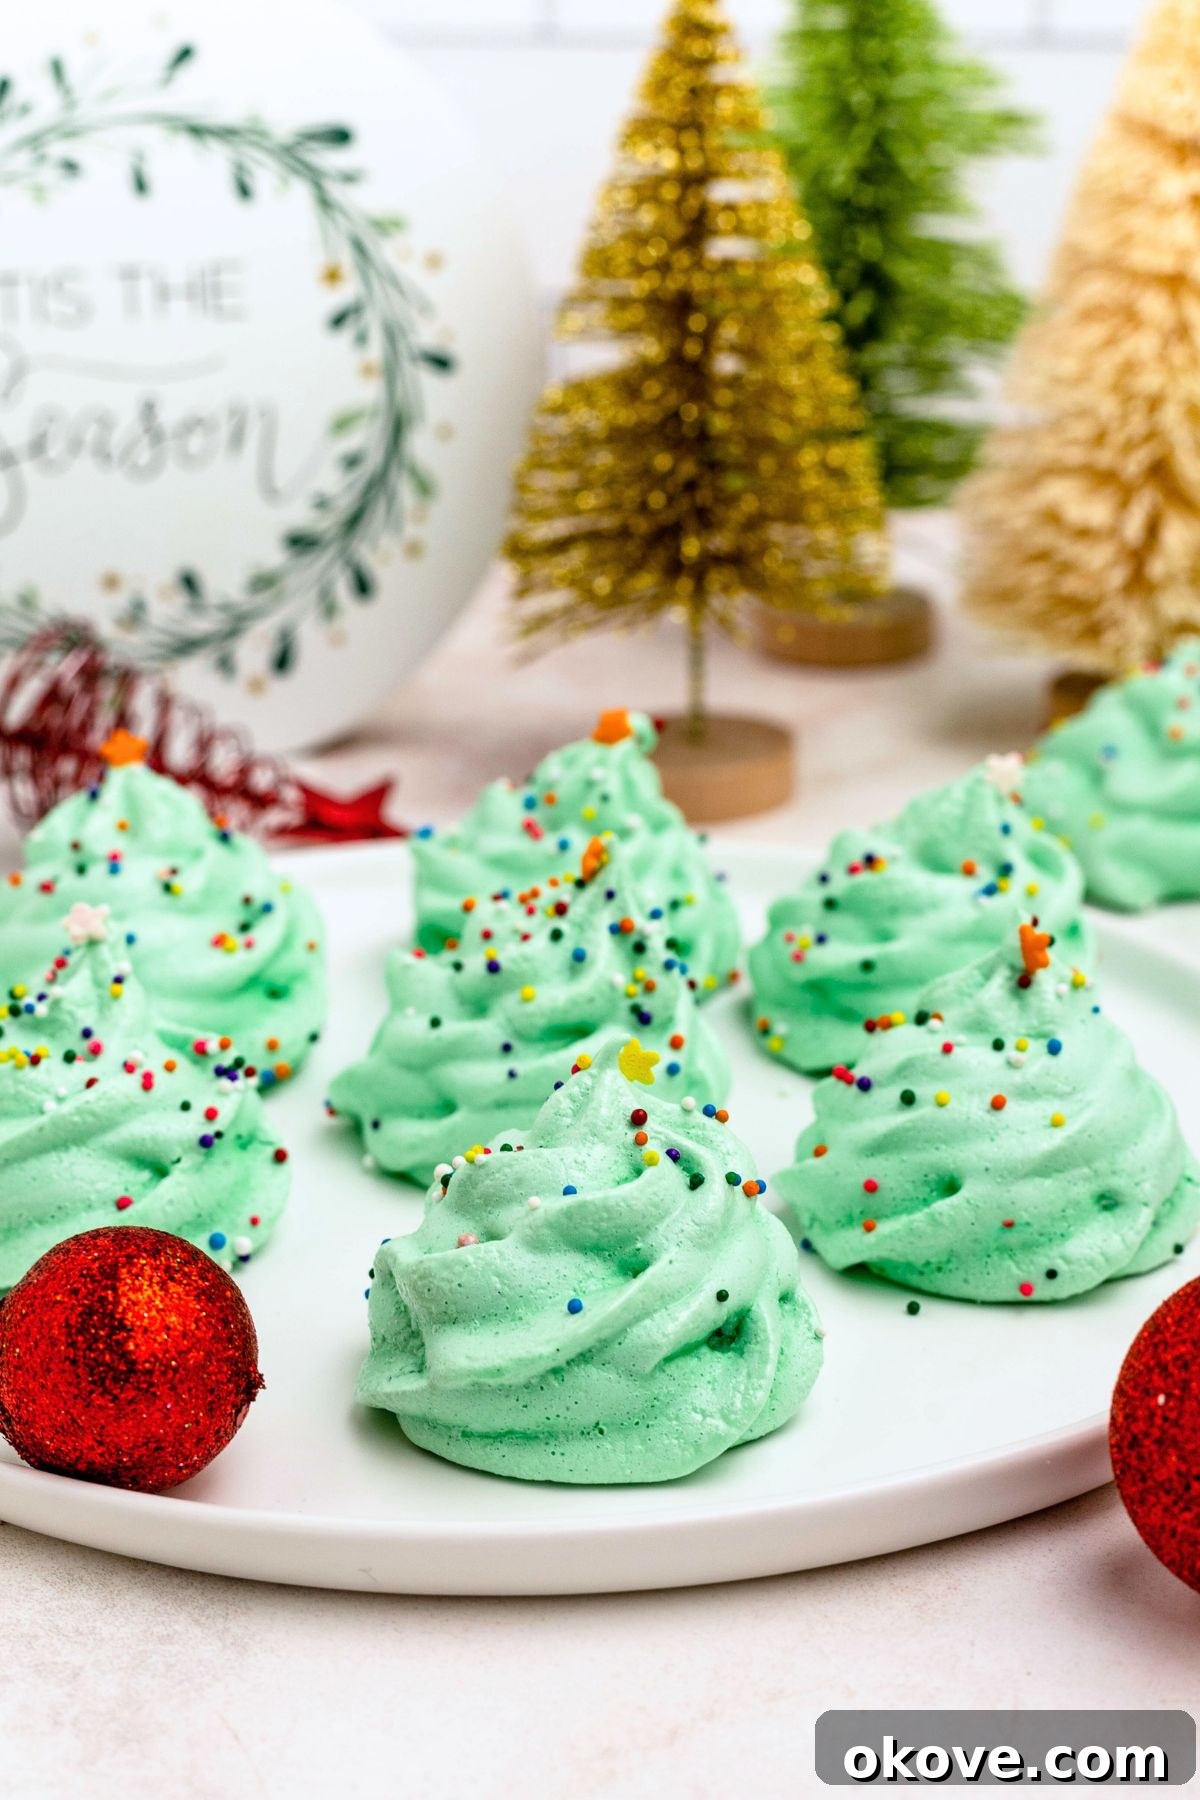
Melt-in-Your-Mouth Meringue Christmas Trees: The Ultimate Festive Treat
Step into a world of holiday magic with these exquisite Meringue Christmas Tree cookies. Each bite offers a delightful crispness, a light texture, and an ethereal melt-in-your-mouth experience that truly captures the spirit of the season. These charming green trees are more than just a dessert; they are edible decorations that bring smiles and a touch of festive cheer to any holiday gathering or dessert table. Despite their elegant appearance, these Christmas tree meringues are remarkably simple to create, requiring only a few basic ingredients and a straightforward piping technique to achieve their signature smooth, glossy finish.
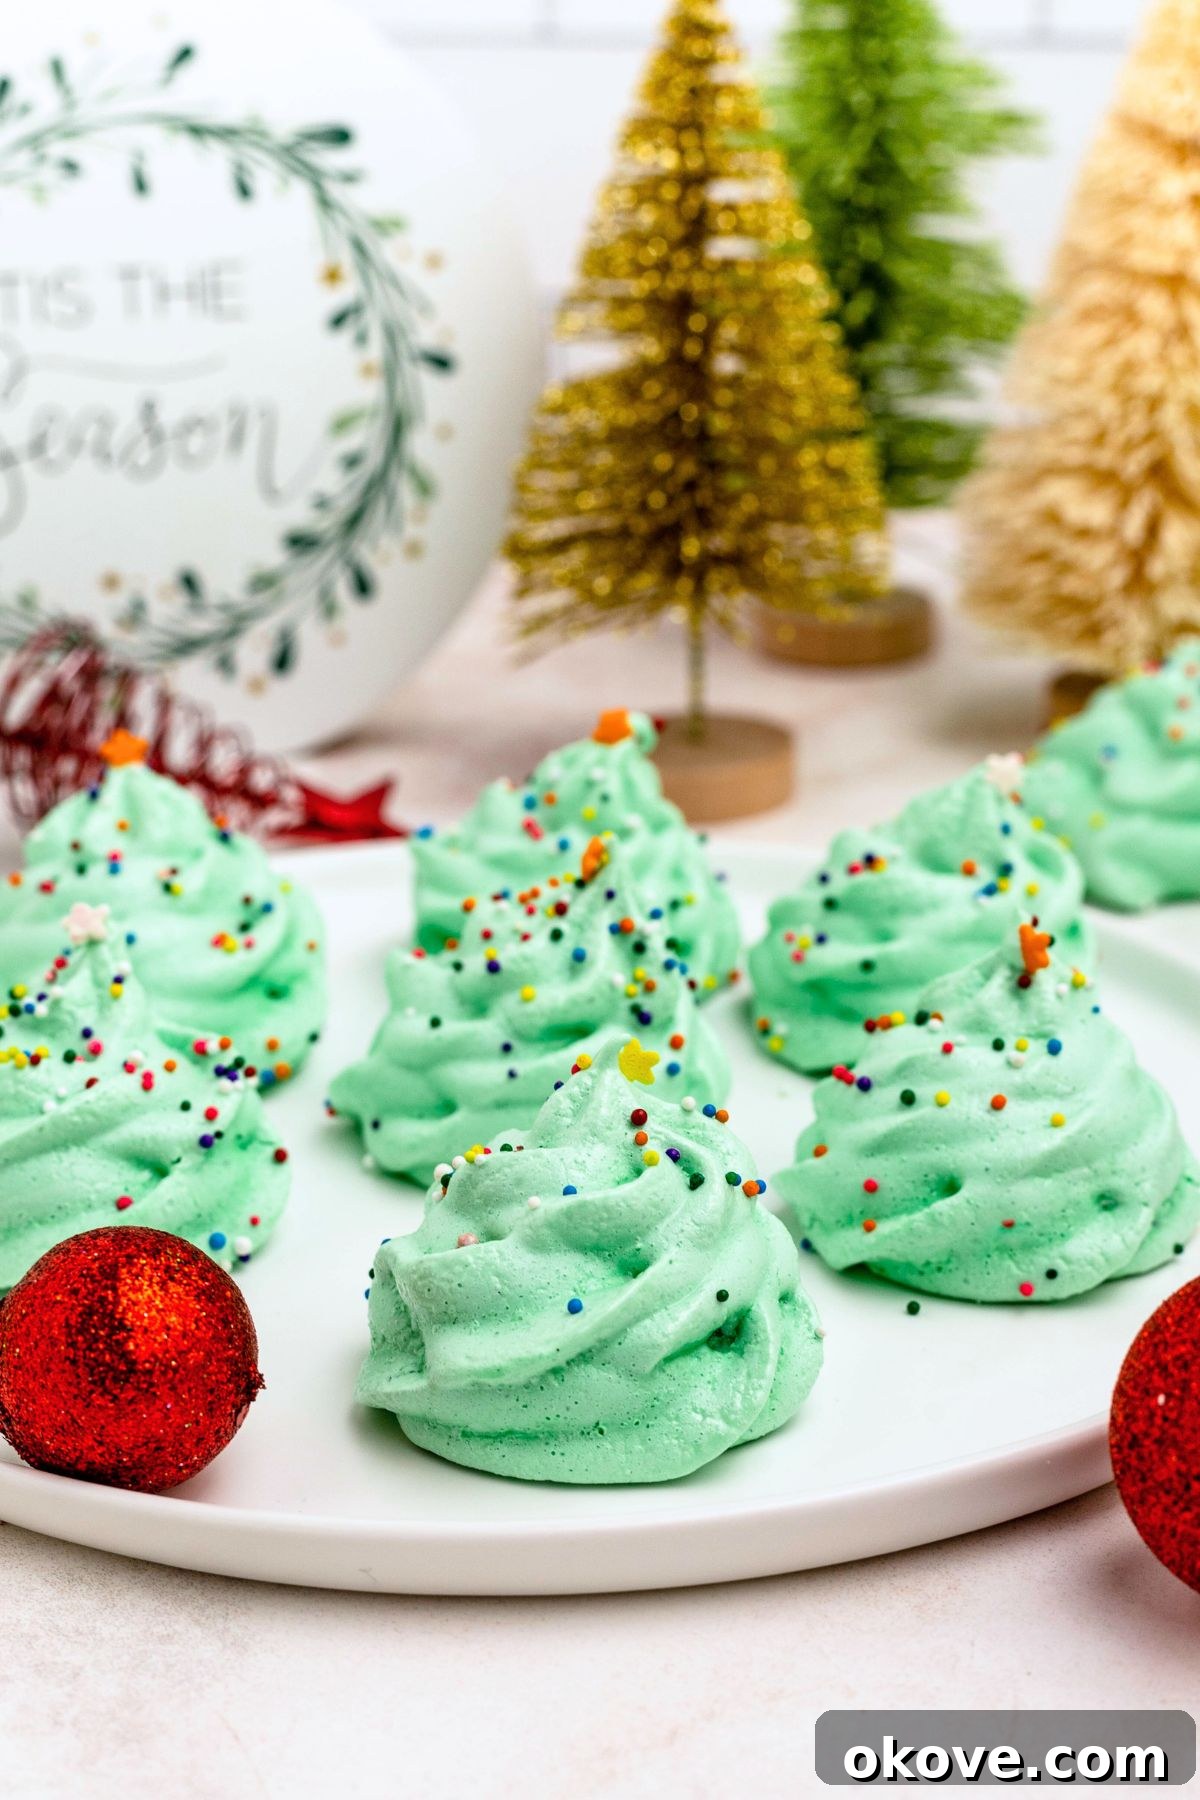
“These tree meringues are perfect festive bites that melt in your mouth and taste like holiday magic.”
-Becky
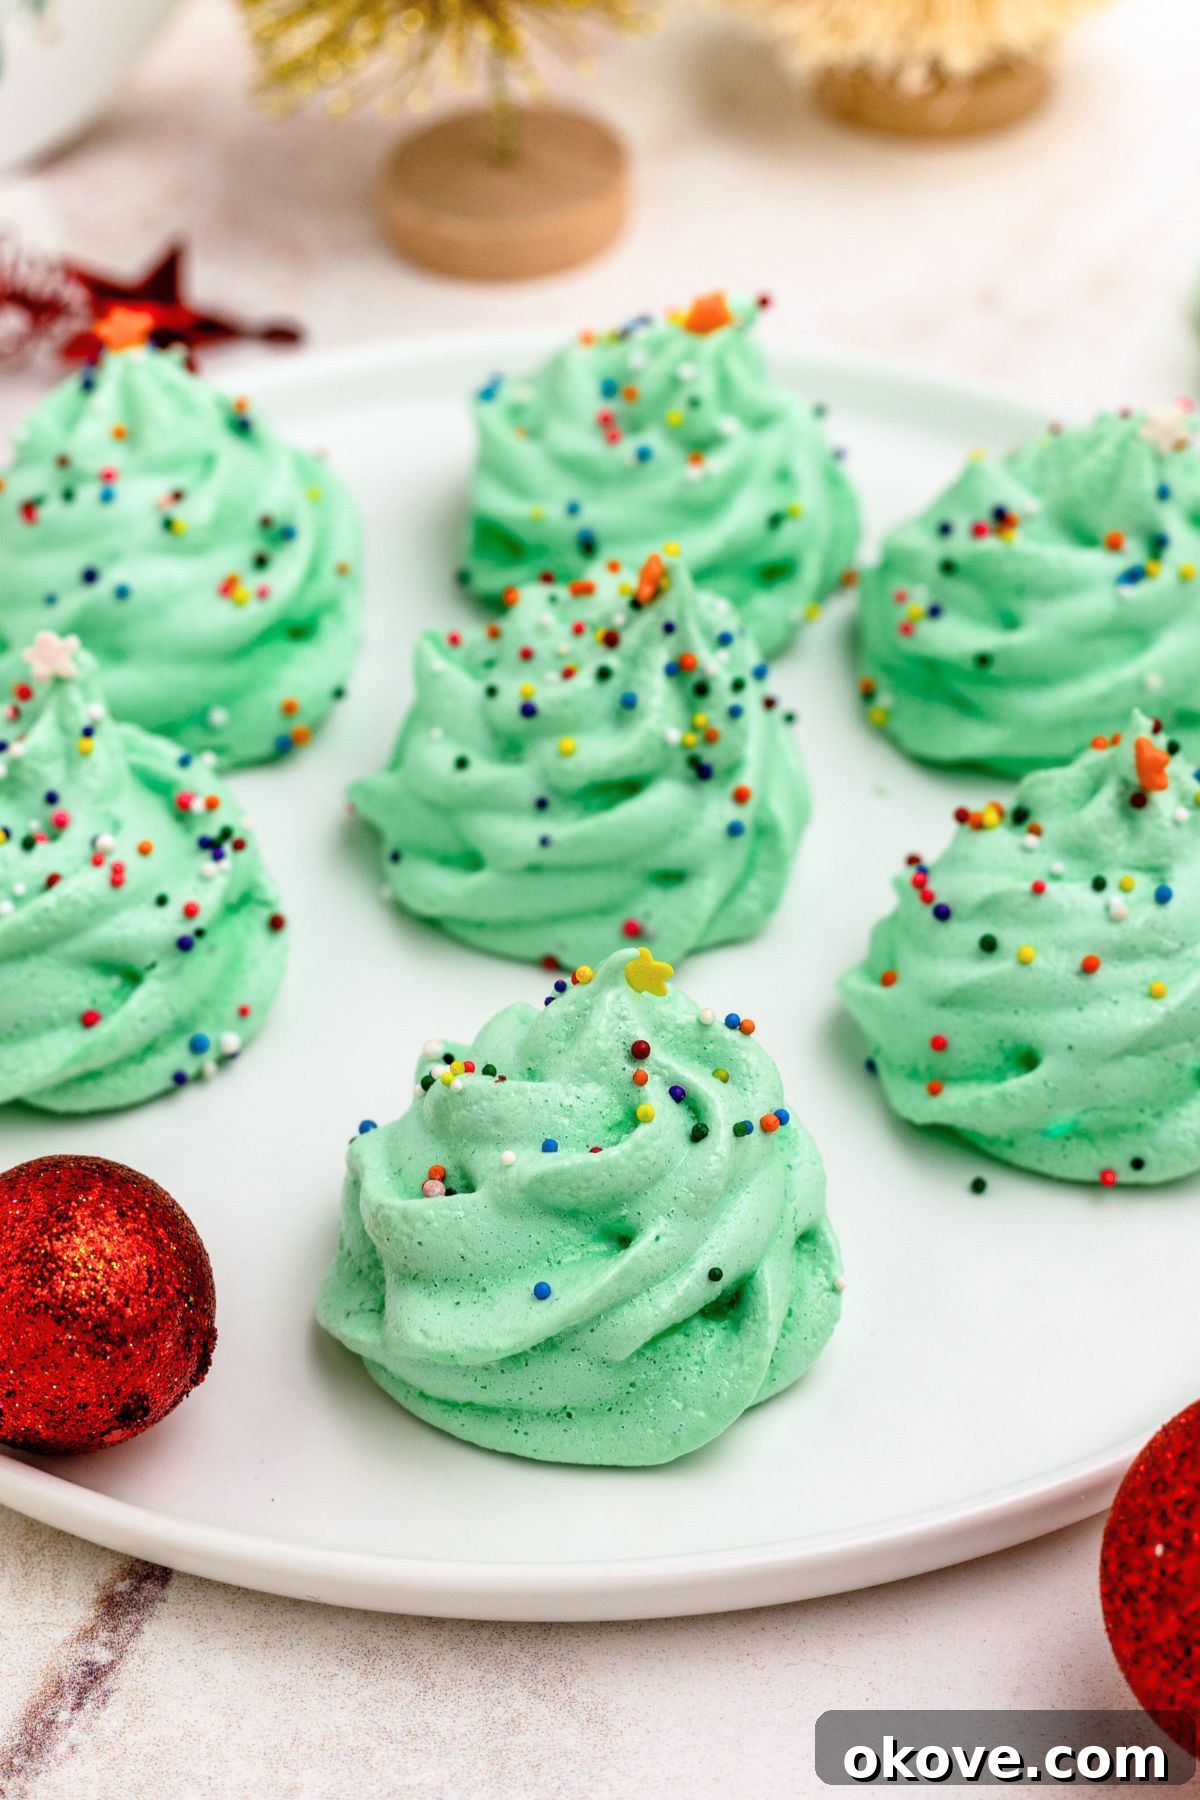
There’s something uniquely enchanting about a perfectly baked meringue. These cute Christmas Tree Meringues elevate that charm, transforming simple whipped egg whites and sugar into airy, crisp, and visually stunning green trees. They are an absolute showstopper on holiday cookie trays, making fantastic edible gifts, and are incredibly versatile for various festive occasions. Their sturdy structure allows them to hold their intricate shape beautifully, while a scattering of festive sprinkles adds that extra touch of sparkle. Best of all, they maintain their freshness and delightful crunch for days, making them an ideal make-ahead holiday dessert.
If you find yourself enchanted by these delightful treats, you’ll surely enjoy exploring more festive baking ideas. Be sure to try these Bugle Elf Hats, Grinch Oreo Balls, Snowball Cookies, or this easy Grinch Fudge. And to complete your holiday feast, consider adding these refreshing Pomegranate Martinis, creamy Homemade Eggnog, or this tasty Fall Sangria to your table for a truly unforgettable celebration!
Table of Contents
- The Magic of Meringue for the Holidays
- Essential Ingredients for Perfect Meringues
- Creative Variations to Customize Your Meringues
- Step-by-Step Guide to Making Meringue Christmas Trees
- Expert Baking Tips for Flawless Meringues
- Meringue Christmas Trees FAQs
- More Easy Christmas Recipes
- Meringue Christmas Trees Recipe Card
The Magic of Meringue for the Holidays
Meringue cookies have long been a beloved classic, known for their delicate structure and delightful crunch. During the holiday season, they transform into something truly special, offering a lightness that provides a welcome contrast to heavier festive desserts. Their ethereal quality, combined with the whimsical shape of a Christmas tree, makes them incredibly appealing to both children and adults. Imagine a platter of these vibrant green trees, adorned with tiny colorful sprinkles, acting as the centerpiece of your holiday dessert spread. They’re not just a treat for the palate but a feast for the eyes, evoking feelings of joy and nostalgia. The simplicity of their ingredients—egg whites and sugar—belies the impressive result, making them a rewarding project for any home baker.
Essential Ingredients for Perfect Meringues
Creating beautiful and stable meringues starts with understanding each ingredient’s role. Here’s what you’ll need to whip up your festive Christmas trees:
- Egg whites: The foundation of your meringue! For optimal volume and stability, always use fresh large egg whites. It’s crucial that they are at room temperature. Allowing them to sit on the counter for about 30 minutes before mixing helps them whip up faster and achieve greater volume, resulting in a lighter, airier meringue.
- Cream of tartar: This is your secret weapon for a strong, stable meringue. Cream of tartar, an acidic salt, helps to denature the proteins in the egg whites, allowing them to hold more air and preventing them from collapsing. It’s essential for achieving those beautiful, stiff peaks.
- Salt: A pinch of salt might seem small, but it plays a vital role in balancing the sweetness of the sugar. It subtly enhances the overall flavor profile, ensuring your meringues aren’t overly sweet.
- Sugar: Fine granulated sugar is highly recommended for meringues because it dissolves more easily into the egg whites. This prevents a gritty texture and ensures a smooth, glossy meringue. Adding sugar slowly is key to maintaining the meringue’s structure.
- Vanilla extract: A teaspoon of pure vanilla extract provides a classic, comforting aroma and flavor. For a delightful twist, consider replacing it with almond extract for a nutty depth or peppermint extract for a refreshing, minty holiday touch.
- Gel green food coloring: When coloring meringues, gel food coloring is vastly superior to liquid varieties. Liquid food coloring can add too much moisture, thinning out the delicate meringue mixture and making it difficult to pipe. Gel colors provide vibrant hues without compromising the meringue’s consistency.
A comprehensive list of ingredients with exact measurements is provided in the detailed recipe card below.
Creative Variations to Customize Your Meringues
While the classic green Christmas tree is charming, these meringues are incredibly versatile. Don’t hesitate to experiment with different flavors and presentations:
- Cupcake toppers: Pipe smaller meringue trees to create adorable cupcake decorations. Set them atop chocolate cupcakes dusted with confectioners’ sugar for a miniature winter wonderland scene.
- Peppermint twist: Infuse your meringues with a festive zing! Replace vanilla extract with peppermint extract. For an extra candy cane effect, use a toothpick to gently swirl a tiny amount of red gel food coloring inside your piping bag before filling it with meringue.
- Chocolate base: For a touch of decadence and added stability, dip the cooled meringue tree bottoms in melted dark or white chocolate. The chocolate not only adds a rich flavor but also creates a firm base for standing the trees upright.
- Rainbow trees: Why stick to green? Use different gel food colorings to create a forest of colorful meringue trees – red, blue, yellow, or even pastel shades for a whimsical look.
- Coconut snow: After baking, lightly brush the tips of the trees with edible glitter or dust with desiccated coconut for a snowy, frosted effect.
Step-by-Step Guide to Making Meringue Christmas Trees
Making these enchanting meringue trees is a delightful process. Follow these detailed instructions for perfect results:
- Begin by preheating your oven to a low 225 degrees F (105 degrees C). This low temperature is crucial for drying out the meringues rather than baking them too quickly. Line one or two large baking sheets with parchment paper; this prevents sticking and makes for easy cleanup.
- In a completely clean, large mixing bowl, combine the room-temperature large egg whites, cream of tartar, and salt. It’s absolutely vital that your bowl and whisk attachment are entirely grease-free, as even a tiny speck of oil can prevent the egg whites from whipping properly. If in doubt, wipe your bowl and whisk with a bit of lemon juice or white vinegar and dry thoroughly.
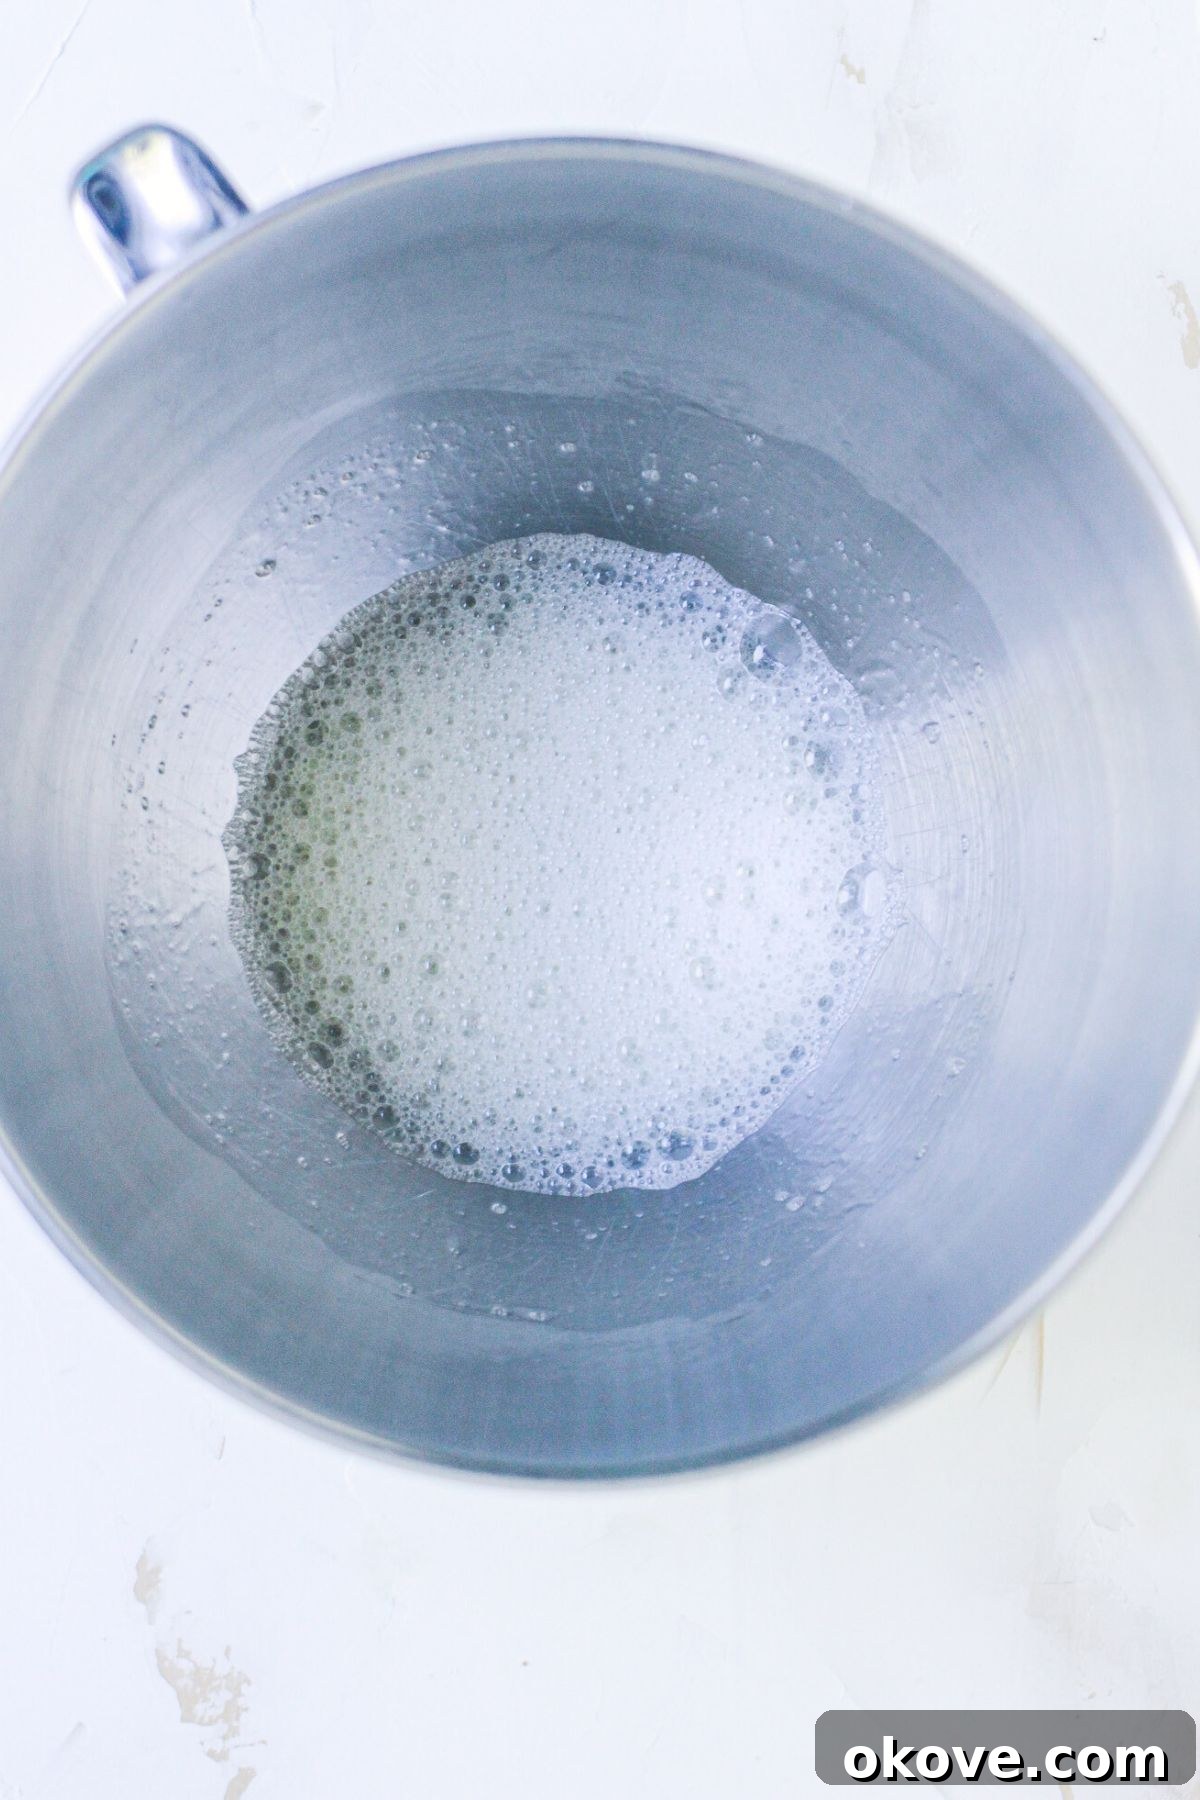
- Using a stand mixer or a powerful electric hand mixer fitted with a whisk attachment, begin beating the mixture on medium-low speed. Continue beating until the egg whites become visibly foamy and light.
- Increase the mixer speed to medium. Gradually add the granulated sugar, one tablespoon at a time, allowing each addition to dissolve slightly before adding the next. This slow incorporation is key to creating a stable meringue. Continue beating until soft peaks form – when you lift the whisk, the meringue will hold its shape but the tip will gently flop over.
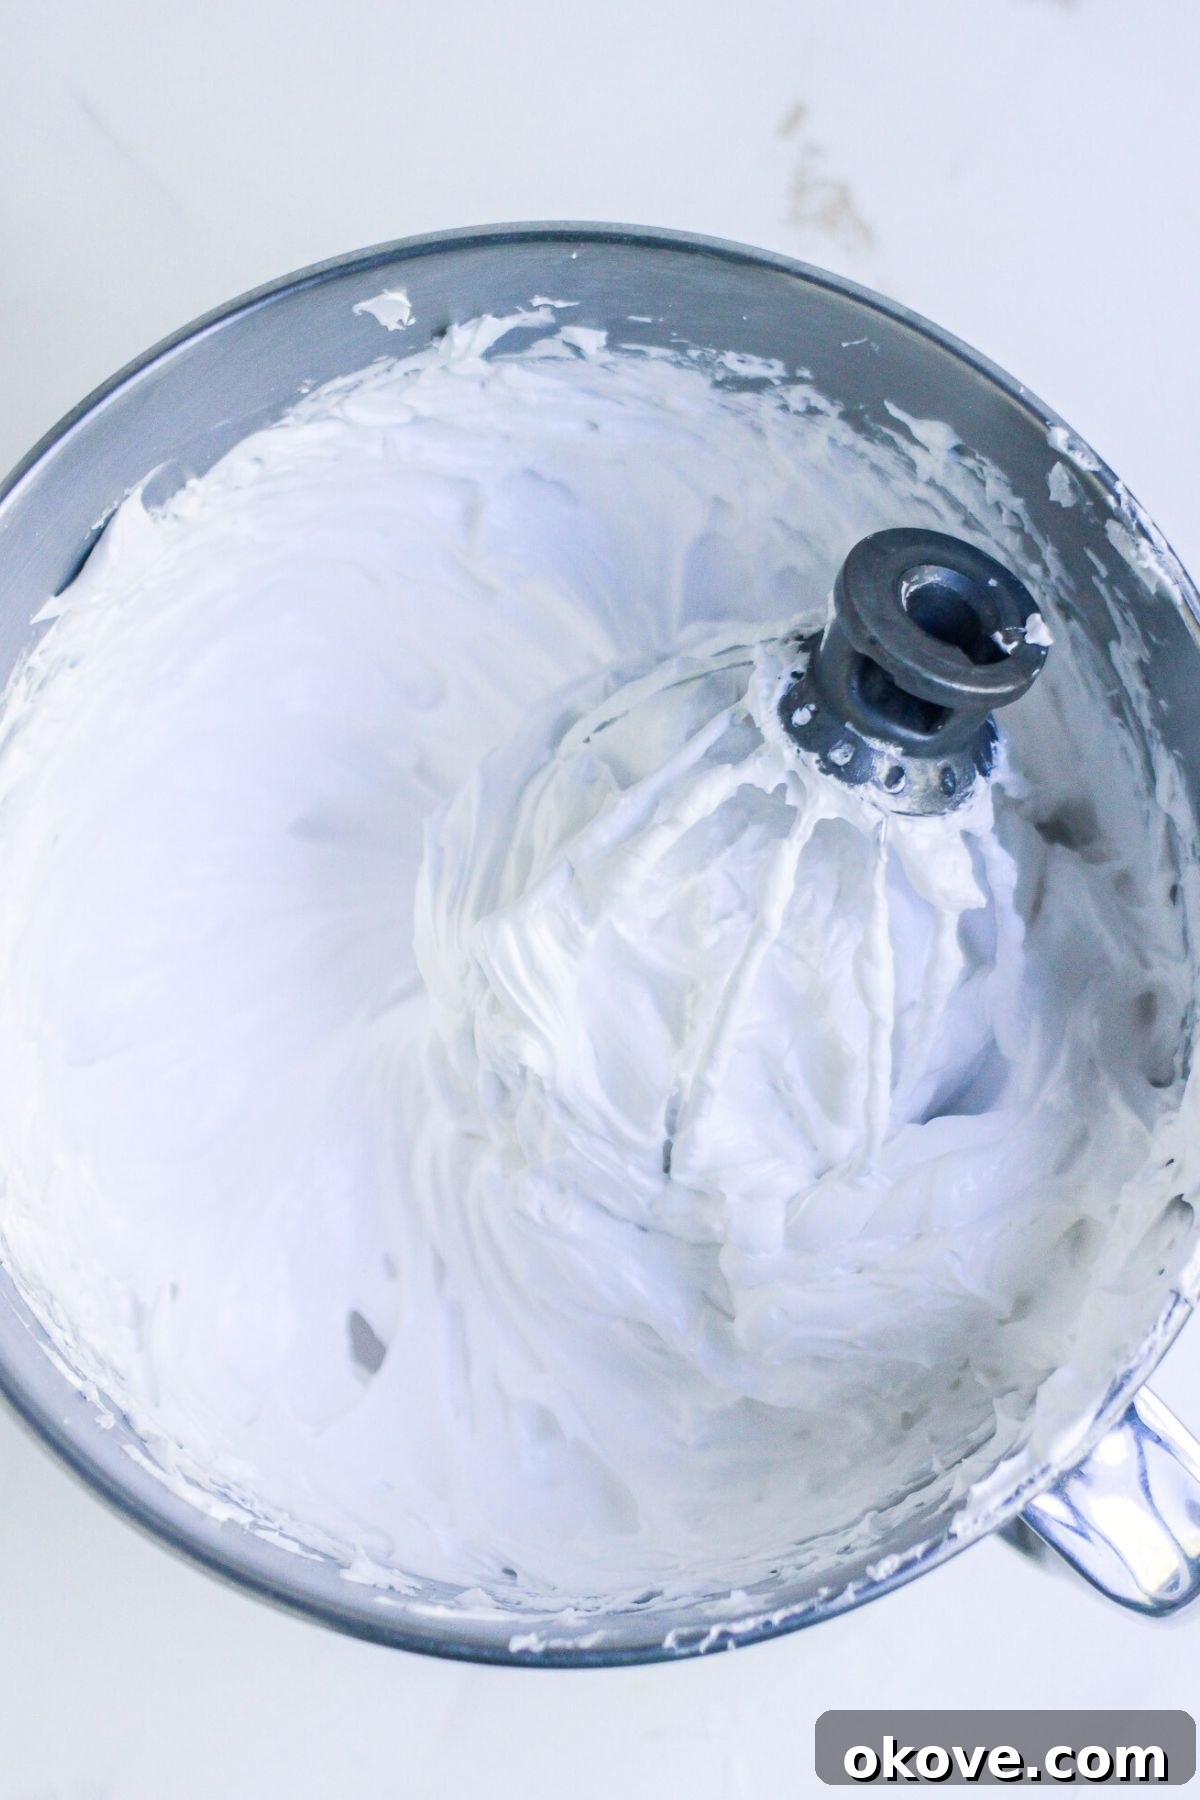
- Now, increase the mixer speed to medium-high and continue beating. This is where the magic happens! Beat until very stiff and glossy peaks form. To check for readiness, rub a small amount of meringue between your fingers; it should feel completely smooth, without any grittiness from undissolved sugar. The meringue should be thick, shiny, and hold its shape firmly when the whisk is lifted, pointing straight up.
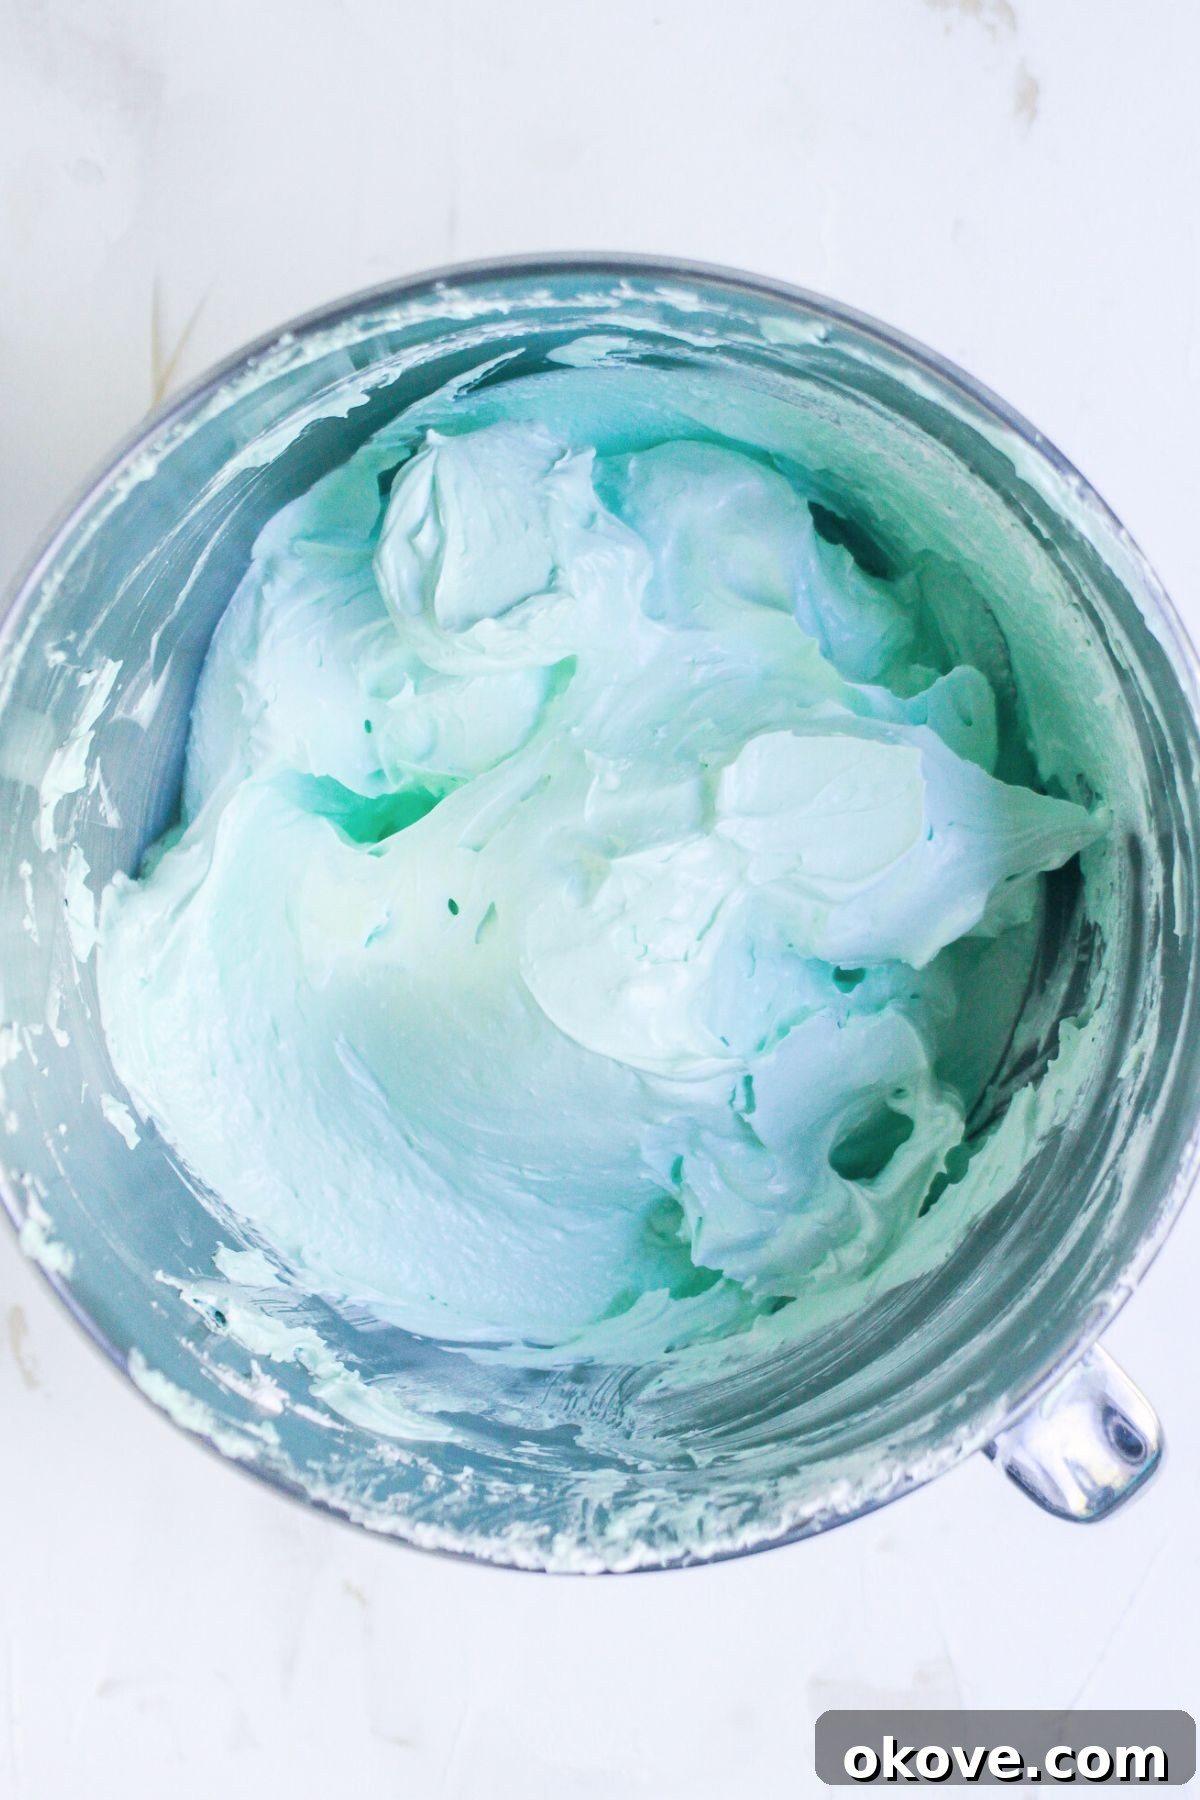
- Carefully fold in the vanilla extract and tint the mixture with your desired amount of green gel food coloring. Mix gently with a spatula, using a folding motion, to ensure the whipped egg whites retain their maximum volume and airiness. Overmixing at this stage can deflate your meringue.
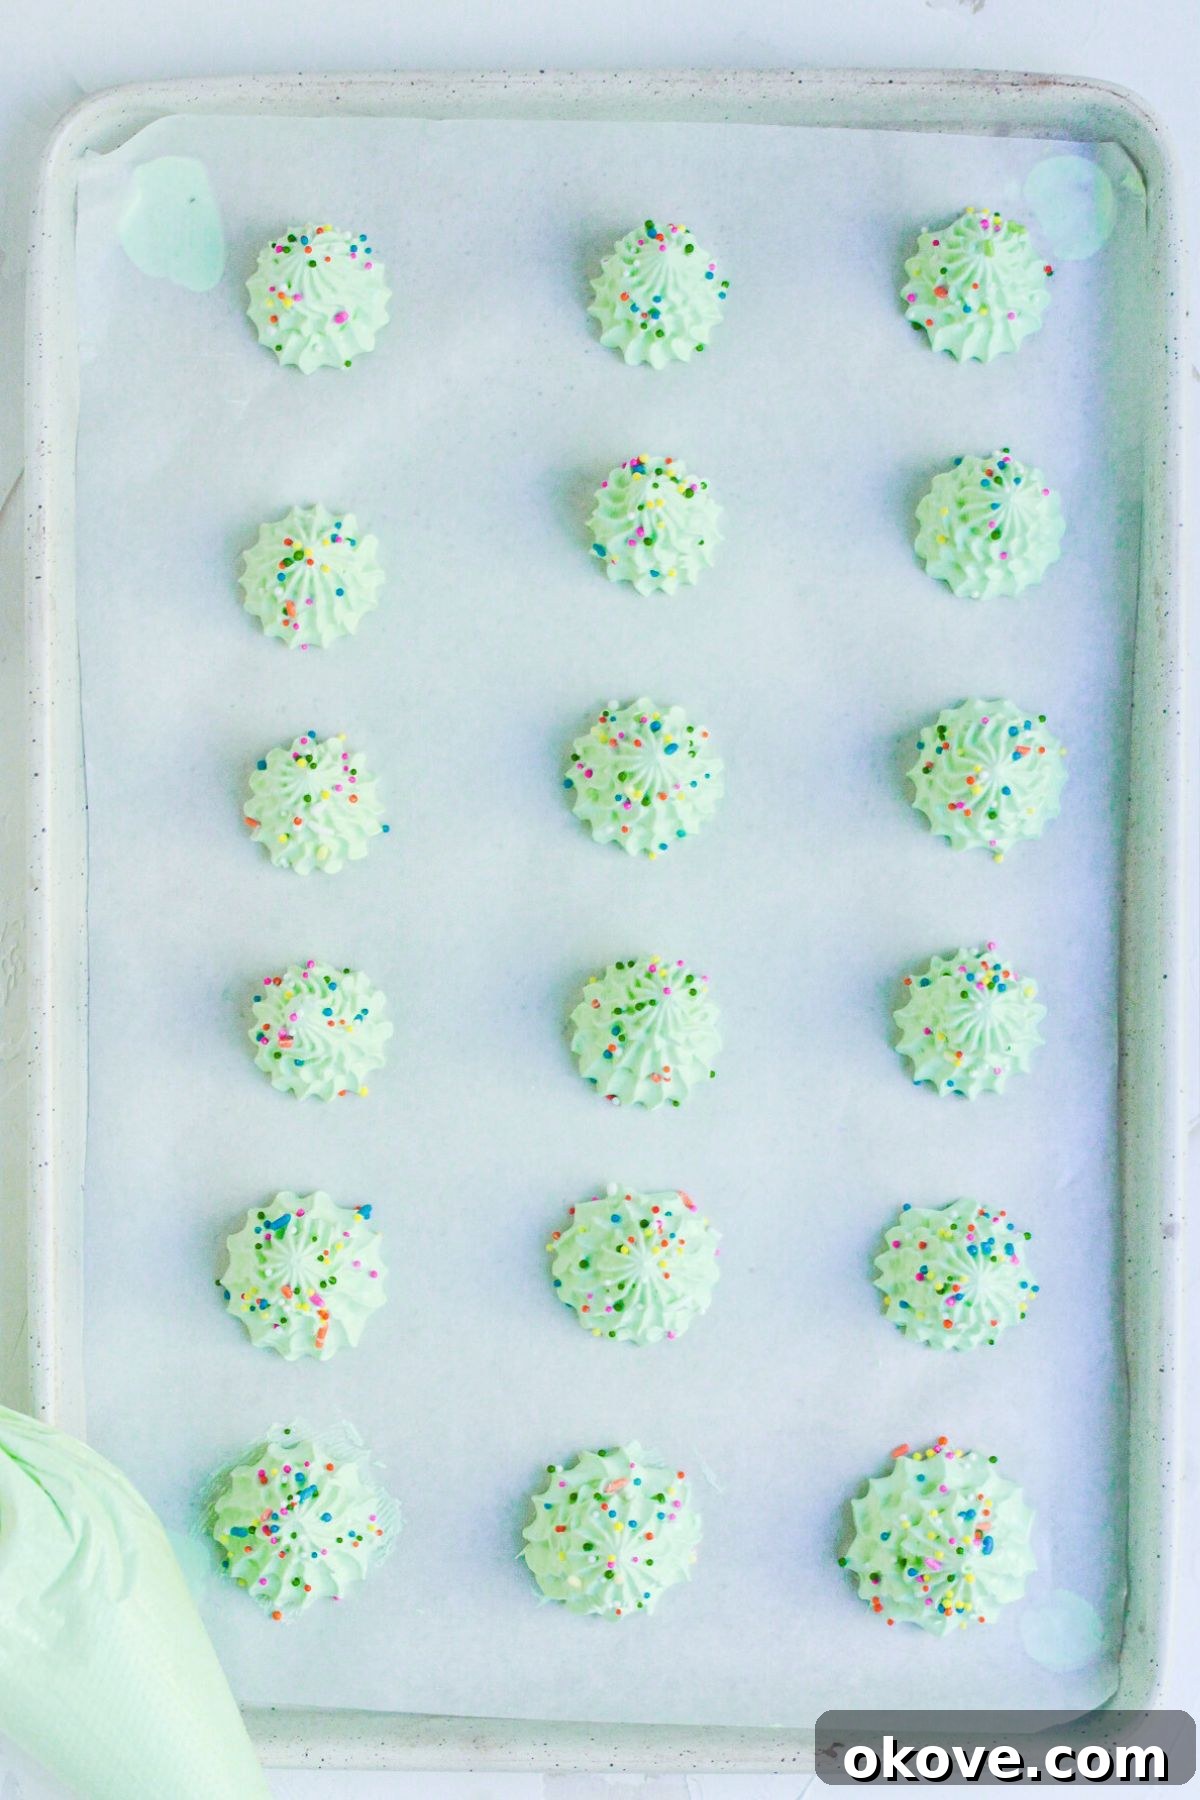
- Transfer the beautifully colored meringue mixture to a large piping bag fitted with a star tip (a Wilton 1M or 2D works wonderfully for Christmas trees). Hold the piping bag at a 90-degree angle, perpendicular to the baking sheet. Pipe dollops, starting from the base and building up layers, gently lifting the bag as you go to form a conical tree shape. Alternatively, you can start at the bottom and create a continuous swirl motion upwards. Use a toothpick to gently adjust the tip of the tree or smooth out any small ridges.
- Immediately after piping, add festive sprinkles and a small star sprinkle onto the top of each tree. It’s important to do this before baking so the decorations adhere securely and hold their color through the gentle baking process.
- Bake the meringues for 1 hour. This extended low-temperature baking slowly dries them out. After 1 hour, turn off the oven completely but leave the meringue trees inside with the oven door closed for an additional 2 hours. This gradual cooling and drying period is crucial for achieving a perfectly crisp texture and preventing cracks. Resist the urge to open the oven door during this time!
- Once completely cool and dry, carefully remove the meringue trees from the parchment paper. Store them at room temperature in an airtight container. Remember, meringues are highly susceptible to moisture, so never refrigerate them, as this will cause them to soften and become sticky.
Expert Baking Tips for Flawless Meringues
Achieving perfect meringues can sometimes feel like an art, but with these expert tips, you’ll be piping like a pro in no time:
- Start with a meticulously clean bowl: This cannot be stressed enough! Any trace of grease, oil, or egg yolk in your mixing bowl or on your whisk can inhibit egg whites from whipping up to stiff peaks. For absolute certainty, wipe your mixing bowl and whisk attachment with a paper towel dampened with a bit of white vinegar or lemon juice, then dry them thoroughly before you begin.
- Room temperature egg whites are a must: Cold egg whites are tighter and won’t incorporate as much air. Allowing large egg whites to sit at room temperature for at least 30 minutes before whipping helps them relax and achieve maximum volume, resulting in a lighter, more stable meringue.
- Master the mixer speed progression: Don’t rush the whipping process. Begin on medium-low speed to gently break down the egg white proteins, then gradually increase to medium speed as you incorporate the sugar, and finally to medium-high speed to achieve those super stiff, glossy peaks. This gradual increase ensures a strong, stable meringue structure.
- Add sugar slowly and patiently: Dumping all the sugar at once can deflate your egg whites. Instead, add the fine granulated sugar one tablespoon at a time, allowing it to fully dissolve into the egg whites before adding the next. This creates a stable emulsion and prevents a grainy texture.
- Pipe straight up for structured trees: To create those beautiful, distinct layers that mimic a real Christmas tree, hold your piping bag at a precise 90-degree angle directly above your baking sheet. Apply even pressure and lift slightly between layers, stacking dollops to build the tree shape. Practice makes perfect!
- Drying is paramount for crispness: Meringues are essentially dried egg white foams. The low oven temperature and the extended cooling period inside the turned-off oven are crucial. This allows the meringues to dry out completely without browning or cracking, ensuring that signature crisp texture. Opening the oven door too early can introduce a sudden temperature change, leading to cracks.
- Decorate early for secure adornments: Always add sprinkles and star decorations immediately after piping and before baking. The slightly tacky surface of the fresh meringue will hold the decorations securely, and they will set firmly during the drying process.
- Humidity is your enemy: Meringues absorb moisture from the air, which can make them sticky or chewy. Try to bake meringues on a dry day. If you live in a humid climate, consider storing them with a small dish of uncooked rice or a desiccant packet in their airtight container to absorb excess moisture.
Meringue Christmas Trees FAQs
Meringue Christmas Trees will stay wonderfully crisp and fresh for up to one week when stored properly. The key is to keep them at room temperature in an airtight container, away from any sources of moisture.
Absolutely! Meringues are an excellent make-ahead dessert, perfect for busy holiday schedules. They hold up beautifully for several days, provided they are kept dry and protected from humidity. This makes them ideal for preparing a week before your event.
Sticky meringues are almost always a sign of too much humidity in the air during baking or storage. Meringues are hygroscopic, meaning they absorb moisture. Try baking on a day with low humidity. If humidity is unavoidable, store them in an airtight container with a small open dish of dry rice or a food-grade desiccant packet to absorb excess moisture.
Cracking usually occurs if the oven temperature is too high, causing the meringues to bake too quickly on the outside while the inside is still moist, or if they cool too rapidly. The long, slow cooling process inside a turned-off oven with the door closed is crucial to prevent sudden temperature changes and ensure an even, crack-free dry.
Yes, absolutely! Gel food coloring works best for this purpose, as it provides vibrant color without adding excessive moisture that could thin the meringue. Red, blue, or a variety of pastel-colored trees can look absolutely stunning and add a playful touch to your holiday spread.
You’ll need a clean mixing bowl (preferably metal or glass), an electric mixer (stand mixer or hand mixer) with a whisk attachment, baking sheets, parchment paper, and a piping bag fitted with a star tip. A kitchen scale for precise measurements is also a bonus.
While technically possible, fresh egg whites are always recommended for meringues. Carton egg whites may not whip up as light and fluffy, or hold their peaks as well, due to pasteurization processes and additives. For the best results, crack fresh eggs.
More Easy Christmas Recipes
Drinks
Orange Creamsicle Jello Shots
Desserts
Homemade Thin Mint Cookies
Appetizers
Spinach Artichoke Dip
Desserts
Peanut Butter Balls
If you have tried this recipe or any others from Celebrating Simply, I’d love it if you would leave a ⭐ star rating and share your thoughts in the ✍️ comments below. Your feedback means a lot!
Meringue Christmas Trees
Share by Email
Print Recipe
These cute Christmas Tree Meringues are crisp, airy, and melt in your mouth with every bite. Made from simple whipped egg whites and sugar, they bake into light green trees that are perfect for holiday cookie trays and festive gifts. They hold their shape beautifully, look adorable with sprinkles, and stay fresh for days.
Equipment
- Mixing Bowl
- Electric Mixer (stand or hand mixer)
- Whisk attachment
- Large Baking Sheets
- Parchment Paper
- Piping Bag and Star Tip (e.g., Wilton 1M or 2D)
Ingredients
- 4 large egg whites, room temperature
- 1/2 teaspoon cream of tartar
- 1/8 teaspoon salt
- 1 cup granulated sugar (fine preferred)
- 1 teaspoon vanilla extract
Optional:
- Gel green food coloring
- Assorted sprinkles
- Star sprinkles for tree toppers
Instructions
- Preheat your oven to 225 degrees F (105 degrees C). Line large baking sheets with parchment paper.
- Add the large egg whites, cream of tartar, and salt to a clean, large mixing bowl. Ensure the bowl and whisk are completely grease-free.
- Using an electric mixer fitted with a whisk attachment, beat on medium-low speed until the mixture becomes foamy.
- Increase to medium speed and gradually add the sugar, one tablespoon at a time, beating until soft peaks form.
- Increase to medium-high speed and continue beating until very stiff, glossy peaks form. The meringue should feel smooth when rubbed between your fingers.
- Gently fold in the vanilla extract and tint the mixture with green gel food coloring until uniformly colored, being careful not to deflate the meringue.
- Transfer the meringue mixture to a large piping bag fitted with a star tip. Hold the bag at a 90-degree angle and pipe dollops, building layers to form a tree shape. You can also use a swirl motion from bottom to top.
- Immediately add sprinkles and a star decoration onto the top of each tree to ensure they adhere before baking.
- Bake for 1 hour. After 1 hour, turn off the oven and leave the meringue trees inside with the oven door closed for an additional 2 hours to dry completely. Do not open the oven door during this cooling period.
- Once thoroughly cooled and dried, store the meringue trees at room temperature in an airtight container. Avoid refrigeration, as moisture will cause them to soften.
Notes
Cleanliness is Key: Any grease prevents egg whites from whipping. Wipe equipment with vinegar if needed.
Gradual Speed: Begin whipping on medium-low, then medium, then medium-high speed for optimal consistency.
Piping Technique: Holding the piping bag at a 90-degree angle helps create distinct, stacked layers for realistic tree shapes.
Patience for Drying: Slow cooling with the oven door closed is essential for crisp texture and to prevent cracks. This cannot be rushed!
Early Decoration: Add all decorations, such as sprinkles and stars, before baking so they adhere securely and retain their color during the drying process.
Nutrition
Carbohydrates: 6g
Protein: 0.4g
Fat: 0.02g
Sodium: 14mg
Potassium: 13mg
Sugar: 6g
Calcium: 0.3mg
Iron: 0.01mg
Nutrition information is automatically calculated, so should only be used as an approximation.
Additional Info
Tried this recipe?
Mention @celebratingsimplyrecipes or tag #celebratingsimplyrecipes!