
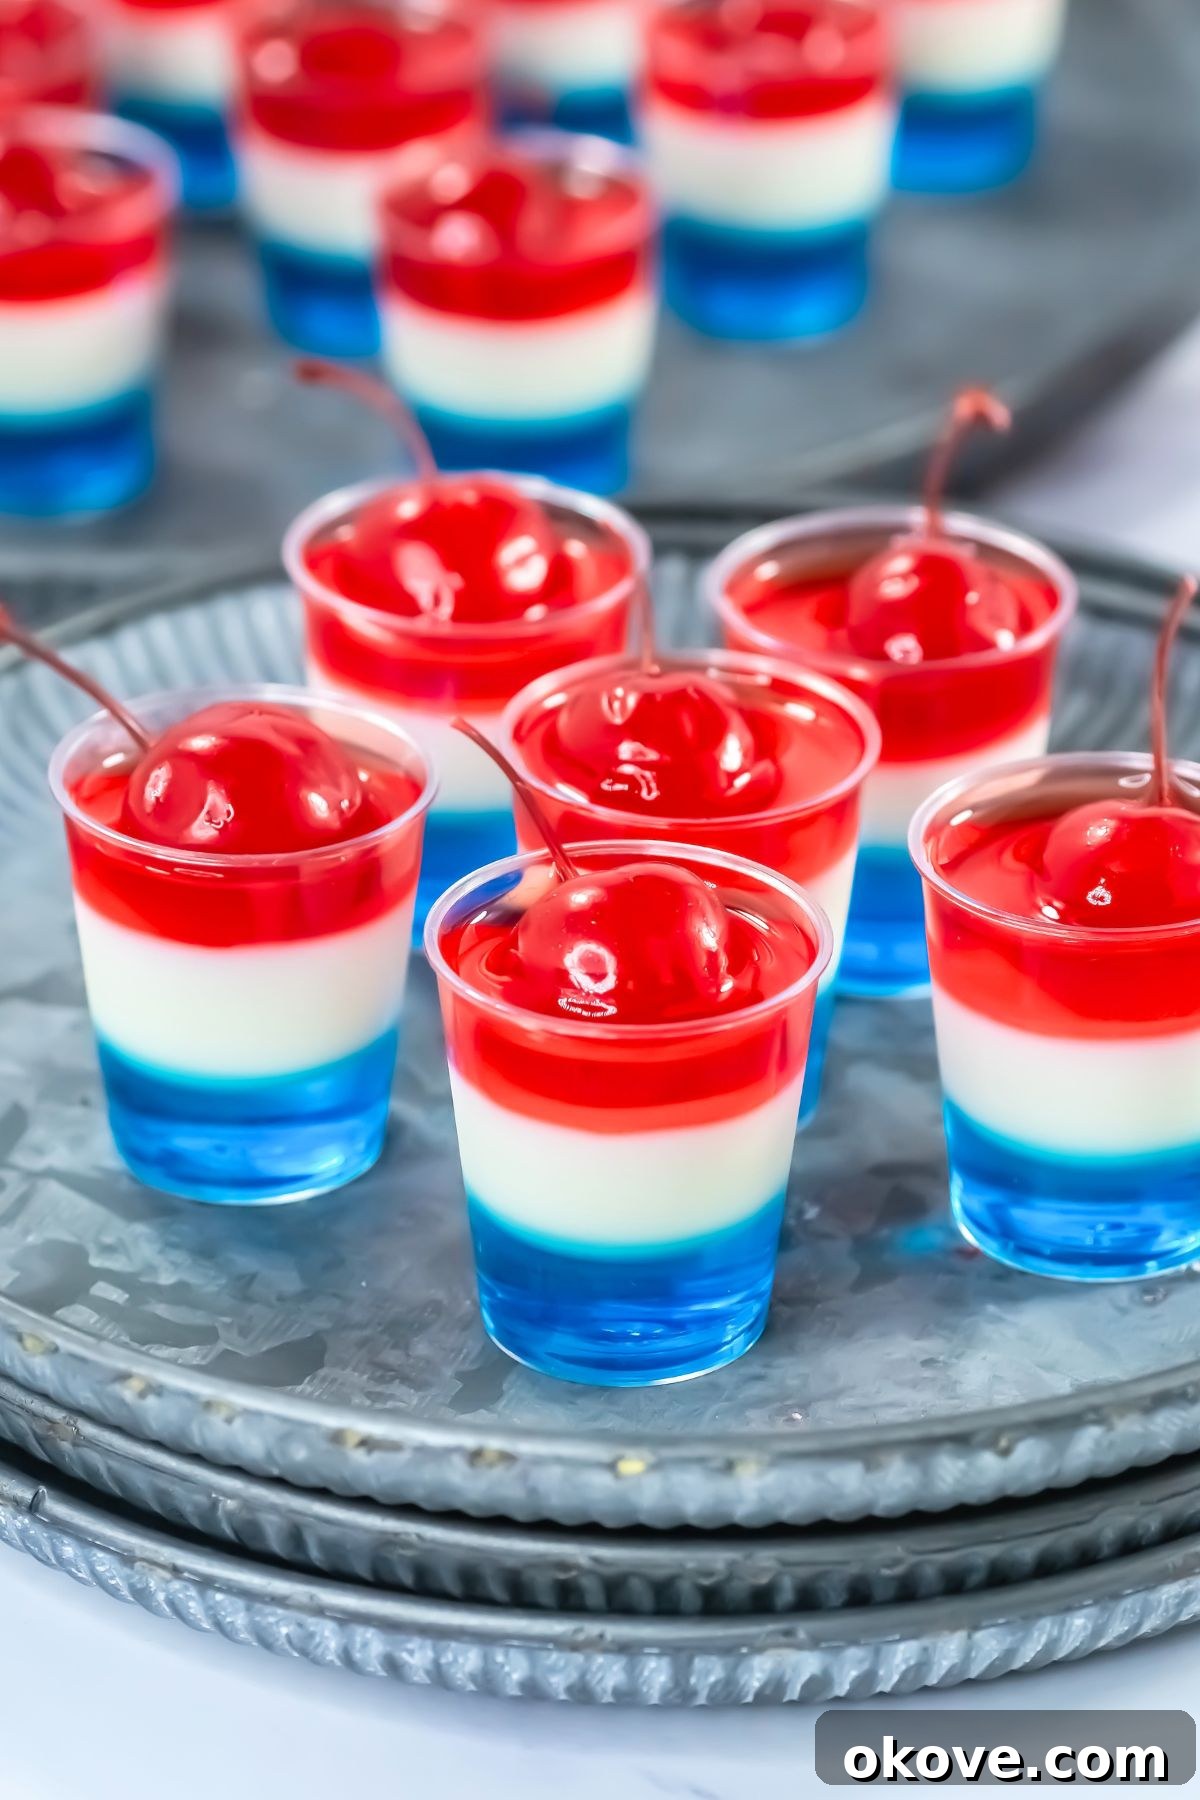
Ultimate Red, White, and Blue Jello Shots: Your Guide to Festive Layered Treats
Get ready to impress your guests with these show-stopping Red, White, and Blue Jello Shots! Perfectly layered with vibrant berry Jello flavors and a sweet, creamy center, they create an unforgettable, festive look that tastes as incredible as it appears. Whether you’re hosting a Fourth of July BBQ, a Memorial Day gathering, or any summer celebration, these patriotic Jello shots are guaranteed to be the life of the party.
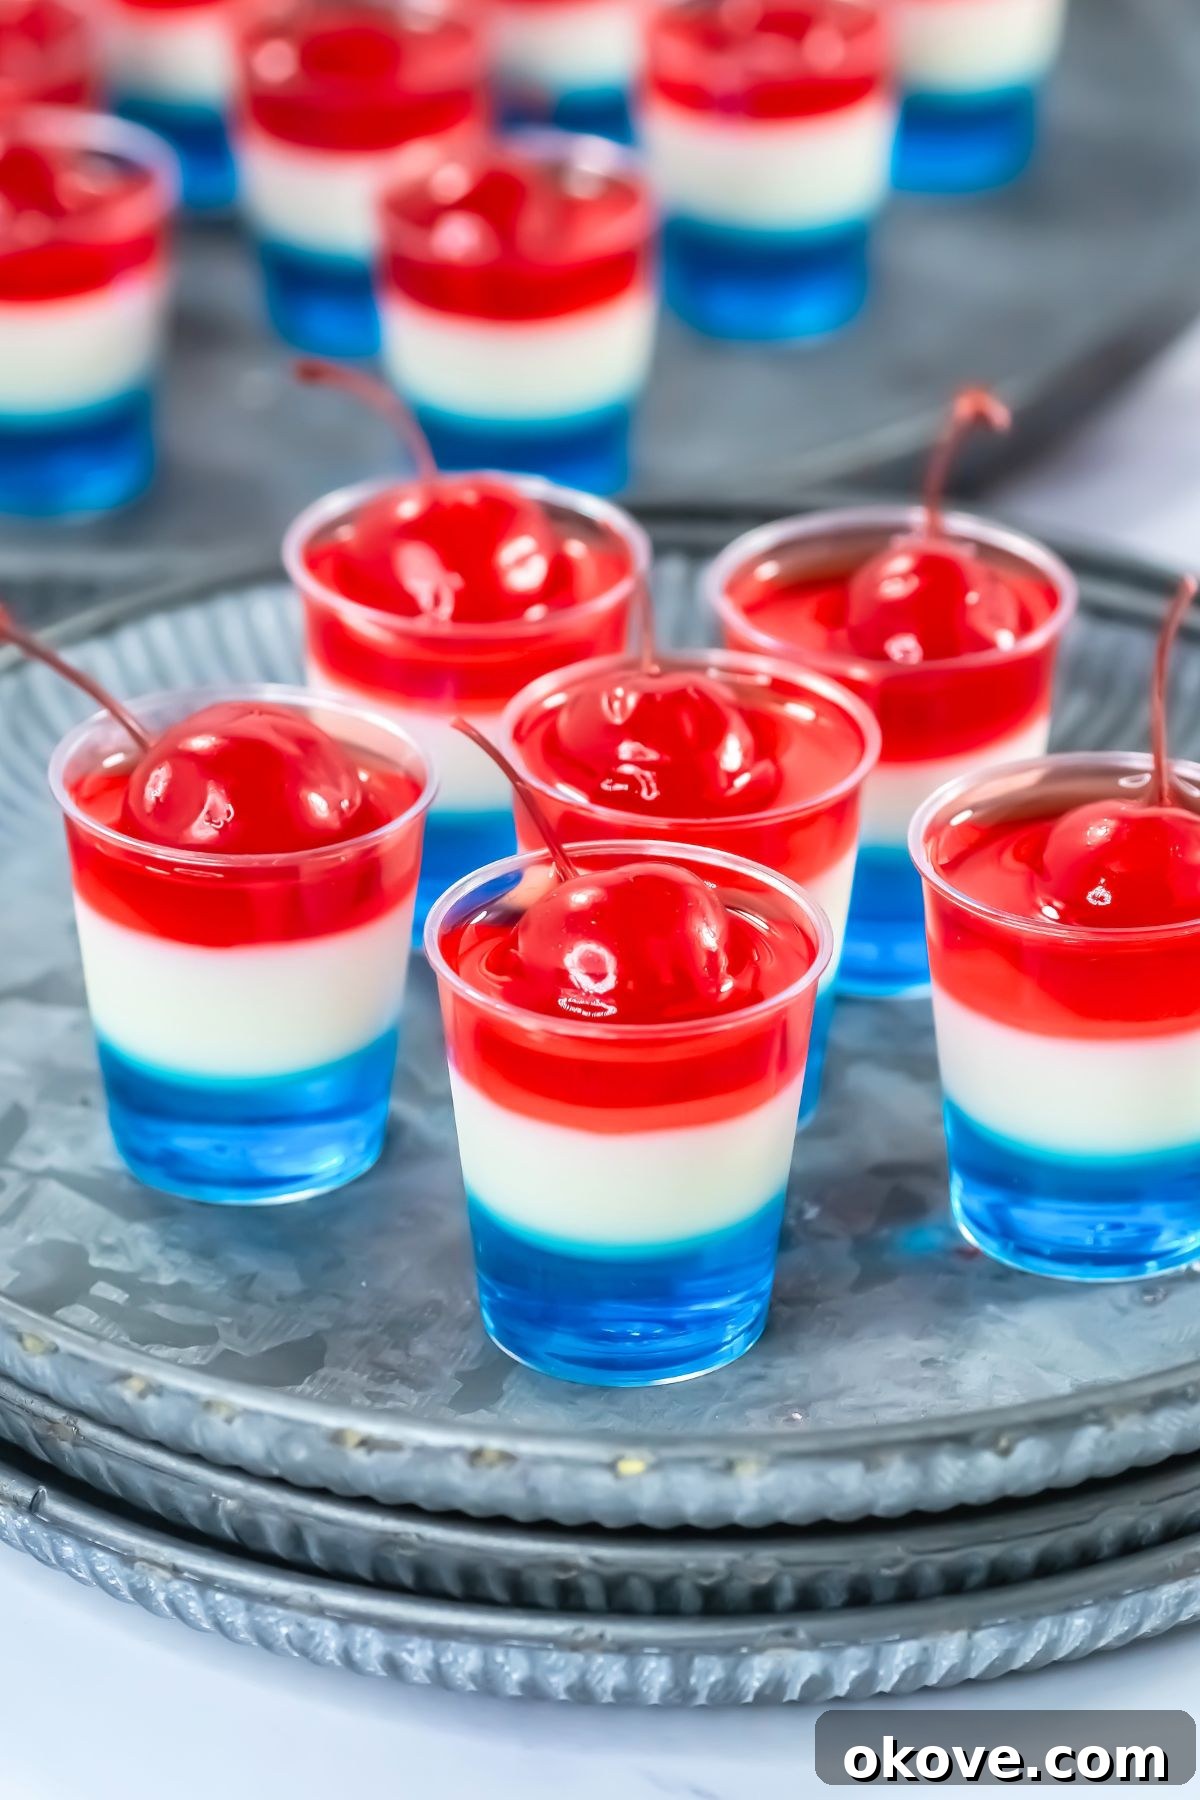
“These Jello shots are the life of the party! So easy to make and everyone loves them.”
– Becky, Party Host Extraordinaire
Creating these beautifully layered Jello shots is surprisingly simple, requiring just a bit of time and patience for each layer to set. The minimal effort involved yields maximum impact, leaving your guests delighted and coming back for more. Their undeniable patriotic charm makes them a perfect centerpiece, especially when paired with other themed treats like these Red, White, and Blue Strawberries or a decadent Patriotic S’mores Dip.
Why You’ll Love This Red, White, and Blue Jello Shot Recipe
These aren’t just any ordinary Jello shots; they’re an experience! The combination of fruity Jello and smooth vodka delivers a delightful mix of sweet and boozy fun, making them an instant hit. Here’s why this recipe will become your go-to for all things patriotic and festive:
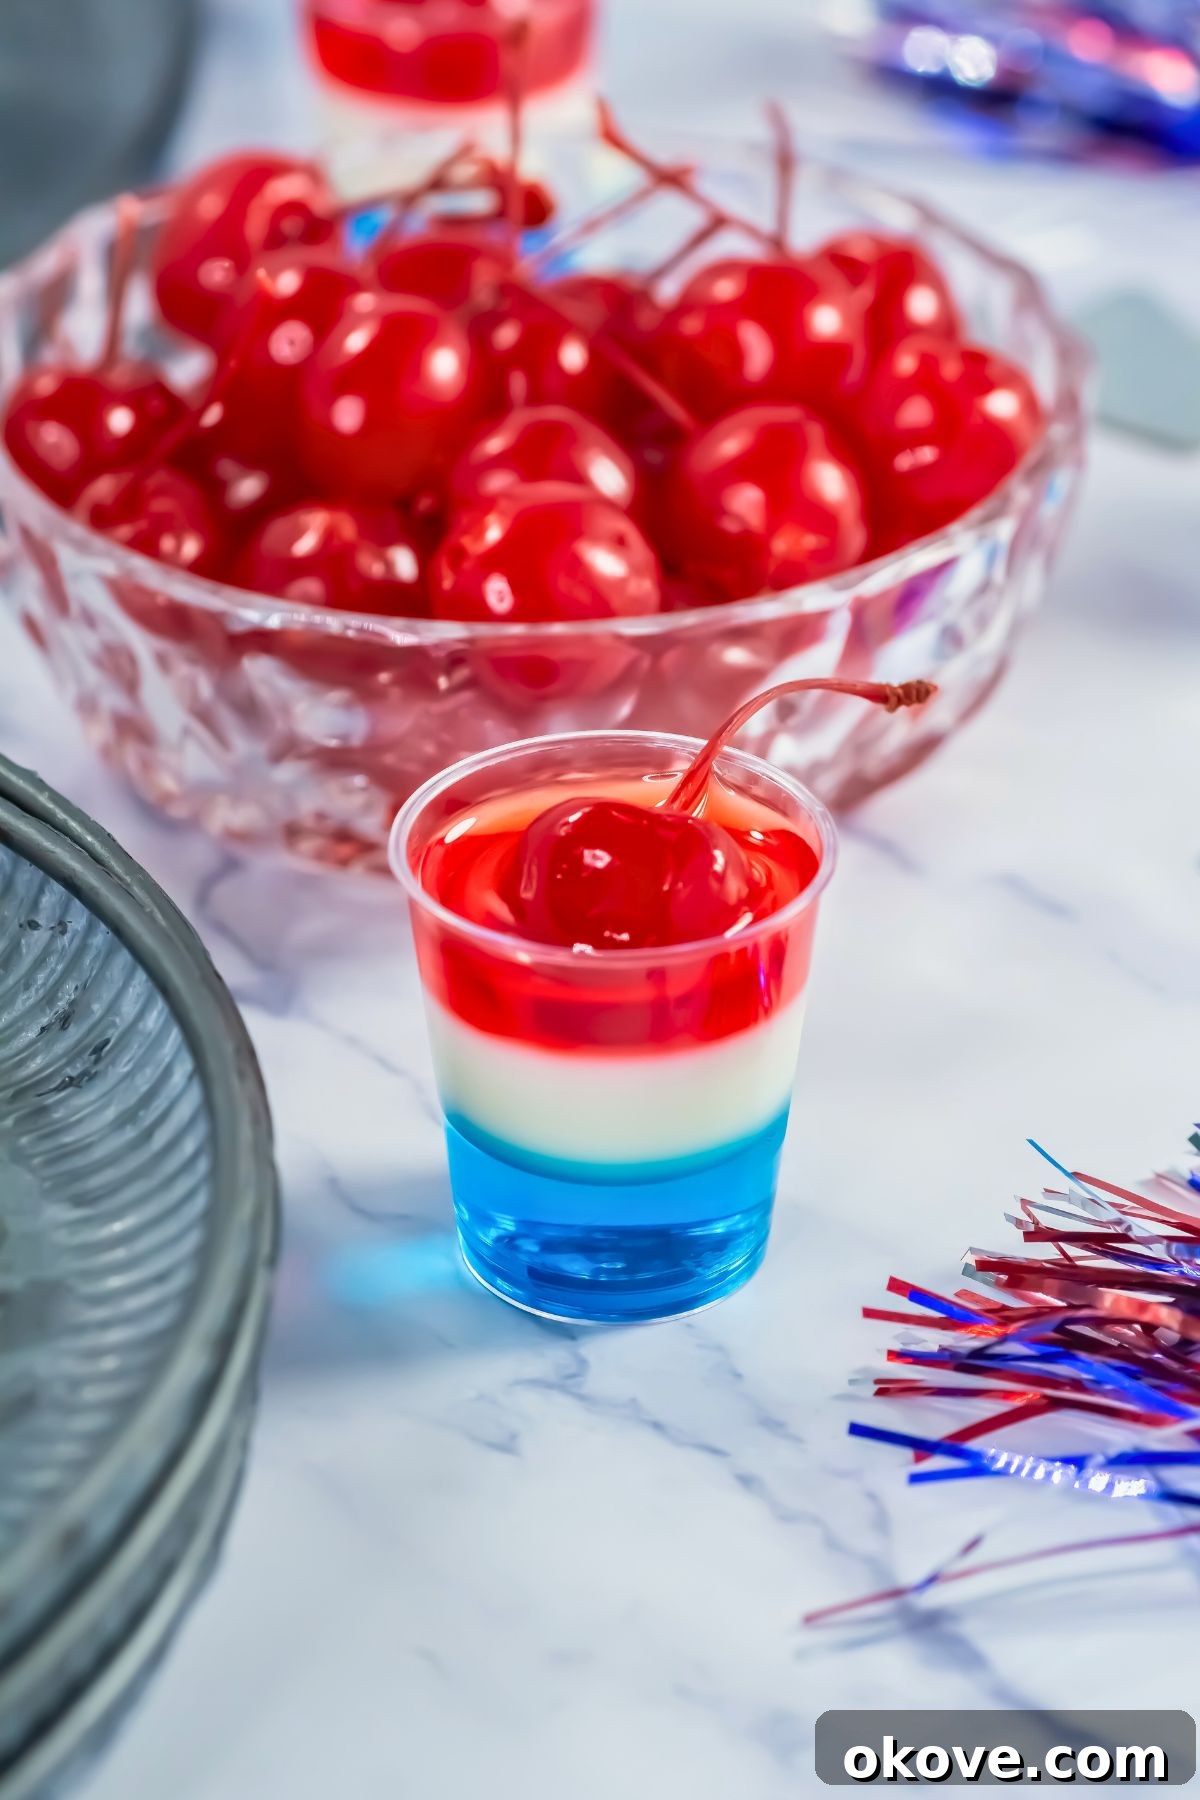
- Stunning Visual Appeal: The distinct red, white, and blue layers make a bold statement on any dessert table or bar cart, captivating guests with their vibrant colors.
- Delicious Flavor Profile: Each layer offers a burst of berry flavor, perfectly complemented by the creamy, subtly sweet white layer, creating a balanced and addictive taste.
- Incredibly Customizable: Easily adapt the Jello flavors, vodka types, and garnishes to suit your personal taste, specific dietary needs, or different party themes.
- Perfect for Any Celebration: These Jello shots are ideal for Memorial Day, Fourth of July, Labor Day, summer parties, backyard BBQs, beach gatherings, or any event where you want to add a touch of fun and patriotic flair.
- Effortless Make-Ahead Option: Prepare them days in advance, freeing up your party day for other preparations and ensuring you can relax and enjoy your guests.
- Simple to Make: Despite their impressive appearance, the steps are straightforward and manageable, even for novice hosts.
Looking for more fun and festive party recipes? Don’t miss out on these crowd-pleasing ideas: Firecracker Hot Dogs, a vibrant American Flag Fruit Pizza, or delightful Patriotic Dipped Pretzels. Pair them with your Red, White, and Blue Jello Shots for an epic celebration!
Table of Contents
- Ingredients You’ll Need for Festive Jello Shots
- Essential Equipment for Jello Shots
- Recipe Variations and Creative Swaps
- How to Make Perfect Red, White, and Blue Jello Shots
- Expert Tips for Flawless Layered Jello Shots
- Red, White, and Blue Jello Shots FAQs
- More Easy & Refreshing Drink Recipes
- Printable Recipe Card: Red, White, and Blue Jello Shots
Ingredients You’ll Need for Festive Jello Shots
Crafting these visually striking and delicious Jello shots requires a few simple ingredients, easily found at your local grocery store. Each component plays a crucial role in achieving the vibrant colors, distinct layers, and delectable flavors that make these treats so special. Here’s a detailed look at what you’ll need:
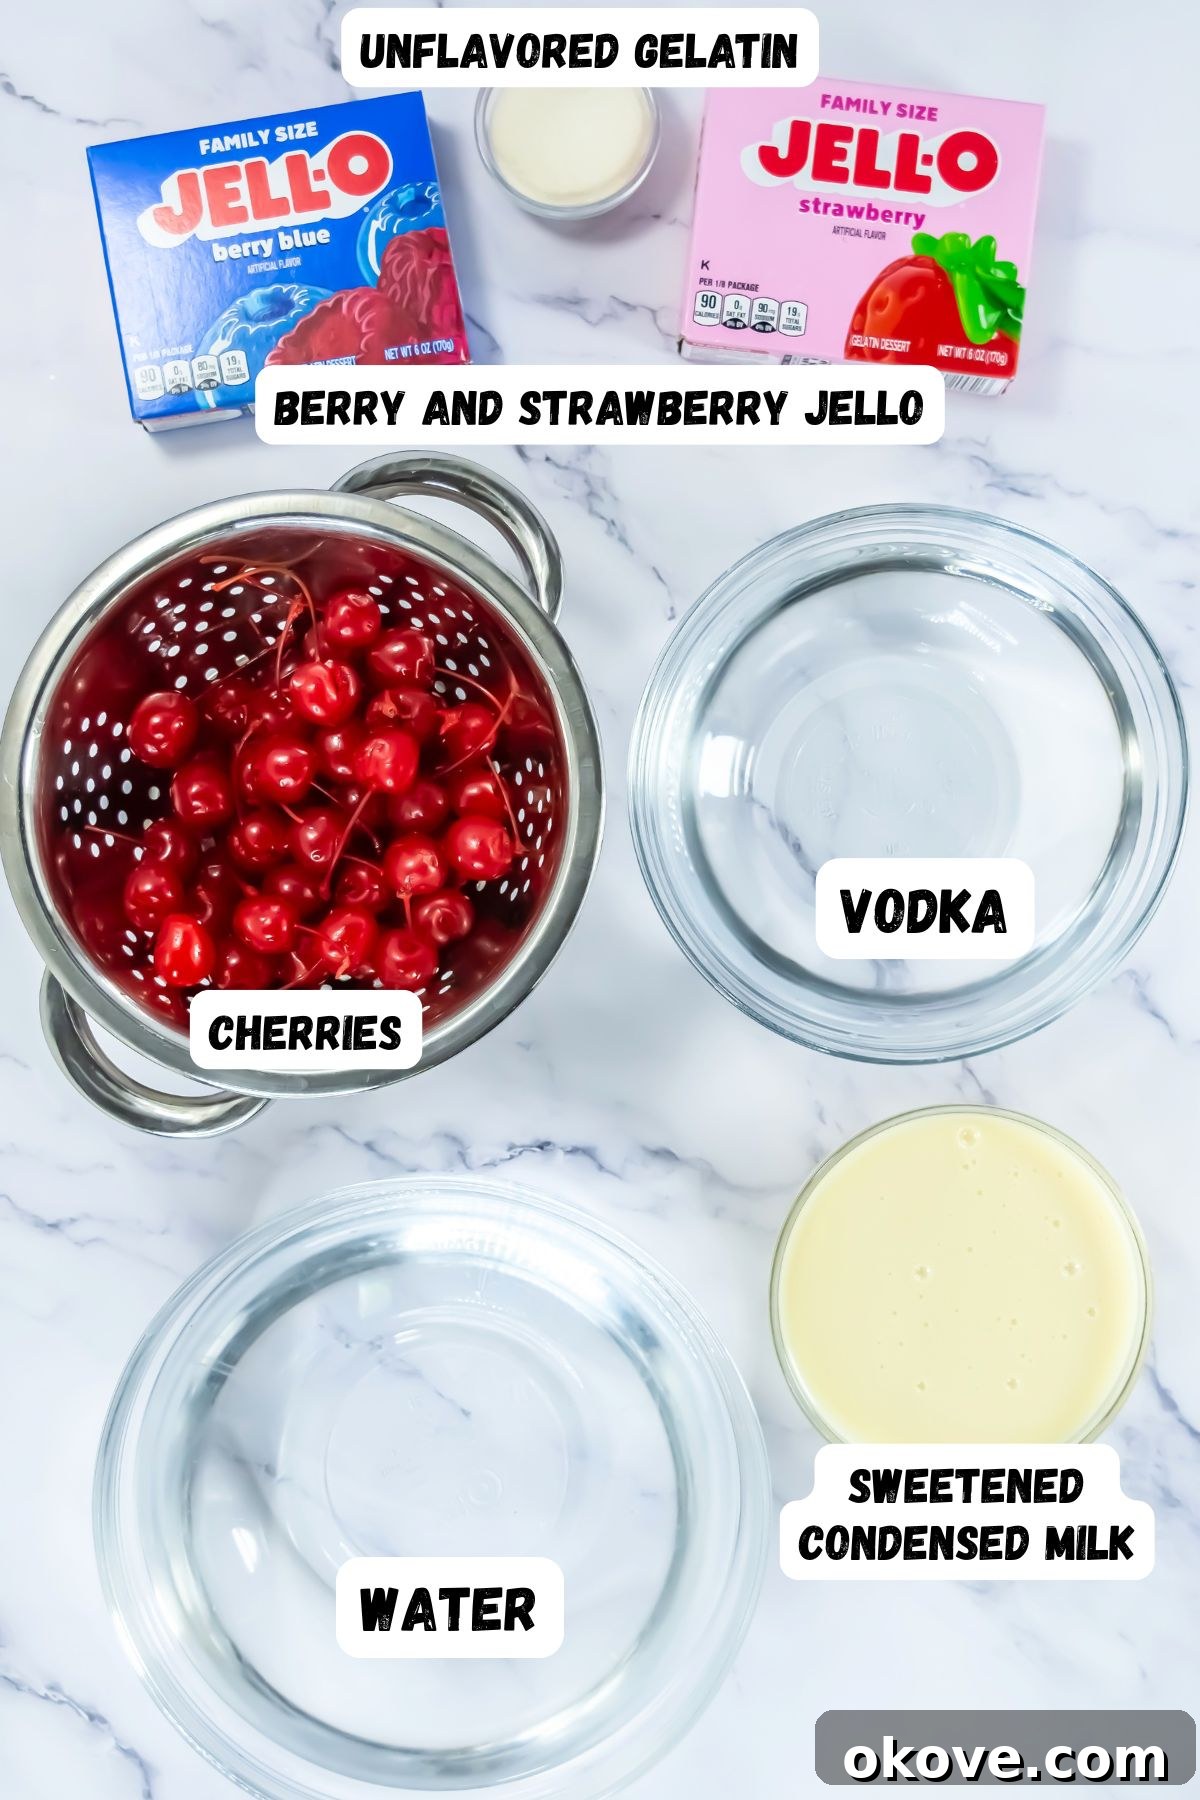
- 1 small box red Jello (6 ounces): This forms your first patriotic layer. Popular choices like strawberry, raspberry, or cherry Jello work beautifully, lending a sweet and fruity base to your shots. Strawberry is often a favorite for its classic taste and vibrant hue, ensuring a true red color.
- 1 small box berry blue Jello (6 ounces): Essential for that iconic bright blue layer. Berry blue Jello provides a fun, tangy flavor that complements the red and creamy white layers perfectly, completing the patriotic color scheme.
- 2 tablespoons unflavored gelatin: This is the secret to your perfectly firm and creamy white layer. Unflavored gelatin ensures a stable, smooth texture that holds its shape beautifully between the colorful layers, preventing any unwanted mixing.
- 1 (14 oz) can sweetened condensed milk: The star ingredient for the luscious white layer. Sweetened condensed milk not only adds a wonderful sweetness but also gives the white layer its characteristic opaque and creamy consistency, making it a delicious contrast to the clear Jello.
- 2 cups vodka: The spirit of your celebration! You can use any flavor of vodka you prefer. Standard unflavored vodka works great, allowing the Jello flavors to shine without competition. However, vanilla, whipped cream, or even berry-flavored vodkas can add an extra layer of sweetness and complexity, enhancing the overall experience.
- Optional: Maraschino cherries: These are the perfect garnish! A single maraschino cherry (with or without the stem) placed on top of each finished shot adds a pop of extra red color and a touch of classic charm, making your presentation even more appealing.
- Water: Both boiling and cold water are crucial for dissolving the Jello and gelatin effectively, as well as for regulating the temperature of your mixtures to ensure proper setting and distinct layers.
For the precise measurements and step-by-step instructions, please refer to the comprehensive recipe card further down this page.
Essential Equipment for Jello Shots
Having the right tools makes the Jello shot crafting process smooth and enjoyable, ensuring professional-looking results with minimal hassle. Here’s what you’ll need to gather before you begin:
- Small plastic shot cups (1-2 ounce capacity) or traditional shot glasses: Disposable plastic cups with lids are highly recommended for large gatherings. They are easy to transport, serve, prevent spills, and simplify cleanup. For a more elegant presentation for smaller groups, traditional shot glasses work perfectly, adding a touch of sophistication.
- Baking sheet or large tray: This is absolutely essential for holding and transporting your shot glasses to and from the refrigerator. It ensures they remain perfectly level while setting, which is critical for even, distinct layers.
- Microwave-safe bowls or large measuring cups: You’ll need these for heating water and efficiently mixing each Jello layer. Using clear measuring cups (like a 2-cup or 4-cup capacity) makes it easy to see when ingredients are fully dissolved and to monitor liquid levels.
- Whisk or spoon: A sturdy whisk or spoon is necessary for thoroughly dissolving the Jello powder and unflavored gelatin, preventing lumps and ensuring a smooth, consistent mixture for each layer.
- Liquid measuring cup: For precise measurement of water and vodka. Accuracy in liquid measurements is vital for the Jello to set correctly and for consistent alcohol content.
- Small pitcher or squeeze bottle (optional but recommended): For easy and mess-free pouring of the Jello mixtures into the small shot cups. This tool helps prevent spills and ensures cleaner lines between your layers.
Recipe Variations and Creative Swaps
One of the best things about these Red, White, and Blue Jello Shots is how easily they can be customized to fit your taste preferences, dietary needs, or any party theme beyond patriotic holidays. Don’t be afraid to experiment with these fun variations to make them uniquely yours!
- Switch Up the Vodka Flavor: Elevate the taste by experimenting with flavored vodkas. Instead of plain vodka, try vanilla vodka for a subtle sweetness that pairs wonderfully with the creamy white layer, cherry vodka to intensify the red layer’s fruitiness, or whipped cream vodka for an even more decadent and dessert-like treat. Citrus-flavored vodkas (like lemon or lime) could also add a refreshing, zesty kick.
- Add a Festive Topping: Once fully set and chilled, take your Jello shots to the next level with a delightful topping. Add a dollop of freshly whipped cream (or store-bought from a can) and a generous sprinkle of red, white, and blue holiday sprinkles. This not only adds extra visual flair but also a wonderful creamy texture that contrasts beautifully with the Jello.
- Go Tropical with Rum: For a pool party, beach-themed gathering, or just a touch of island escape, swap the vodka for coconut rum. This will infuse your Jello shots with a delicious, summery, and distinctly tropical twist that guests will absolutely love. White rum or even a spiced rum could also be intriguing alternatives.
- Quick White Layer with Cool Whip: If you’re really short on time or prefer an even simpler approach to the white layer, you can skip the unflavored gelatin and sweetened condensed milk. Instead, once the blue layer is set, gently spoon a layer of thawed Cool Whip over it before adding the red Jello layer. Be aware that this will result in a less firm white layer, and it won’t hold its shape as rigidly as the gelatin-based layer.
- Non-Alcoholic Version for Everyone: To make these Jello shots kid-friendly or suitable for non-drinkers, simply replace the vodka with an equal amount of cold water in each layer. The rest of the instructions remain the same. This way, everyone can enjoy the vibrant colors and fruity flavors without the alcohol, making them perfect for family gatherings.
- Different Color Combinations: While perfect for patriotic holidays, don’t limit yourself to red, white, and blue! You can easily change the Jello colors to suit any occasion or theme. Think green and red for Christmas, orange and black for Halloween, or your favorite sports team’s colors for game day. The layering technique remains the same, allowing for endless creative possibilities.
How to Make Perfect Red, White, and Blue Jello Shots
Creating these impressive layered Jello shots is a straightforward, step-by-step process that requires a little patience but promises a spectacular reward. Follow these detailed instructions carefully to achieve perfectly distinct and delicious layers every time. Before you begin, ensure you have enough space in your refrigerator for a baking sheet or large dish to hold all your Jello shots level while they set, preventing any leaning or uneven layers.
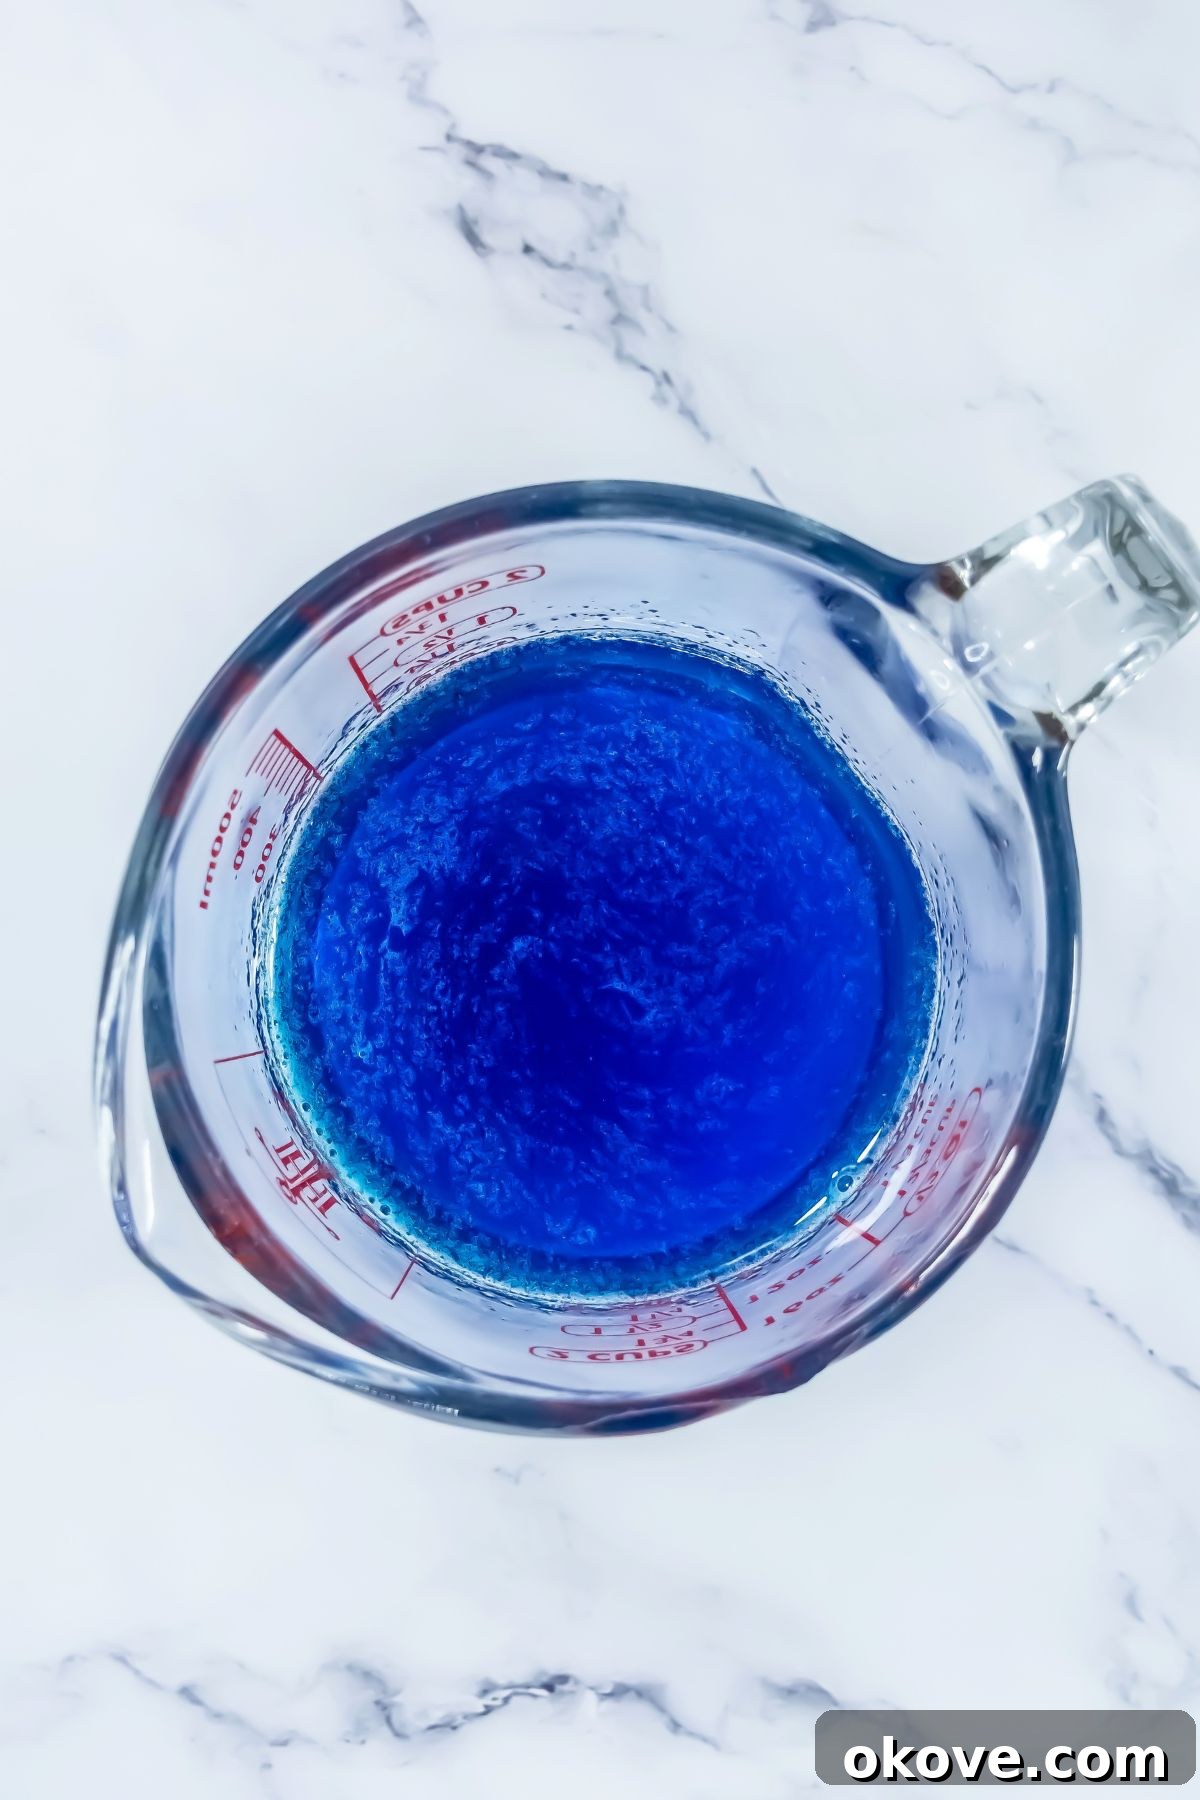
- Prepare the Blue Layer: In a microwave-safe bowl or a 2-cup liquid measuring cup, heat one cup of water until it reaches a rolling boil (this usually takes about two minutes in a high-powered microwave). Carefully add the entire small packet of berry blue Jello powder and stir continuously with a whisk or spoon until it is completely dissolved. Ensure there are no granules remaining for a smooth, lump-free base. Next, stir in ¾ cup of your chosen vodka and ¼ cup of cold water. The cold water helps to bring down the temperature of the mixture, preparing it for the next crucial step. Allow the mixture to cool slightly – it should be warm to the touch but not hot, roughly room temperature, before pouring.
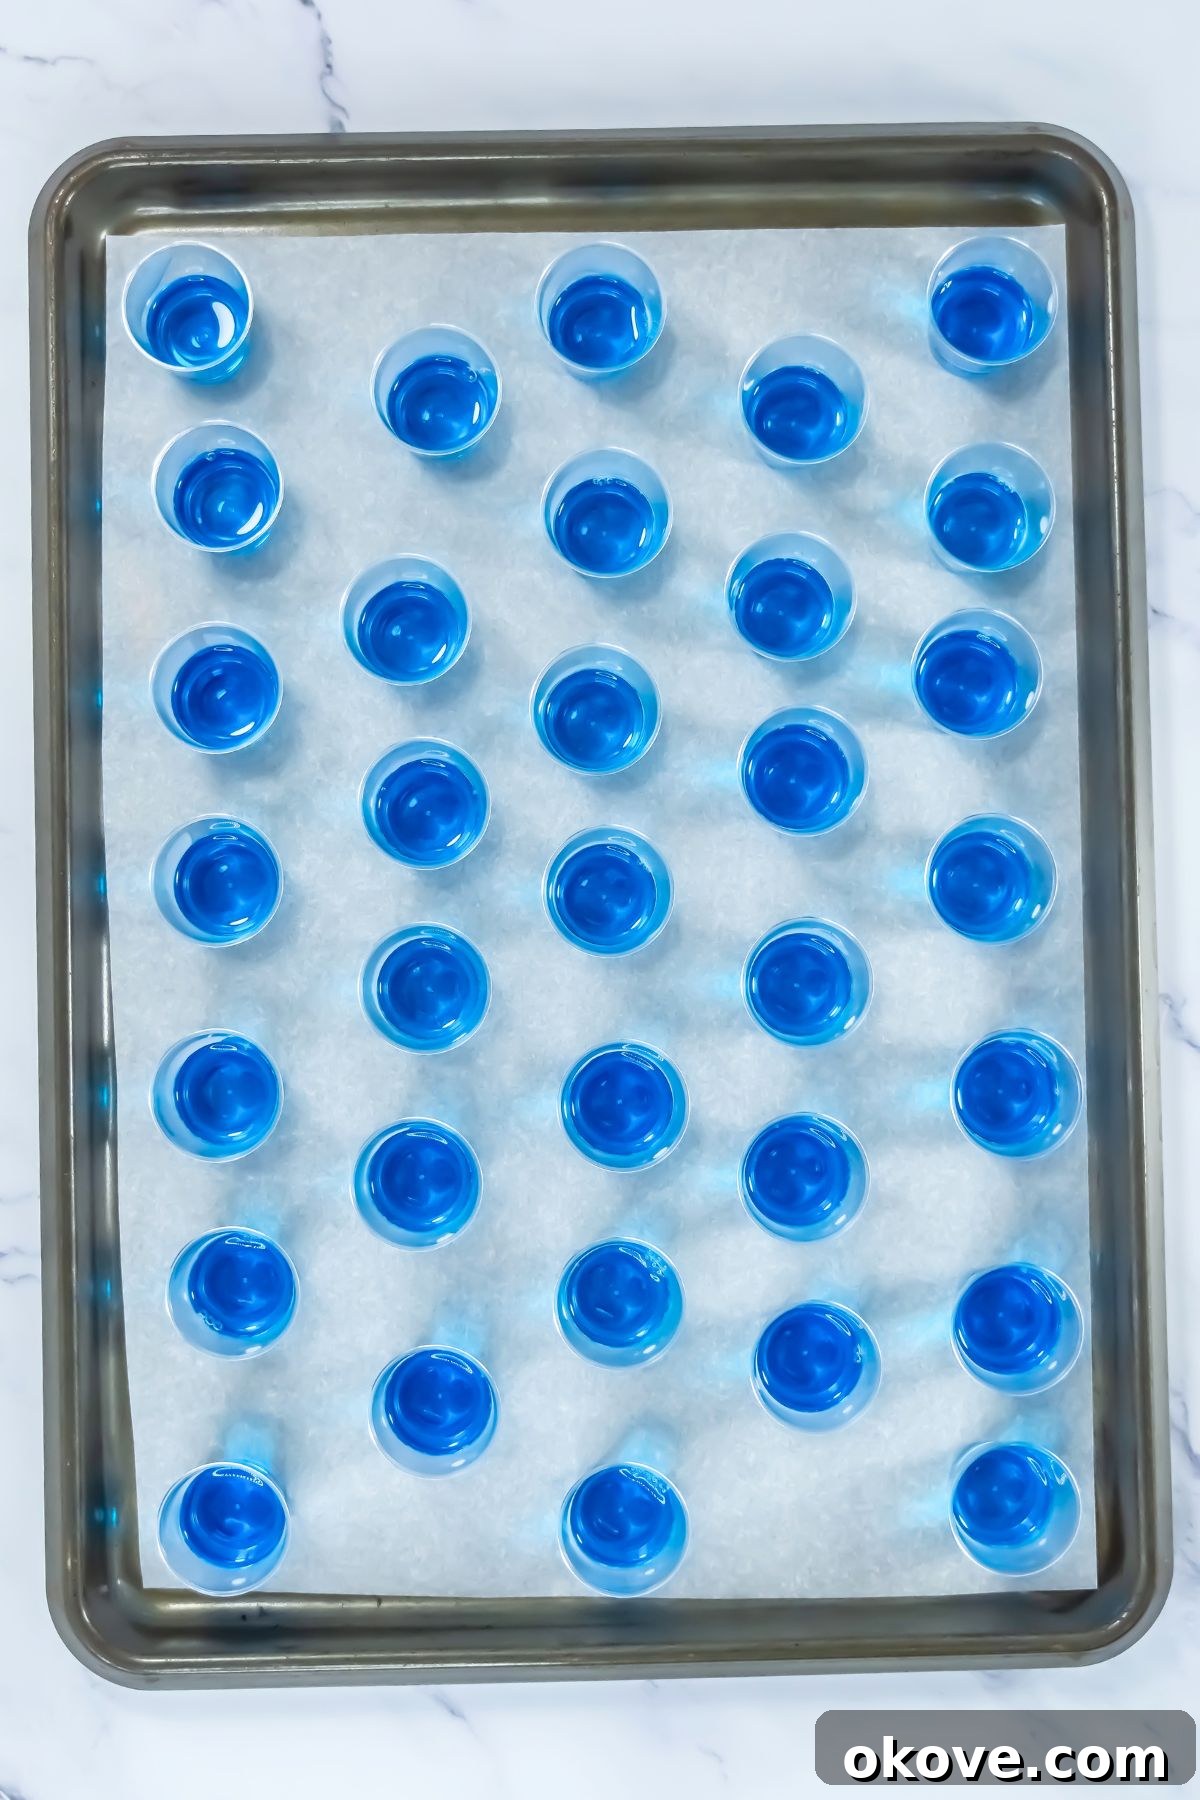
- Pour and Chill the Blue Layer: Once the blue Jello mixture has cooled slightly, carefully pour it into each individual shot glass. Fill each glass to approximately one-third full, aiming for an even amount across all shots. Ensure the glasses are placed on a perfectly level baking sheet to maintain even layers as they set. Transfer the baking sheet gently to the refrigerator and chill for at least one hour, or until the blue layer is completely firm to the touch. This firm set is absolutely vital to prevent the subsequent layers from mixing or bleeding.
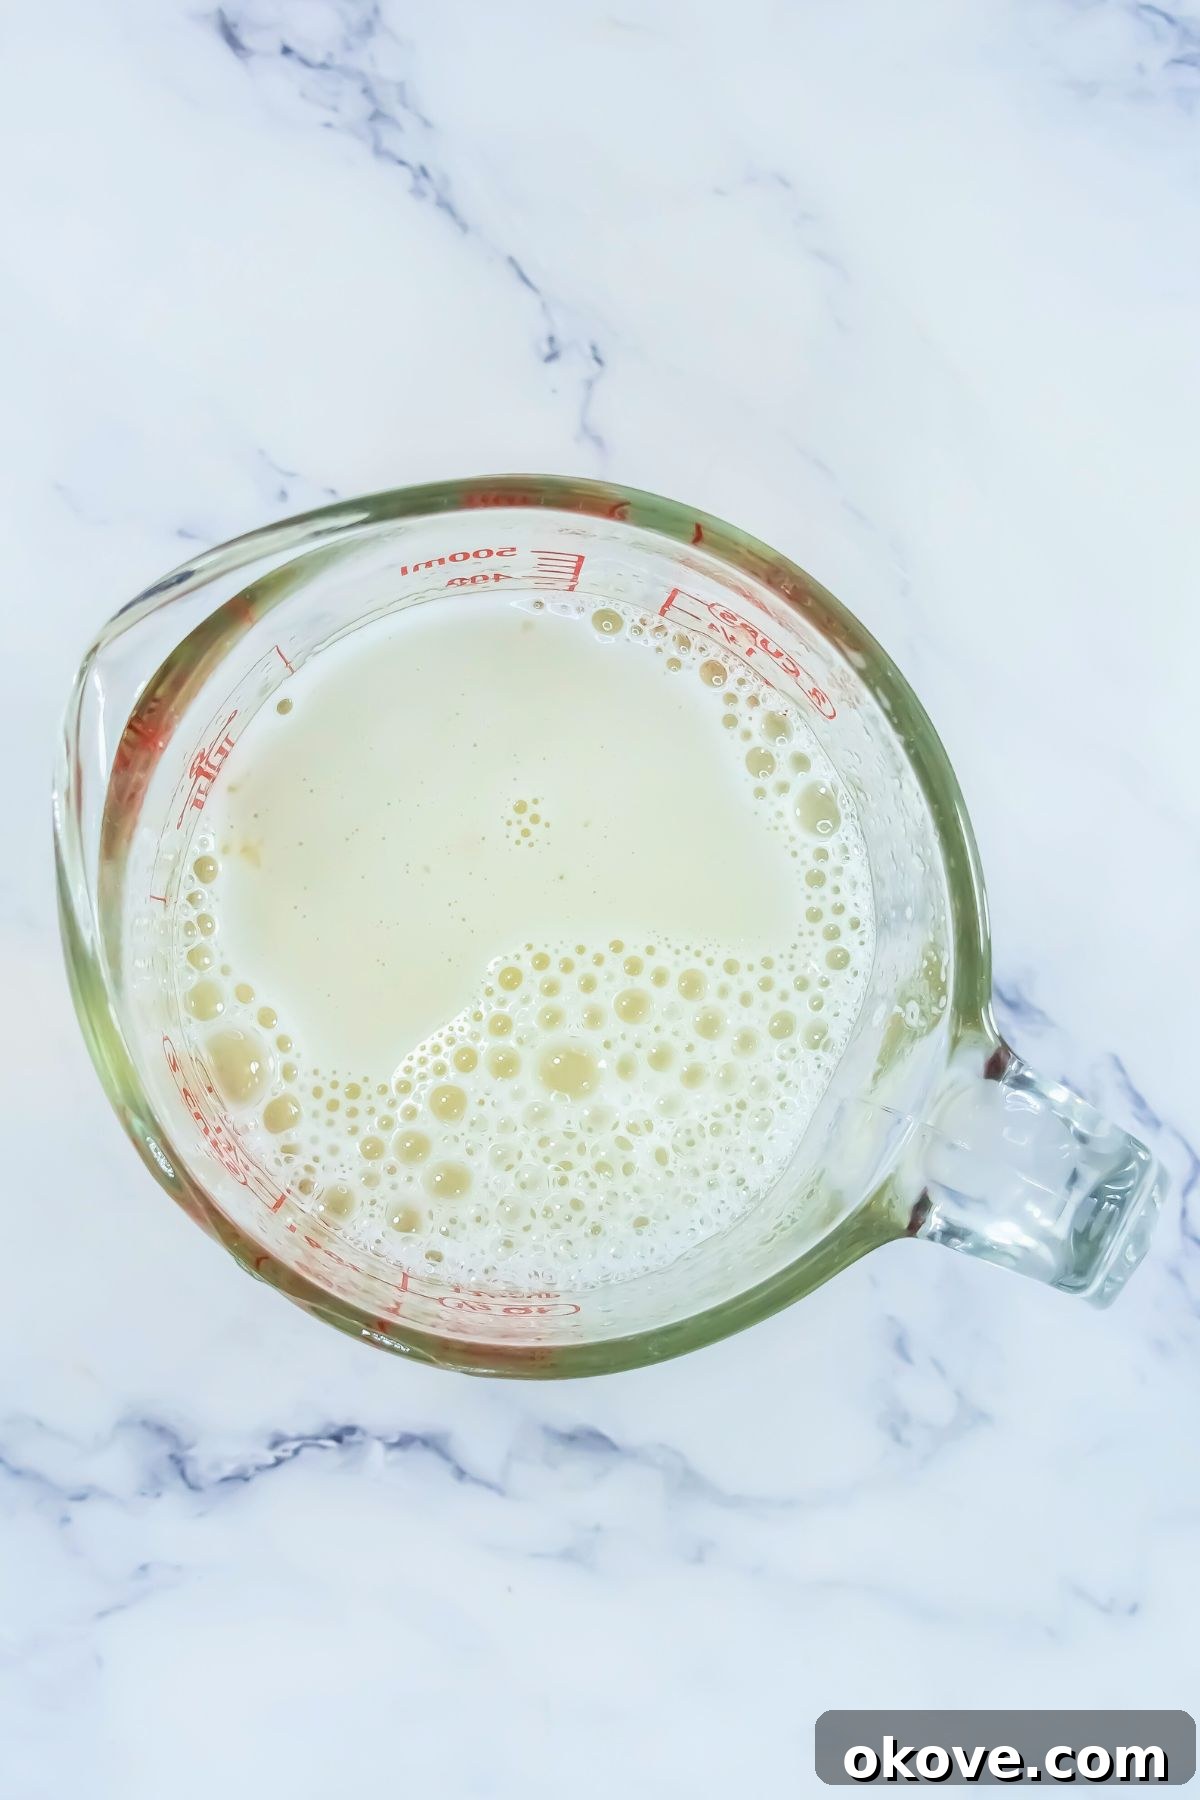
- Prepare the Creamy White Layer: In a clean microwave-safe bowl or measuring cup, add ½ cup of cool water and evenly sprinkle the two tablespoons of unflavored gelatin over the surface. Let this mixture “bloom” for about 5 minutes; this allows the gelatin granules to absorb the water and ensures a smoother, lump-free consistency when heated. After blooming, stir in 1 cup of boiling water until the gelatin is completely dissolved and the mixture is clear. Then, whisk in the entire can of sweetened condensed milk and ½ cup of vodka. Stir well until thoroughly combined and the mixture is smooth and opaque.
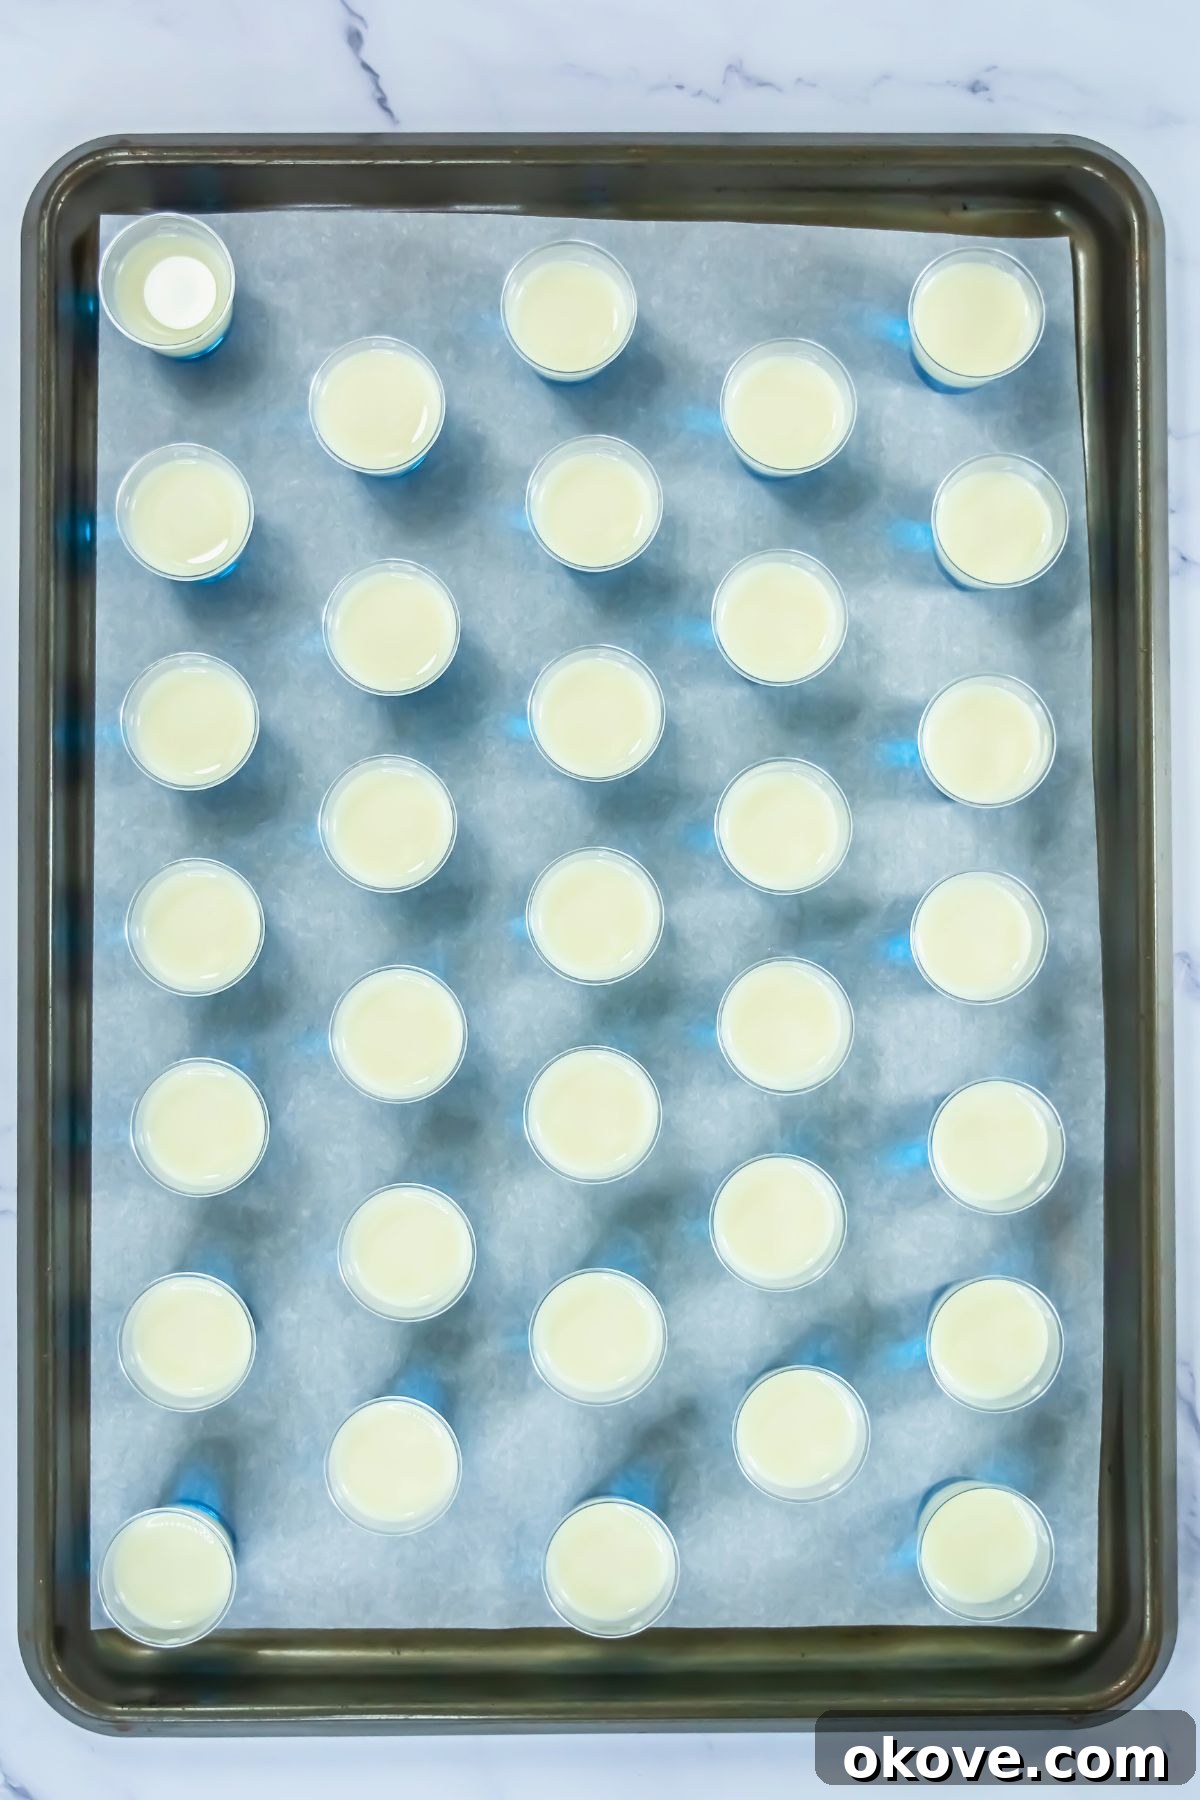
- Pour and Chill the White Layer: It’s absolutely critical to let the white layer mixture cool completely to room temperature before pouring it over the set blue layer. Pouring a warm mixture will melt the blue layer beneath it, resulting in murky, undefined colors and compromising the layered effect. Once fully cooled, carefully pour the white mixture over the firm blue layer until each glass is about two-thirds full. Return the baking sheet to the refrigerator and chill for another hour, or until the white layer is completely firm to the touch.
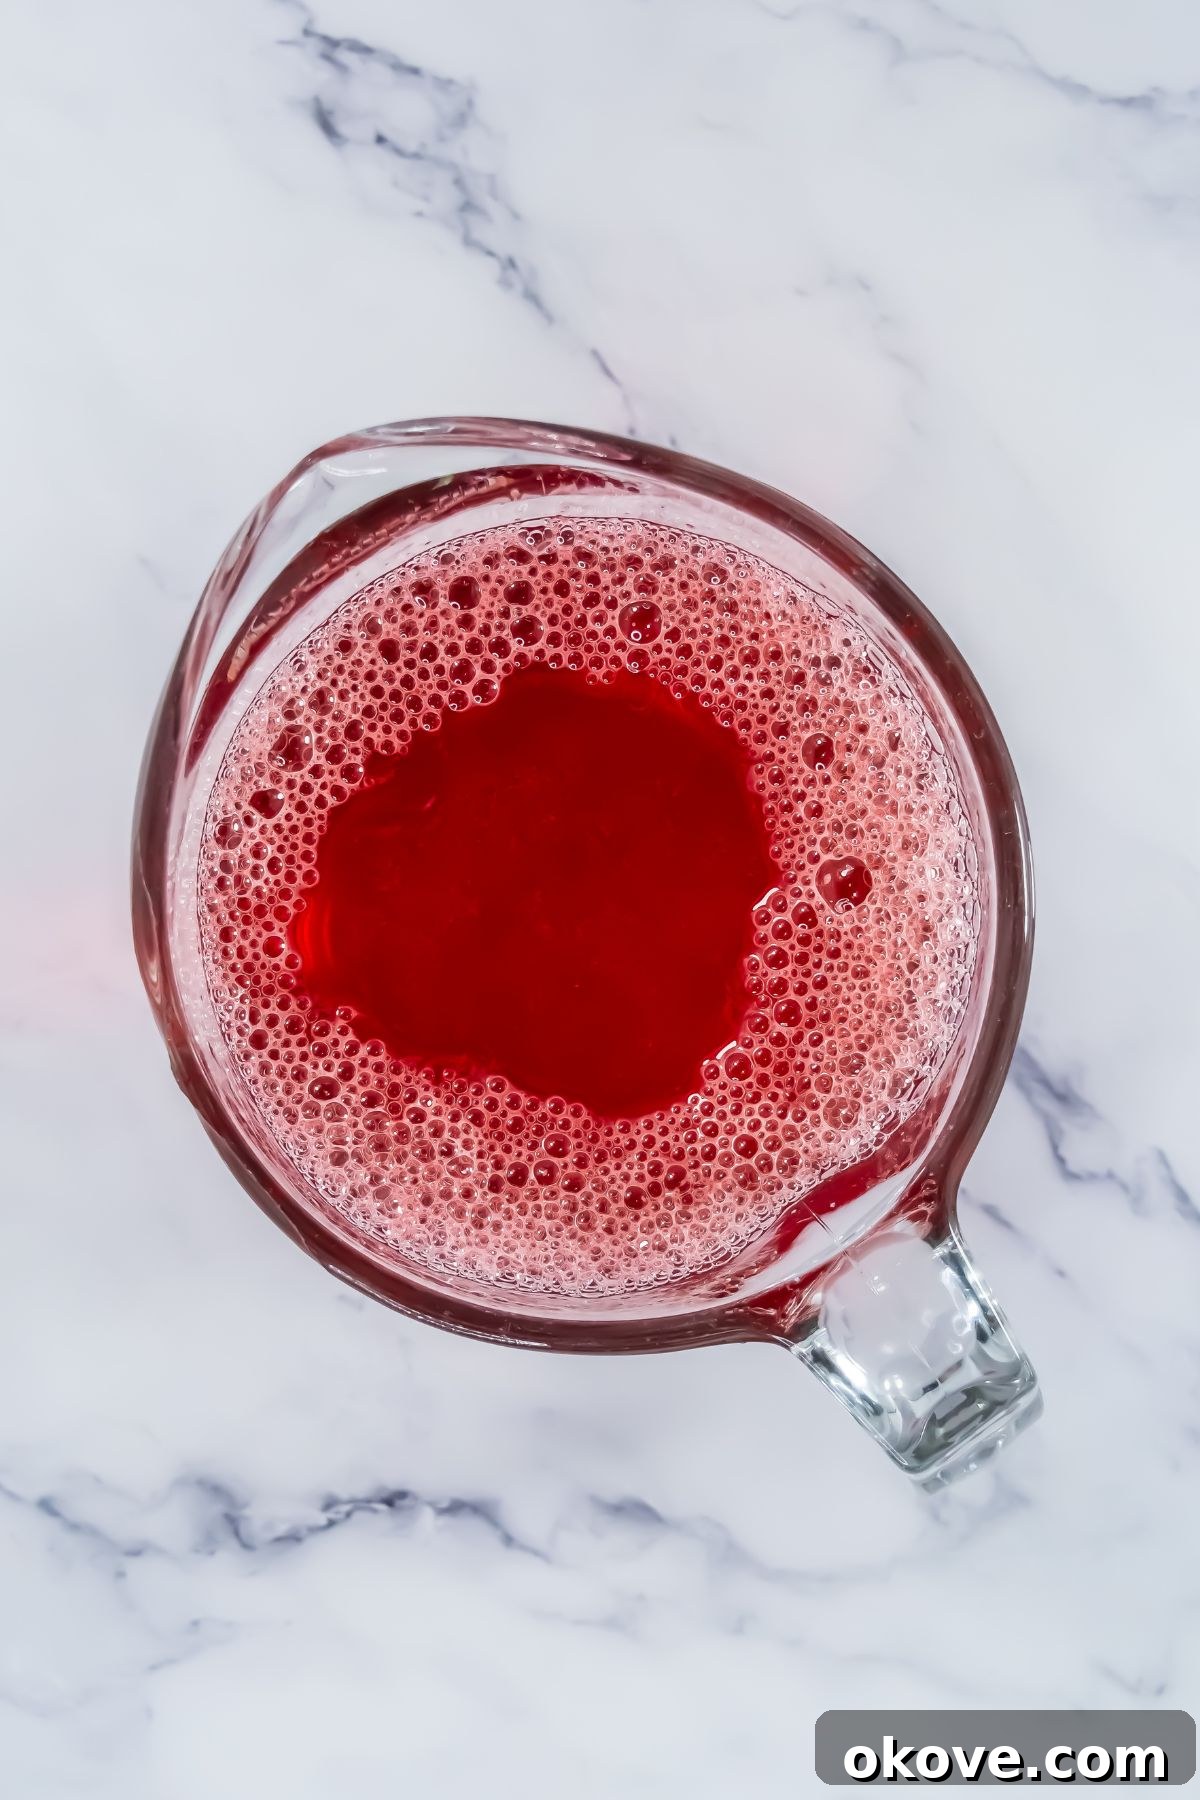
- Prepare the Red Layer & Garnish: Before mixing the red Jello, gently place a single drained maraschino cherry (if using) into each shot glass, resting it on top of the firm white layer. In a separate, clean microwave-safe bowl or measuring cup, heat 1 cup of water for 2 minutes until boiling. Stir in the entire small packet of red Jello powder until thoroughly dissolved. Then, add ¾ cup of vodka and ¼ cup of cold water, stirring thoroughly to combine.
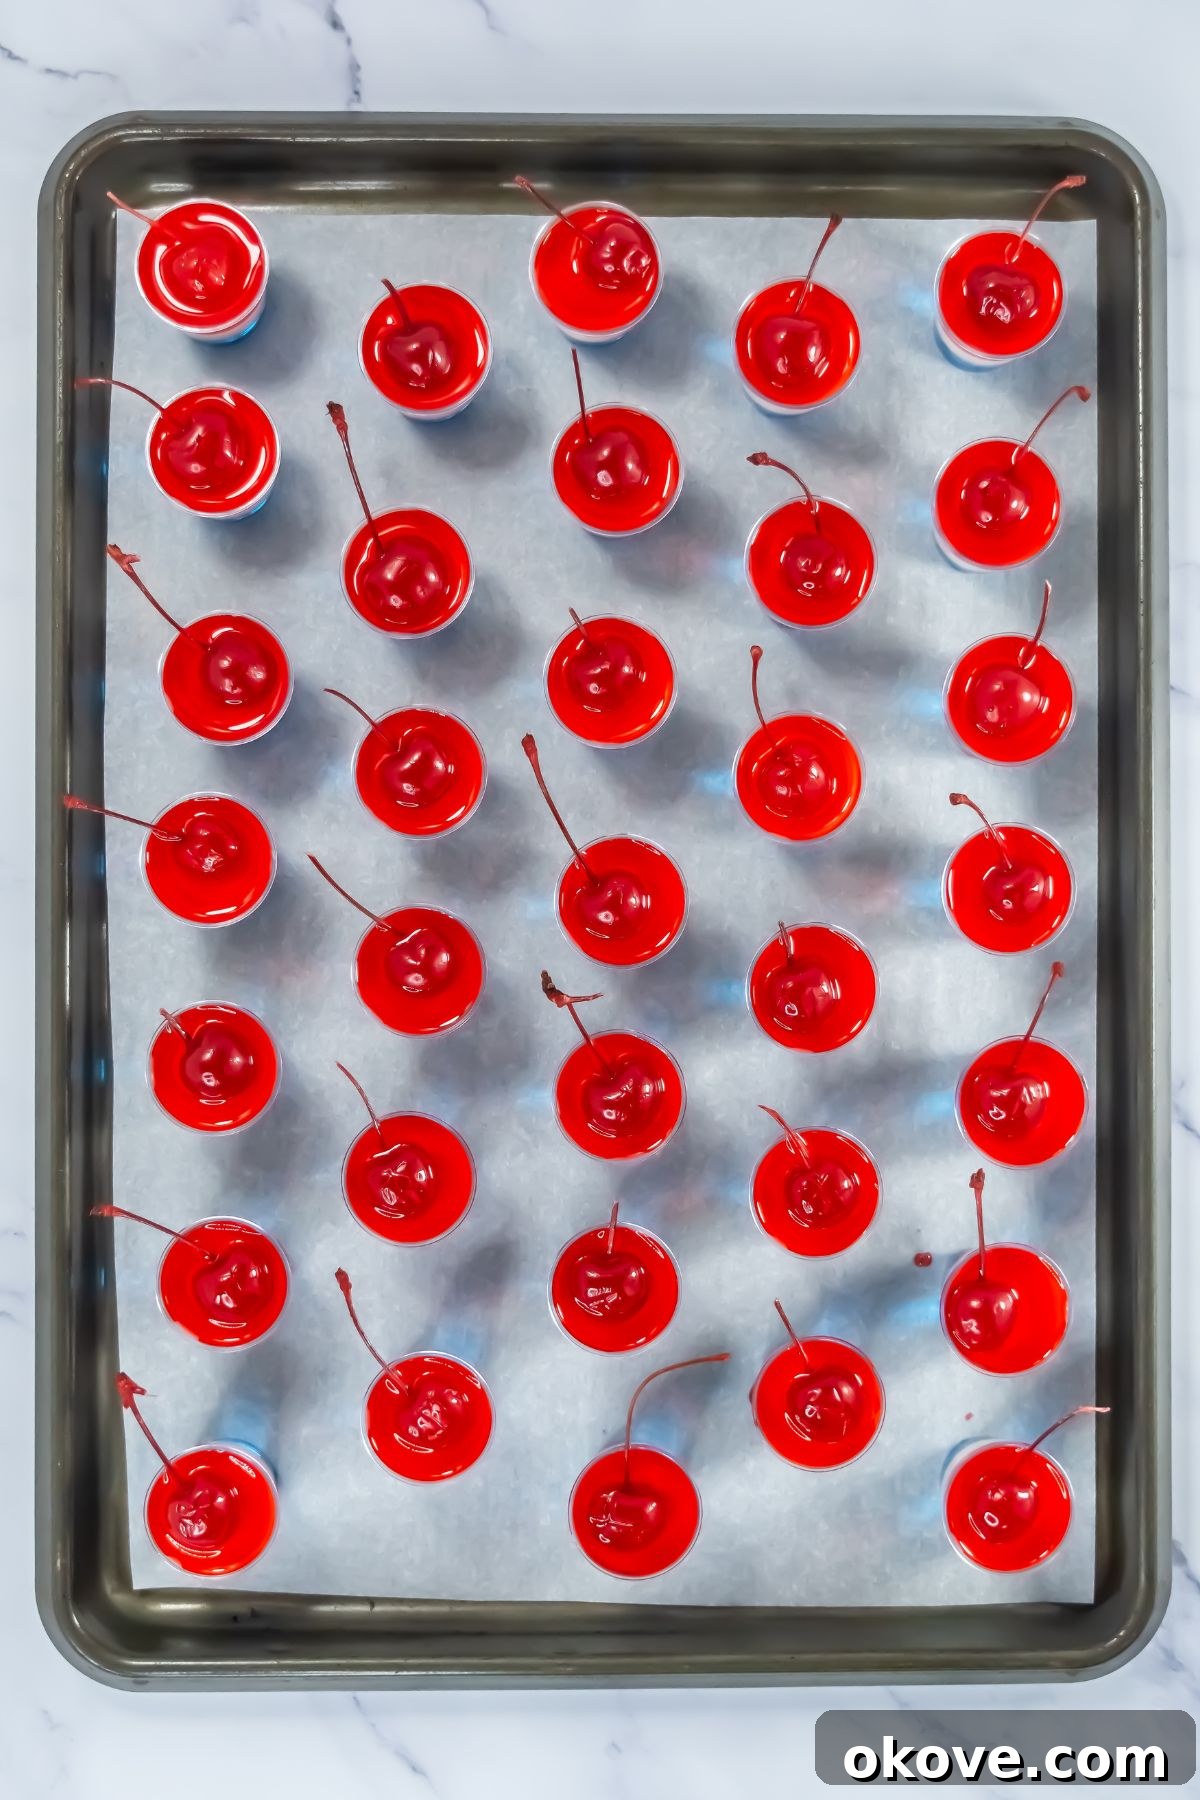
- Final Pour and Chill: Just like with the white layer, ensure the red Jello mixture cools completely to room temperature before pouring it over the cherry and the set white layer. Once cooled, carefully pour the red mixture to fill each glass to the brim. Return the baking sheet to the refrigerator for one final hour (or longer if needed) until all layers are completely firm and set. Serve your stunning Red, White, and Blue Jello Shots chilled and enjoy!
Expert Tips for Flawless Layered Jello Shots
Achieving perfectly layered and delicious Jello shots is an art, but with these expert tips, you’ll be a master in no time! Pay close attention to these details for the best possible results and to ensure your patriotic treats are a showstopper at any gathering.
- Patience is Key for Distinct Layers: The most crucial tip for distinct, non-bleeding layers is allowing each layer to fully set before pouring the next one. Rushing this step will inevitably result in blurred colors and a muddy, less appealing appearance. Aim for at least one hour of chilling per layer, and always confirm the previous layer is completely firm to the touch. Gently tap the side of the glass; if it wiggles or feels sticky, it needs more time to set.
- Cool Mixtures Thoroughly Before Pouring: Always, always let your Jello mixtures cool down to at least room temperature (and ideally slightly cooler) before pouring them over a set layer. Pouring a warm liquid onto chilled, set Jello will partially melt the bottom layer, instantly ruining the clean lines and potentially creating a messy, mixed shot.
- Optimal Total Chill Time for Firmness: While individual layers might appear set in an hour, the total chill time for these Jello shots is essential for overall firmness, stability, and ease of serving. Plan for a minimum of 3 hours of total refrigeration after the final layer is poured. For the absolute best results and convenience, consider making them the day before and letting them chill overnight. This ensures they are perfectly solid, easy to handle, and ready to pop out or eat.
- Choosing the Right Containers:
- For large groups and effortless serving: Small, disposable plastic cups (1 or 2-ounce capacity) with tight-fitting lids are highly recommended. They are stackable, easy to transport without spills, and simplify cleanup. Guests can easily grab and enjoy.
- For smaller, more elegant gatherings: Traditional glass shot glasses offer a sophisticated and classic presentation. Just be aware they can be harder to transport and clean, and may require small spoons for consumption.
- Vodka Quality and Flavor Considerations: While you don’t need top-shelf vodka, a mid-range, neutral-flavored vodka will provide the best balance, allowing the vibrant Jello flavors to shine without an overpowering alcohol taste. Avoid extremely cheap vodkas, which can sometimes have a harsh, undesirable aftertaste. As mentioned in variations, flavored vodkas can add an interesting twist, but ensure they complement the Jello flavors.
- Make Ahead for a Stress-Free Party: These Jello shots are an excellent make-ahead party treat, which is a huge bonus for hosts! Prepare them up to 3-5 days in advance and store them, properly covered, in the refrigerator. This generous lead time gives them ample opportunity to set perfectly and allows you to focus on other party preparations and enjoying your guests on the day of your event.
- Creative Presentation Ideas: To make your Jello shots even more appealing, consider arranging them on a platter with crushed ice to keep them extra cold throughout your party. You can also add a fresh garnish like a single blueberry or a small slice of strawberry alongside the maraschino cherry for added visual appeal and a hint of fresh fruit.
- Evenly Distribute Layers: When pouring each layer, try your best to fill each shot glass as evenly as possible. This ensures uniform and attractive layers across all your shots, contributing to a professional and consistent presentation.
Red, White, and Blue Jello Shots FAQs
Got questions about making these festive Red, White, and Blue Jello Shots? We’ve got answers! Here are some of the most frequently asked questions to help you perfect your patriotic treats and ensure your party is a hit.
Absolutely! These Jello shots are ideal for making in advance, which is a huge convenience for party planning. They hold up beautifully in the refrigerator for up to a week. To ensure they stay fresh and prevent them from drying out or absorbing odors from other foods, make sure they are properly covered. If you’re using plastic cups, lids are perfect; otherwise, use plastic wrap pressed directly onto the surface. Making them a day or two before your event can significantly reduce stress on the day of your party.
Yes, you certainly can! To create a delicious, kid-friendly (or adult-friendly, non-alcoholic) version, simply replace the vodka in each layer with an equal amount of cold water. The rest of the instructions for preparation and chilling remain exactly the same. This way, everyone at your gathering can enjoy the vibrant colors and fruity flavors without the alcohol content, making them inclusive for all ages.
The key to perfectly distinct and visually appealing layers lies in two main factors, which are critical for success:
- Cooling the mixtures: Always allow each Jello mixture to cool down to at least room temperature (or slightly cooler, but not set) before pouring it onto the previous, already set layer. Pouring warm liquid will partially melt the layer beneath, causing the colors to bleed and mix, resulting in blurry, undefined lines.
- Ensuring full set: It is paramount to make sure each layer is completely firm before you add the next one. If a layer is still sticky, jiggly, or wobbly, it needs more chilling time. Patience here is absolutely paramount for achieving crisp, clean lines between your colors and a stable, layered shot.
If you happen to have any leftovers (which is a rare occurrence with these popular treats!), it’s best to store them in an airtight container or keep them tightly covered with plastic wrap. Place them in the refrigerator, and they will remain fresh and firm for up to a week. For optimal taste and texture quality, we recommend consuming them within 3-5 days of preparation.
Absolutely! While strawberry, cherry, and berry blue are classic and popular choices for their vibrant colors, feel free to experiment with other red and blue hues. For instance, you could use raspberry or even fruit punch for the red layer, and blueberry or blue raspberry for the blue layer. Just ensure they are distinctly red and blue to maintain the patriotic theme. The most important thing is choosing flavors you enjoy!
More Easy & Refreshing Drink Recipes for Any Party
Drinks
Orange Creamsicle Jello Shots
Drinks
Bahama Mama Cocktail
Drinks
Classic Daiquiri Recipe
Drinks
Refreshing Royal Peach Tea
If you’ve tried this delightful Red, White, and Blue Jello Shot recipe or any other fantastic dishes from Celebrating Simply, we would be absolutely thrilled if you could leave a ⭐ star rating and share your wonderful thoughts in the ✍️ comments section below. Your invaluable feedback truly means a lot to us!
Important Note: This recipe, when alcohol is added, is intended for adults aged 21 and over. Please enjoy responsibly and always adhere to the legal drinking age regulations in your specific country or region.
★
★
★
★
Red White and Blue Jello Shots
Rebecca
30 shots
25 mins
3 hrs
3 hrs 25 mins
Email Recipe
Print Recipe
Equipment
-
Microwave-safe bowls or large liquid measuring cups
-
Small plastic shot cups (1-2 oz capacity, approx. 30) or traditional shot glasses
-
Baking Sheet or large tray (to hold shots level in the fridge)
-
Whisk or spoon
-
Liquid measuring cup (for precise measurements)
-
Small pitcher or squeeze bottle (optional, for easier pouring)
Ingredients
- 1 small box (6 oz) Red Jello Mix, (e.g., Cherry, Strawberry, Raspberry for vibrant color)
- 1 small box (6 oz) Berry Blue Jello Mix
- 2 tablespoons unflavored gelatin
- 1 (14 oz) can sweetened condensed milk
- 2 cups vodka, (any flavor; plain is recommended for classic Jello taste)
- ¾ cup cold water (for blue layer)
- ½ cup cold water (for white layer, plus 1 cup boiling water)
- ¼ cup cold water (for red layer)
Optional Garnishes:
- Maraschino cherries
- Whipped cream and festive sprinkles
Instructions
-
Prepare Your Setup: Clear a level space in the refrigerator for a baking sheet or large dish to hold your Jello shots. Arrange approximately 30 small, 1-2 ounce shot containers (plastic cups with lids are ideal) on the baking sheet.
-
Create the Blue Layer: In a microwave-safe bowl, heat 1 cup of water until boiling (about 2 minutes). Stir in the entire packet of berry blue Jello until completely dissolved. Add ¾ cup vodka and ¼ cup cold water, stirring thoroughly. Allow this mixture to cool slightly (to warm, not hot). Carefully fill each shot glass about ⅓ of the way with the blue mixture. Chill in the refrigerator for at least 1 hour, or until fully firm.
-
Make the Creamy White Layer: In a clean microwave-safe bowl, pour ½ cup cold water and sprinkle the 2 tablespoons of unflavored gelatin over it. Let it bloom for 5 minutes. Then, stir in 1 cup of boiling water until the gelatin is completely dissolved. Add the sweetened condensed milk and ½ cup vodka, whisking until smooth and fully combined. Allow this mixture to cool completely to room temperature.
-
Pour and Chill the White Layer: Once the white mixture has cooled to room temperature, carefully pour it over the firmly set blue layer in each shot glass, filling each glass to about ⅔ full. Return the baking sheet to the refrigerator and chill for another hour, or until the white layer is completely firm. Do not rush this step!
-
Prepare the Red Layer & Garnish: If using, place one drained maraschino cherry in each shot glass, resting it on the set white layer. In a clean microwave-safe bowl, heat 1 cup of water for 2 minutes until boiling. Stir in the entire packet of red Jello until dissolved. Then, add ¾ cup vodka and ¼ cup cold water, stirring to combine. Let this red mixture cool completely to room temperature.
-
Final Pour and Chill: Once the red mixture is at room temperature, carefully pour it over the cherry and the white layer, filling each glass to the brim. Return the baking sheet to the refrigerator for one final hour, or until all layers are completely firm. Serve chilled and enjoy your stunning patriotic treats!
Recipe Notes & Tips for Success
- Layer Setting is Crucial: Remember, the absolute key to beautifully defined layers is allowing each one to set completely before adding the next. This prevents colors from bleeding and ensures a firm, easy-to-handle shot. Patience truly pays off here.
- Temperature Control is Key: Always cool your Jello mixtures to at least room temperature before pouring them onto a set layer. Pouring warm liquid will melt the layer beneath, compromising the visual appeal and crisp lines.
- Plan Your Chill Time: These layered Jello shots require a total of approximately 3 hours of chilling time to set up perfectly. Don’t rush the process for the best results; in fact, making them the day before is highly recommended.
- Container Choices: While glass shot glasses offer an elegant touch, small plastic cups with lids are incredibly practical for larger gatherings. They allow for easy stacking in the fridge, convenient transport, and mess-free serving.
- Even Fill for Consistent Layers: When pouring each layer, strive to fill each shot glass as evenly as possible. This attention to detail will ensure uniform and attractive layers across all your shots, enhancing their presentation.
- Non-Alcoholic Option: For a family-friendly version suitable for all ages, simply substitute the vodka with an equal amount of cold water in all layers. The vibrant colors and fruity flavors will still be a delightful hit!
- Avoid Overfilling: Be mindful not to overfill the shot glasses with each layer. Leaving a little room at the top ensures each layer has enough space and that the final red layer fills the glass perfectly without overflowing.
Nutrition Information (per serving)
Carbohydrates: 12g
Protein: 2g
Fat: 1g
Saturated Fat: 1g
Polyunsaturated Fat: 0.04g
Monounsaturated Fat: 0.3g
Cholesterol: 4mg
Sodium: 44mg
Potassium: 50mg
Sugar: 12g
Vitamin A: 35IU
Vitamin C: 0.3mg
Calcium: 38mg
Iron: 0.04mg
Nutrition information is automatically calculated and should be used as an approximation. Actual values may vary based on ingredients used and preparation methods.
Additional Recipe Information
Cocktails, Dessert, Party Appetizer
American
4th of July, Memorial Day, Labor Day, Summer Party
Tried this recipe?
Share your photos on Instagram and tag @celebratingsimplyrecipes and use hashtag #celebratingsimplyrecipes! We’d love to see your amazing creations!