
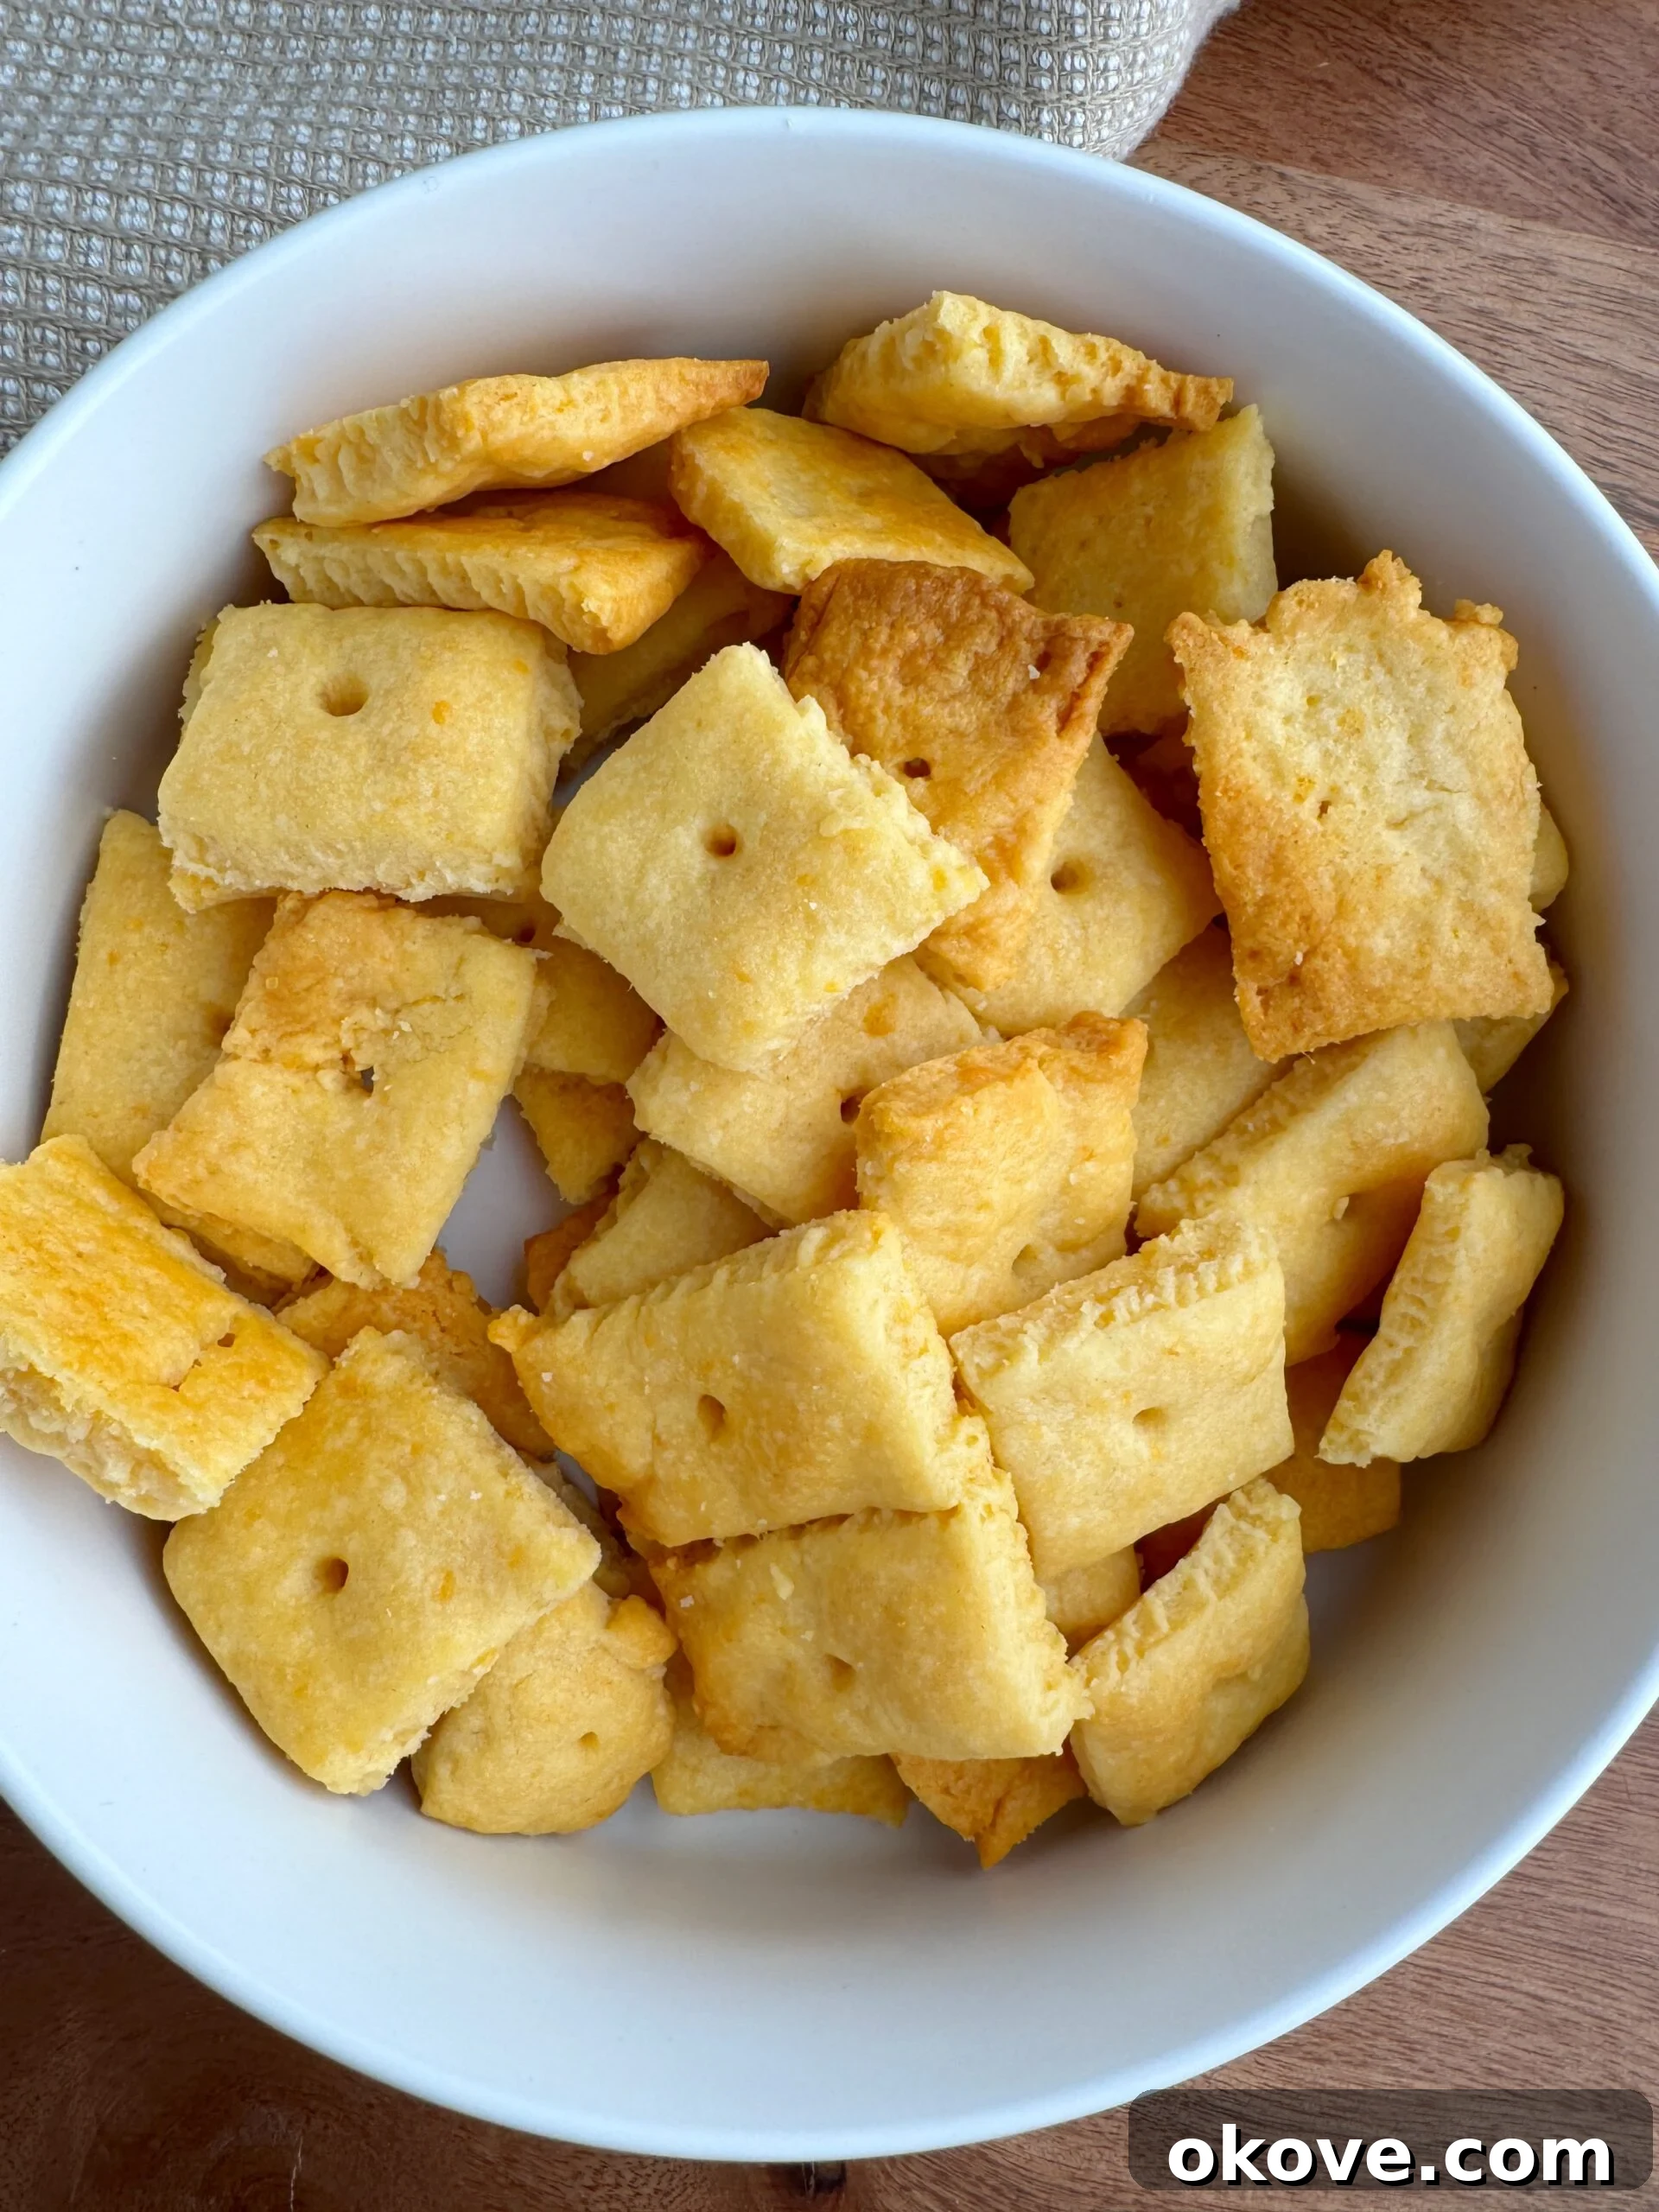
Craving that iconic cheesy crunch but seeking a healthier, homemade alternative for your family? Look no further! These irresistible Homemade Cheez-Its are the ultimate solution. Crispy, bursting with real cheddar flavor, and completely free from preservatives, these DIY cheese crackers are a game-changer for snack time. Perfect for tiny toddler hands, lunchbox additions, quick after-school bites, or a delightful shared snack during family gatherings, they offer a wholesome and customizable option that store-bought crackers simply can’t match.
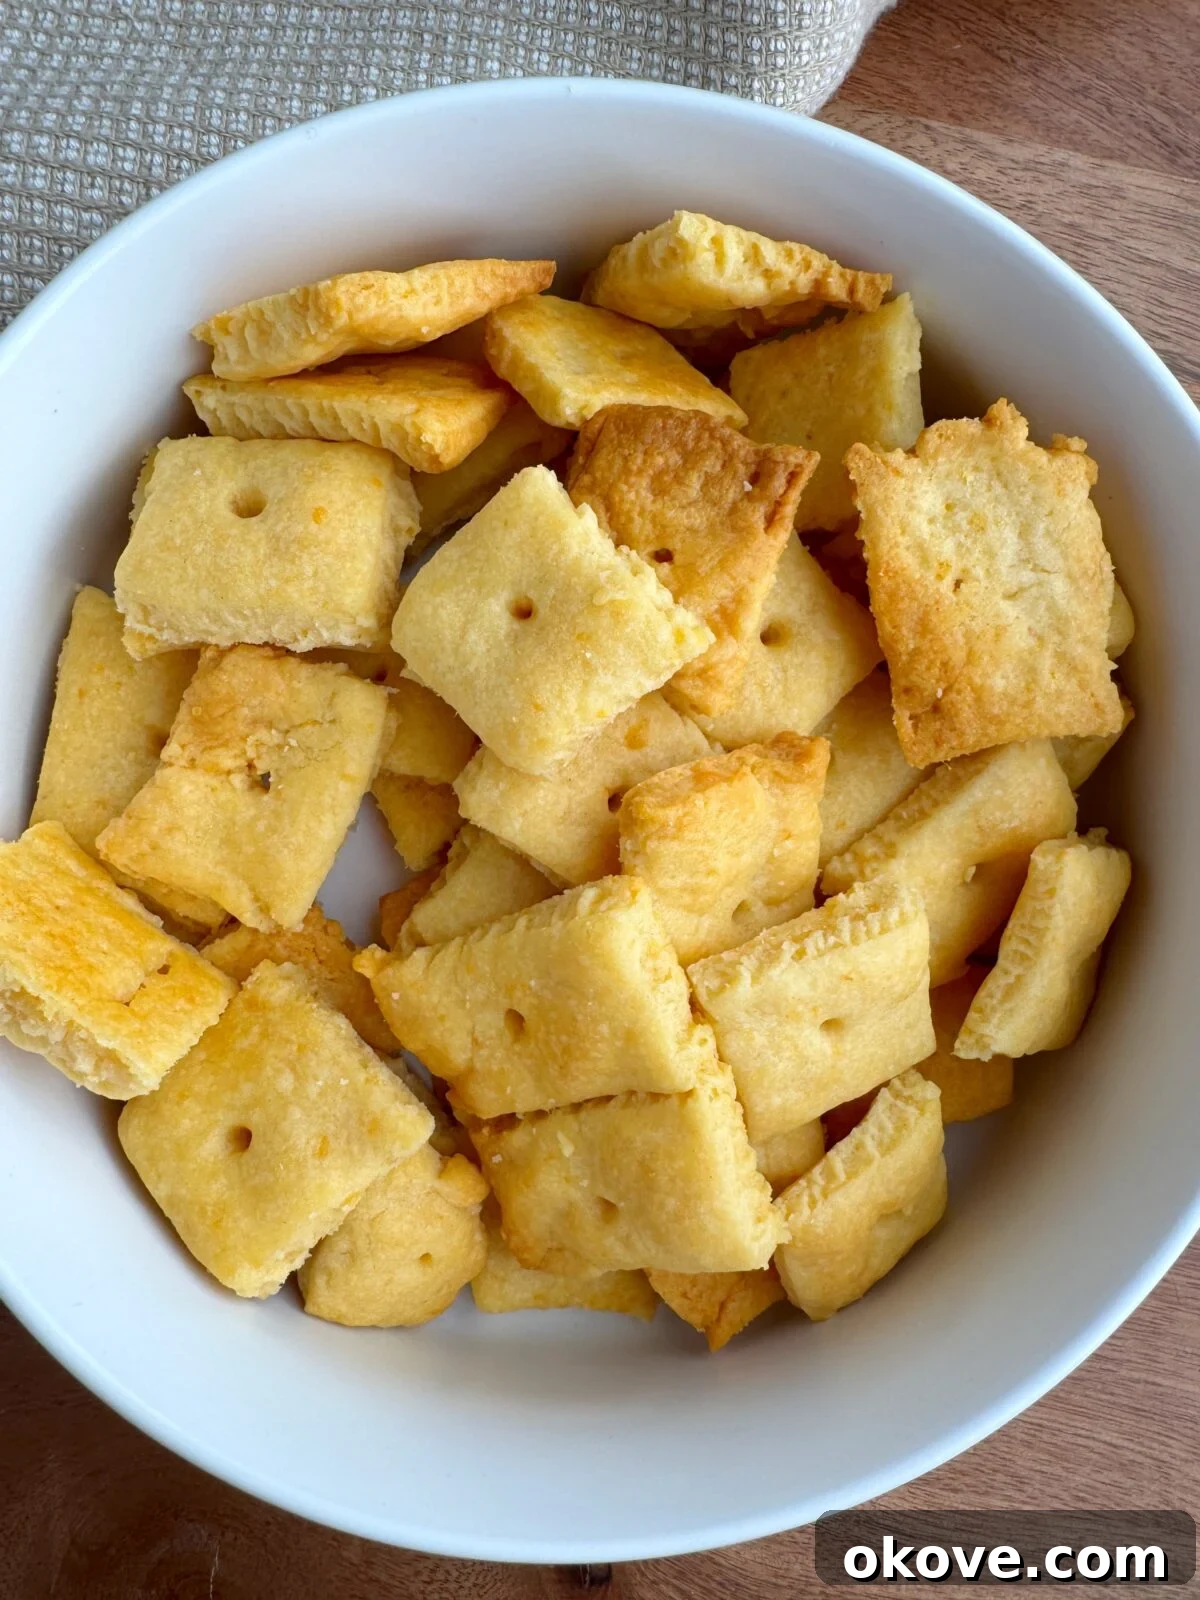
Why Homemade Cheez-Its are the Best Choice for Toddlers and Families
Opting for homemade snacks, especially beloved items like cheese crackers, brings a multitude of benefits to your kitchen. Beyond the sheer satisfaction of creating something delicious from scratch, these homemade cheese crackers empower you to nourish your family with confidence. Here’s why these DIY Cheez-Its stand out as a superior snack option:
- Unparalleled Ingredient Control: When you whip up these crunchy delights at home, you become the master of every ingredient. This means you can select high-quality, fresh components, avoiding the artificial flavors, colors, hydrogenated oils, and excessive sodium often found in commercial snacks. You’re ensuring a purer, more wholesome snack for your growing toddlers and health-conscious family members.
- Nutritious, Flavorful, and Wholesome: Far from being a guilty pleasure, these real cheddar cheese crackers are packed with authentic flavor and natural goodness. Made with actual cheese, they offer a source of protein and calcium. By skipping preservatives and unknown additives, you’re providing a snack that’s not just tasty but also contributes positively to a balanced diet.
- A Fun and Engaging Family Activity: Transform snack preparation into a memorable family bonding experience! Inviting your little ones to participate in the mixing, rolling, and cutting of the dough is more than just a chore; it’s an educational adventure. Kids develop fine motor skills, learn about basic cooking principles, and foster a deeper appreciation for homemade food. It’s a wonderful way to instill healthy eating habits from an early age.
- Effortless and Versatile Snacking: Once prepared, these delightful cheese crackers become your go-to snack for almost any occasion. They are ideal for packing into school lunchboxes, offering a quick energy boost after school, or stashing in a container for on-the-go enjoyment during family outings, road trips, or playdates. Their sturdy, bite-sized nature makes them incredibly convenient.
- Cost-Effective and Economical: While the initial outlay for ingredients might seem similar, making snacks at home is often significantly more economical in the long run. You get more mileage from your pantry staples, reducing the need for expensive, pre-packaged single-serving options and stretching your grocery budget further.
- Customization for Dietary Needs: Homemade means tailored to your family’s unique needs. Whether you’re navigating allergies, dietary restrictions, or simply have picky eaters, these crackers are easily adaptable. Gluten-free flour, dairy-free cheese, or different seasoning blends can be incorporated without compromise, ensuring everyone can enjoy a safe and delicious treat.
Essential Ingredients for Your DIY Cheez-Its
Crafting the perfect batch of homemade cheese crackers requires only a handful of simple ingredients, most of which you likely already have in your kitchen. The magic lies in the quality and balance of these core components:
- 8 oz Sharp Cheddar Cheese, shredded: The star of the show! Sharp cheddar delivers that bold, tangy, and deeply cheesy flavor reminiscent of the classic. Shredding it yourself from a block ensures optimal freshness and flavor compared to pre-shredded varieties, which often contain anti-caking agents that can affect melt and texture.
- 1 cup All-Purpose Flour: Provides the structural base for your crackers. Standard all-purpose flour works beautifully, creating a tender yet crisp cracker.
- 1/4 cup Unsalted Butter, at room temperature: Butter contributes richness and tenderness to the dough. Using unsalted butter allows you to control the overall saltiness of the crackers. Ensure it’s softened to room temperature for easier blending.
- 1/2 tsp Salt: Enhances the flavor of the cheese and balances the richness. You can adjust this amount to your preference; sea salt or fine-grain kosher salt are excellent choices.
- 2 tbsp Cold Water: This is the binding agent that brings the dough together. Using cold water helps keep the butter firm, preventing the dough from becoming greasy and ensuring a flaky, crispy texture.
Step-by-Step Guide: How to Make Baked Homemade Cheez-Its
Creating these delightful baked cheese crackers is surprisingly simple and immensely rewarding. Follow these detailed steps to achieve perfect crispy, cheesy squares every time:
- Combine Wet Ingredients & Salt: In the bowl of a food processor, add the shredded sharp cheddar cheese, softened room temperature butter, and salt. Pulse or blend these ingredients until they are thoroughly combined and resemble a coarse, somewhat sticky crumble. The food processor makes this step quick and easy, ensuring an even distribution of cheese and butter.
- Incorporate Flour: Add the all-purpose flour to the cheese and butter mixture in the food processor. Pulse a few more times until the mixture develops a sandy, crumbly texture, and the flour is fully incorporated. Be careful not to overmix at this stage.
- Form the Dough: With the food processor running on low, gradually add the cold water, one tablespoon at a time, until the mixture comes together to form a cohesive, smooth dough. The dough should pull away from the sides of the bowl. Stop immediately once a dough ball forms to avoid overworking it, which can lead to tough crackers.
- Chill the Dough: Remove the dough from the food processor and gently shape it into a flat disk or ball. Wrap the dough tightly in plastic wrap to prevent it from drying out. Refrigerate for at least 30 minutes. Chilling is crucial as it allows the butter to firm up, making the dough much easier to roll out and preventing the crackers from spreading too much during baking.
- Preheat Oven & Prepare Baking Sheet: While the dough is chilling, preheat your oven to 375°F (190°C). Line a large baking sheet with parchment paper. This prevents the crackers from sticking and ensures even baking.
- Roll Out the Dough: Once chilled, unwrap the dough and place it on a lightly floured surface or between two sheets of parchment paper. Using a rolling pin, roll out the dough evenly until it is approximately 1/8 inch thick. Uniform thickness is key for consistent baking and an even crispiness across all your crackers.
- Cut and Pierce Crackers: Using a sharp knife or a pizza cutter, cut the rolled-out dough into small squares, roughly 1-inch by 1-inch, to mimic the classic Cheez-It shape. For that authentic look and to help prevent puffing, gently poke a small hole in the center of each square using a chopstick, toothpick, or the blunt end of a skewer. Carefully transfer the cut squares onto the prepared baking sheet, leaving a small space between each cracker.
- Bake to Golden Perfection: Place the baking sheet in the preheated oven and bake for 15 minutes, or until the crackers turn a beautiful golden brown color around the edges and are firm to the touch. Keep a close eye on them towards the end of the baking time, as ovens can vary, and they can go from perfectly golden to overbaked quickly.
- Cool and Serve: Once baked, remove the crackers from the oven and transfer them to a wire rack to cool completely. As they cool, they will crisp up beautifully. Allow them to reach room temperature before serving to enjoy their full crispy texture. Enjoy your delicious homemade cheesy crackers!
Expert Tips for Perfect Homemade Cheese Crackers
Achieving the ideal texture and flavor for your DIY Cheez-Its is simple with a few insider tricks:
- Don’t Overmix the Dough: Overworking the dough develops gluten, which can result in tough, rather than crisp, crackers. Mix just until combined.
- Proper Chilling is Key: The refrigeration step is non-negotiable. Cold dough is easier to handle, less sticky, and helps prevent the crackers from spreading excessively during baking, maintaining their shape and crispiness.
- Roll Evenly for Uniformity: Strive for a consistent 1/8-inch thickness across the entire sheet of dough. Uneven thickness will lead to some crackers being overbaked and others underbaked.
- Watch Your Oven: Baking times are approximate. Keep an eye on your crackers, especially in the last few minutes. They should be deeply golden, not just lightly colored, for maximum crispiness.
- Consider Extra Seasoning: For an extra kick, sprinkle a pinch of paprika, garlic powder, onion powder, or even a tiny dash of cayenne pepper directly onto the dough before baking, or mix it into the dough with the salt.
- Batch Baking: If you have a smaller oven or baking sheets, bake in batches to avoid overcrowding. Overcrowding can lead to steaming instead of crisping.
Substitutions and Flavor Variations
One of the greatest advantages of making homemade cheese crackers is the ability to customize them to your taste and dietary needs. Don’t hesitate to experiment with these simple swaps:
- Cheddar Cheese: While sharp cheddar offers a classic, robust flavor, feel free to explore other cheeses. Colby, Monterey Jack, or even a blend of cheddar and Parmesan can yield delicious results. For those with dairy sensitivities or a dairy-free diet, a high-quality plant-based cheddar alternative can be used. Ensure your chosen cheese shreds well and melts effectively.
- Butter: For a dairy-free version, swap regular butter with an equal amount of plant-based butter or margarine. Ensure your chosen substitute is unsalted if possible, to better control the salt content.
- Flour: To make these crackers gluten-free, substitute the all-purpose flour with a 1:1 gluten-free all-purpose flour blend. Many blends are available that perform very well in baking, often containing a mix of rice flour, tapioca starch, and xanthan gum.
- Salt: Adjust the amount of salt to your personal preference. If you’re watching your sodium intake, you can reduce it or use a salt substitute. Conversely, for a bolder flavor, a sprinkle of flaky sea salt on top before baking adds a gourmet touch.
- Add-ins: Get creative with additional flavors! A pinch of garlic powder or onion powder can deepen the savory notes. Smoked paprika adds a lovely smoky depth, while a tiny dash of cayenne pepper or red pepper flakes can introduce a subtle heat. Dried herbs like oregano or chives can also be mixed into the dough for an herbaceous twist. Nutritional yeast can enhance the cheesy flavor even further.
Storing Leftover Homemade Cheese Crackers & Dough
These delightful homemade cheese crackers are so delicious, you might not have many leftovers! However, should you find yourself with an extra stash, proper storage ensures they remain fresh and crispy:
Store any leftover baked Cheez-Its in an airtight container at room temperature for up to one week. To maintain their crispness, ensure they are completely cool before storing. For longer storage, you can also freeze the raw dough. Wrap the dough tightly in plastic wrap and then place it in a freezer-safe bag for up to one month. When ready to bake, thaw the dough in the refrigerator overnight before rolling out and baking as directed.
Common Questions About Homemade Cheez-Its
Can I make these healthy cheez-its without a food processor?
- Absolutely! While a food processor makes the process incredibly quick and efficient, you can certainly mix the dough by hand. Use a pastry cutter to cut the butter and cheese into the flour mixture until it forms a crumbly consistency, then use your hands to gently knead in the water until a smooth dough forms. Avoid overworking it.
How can I freeze the dough?
- To freeze the dough, form it into a disk, wrap it tightly in several layers of plastic wrap, and then place it in a freezer-safe bag. It can be stored in the freezer for up to one month. Thaw the dough in the refrigerator overnight before proceeding with the rolling and baking steps.
Can I make these homemade cheez-its with other cheeses?
- Yes, you can! Feel free to experiment with your favorite cheeses. While sharp cheddar provides a rich, classic flavor, Monterey Jack offers a milder, creamier taste, and Colby adds a lovely nuttiness. A blend of cheeses can also create a unique flavor profile. Just ensure the cheese you choose is a good melting cheese.
Why are my homemade cheese crackers not crispy?
- There are a few common reasons. The dough might have been rolled too thick, preventing it from crisping properly. The oven temperature might have been too low, or the crackers weren’t baked long enough to achieve that golden-brown color and firm texture. Ensure even thickness and bake until deeply golden. Cooling completely on a wire rack is also crucial for crispiness.
Can I make a big batch of the dough ahead of time?
- Yes, you can! The dough is perfect for meal prepping. Make a double or triple batch, then divide and wrap portions for refrigeration for up to 3 days, or freeze for up to a month. This makes it incredibly convenient to whip up a fresh batch of crackers whenever a craving strikes.
More Healthy Snack Ideas for Kids and Toddlers
If your family loves these homemade cheese crackers, you’re always on the lookout for more nutritious and delicious snack options. Here are a few other kid-friendly recipes that are easy to make and perfect for healthy snacking:
2-Ingredient Apricot Bars – These naturally sweet, soft, and toddler-approved bars are made with just dried apricots and coconut. They’re a no-fuss, no-bake snack or breakfast bite, free from added sugar, and packed with wholesome goodness.
Spinach Muffins – A clever and delicious way to incorporate greens into your child’s diet! These naturally sweetened muffins boast a soft, fluffy texture, making them ideal for toddlers and even the pickiest eaters. Perfect for breakfast, snack time, or packed lunches.
Healthy Banana Chocolate Chip Ice Cream – A creamy, naturally sweet, and dairy-free treat made with just frozen bananas and chocolate chips. It comes together in minutes without an ice cream maker, serving as a perfect warm-weather snack or healthy dessert.
Strawberry Oat Cups – Soft, fruity, and perfectly sized for little hands, these baked cups are crafted with oats and fresh strawberries, entirely free from refined sugar. An excellent choice for breakfast, snack time, or lunchboxes, they are also freezer-friendly for busy families.
Healthy Sweet Potato Muffins – These soft, spiced, and naturally sweetened muffins are a hit with toddlers and adults alike. Rich in fiber and nutrients, they make a fantastic snack, breakfast item, or lunchbox addition, and they freeze beautifully for convenient batch preparation.
Homemade Cheez-Its Recipe Card
Homemade Cheez-Its
These Homemade Cheez-Its are crispy, cheesy, and packed with real flavor—made with just five simple ingredients. Perfectly bite-sized for toddlers, they’re a fun, healthier snack that skips the preservatives but keeps the crunch. Great for lunchboxes, snack time, or on-the-go!
Cook Time: 15 mins
Servings: 4
Ingredients
- 8 oz sharp cheddar cheese, shredded
- 1 cup all-purpose flour
- 1/4 cup butter, at room temperature
- 1/2 tsp salt
- 2 tbsp cold water
Instructions
- In a food processor, blend together the shredded cheddar cheese, room temperature butter, and salt until well combined.
- Add the all-purpose flour to the mixture, pulsing until it becomes crumbly.
- Add the cold water until a smooth dough forms.
- Remove the dough from the food processor and shape it into a ball. Wrap the dough in plastic wrap and refrigerate for 30 minutes.
- Preheat your oven to 375°F (190°C) and line a baking sheet with parchment paper.
- Once chilled, roll out the dough until it is about 1/8 inch thick.
- Using a knife or pizza cutter, cut the dough into small squares. For added authenticity, poke a hole in the center of each square using a chopstick or toothpick. Place the squares onto the prepared baking sheet and bake for 15 minutes, or until they start to turn golden brown.
- Allow the Homemade Cheez-Its to cool before serving. Enjoy!
Notes
- Rolling the Dough: Aim for an even thickness to ensure uniform baking. If the dough becomes too soft, chill it briefly before rolling.
- Cutting Shapes: Get creative! Use small cookie cutters to make fun shapes that your kids will enjoy.
- Baking Time: Keep an eye on the crackers as they bake. They should be golden brown and crispy. Baking times may vary slightly depending on your oven.
- Serving Suggestions: These crackers are great on their own or paired with dips like hummus or yogurt-based spreads.
Nutrition Information (per serving)
- Calories: 447 kcal
- Carbohydrates: 25g
- Protein: 17g
- Fat: 31g
- Saturated Fat: 18g
- Polyunsaturated Fat: 1g
- Monounsaturated Fat: 7g
- Trans Fat: 0.5g
- Cholesterol: 87mg
- Sodium: 753mg
- Potassium: 81mg
- Fiber: 1g
- Sugar: 0.3g
- Vitamin A: 923 IU
- Calcium: 409mg
- Iron: 2mg
Nutrition information is automatically calculated and should only be used as an approximation.
Additional Info
- Course: Snack
- Cuisine: American
I genuinely hope your family enjoys this delicious homemade Cheez-It recipe as much as mine does! If you try it, please share your yummy creations and tag me @reallittlemeals on Instagram!