
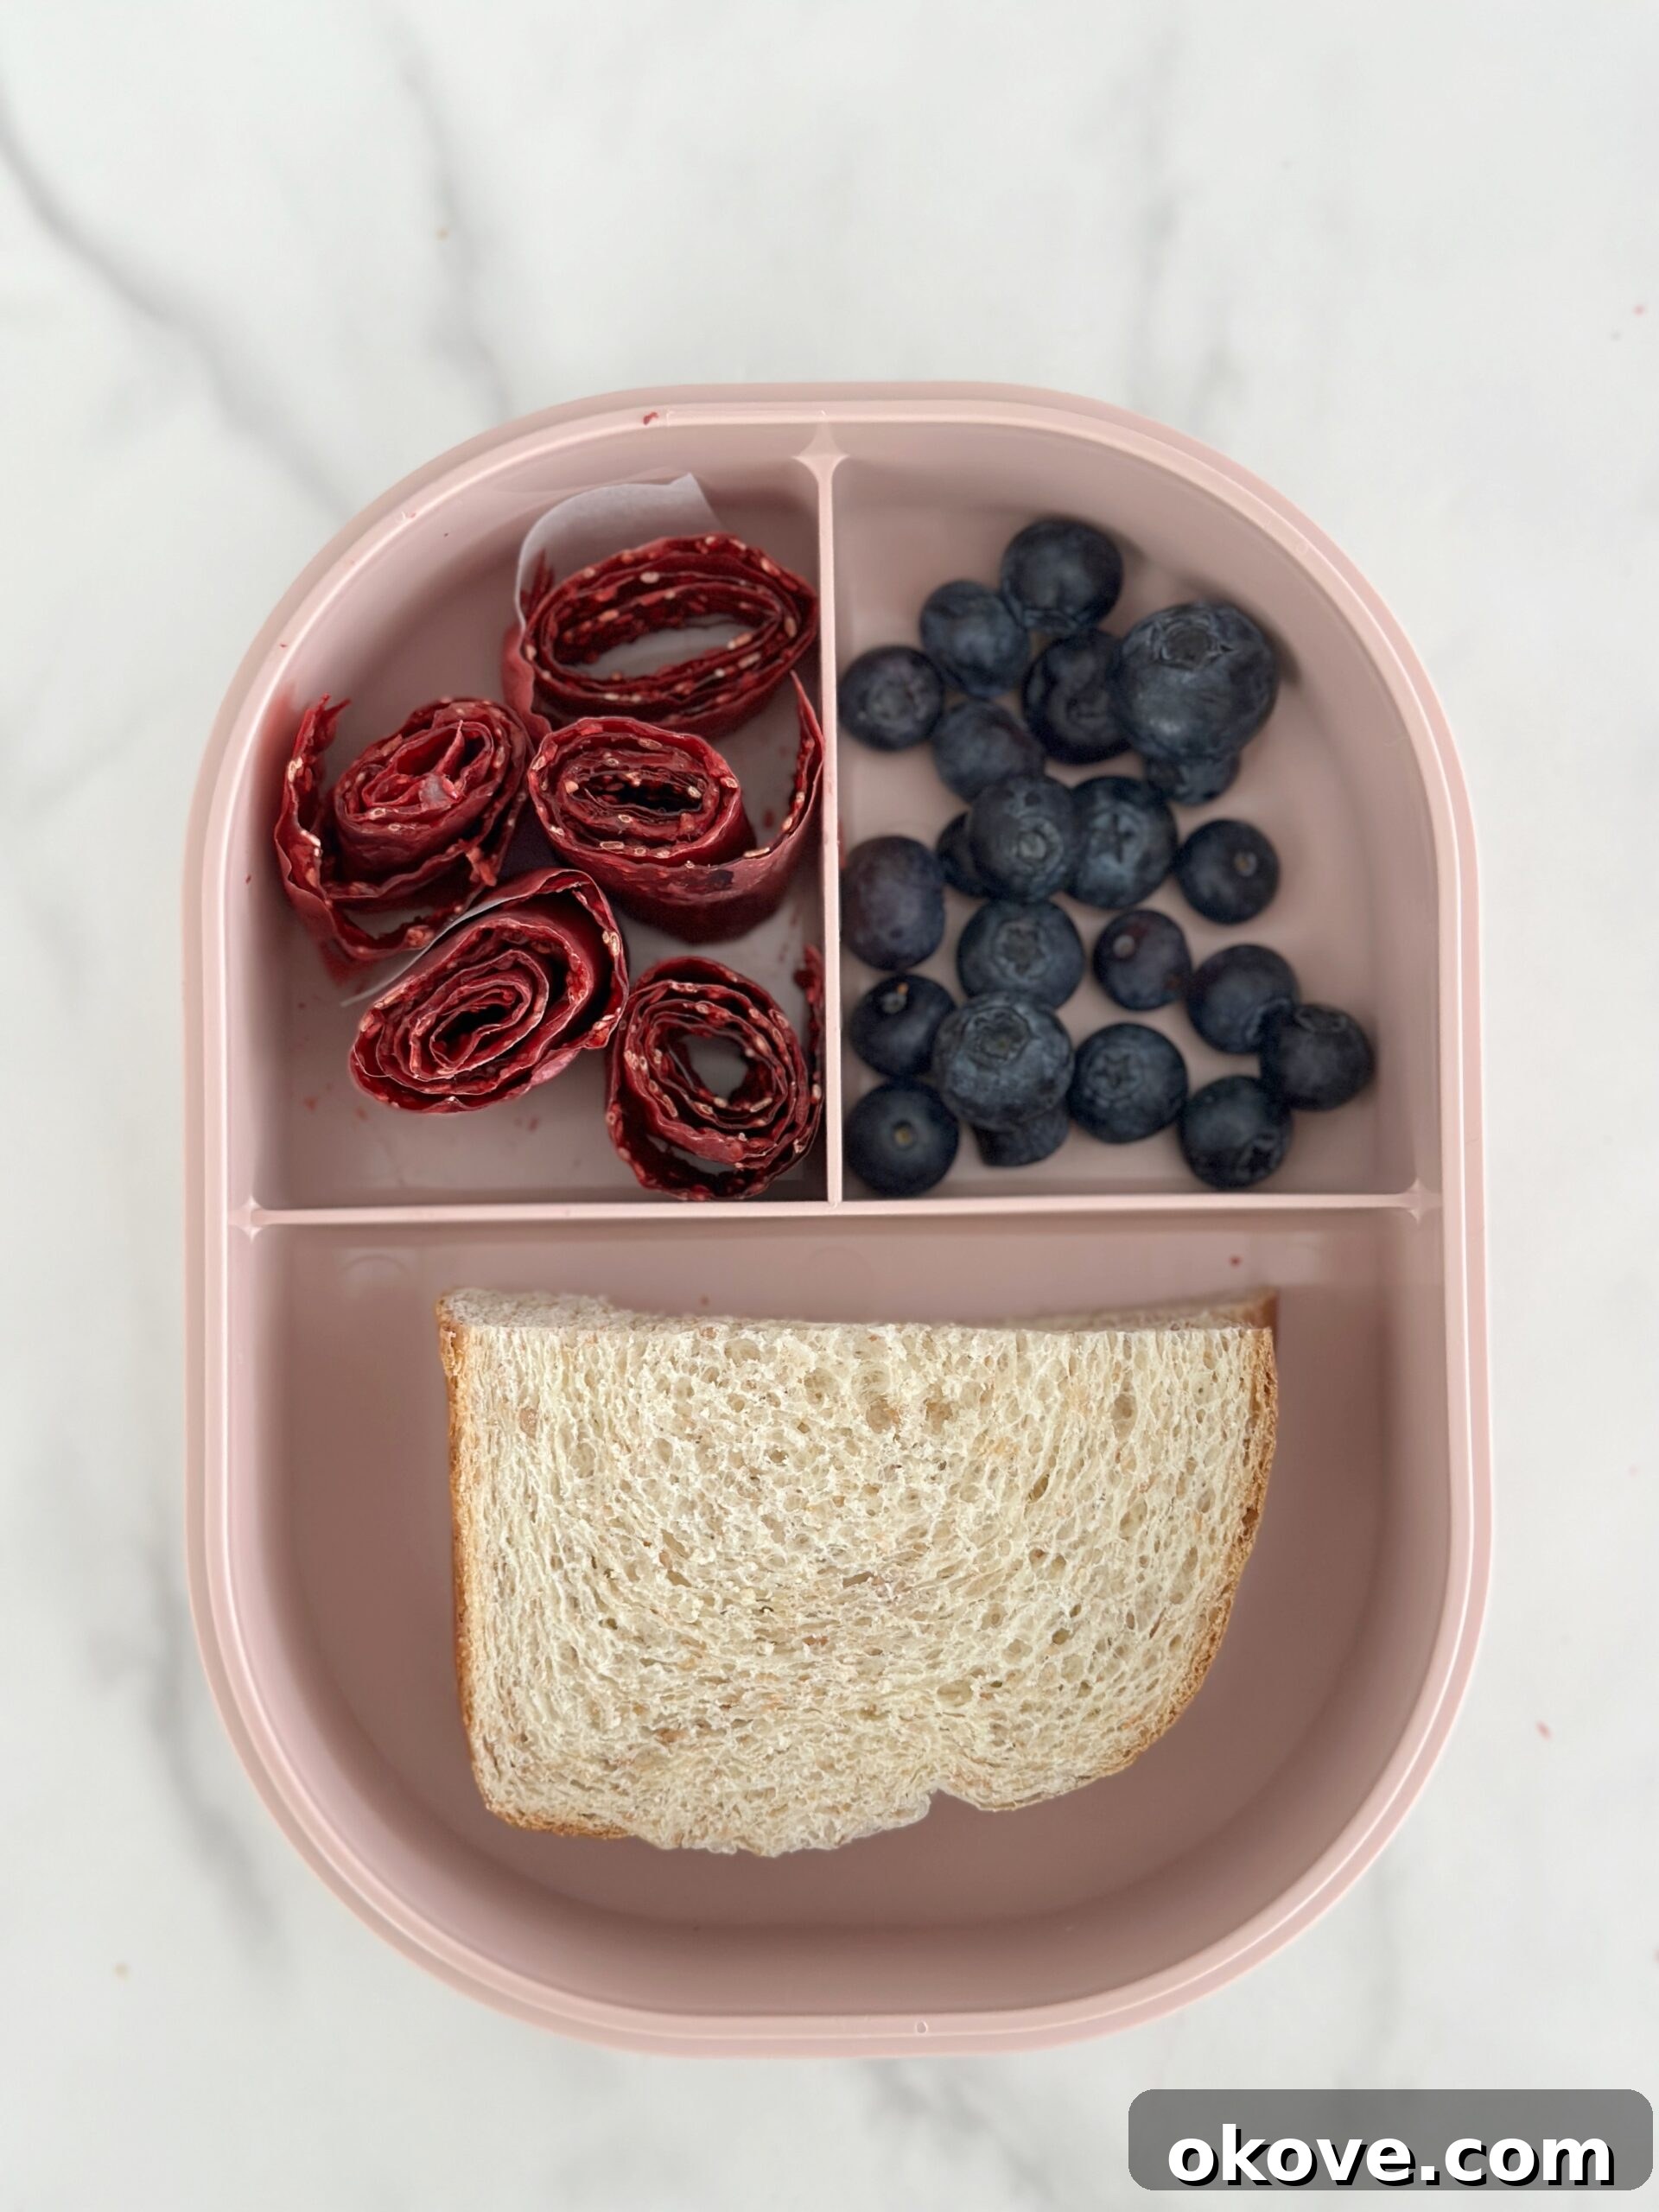
Homemade Veggie Fruit Roll Ups: A Wholesome & Delicious Treat for Kids
Forget the artificially flavored, sugar-laden fruit snacks from the store! These homemade veggie fruit roll ups are a game-changer, offering a delicious, nutritious, and incredibly fun way to sneak extra vegetables into your children’s diet. Packed with natural sweetness and wholesome goodness, they’re not just healthier; they’re genuinely tastier and far more satisfying for both kids and parents.
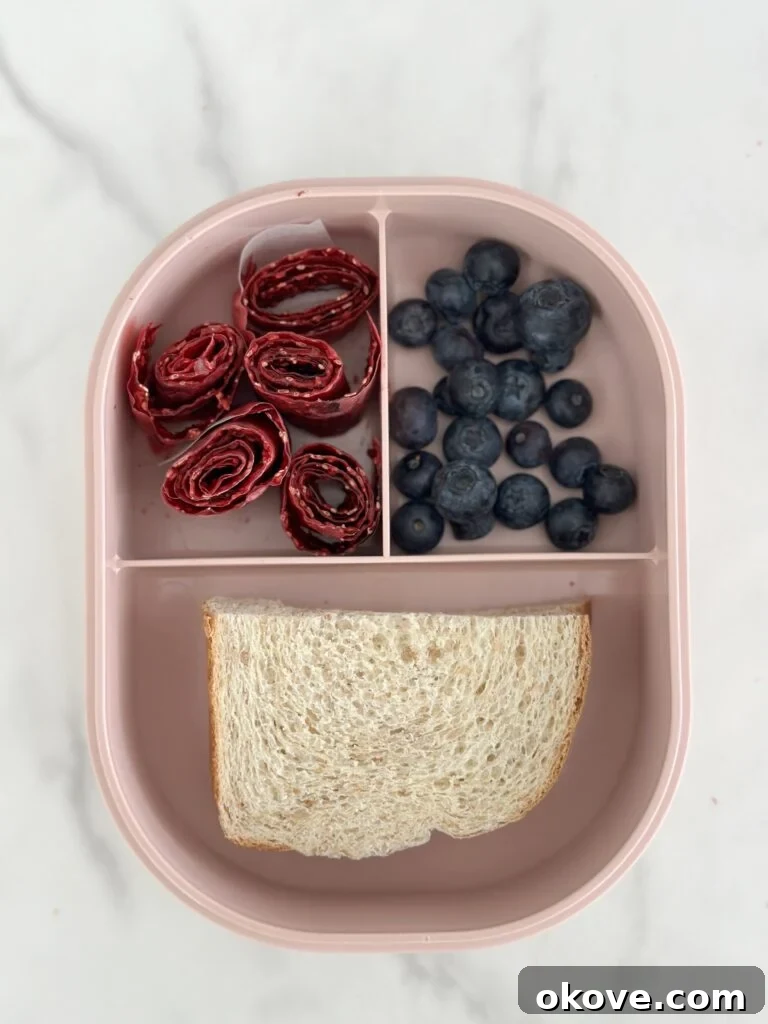
Making these vibrant fruit roll ups is an experience in itself, perfect for a fun afternoon activity with your little ones. Imagine their excitement as they help blend the colorful ingredients and then their surprise when they discover the secret ingredient: carrots! This joyful revelation can even help them develop a positive association with vegetables, making future meal times a little easier. It’s a culinary adventure that ends with a delightful, chewy treat.
While the overall process is surprisingly simple, taking only about 15 minutes of active preparation, these roll ups do require a significant amount of time in the oven. This extended baking period, typically around 4 hours, isn’t about cooking in the traditional sense, but rather a gentle dehydration process. By setting your oven to its lowest temperature, you slowly remove moisture from the fruit and vegetable mixture, transforming it into that perfectly pliable, chewy texture we all love in a fruit roll up.
Why Choose Homemade Over Store-Bought?
The allure of fruit roll ups is undeniable for children, but commercially produced versions often come with a laundry list of undesirable ingredients: high fructose corn syrup, artificial colors, artificial flavors, and preservatives. When you make them at home, you gain complete control over what goes into your family’s snacks. This means pure fruit and vegetable goodness, natural sweeteners if desired, and absolutely no hidden nasties.
Beyond the health benefits, the act of creating these treats fosters a sense of accomplishment and curiosity in children. They learn about ingredients, the process of transformation, and the rewards of patience. Plus, the vibrant colors and sweet taste are naturally appealing, making them far more likely to embrace this nutritious snack. It’s a win-win for everyone – a healthier alternative that tastes incredible and offers a fun, educational experience.
The Science Behind the Chew: Understanding Dehydration
The key to achieving the classic fruit roll up texture lies in dehydration. This process involves exposing food to low, consistent heat for an extended period, which slowly evaporates the water content without actually cooking the ingredients. When the moisture is removed, the natural sugars concentrate, intensifying the flavor and creating a chewy, pliable consistency that prevents spoilage.
For these veggie fruit roll ups, setting your oven to the lowest possible temperature (usually around 170 degrees Fahrenheit or 77 degrees Celsius) is crucial. A higher temperature would bake or crisp the mixture, rather than dehydrate it. The long duration ensures that nearly all the water is removed, resulting in a stable, shelf-friendly snack that maintains its flexibility. Think of it as a natural preservation method that locks in flavor and nutrients while delivering that satisfying chew.
Essential Ingredients for These Wholesome Veggie Fruit Roll Ups
Crafting these delicious roll ups requires just a handful of simple, wholesome ingredients. Each component plays a vital role in both flavor and texture, contributing to a balanced and appealing snack.
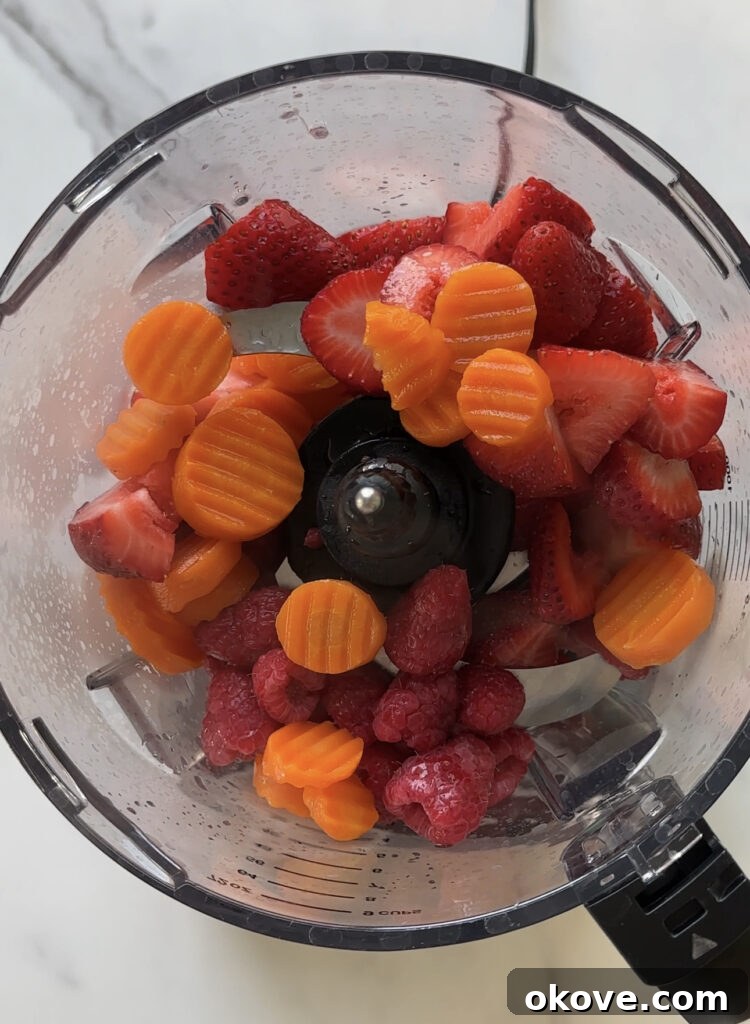
- Strawberries: These provide a fantastic base of sweetness and tartness, along with a beautiful red hue. Rich in Vitamin C and antioxidants, strawberries are a kid-favorite fruit that blends smoothly into the mixture.
- Raspberries: Adding another layer of berry flavor, raspberries contribute a slight tartness and a wealth of fiber and antioxidants. Their robust flavor pairs wonderfully with strawberries and helps mask the subtle taste of the hidden veggies.
- Carrots: The stealthy superhero of this recipe! Carrots are chosen for their mild sweetness and ability to blend seamlessly into the fruit puree without overpowering the taste. They add essential vitamins (especially Vitamin A) and a lovely orange tint. To make preparation super easy, we recommend steaming them first. Frozen carrots are a convenient option as they can be quickly steamed in the microwave, saving you precious time.
- Lemon Juice: A small splash of lemon juice goes a long way. It brightens the flavors, adding a zesty counterpoint to the sweetness of the fruit and maple syrup. More importantly, lemon juice acts as a natural preservative, helping to maintain the vibrant color of the roll ups and extending their shelf life.
- Maple Syrup: This natural sweetener enhances the overall taste, making the roll ups irresistible. Maple syrup is a wonderful alternative to refined sugar. For very young babies or toddlers, you might choose to omit it entirely, relying on the natural sweetness of the fruits and carrots. Adjust the amount to your family’s preference.
How to Make Delicious Veggie Fruit Roll Ups: A Step-by-Step Guide
Creating these delightful snacks is a straightforward process, though it does require a bit of patience during the dehydration phase. Follow these steps carefully for the best results:
- Preheat Your Oven to the Lowest Setting: Begin by setting your oven to 170 degrees Fahrenheit (approximately 77 degrees Celsius), or simply to the lowest temperature it will go. This ultra-low heat is essential for slowly dehydrating the mixture, rather than baking it. Proper dehydration is key to achieving that perfectly pliable, non-sticky roll-up texture.
- Steam Your Carrots: If using fresh carrots, peel and chop them, then steam until very tender. If you’ve opted for the convenience of frozen carrots, simply place them in a microwave-safe bowl with a splash of water, cover, and microwave until they are soft and easily mashable. Ensure they are cool enough to handle before proceeding.
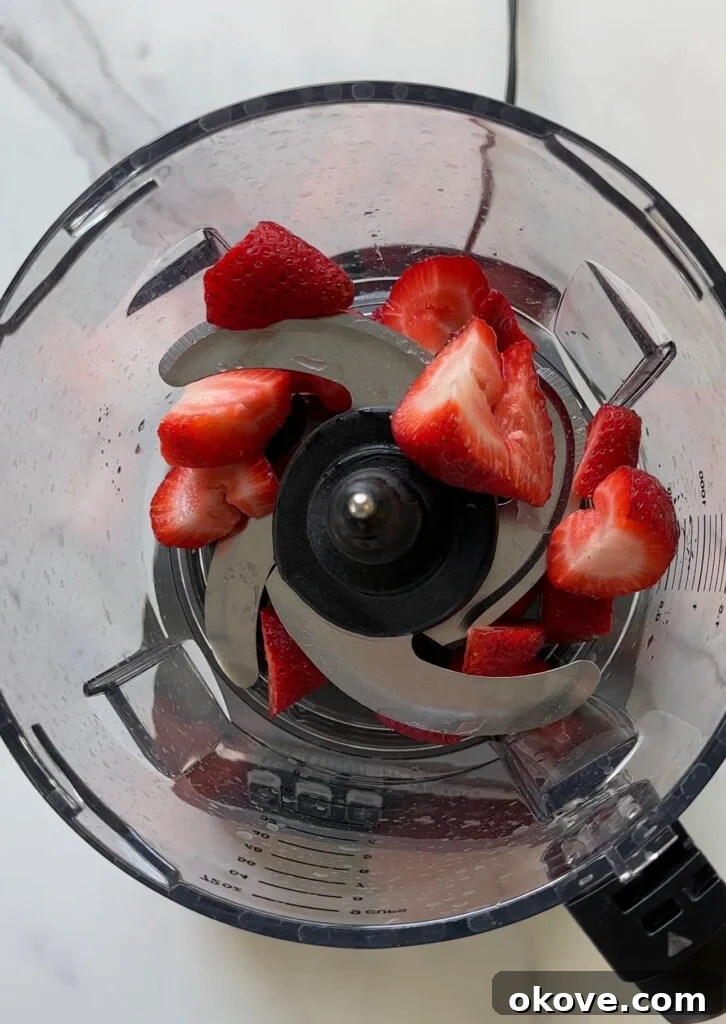
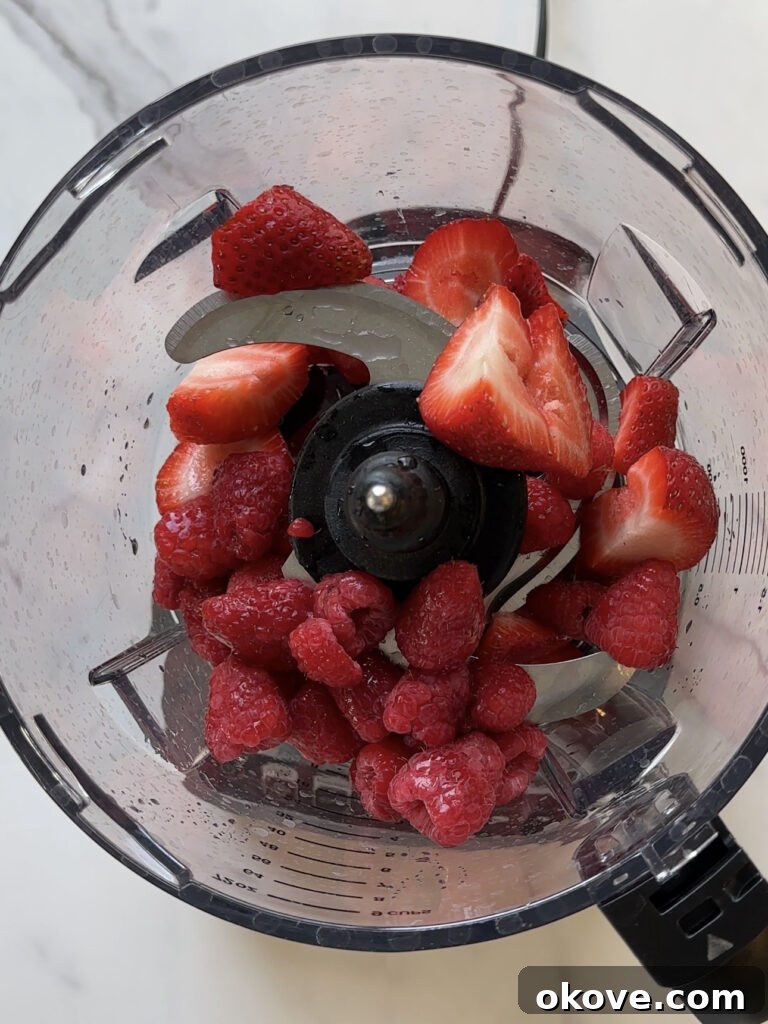
- Blend All Ingredients Until Silky Smooth: Combine the steamed carrots, strawberries, raspberries, lemon juice, and maple syrup (if using) in a high-speed blender or food processor. Blend thoroughly until the mixture is absolutely smooth, with no discernible chunks of fruit or vegetable. A smooth puree is crucial for a consistent roll-up texture. Scrape down the sides as needed to ensure everything is incorporated.
- Boil and Reduce the Mixture: Pour the blended fruit and veggie puree into a saucepan. Bring it to a gentle boil over medium heat, then reduce the heat slightly and allow it to simmer for about 10 minutes, stirring occasionally. This step is vital as it helps to reduce some of the liquid content in the mixture, significantly cutting down the overall baking (dehydration) time in the oven. You’ll notice the mixture thickens slightly.
- Prepare and Spread on a Baking Sheet: Line a large baking sheet with parchment paper. Once the fruit mixture has finished simmering, carefully pour it onto the prepared baking sheet. Using an offset spatula or the back of a spoon, spread the mixture evenly across the parchment paper. Aim for a thickness of about 1/8th of an inch (approximately 3mm). It’s important to ensure consistent thickness across the entire sheet; if some areas are too thin, they will become brittle and crumbly, while overly thick areas will remain sticky and hard to roll. You should not be able to see the parchment paper through the mixture.
- Dehydrate in the Oven: Carefully transfer the baking sheet to your preheated oven. Bake for approximately 4 hours, or until the fruit leather is no longer sticky to the touch. The exact time can vary depending on your oven and the initial moisture content of your mixture. To check for doneness, lightly touch the surface with your finger; it should feel dry and slightly tacky, but not wet or gooey. It should also be pliable and peel easily from the parchment paper.
- Cool, Cut, and Roll: Once fully dehydrated, remove the baking sheet from the oven and let the fruit leather cool completely. Once cool, peel it gently from the parchment paper. Use kitchen shears or a pizza cutter to cut the large sheet into strips of your desired width. Then, simply roll each strip into a classic fruit roll up.
Unleash Your Creativity: Substitutions and Variations
One of the best aspects of homemade fruit roll ups is the freedom to experiment with different fruit and vegetable combinations. While the strawberry-raspberry-carrot blend is a tried-and-true favorite, don’t hesitate to customize this recipe to your family’s preferences or what you have on hand.
You’ll generally need around 3 cups of fruit and about 1/2 cup of a cooked vegetable (like carrots). Carrots are highly recommended as they have a very mild flavor that is hard to detect, making them excellent for “hidden veggie” purposes. However, feel free to try other options:
- Other Fruits: Mango, peaches, apples, pears, blueberries, or even a mix of tropical fruits can create exciting new flavors. Just be aware that fruits with higher water content might require a longer simmering or dehydration time.
- Other Vegetables: Sweet potato (steamed and mashed), butternut squash puree, or even a small amount of finely chopped and steamed spinach (which can add a green hue and extra nutrients) can be incorporated. Always aim for a vegetable that offers a subtle flavor profile to ensure it remains a “hidden” delight.
- Spice It Up: A pinch of cinnamon, a dash of vanilla extract, or even a tiny amount of ginger can add warmth and depth to your fruit roll ups.
- Nutritional Boosters: For added fiber and omega-3s, consider blending in a tablespoon of chia seeds or ground flaxseed meal with the fruit mixture.
Storage and Shelf Life
Proper storage is essential to maintain the freshness and chewy texture of your homemade veggie fruit roll ups. They are surprisingly robust, making them an ideal snack for busy families on the go!
Once cooled and rolled, store your fruit roll ups in an airtight container. They will keep beautifully in the refrigerator for about 5 to 7 days. This makes them perfect for meal prepping a week’s worth of healthy snacks. If you need them to last longer, you can even freeze them! Simply place the rolled strips in a freezer-safe bag or container, separating layers with parchment paper to prevent sticking. They can be frozen for up to 3 months. Thaw them in the refrigerator or at room temperature for a few minutes before enjoying.
For convenience, these fruit roll ups are perfectly fine to be left out at room temperature for the day, making them excellent for lunchboxes, picnics, or road trips without needing refrigeration. Just ensure they are kept in a sealed container to prevent them from drying out too much or absorbing ambient moisture.
Veggie Fruit Roll Ups
15 mins
4 hours
6 roll ups
Review Recipe
Print Recipe
Ingredients
- 1 1/2 cups strawberries
- 1 1/2 cups raspberries
- 1/2 cup carrots (steamed)
- 1 tbsp lemon juice
- 1 tbsp maple syrup (optional, for sweetness)
Instructions
- Set your oven to 170 degrees F (or as low as your oven will go).
- Steam carrots until very tender.
- Blend all ingredients in a blender or food processor until completely smooth. Ensure there are no chunks.
- Pour the fruit mixture into a saucepan and bring to a boil. Boil for 10 minutes to reduce liquid, which cuts baking time in half.
- Pour the fruit mixture onto a parchment paper-lined baking sheet. Smooth it out evenly, aiming for approximately 1/8th of an inch thick. Ensure you cannot see the parchment paper through the mixture.
- Place in the oven. Bake for 4 hours, or until the fruit leather is no longer sticky to the touch and peels easily from the parchment paper.
- Once done, remove from oven, let cool completely, then cut into strips and roll them up!
Nutrition information is an approximation and can vary based on ingredients and portion sizes. Please consult a professional for accurate dietary advice.
Additional Info
Snack
Tried this recipe?
Mention @reallittlemeals or tag #reallittlemeals!
Embrace the joy of homemade goodness with these incredible veggie fruit roll ups. They’re not just a snack; they’re a healthier choice, a fun family activity, and a stealthy way to boost your child’s nutrient intake. With their vibrant colors, chewy texture, and natural sweetness, these roll ups are sure to become a beloved staple in your home. Happy rolling!