
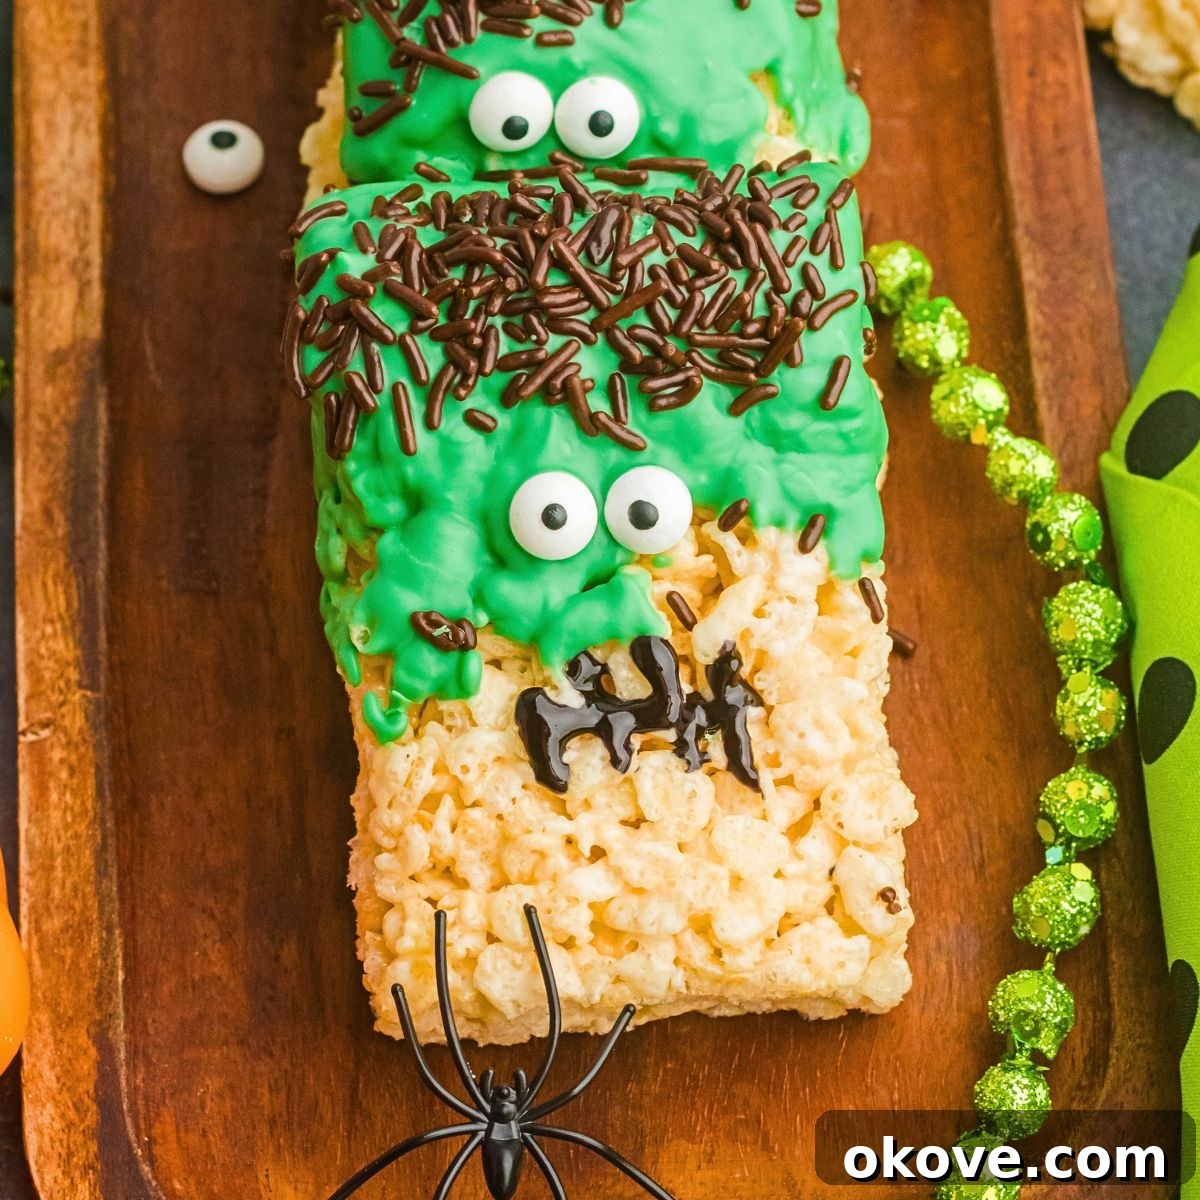
Get ready to unleash your inner mad scientist with these incredibly adorable and delightfully delicious Halloween Rice Krispie Treats! Perfect for any spooky celebration, a festive after-school snack, or just a fun treat to munch on during a Halloween movie marathon, these no-bake monsters are surprisingly simple to create. Requiring only a handful of common ingredients and minimal effort, you’ll be amazed at how quickly you can whip up a batch of these iconic Frankenstein treats that are sure to be the star of your Halloween spread.
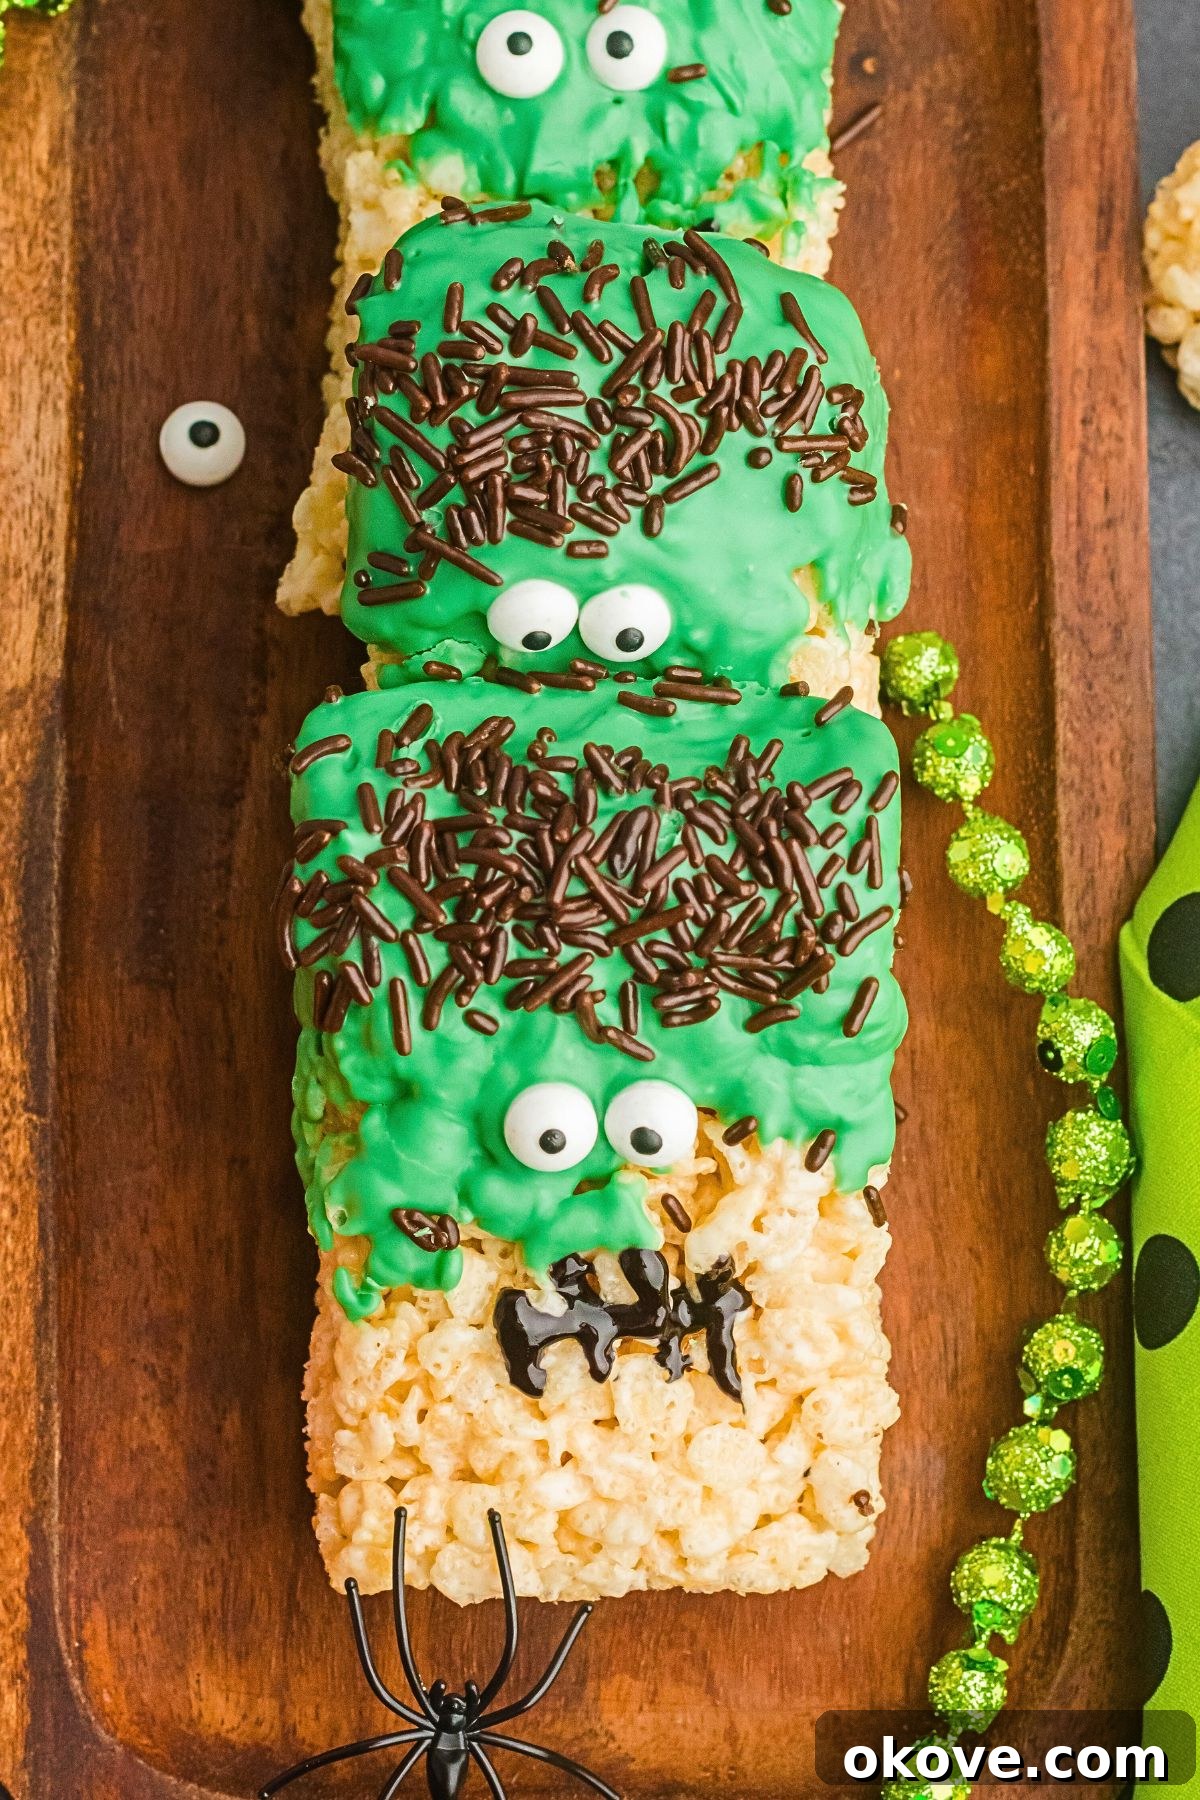
Halloween Rice Krispie Treats: Spooky & Simple Frankenstein Fun!
There’s something undeniably magical about classic Rice Krispie treats. Their irresistible combination of gooey marshmallows and crispy cereal creates a textural symphony that’s loved by all ages. Now, imagine transforming this beloved childhood favorite into charmingly spooky Frankenstein monsters, perfectly themed for Halloween! This recipe brings a creative twist to the timeless treat, making them look like they’ve come straight from a specialty bakery, yet they are incredibly easy to make right in your own kitchen.
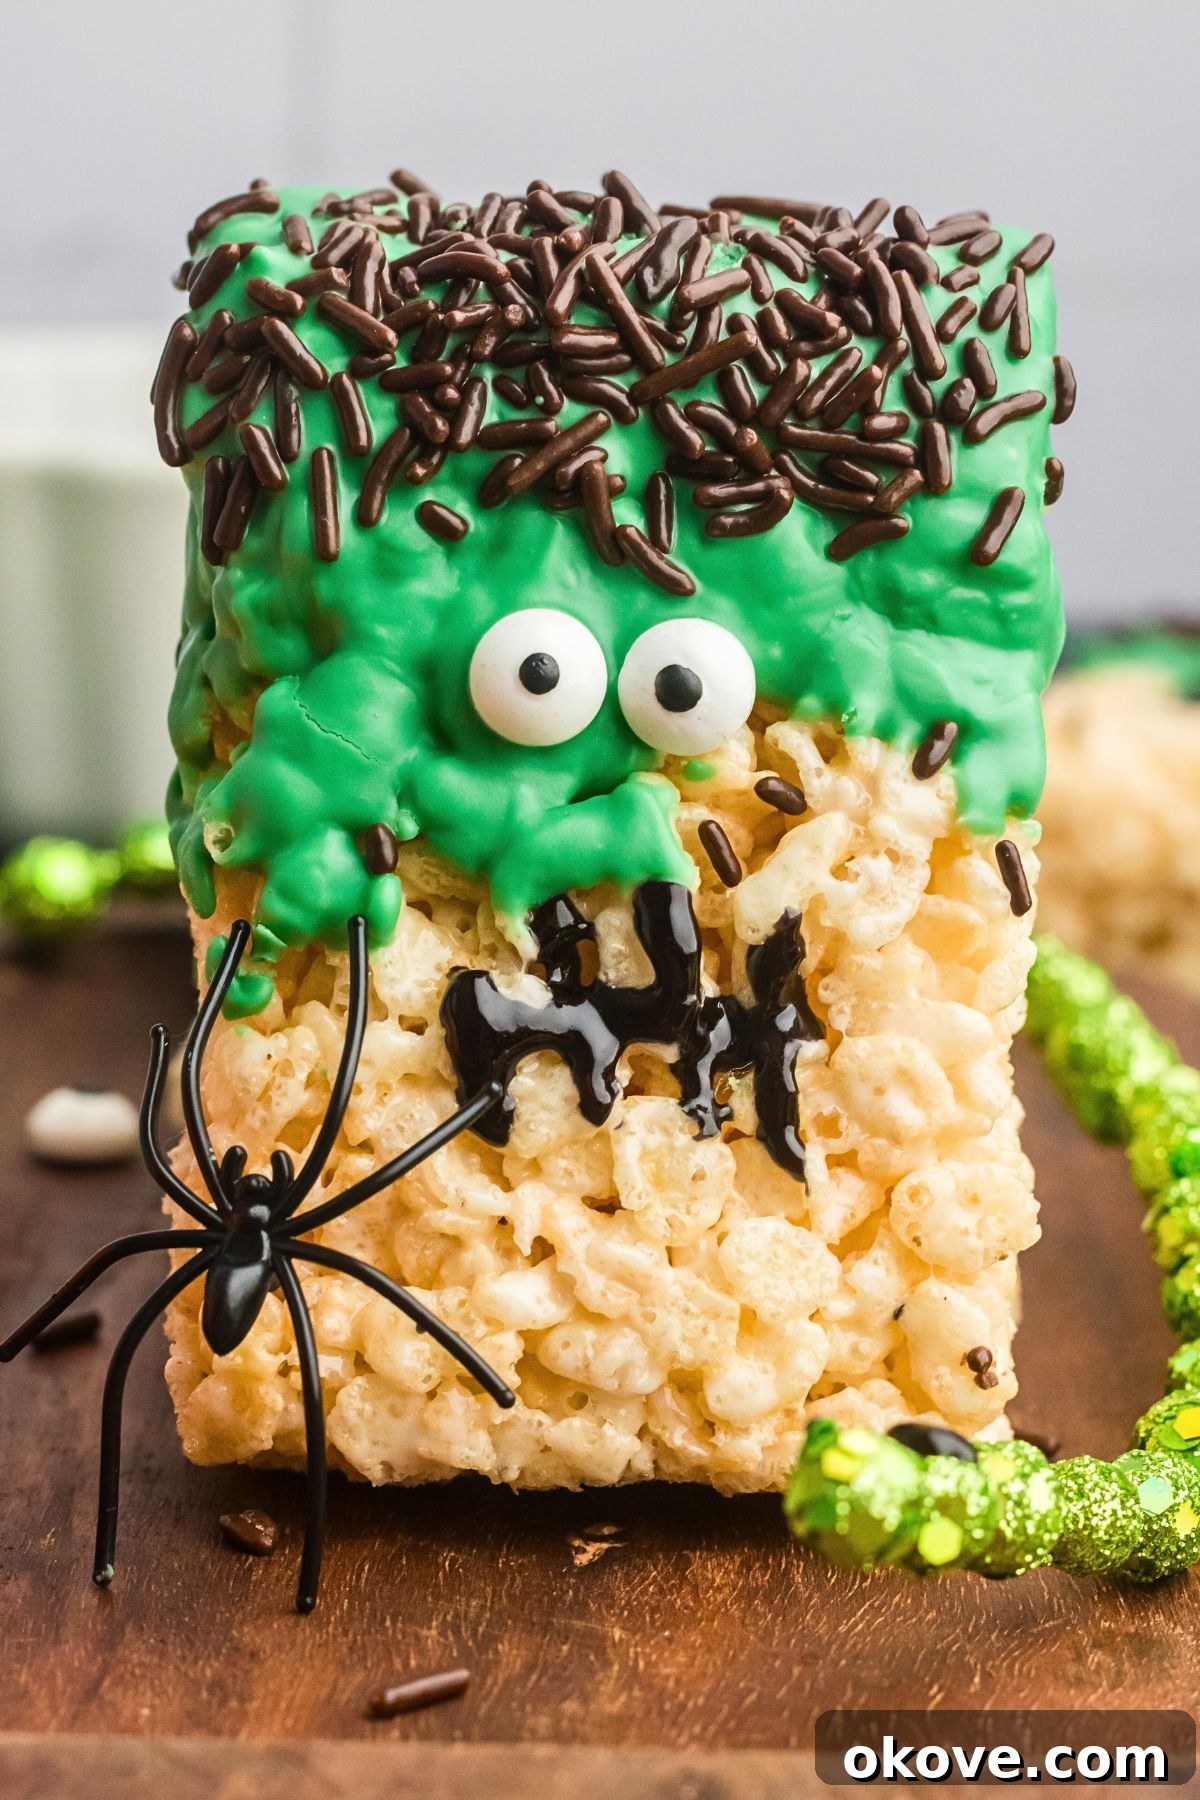
I adore displaying these cute creatures on the dessert table for Halloween parties or bringing them along to potlucks. Their vibrant green hue, playful candy eyes, and signature stitched mouths make them an instant conversation starter and a guaranteed crowd-pleaser. The beauty of Rice Krispie treats lies in their versatility; while we’re focusing on Frankenstein today, the base recipe can be customized into countless fun colors and shapes to match any holiday or theme. As a cherished classic dessert, they always disappear quickly!
Why You’ll Love These Spooktacular Treats
- Effortlessly Festive: These treats are a breeze to make, requiring no oven time, yet they deliver maximum Halloween impact.
- Kid-Friendly Fun: A fantastic activity for children to help with, especially the decorating part, fostering creativity and delicious memories.
- Crowd-Pleasing Classic: The timeless appeal of gooey, crispy Rice Krispie treats means they’re always a hit with guests of all ages.
- Highly Customizable: While Frankenstein is our star, the decorating possibilities are endless. Change the colors, sprinkles, and shapes to create a whole monster mash!
- Perfect Party Snack: Easy to transport and serve, these individually portioned treats are ideal for school parties, potlucks, or family gatherings.
- Minimal Ingredients: You only need a few pantry staples to bring these spooky snacks to life.
If you’re looking to expand your Halloween culinary adventures beyond these monstrously good treats, you might also enjoy exploring other festive recipes like my Caramel Apples with Sprinkles for a classic fall delight, playful Nutter Butter Ghosts, or homemade Pop Tarts for a comforting bite. For those seeking seasonal sips, a batch of Fall Sangrias, a bubbling Halloween Punch, or a warm mug of Pumpkin Spice Coffee will perfectly complement your spooky spread.
Essential Ingredients for Your Monster Mash
Creating these delightful Halloween treats requires only a few simple ingredients, most of which you likely already have in your pantry. The quality of your ingredients can make a difference in the final texture and taste, so opt for fresh where possible for the best results!
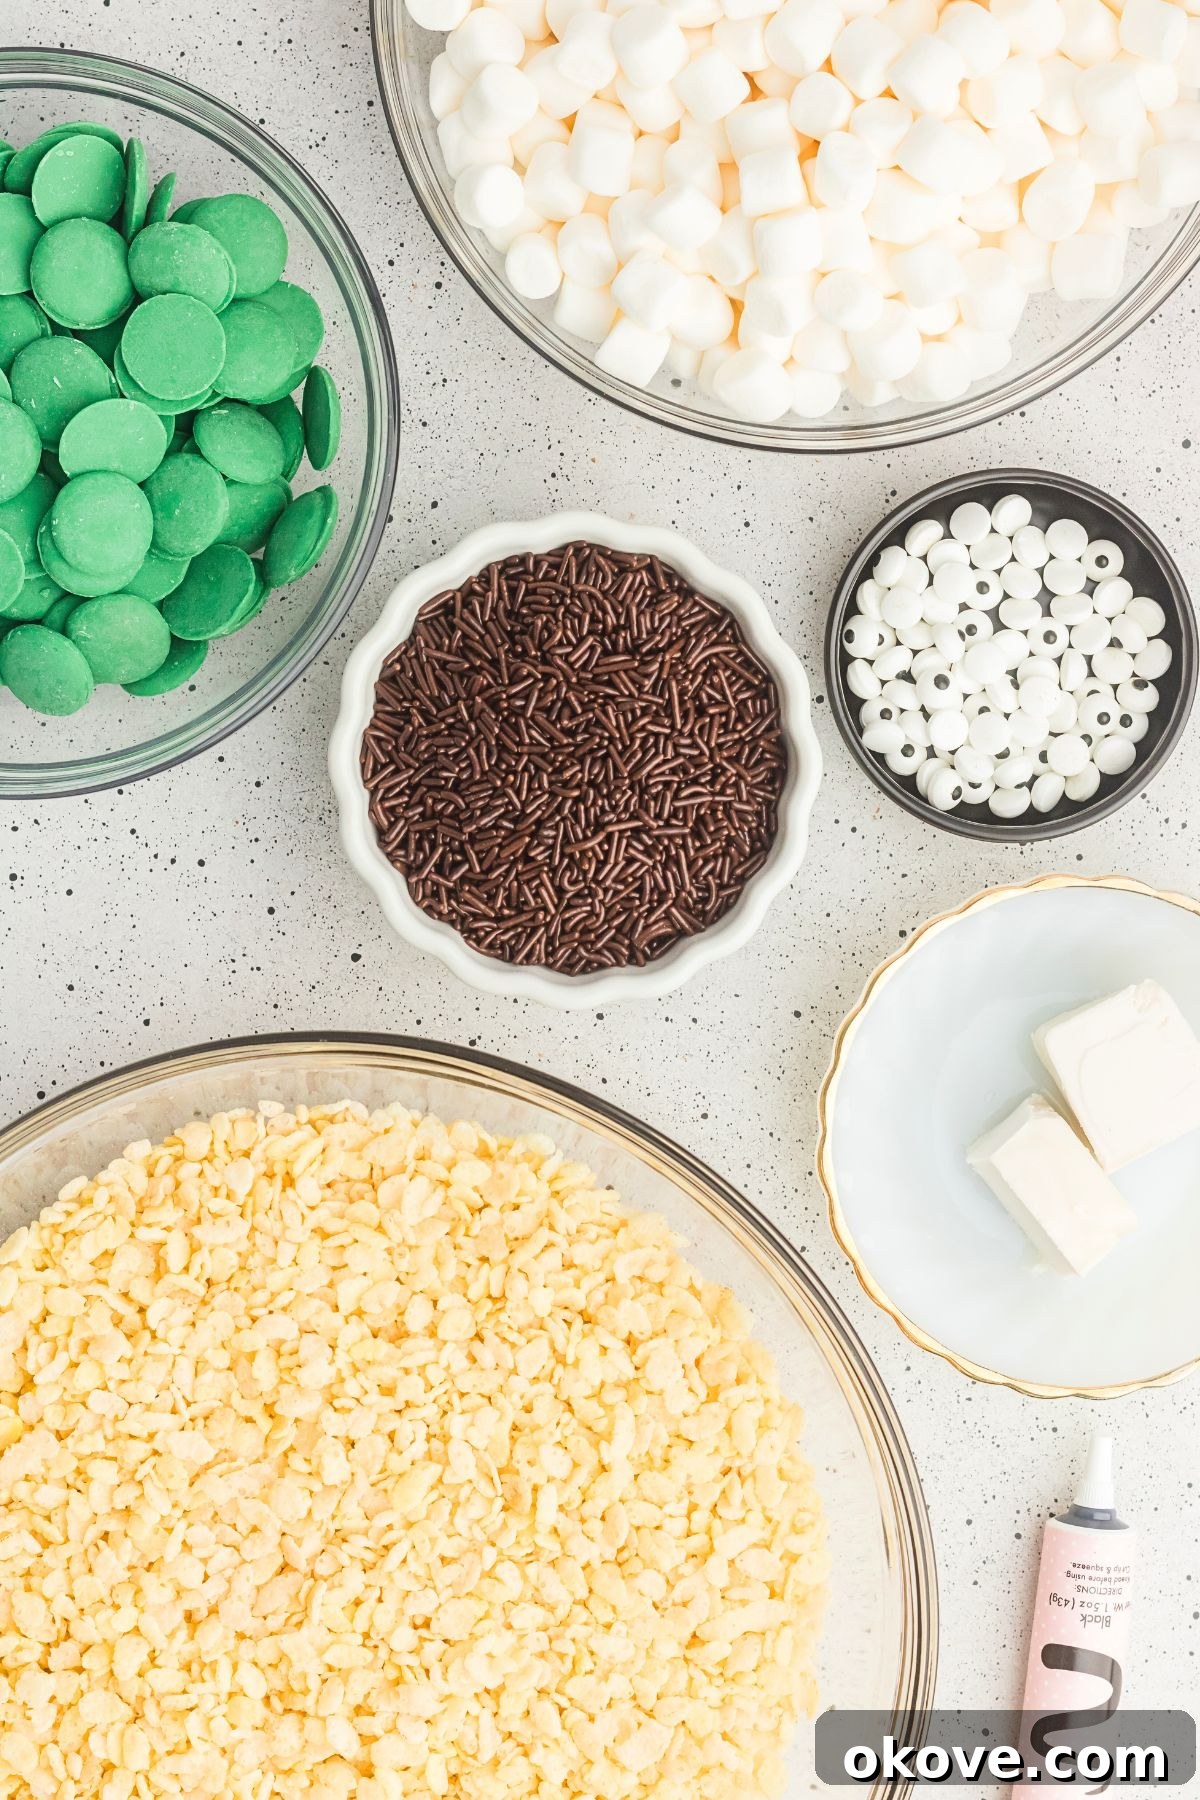
- Rice Krispie Cereal: This iconic crispy rice cereal forms the fundamental base of our Frankenstein monsters. Fresh cereal ensures maximum crunchiness and holds the shape well.
- Mini Marshmallows: You’ll need about 4 cups, or one standard 10-ounce bag. Mini marshmallows melt more quickly and evenly than their larger counterparts, contributing to that perfectly gooey texture. Feel free to snack on a few extra while you’re melting!
- Butter: Real butter is key here! It adds a rich, irresistible flavor and helps create the signature chewy and gooey consistency that makes Rice Krispie treats so addictive.
- Green Candy Melts: Frankenstein wouldn’t be Frankenstein without his iconic green hue! These candy melts provide a smooth, vibrant coating. You can find them at most craft stores or baking supply sections.
- Jimmies Sprinkles (Black or Brown): These are perfect for creating Frankenstein’s “hair.” Black or dark brown jimmies work best to give that classic monster look.
- Candy Eyes: These edible eyeballs are essential for bringing your monsters to life! If you can’t find specific candy eyeballs, you can improvise with white chocolate chips dotted with black icing, or even small round candies.
- Black Icing (Tube or Gel): This will be used to pipe Frankenstein’s distinctive stitches and mouth. A small tube with a fine tip or an icing pen works perfectly.
- Coconut Oil (Optional): A small amount can be added to the candy melts to achieve a thinner, smoother consistency, making them easier to dip. This is particularly helpful if your candy melts feel too thick.
Step-by-Step: Crafting Your Frankenstein Rice Krispie Treats
Follow these easy steps to create your own batch of monstrously delicious Frankenstein Rice Krispie Treats. The process is straightforward and guarantees a fun, festive result!
Preparation
- Prepare Your Baking Dish: Begin by lightly greasing a 9×13-inch baking dish. You can do this by rubbing the inside with a small amount of butter or coating it thoroughly with a non-stick cooking spray. Set the prepared dish aside. This step is crucial for easily removing your treats later.
Melting Marshmallows & Mixing
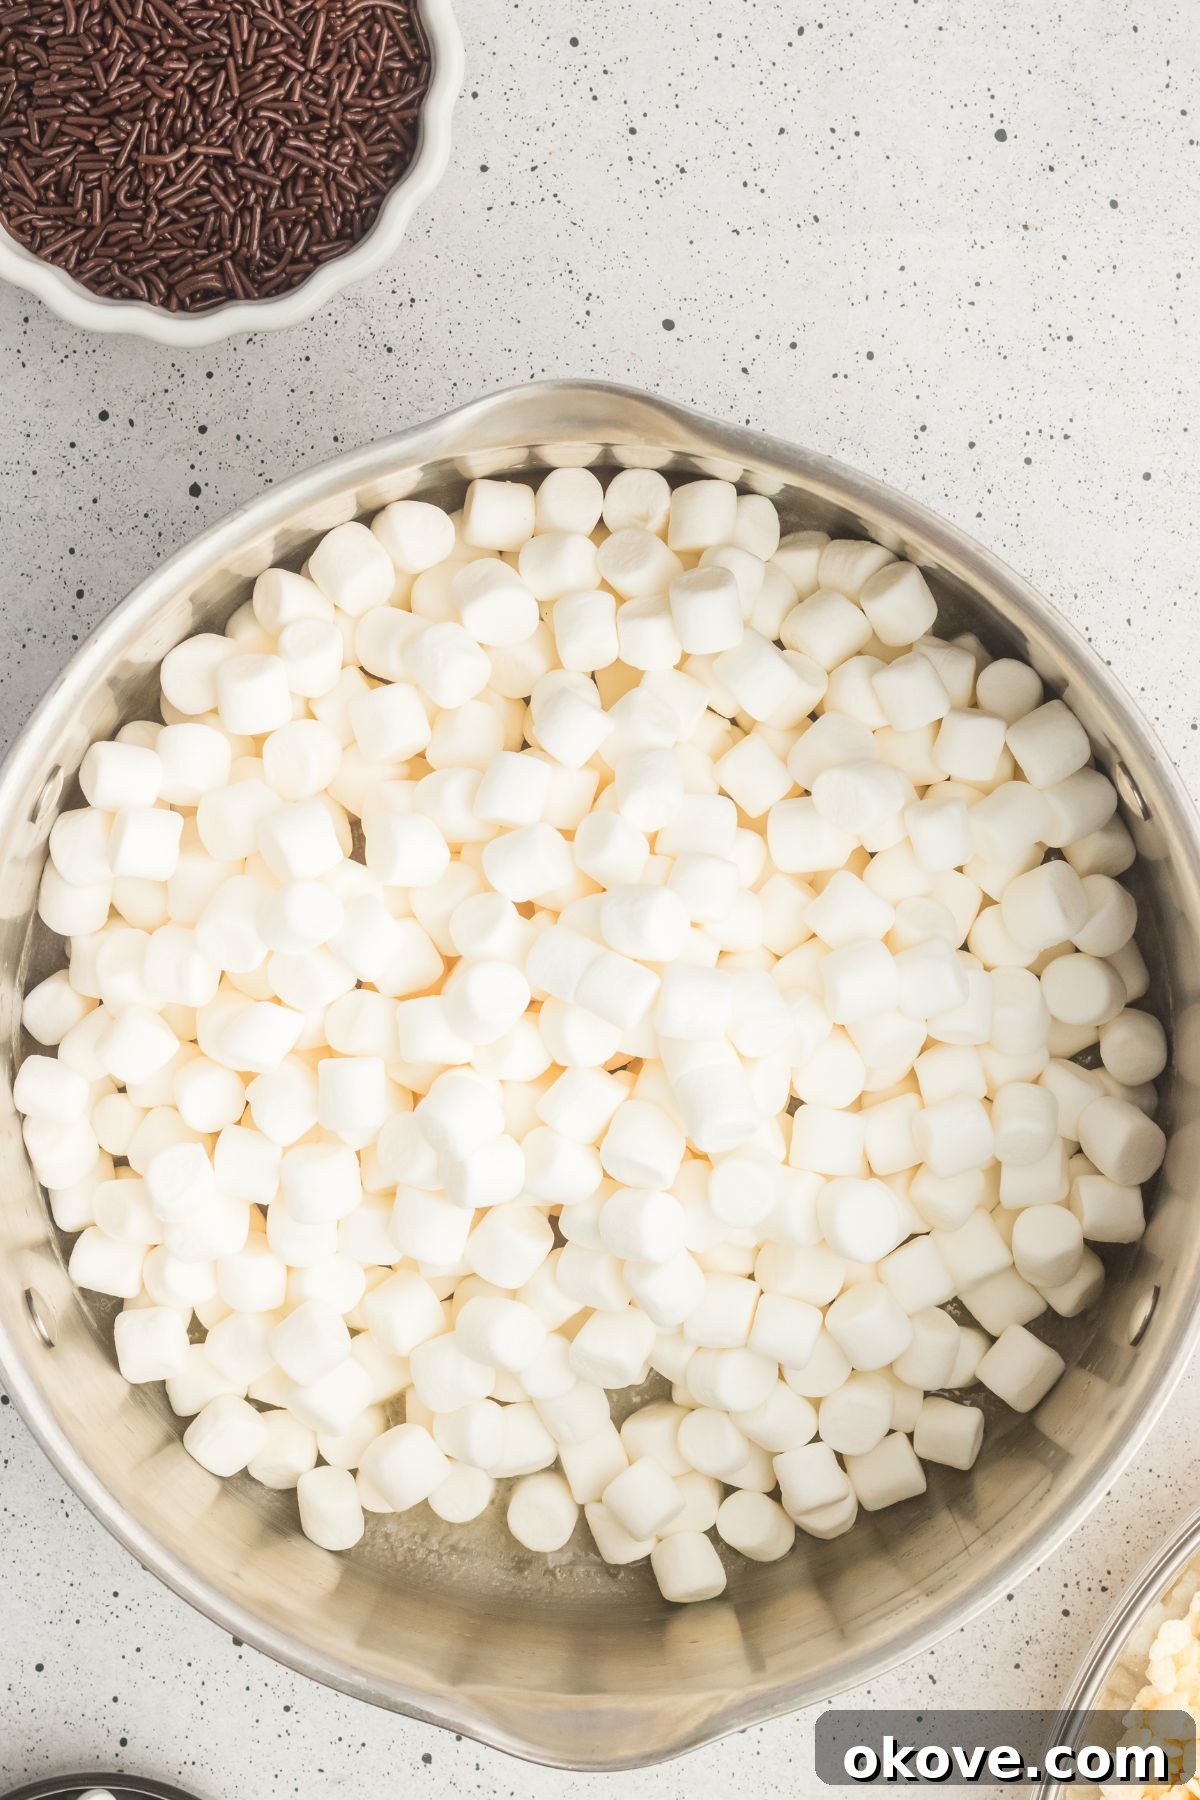
- Melt Butter and Marshmallows: In a large saucepan, melt the butter over low to medium heat. Once the butter has completely melted, add the mini marshmallows to the pan. Stir continuously, ensuring the marshmallows combine thoroughly with the melted butter as they soften. Continue stirring gently over low to medium heat until all the marshmallows are fully melted and the mixture is smooth and cohesive. Be vigilant during this stage, as marshmallows can burn quickly if the heat is too high.
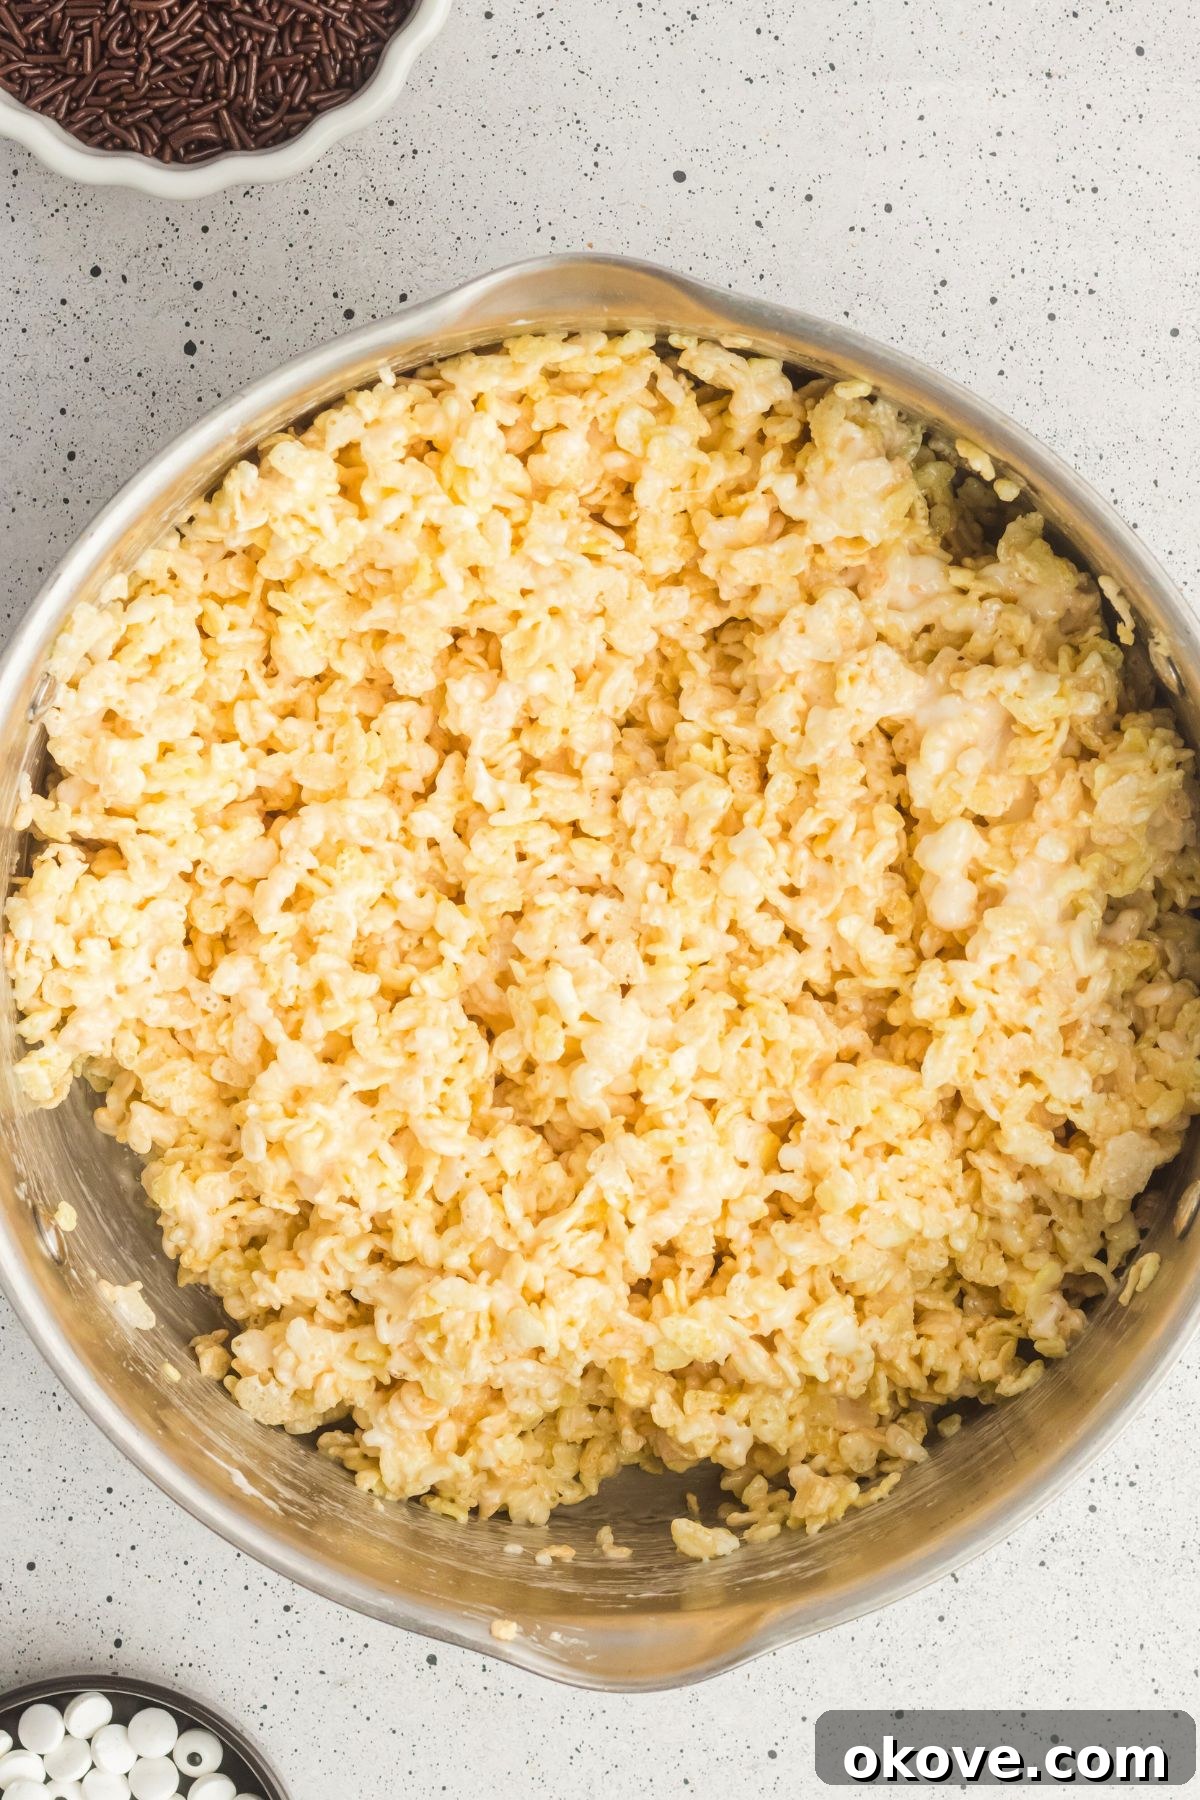
- Combine with Cereal: Once the butter and marshmallow mixture is perfectly smooth, immediately remove the saucepan from the heat. Pour the Rice Krispie cereal into the pan. Working quickly, stir the cereal into the marshmallow mixture until every piece of cereal is evenly coated. Speed is important here, as the mixture will begin to set as it cools.
Shaping & Setting
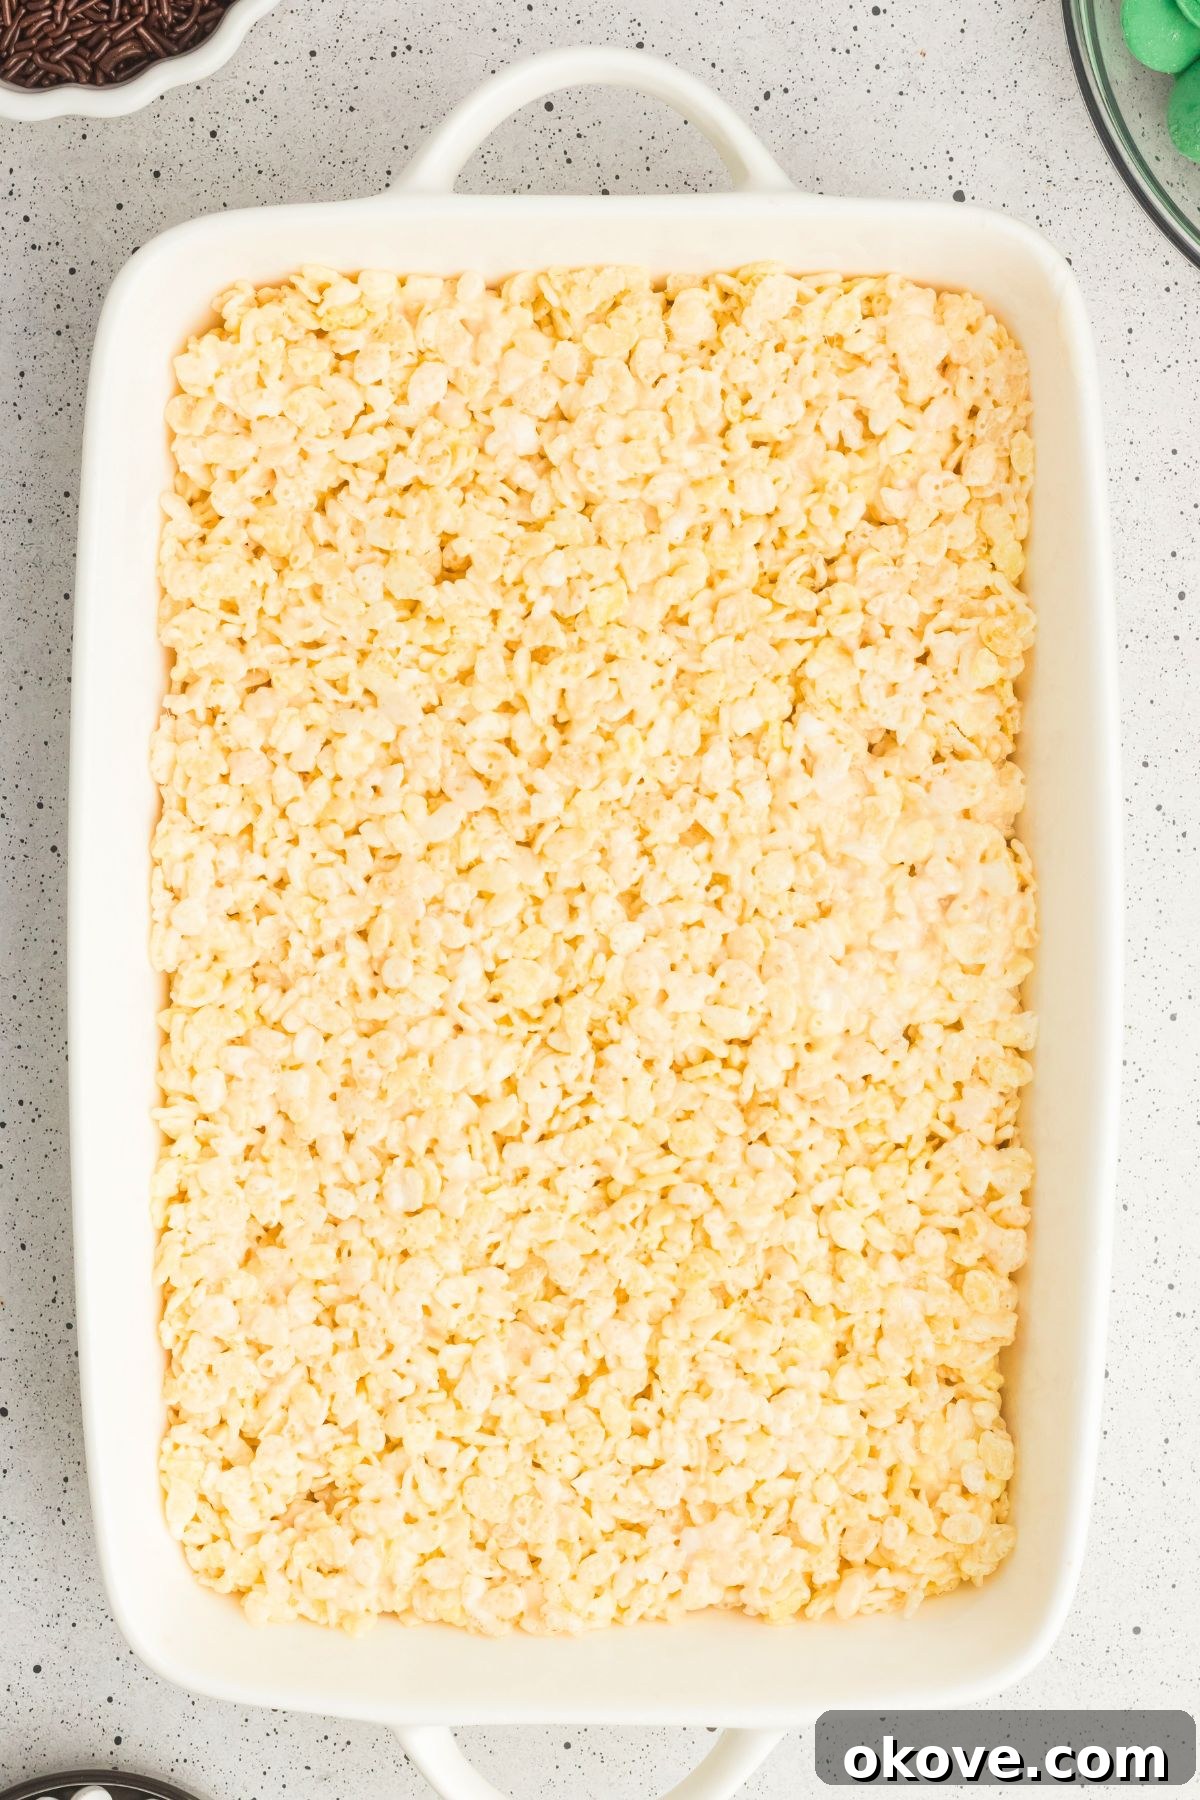
- Press into Dish: Transfer the warm cereal mixture into your prepared 9×13-inch baking dish. Using a rubber spatula, gently and evenly press the mixture down into the dish. To prevent the sticky marshmallow mixture from adhering to your spatula, you can lightly spray the spatula with non-stick cooking spray or dampen it with a little water. Avoid pressing too firmly, as this can result in hard, dense treats.
- Allow to Set: Let the Rice Krispie mixture cool and set at room temperature for at least 30 to 60 minutes. Once firm, gently loosen the edges of the treats from the dish and turn the entire slab out onto a clean cutting board or a piece of parchment paper. Use a sharp, buttered knife to cut the large slab into individual rectangles, forming the bodies of your Frankenstein monsters. Set these rectangles aside.
Decorating Your Monsters
- Melt Green Candy Melts: Place the green candy melts in a microwave-safe bowl and heat them in 30-second intervals, stirring well after each interval, until completely melted and smooth. Alternatively, you can use a double boiler for a more gradual melting process. If the melted candy seems too thick, stir in 1 teaspoon of coconut oil (or vegetable shortening) at a time until you achieve your desired dipping consistency.
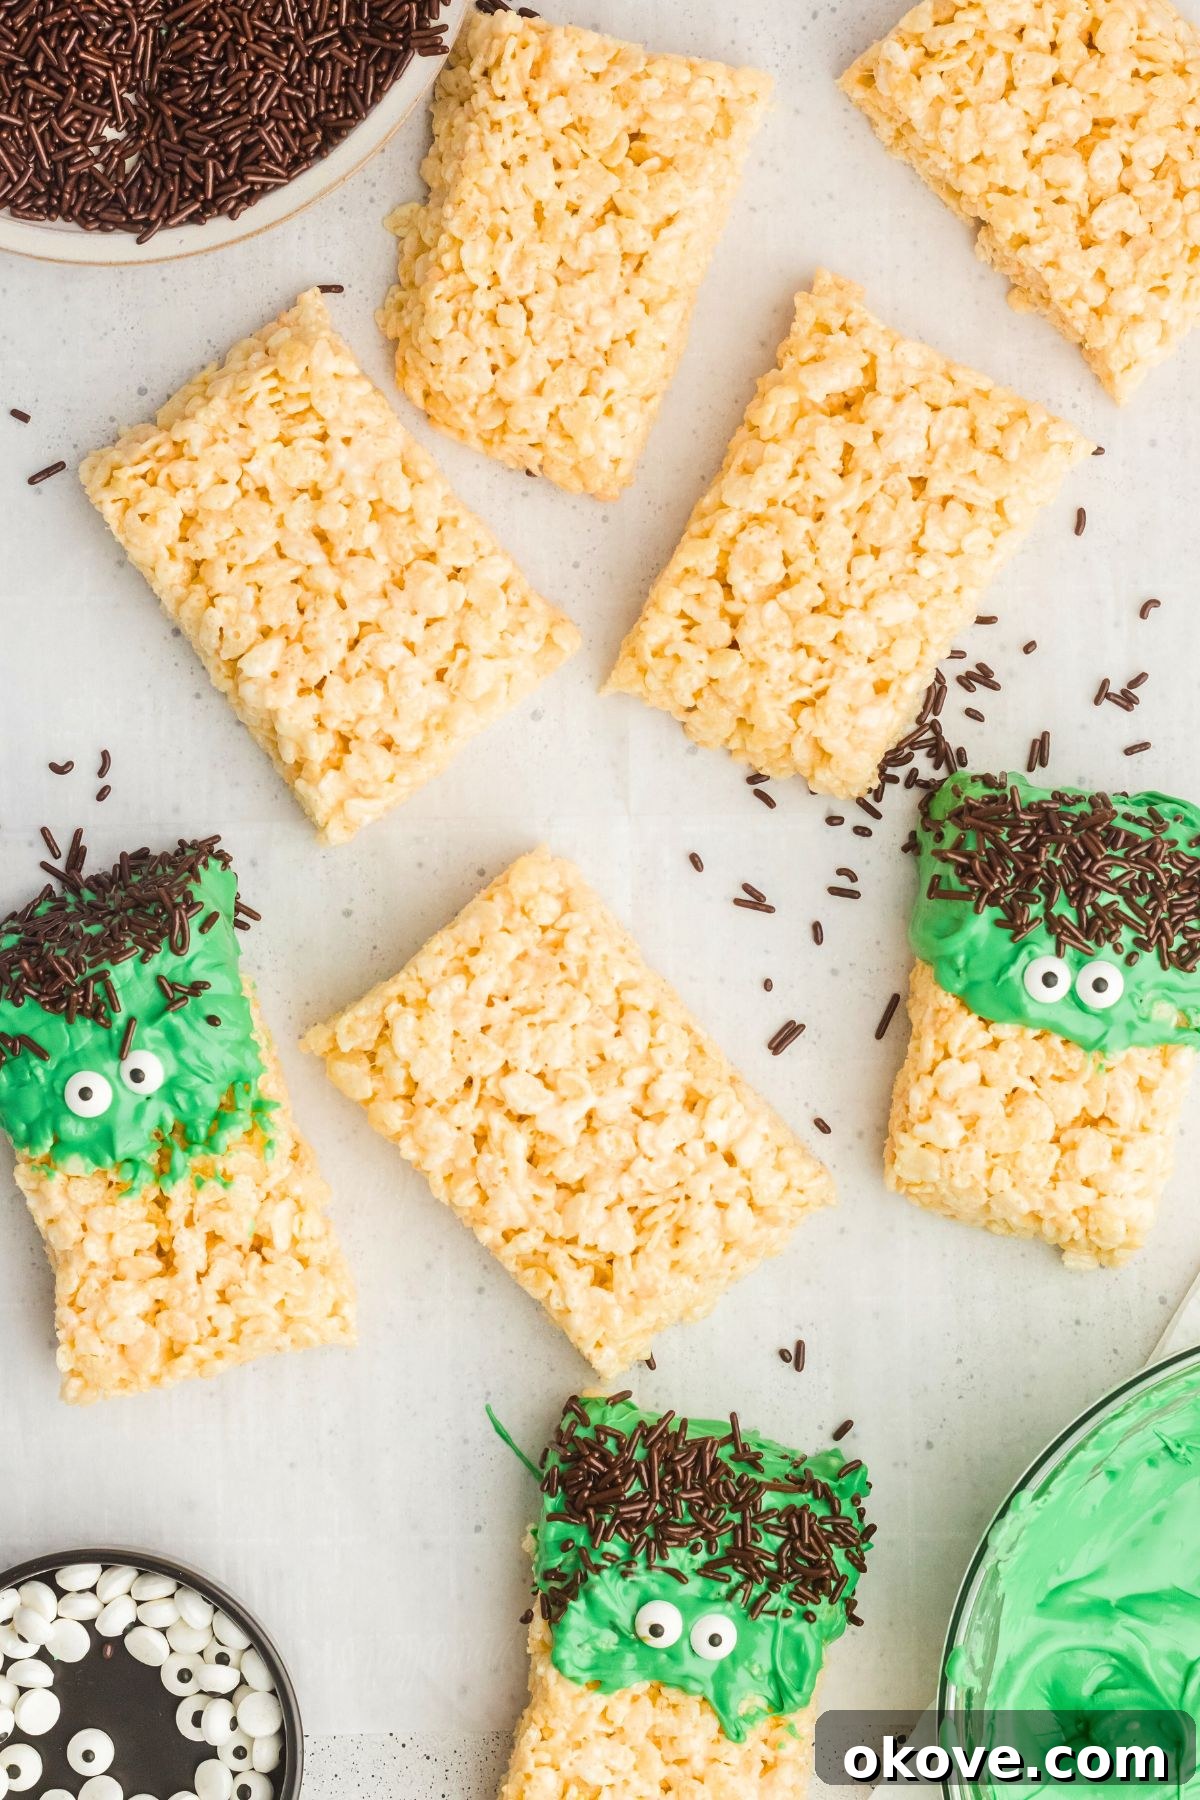
- Dip and Decorate: Carefully dip the top portion of each rectangular Rice Krispie treat into the melted green candy, coating about one-third to half of the treat to create Frankenstein’s “head.” Allow any excess chocolate to drip off, then immediately lay the dipped treat onto a piece of parchment paper. Before the green candy melts harden, sprinkle black or brown jimmies along the top edge for “hair” and gently press two candy eyeballs into place.
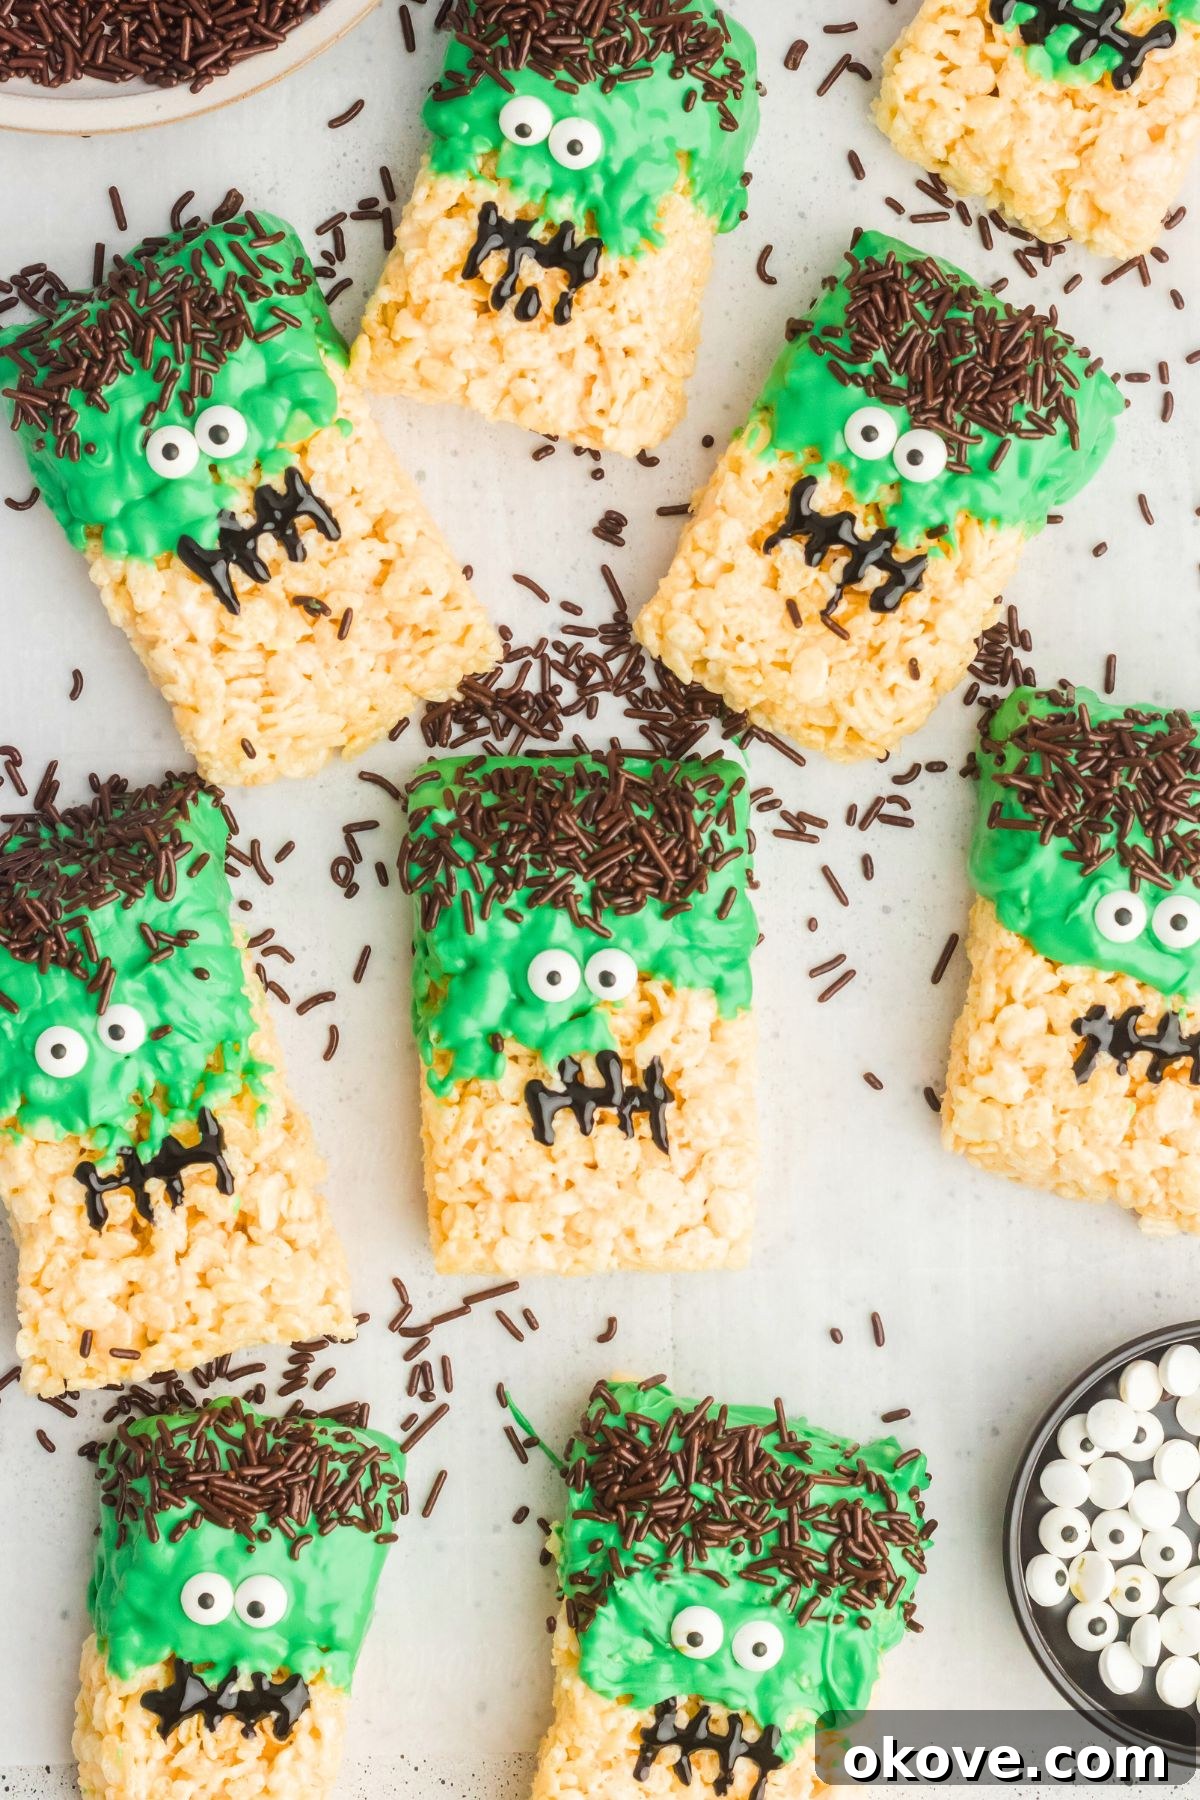
- Add Stitches and Mouth: Once the green candy melts have completely hardened, it’s time for the finishing touches. Take your black icing and carefully pipe small stitches across the “face” of each Frankenstein, creating his iconic scar. You can also pipe a simple jagged line for a mouth if desired. If you don’t have a piping bag with a fine tip, a toothpick dipped into the black icing works wonderfully for drawing these details. Allow the icing to fully set before serving and enjoying your adorable, spooky treats!
Speedy Spooky Snacks: Microwave Method for Rice Krispie Treats
If you’re truly short on time but still want to whip up these festive treats, the microwave can be your best friend! This method offers a rapid way to melt your ingredients without compromising on that classic gooey texture.
To use the microwave method, combine the butter and mini marshmallows in a large, microwave-safe bowl. Heat on high for 1 to 2 minutes, carefully watching the marshmallows. They will puff up significantly as they heat. Pause and stir after 1 minute to ensure even melting. Continue microwaving in short bursts (15-30 seconds) until the mixture is smooth and completely melted, stirring vigorously between each interval. Once melted, immediately stir in the Rice Krispie cereal until it’s fully coated. From this point, you can proceed with pressing the mixture into your prepared baking dish, allowing it to set, and decorating, following steps 4 through 8 of the main recipe instructions above.
Pro Tips for Perfect Halloween Rice Krispie Treats
Achieving the perfect balance of crispy and chewy with your Rice Krispie treats is simple with a few expert tips:
- Always Use Fresh Marshmallows: This is a golden rule for Rice Krispie treats! Older, stale marshmallows tend to be harder and don’t melt as smoothly, which can result in tough, dry treats. Fresh marshmallows ensure that luscious, gooey texture. For an extra dose of gooey goodness, don’t hesitate to toss in an extra handful of mini marshmallows.
- Maintain Low Heat on the Stovetop: When melting your butter and marshmallows, always keep the heat setting on low to medium-low. High heat is the enemy here, as it can quickly burn the marshmallows, leaving a bitter taste and a grainy texture. Continuous stirring also helps prevent scorching and promotes even melting.
- Don’t Over-Press the Mixture: When pressing the Rice Krispie mixture into the baking dish, use a gentle, even hand. Over-compacting the mixture will squeeze out all the air, leading to dense, hard treats instead of light, chewy ones. A lightly buttered or sprayed spatula makes this step much easier.
- Work Quickly and Efficiently: The marshmallow mixture starts to set as it cools, so it’s important to work swiftly once you add the cereal. Have all your ingredients measured and ready to go before you start melting to ensure a smooth and quick mixing process.
- Ensure Dry Candy Melts: When working with candy melts, especially green ones for Frankenstein, ensure your bowls and utensils are completely dry. Even a tiny drop of water can cause the chocolate to “seize,” turning it lumpy and unusable.
Creative Variations & Customizations
While Frankenstein is a fantastic choice for Halloween, the possibilities for customizing your Rice Krispie treats are endless. Get creative and make a whole haunted collection!
- Shape Your Treats into Anything Spooky: Before the mixture fully hardens, you have a window to mold or cut your treats into various fun shapes. For precise Halloween shapes like black cats, friendly ghosts, or cheerful pumpkins, use cookie cutters. If you prefer freehand molding, lightly butter or oil your hands to prevent sticking while you sculpt. You could even create little brains or severed fingers for a truly gruesome display!
- Mummy Rice Krispie Treats: For a different monster, cut your treats into rectangles. Melt white chocolate or white candy melts. Drizzle the melted white chocolate across the treats in a zigzag pattern, leaving a small space at one end for the “eyes.” Use a tiny dab of melted chocolate to “glue” two candy eyeballs into the un-drizzled space.
- Add Color Directly to the Treats: Instead of dipping, you can color the entire Rice Krispie treat mixture. Add a few drops of gel food coloring (green for Frankenstein, orange for pumpkins, purple for witches) to the melted marshmallow mixture before adding the cereal. Stir until the color is evenly distributed for vibrant, fully colored treats.
- Change Up the Flavor Profile: Experiment with different flavored cereals as your base, or mix in other ingredients to the marshmallow mixture. You could use chocolate Rice Krispies for a darker monster base, or add a cup of chocolate chips to the warm mixture for a chocolatey twist. Peanut butter can also be melted in with the butter for a nutty flavor.
- Spiderweb or Monster Slime Treats: Dip treats in white candy melts, then immediately drizzle black melted chocolate in concentric circles and drag a toothpick from the center outwards to create a spiderweb effect. Or, use slime green food coloring in your marshmallow mixture and let the treats look gooier and less structured for “monster slime” treats.
Serving & Storage Suggestions
These Halloween Rice Krispie Treats are best enjoyed within a few days of making them to maintain their optimal chewy-crispy texture. For serving, arrange them artfully on a festive platter, perhaps with some fake spiderwebs or candy corn for an extra spooky touch. They make an excellent centerpiece for any Halloween dessert table.
To store any leftover treats, place them in an airtight container at room temperature. They will retain their freshness and deliciousness for up to 3 days. Avoid refrigerating, as this can make the treats hard and less enjoyable. For best results, keep them away from direct sunlight and heat.
Frequently Asked Spooky Questions (FAQs)
- How long can I store leftover treats?
- These yummy treats will store well in an airtight container at room temperature for up to 3 days.
- What can I use if I can’t find black icing for the stitches?
- No black icing? No problem! You can melt a small amount of dark chocolate chips or black candy melts. Transfer the melted chocolate to a small piping bag with a tiny tip, or even a ziplock bag with a corner snipped off, and pipe the stitches that way. A toothpick dipped in melted chocolate also works perfectly for drawing fine lines.
- Can I make these treats in advance for a party?
- Yes, absolutely! These treats are ideal for making 1-2 days ahead of your event. Just ensure they are stored in an airtight container at room temperature to keep them fresh and chewy until serving time.
More Festive & Fun Holiday Recipes
Holidays
Holiday Sliders
Desserts
Chocolate Peanut Butter Cake
Breakfast
Homemade Cinnamon Rolls
Meals
Spiral Ham
Holidays
Halloween Rice Krispie Treats
Desserts
Caramel Popcorn
Recipe Rating: 5 out of 5 stars from 3 votes
Halloween Rice Krispie Treats Recipe Card
By: Rebecca
Servings: 10
Prep Time: 10 mins
Cook Time: 5 mins
Resting Time: 30 mins
Total Time: 45 mins
Halloween Rice Krispie treats are so adorable! Each bite is filled crispy rice cereal and gooey marshmallows, making a fun monster snack!
Equipment
- Saucepan
- Microwave Safe Bowls
- Baking Sheet (or 9×13 inch baking dish)
- Piping Bag (or toothpick for decorating)
Ingredients
- 6 cups rice krispies cereal
- 10 ounces mini marshmallows (approximately 4 cups)
- 4 tablespoon butter
- 10 ounces green candy melts
Decorations:
- Black or brown jimmies sprinkles
- Candy eyes
- Black icing (in a tube or piping bag)
Instructions
- Prepare a 9×13 baking dish by rubbing the inside with butter or non-stick spray, and then set it aside.
- In a large saucepan, melt the butter over low/medium heat. Once it’s melted, add in the mini marshmallows, stirring to combine them with the butter as they melt also. Keep on low/medium heat, until all of the marshmallows are melted. Be careful not to burn the marshmallow mixture.
- When the butter and marshmallow mixture has melted and is smooth, remove the saucepan from heat and then add the rice krispie cereal to the pan. Quickly stir until the cereal is evenly coated in the marshmallow butter mixture.
- Press the mixture into the prepared baking dish and press down with a rubber spatula. You can spray the spatula with non-stick spray to keep it from sticking to the marshmallow.
- Allow this to set at room temperature for at least 30 to 60 minutes. Loosen the edges and turn out onto a cutting board or parchment paper. Cut into rectangles, then set aside.
- Melt the green candy melts in a microwave-safe bowl in 30-second intervals, or in a double boiler. You can add 1 teaspoon of coconut oil to thin the candy melts out if needed.
- Dip the top of each rice krispie into the melted chocolate and then lay it onto a piece of parchment paper. Before the chocolate hardens, add jimmies sprinkles and place the candy eyeballs in desired places.
- When the green candy melts have hardened, pipe stitches for mouth with the black icing. Allow to completely set before enjoying. (If you don’t have a piping bag, you can use a toothpick and dip it into the icing to decorate his mouth.)
Notes
- When using melting chocolates, it’s important to have everything dry. Even a tiny drop of water can cause the chocolate to seize.
- Watch the melting chocolates carefully in the microwave or on the stovetop. It can burn quickly.
- Depending on how big you cut your treats, you can get 10-12 Frankenstein treats from one batch.
Nutrition Information
Calories: 257kcal | Carbohydrates: 45g | Protein: 2g | Fat: 8g | Saturated Fat: 6g | Polyunsaturated Fat: 0.3g | Monounsaturated Fat: 1g | Trans Fat: 0.2g | Cholesterol: 12mg | Sodium: 160mg | Potassium: 24mg | Fiber: 0.1g | Sugar: 26g | Vitamin A: 1257IU | Vitamin C: 11mg | Calcium: 3mg | Iron: 5mg
Nutrition information is automatically calculated, so should only be used as an approximation.
Additional Info
Course: Appetizer, Dessert
Cuisine: American