
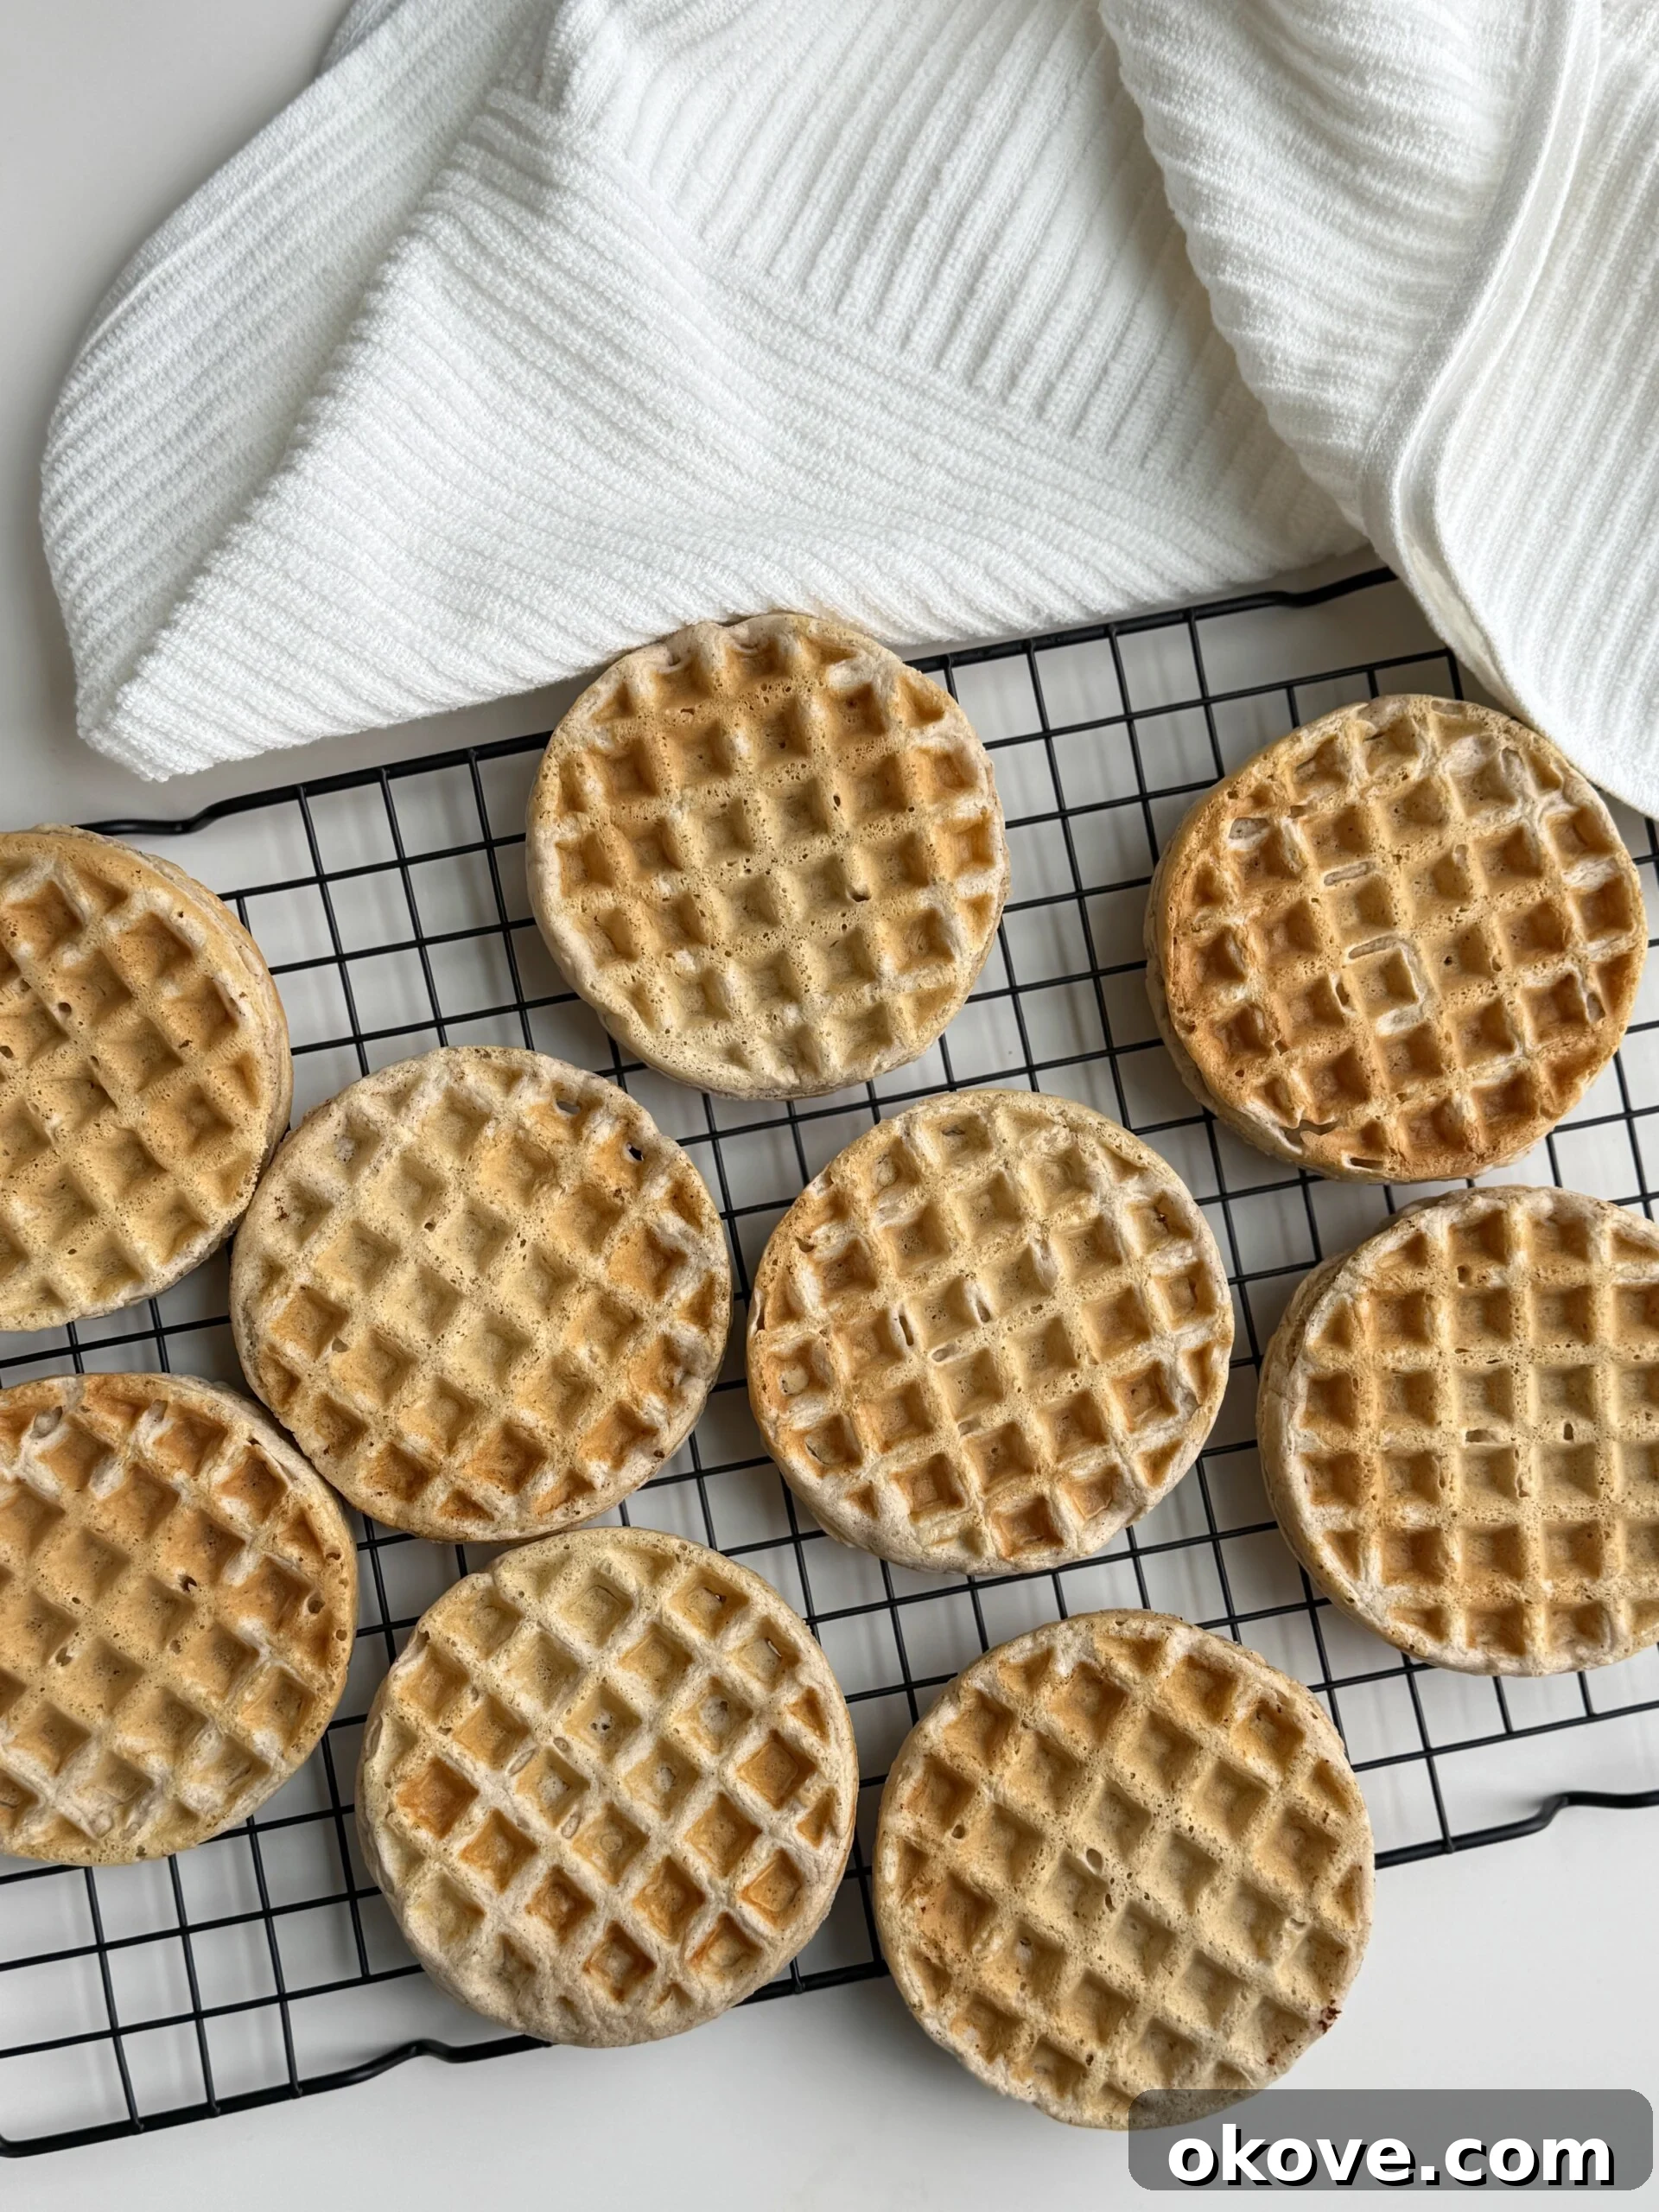
Freezer Waffles: The Ultimate Make-Ahead Breakfast for Busy Families
Are your mornings a whirlwind of activity, especially with energetic toddlers underfoot? If the thought of preparing a healthy, wholesome breakfast every weekday fills you with dread, then these incredible Freezer Waffles are about to become your new kitchen superhero. Imagine waking up to a ready-to-toast breakfast that’s not only delicious but also nutritious, soft enough for tiny mouths, and perfectly sized for little hands. Say goodbye to rushed, sugar-laden breakfasts and hello to stress-free, delightful mornings.
This recipe is designed with simplicity and health in mind, utilizing everyday pantry staples to create fluffy, lightly sweetened waffles. The natural sweetness comes from applesauce, making them a fantastic choice for families looking to reduce added sugars. Once cooked, they’re incredibly freezer-friendly, allowing you to batch-prepare a week’s or even a month’s worth of breakfasts in one go. Simply warm them up in minutes, and you’ll have a golden, tender treat that both kids and adults will adore.
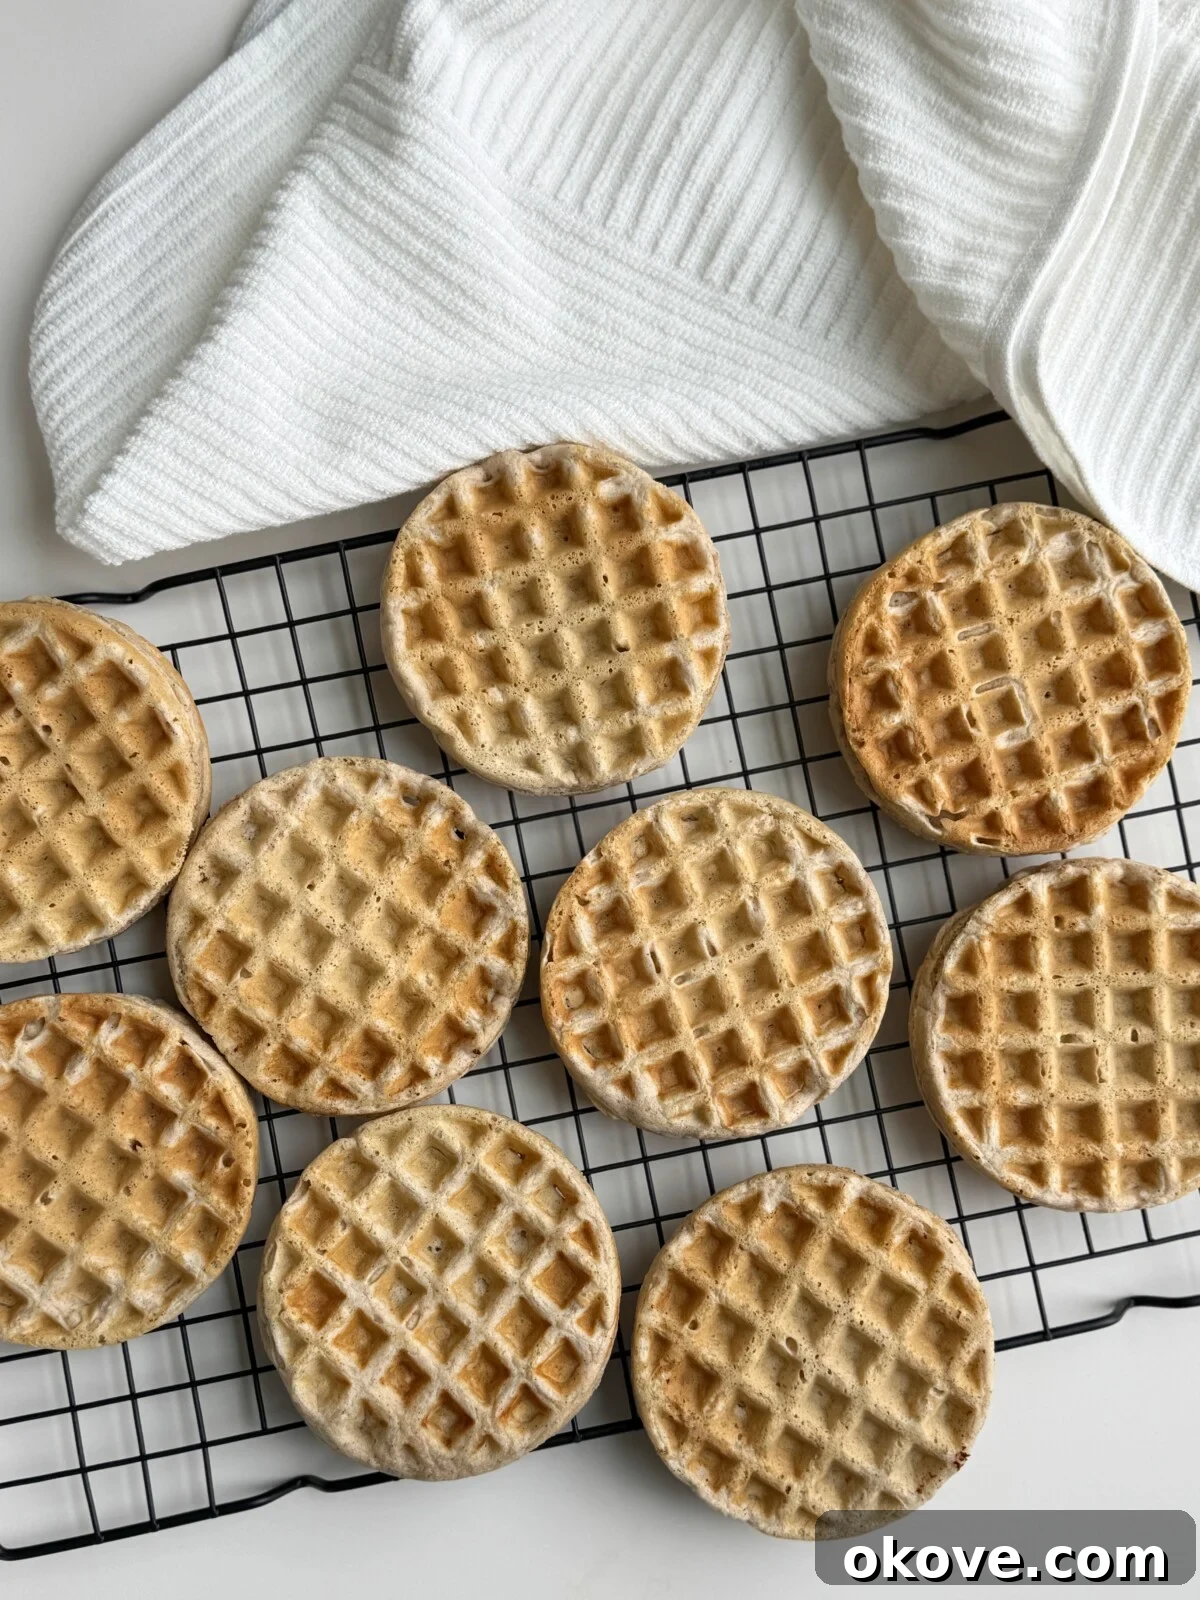
Why These Freezer Waffles Are a Game-Changer for Toddlers and Families
More than just a quick meal, these homemade freezer waffles offer a host of benefits that make them a staple in any busy household. Here’s why they’re an absolute must-try:
- Perfect Texture for Little Ones: Achieving the ideal texture for young children is key, and these waffles deliver. They are wonderfully soft on the inside, yet sturdy enough for small hands to grip without crumbling. This makes them excellent for babies exploring solids through baby-led weaning (BLW) and for toddlers who are developing their self-feeding skills. They’re easy to chew and swallow, minimizing choking hazards while maximizing enjoyment for babies, toddlers, and even bigger kids.
- Effortlessly Freezer-Friendly: The magic of this recipe lies in its freezer-ability. Dedicate a small amount of time once to make a large batch, and you’ll have wholesome breakfasts ready to go for weeks. This transforms morning routines, eliminating the need for daily cooking and providing a healthy alternative to store-bought options. It’s the ultimate meal prep solution for busy parents.
- Naturally Sweetened with Applesauce: We consciously choose unsweetened applesauce as the primary sweetener in these waffles. This approach allows for a gentle, natural sweetness without relying on refined sugars, making them a healthier choice for growing children. Applesauce also contributes to the waffles’ moist texture and adds a subtle fruitiness that complements the cinnamon beautifully.
- Infinitely Customizable for Every Palate: One of the joys of homemade waffles is the freedom to customize. These freezer waffles are a perfect canvas for various additions. Mix in a handful of fresh blueberries for a burst of flavor and antioxidants, add mini chocolate chips for a special treat, or incorporate chia seeds for an extra boost of omega-3s and fiber. You can even divide the batter and make different variations within a single batch to please everyone in the family.
- Incredibly Easy to Reheat: Forget soggy microwaved waffles. These freezer waffles reheat beautifully, maintaining their delightful texture. Pop them directly from the freezer into a toaster, toaster oven, or air fryer, and in just 1-3 minutes, you’ll have a warm, slightly crispy, and ready-to-eat breakfast. This convenience is unmatched when you’re short on time but refuse to compromise on quality.
Simple Ingredients for Wholesome Waffles
One of the beauties of this recipe is its reliance on readily available, basic pantry ingredients. You likely have most of these on hand already, making these waffles incredibly easy to whip up anytime.
- 1.5 cups All-Purpose or Whole Wheat Flour: You have the flexibility to choose! All-purpose flour yields a lighter, fluffier waffle, while whole wheat flour adds a nutty flavor, more fiber, and extra nutrients, making them even healthier. A 50/50 blend of both also works wonderfully.
- 2 tsp Baking Powder: This essential leavening agent is crucial for creating those wonderfully fluffy, airy waffles. It reacts with the wet ingredients to produce carbon dioxide bubbles, giving the waffles their characteristic rise and light texture.
- 1 tsp Cinnamon: A touch of ground cinnamon elevates the flavor profile, adding warmth and a comforting aroma that pairs perfectly with the applesauce. It’s a subtle yet impactful addition that makes these waffles truly irresistible.
- 2 Large Eggs: Eggs act as a binder, holding the batter together and contributing to the waffle’s structure. They also add richness and a slight lift.
- 1 cup Milk: Milk provides moisture and richness to the batter, creating a tender crumb. Any type of dairy milk (whole, 2%, skim) will work.
- 1/4 cup Unsweetened Applesauce: This is our secret ingredient for natural sweetness and extra moisture. Using unsweetened ensures you control the overall sugar content, while its pectin content helps keep the waffles soft and tender.
- 1 tsp Vanilla Extract: A dash of vanilla extract enhances all the other flavors, adding a fragrant and sweet undertone that makes these waffles taste like a gourmet treat.
Optional Mix-Ins for Extra Flavor and Nutrition:
Feel free to experiment with these additions after your main batter is mixed:
- 1/2 cup fresh or frozen blueberries (do not thaw)
- 1/4 cup mini chocolate chips
- 1-2 tablespoons chia seeds or ground flaxseed
- 1/4 cup finely chopped strawberries or mashed banana
Essential Equipment for Your Waffle-Making Adventure
Having the right tools makes the waffle-making process even smoother. Here’s what you’ll need:
- Waffle Maker: A mini waffle maker is ideal for creating toddler-friendly portions, but a standard waffle maker works just as well. Just adjust cooking times accordingly.
- Large Mixing Bowl: For combining all your dry and wet ingredients.
- Whisk or Electric Mixer: A whisk is perfectly sufficient for achieving a smooth batter, but an electric mixer can speed up the process.
- Measuring Cups and Spoons: For accurate ingredient proportions.
- Ladle or Scoop: To easily transfer batter to the waffle maker.
- Wire Cooling Rack: Absolutely crucial for allowing waffles to cool completely before freezing, preventing sogginess.
- Freezer-Safe Bags or Containers: For long-term storage of your delicious freezer waffles.
- Baking Sheet (optional, but recommended): For flash-freezing individual waffles.
Step-by-Step Instructions for Fluffy Freezer Waffles
Making these waffles is incredibly straightforward, perfect for a busy afternoon or weekend prep session. Follow these steps for perfect results every time:
- Prepare Your Waffle Maker: Begin by preheating your mini waffle maker (or standard waffle maker) according to the manufacturer’s instructions. Ensure it’s fully heated before adding batter, and lightly grease it if necessary to prevent sticking. A properly preheated waffle maker ensures a golden, crispy exterior.
- Create the Perfect Batter: In a spacious large bowl, combine all your ingredients: flour (all-purpose, whole wheat, or a blend), baking powder, cinnamon, eggs, milk, unsweetened applesauce, and vanilla extract. Whisk everything together thoroughly until a smooth, uniform batter forms. Be careful not to overmix; a few small lumps are perfectly fine and often result in a tenderer waffle. Overmixing can develop the gluten in the flour too much, leading to tough waffles.
- Cook Your Waffles to Golden Perfection: Once your waffle maker is hot, pour or scoop a generous amount of batter onto the hot plates, ensuring not to overfill. Close the lid and cook for approximately 2-3 minutes for mini waffles, or until they are beautifully golden brown and cooked through. Cooking times may vary slightly depending on your specific waffle maker model. You’ll know they’re ready when steam stops escaping and they lift easily without sticking.
- Cool Completely Before Freezing: This step is vital for successful freezing! As each waffle finishes cooking, transfer it immediately to a wire cooling rack. Allow the waffles to cool down completely to room temperature before even thinking about packing them away. Stacking warm waffles, even slightly warm ones, can trap steam, leading to condensation and ultimately soggy, icy waffles in the freezer. Patience here pays off!
Expert Tips for Perfecting Your Freezer Waffles
Elevate your waffle game with these handy tips and tricks:
- Don’t Overmix the Batter: A common mistake that leads to tough waffles. Mix just until the wet and dry ingredients are combined and no dry streaks of flour remain. A few small lumps are okay.
- Proper Waffle Maker Greasing: Even non-stick waffle makers benefit from a light greasing, especially after the first few waffles. Use a neutral oil (like avocado or canola) applied with a pastry brush or cooking spray.
- Consistent Batter Portions: For uniform waffles that cook evenly, use a consistent amount of batter for each waffle. A 1/4 cup measuring cup or ice cream scoop works great for mini waffles.
- Flash Freeze for Best Results: For truly non-stick freezer waffles, flash freezing is your friend. Once completely cooled, lay the waffles in a single layer on a baking sheet and place them in the freezer for about 1 hour. This hardens them individually, preventing them from sticking together when transferred to a bag.
- Customize for Dietary Needs: These waffles are incredibly adaptable. For gluten-free waffles, substitute a 1:1 gluten-free flour blend. For egg allergies, try flax eggs (1 tbsp ground flaxseed + 3 tbsp water per egg, let sit for 5 minutes).
- Boost Flavor with Zest: Add a teaspoon of lemon or orange zest to the batter for a brighter, more complex flavor profile that complements the applesauce.
- Batch Cooking Efficiency: If you have multiple waffle makers, use them all at once to speed up the batch cooking process. This is especially helpful for large families or if you’re aiming for a big freezer stash.
Serving Suggestions: Make It a Complete Meal
These freezer waffles are delicious on their own, but they also make a fantastic base for a more elaborate and fun breakfast or brunch. Here are some ideas to serve them up:
- Classic Toppings: A drizzle of pure maple syrup, a dollop of Greek yogurt, or a sprinkle of fresh berries (strawberries, raspberries, more blueberries!).
- Nut Butter Power: Spread with almond butter, peanut butter, or cashew butter for added protein and healthy fats.
- Creamy Delights: A spoonful of cottage cheese or ricotta cheese with a dash of cinnamon.
- Savory Twist: For older kids and adults, serve alongside scrambled eggs or turkey bacon for a balanced meal.
- Fruit Extravaganza: A side of sliced bananas, apple slices, or a small fruit salad completes the meal with natural sweetness and vitamins.
Storage and Reheating Instructions
The beauty of these waffles lies in their make-ahead convenience. Proper storage and reheating will ensure they taste just as good as fresh!
- Fridge Storage: If you plan to consume them within a few days, store cooled waffles in an airtight container in the refrigerator for up to 4 days. This is perfect for grab-and-go breakfasts mid-week.
- Freezer Storage for Long-Term Freshness:
- Flash Freeze: After the waffles have cooled completely on a wire rack, arrange them in a single layer on a baking sheet. Place the baking sheet in the freezer for about 1 hour, or until the waffles are firm. This crucial step prevents them from sticking together when stored in bulk.
- Pack Away: Once flash-frozen, transfer the firm waffles to a freezer-safe bag or an airtight container. Squeeze out as much air as possible from bags to prevent freezer burn.
- Shelf Life: Stored correctly, your homemade freezer waffles will keep beautifully for up to 2 months.
- Reheating for Optimal Taste and Texture:
- Toaster or Toaster Oven: For the crispiest results, pop frozen waffles directly into your toaster or toaster oven. Toast for 1-3 minutes on a medium setting, or until thoroughly heated and slightly crispy.
- Air Fryer: Preheat your air fryer to 350°F (175°C). Place frozen waffles in a single layer in the air fryer basket and cook for 2-4 minutes, or until warmed through and crisp.
- Oven: If reheating a larger batch, preheat your oven to 350°F (175°C). Arrange frozen waffles in a single layer on a baking sheet and bake for 5-8 minutes, or until warm.
- Microwave (Use with Caution): While possible, microwaving will result in a softer, less crispy waffle. Heat frozen waffles for 20-30 seconds, or until warm. This method is best if you prefer a very soft texture or are in an extreme hurry.
Common Questions About Freezer Waffles, Answered
We’ve gathered some of the most frequently asked questions to help you master these delicious make-ahead waffles.
Can I add fruit to the waffle batter?
Absolutely, and it’s a fantastic way to introduce more flavor and nutrients! Blueberries, finely chopped strawberries, mashed banana, or even grated apple (squeeze out excess moisture) all work wonderfully. Just be mindful not to overload the batter, as too much fruit can make the waffles difficult to cook through evenly and potentially lead to a soggy texture. A good rule of thumb is about 1/2 cup of fruit for this recipe.
Can I make these waffles dairy-free?
Yes, easily! Simply substitute regular dairy milk with your favorite plant-based milk. Almond milk, oat milk, or unsweetened coconut milk (from a carton, not canned) are excellent choices and will yield equally delicious results without altering the texture significantly. Just ensure your plant-based milk is unsweetened to maintain the natural sweetness profile of the recipe.
Are these waffles good for baby-led weaning (BLW)?
They are exceptionally good for baby-led weaning! The soft yet sturdy texture is perfect for little ones learning to self-feed. For younger babies (around 6-9 months) who are just starting BLW, cut the waffles into finger-sized strips that are easy for them to grasp in their fist. As they develop their pincer grasp (around 9-12 months), you can cut them into smaller, bite-sized pieces. Ensure the waffles are cool enough for baby to handle safely.
How do I keep waffles crisp when reheating?
The key to crispness is dry heat. Always use a toaster, toaster oven, air fryer, or a conventional oven for reheating. These methods will dry out the exterior slightly and crisp it up beautifully. Reheating in the microwave alone will steam the waffles, making them soft and sometimes rubbery, so it’s best avoided if you prefer a crispy texture.
Can I make a larger batch of these waffles?
Absolutely! This recipe is perfect for scaling up. Simply double or even triple the ingredients to make a super-sized batch. Just ensure you have a large enough mixing bowl and ample cooling rack space. Batch cooking is the whole point of freezer waffles, so go big and stock your freezer!
Can I use different sweeteners instead of applesauce?
While applesauce provides natural sweetness and moisture, you can certainly experiment. If you prefer a sweeter waffle, you could add 1-2 tablespoons of maple syrup or honey to the batter. However, remember that this will increase the added sugar content. If you omit the applesauce, you might need to add a couple of extra tablespoons of milk to maintain the correct batter consistency.
What if my waffles stick to the waffle maker?
If your waffles are sticking, there are a few potential culprits:
- Your waffle maker might not be hot enough. Ensure it’s fully preheated.
- It might need more grease. Even non-stick surfaces benefit from a light spray or brush of oil between batches.
- You might be opening the waffle maker too soon. Wait for the steam to stop, indicating they’re cooked through and have released from the plates.
Conclusion: Simplify Your Mornings with Freezer Waffles
These homemade Freezer Waffles are truly a blessing for busy parents and anyone looking to streamline their morning routine without sacrificing health or flavor. They offer the perfect balance of convenience, nutrition, and deliciousness, making them an instant family favorite. With their customizable nature, suitability for all ages, and incredible freezer-friendliness, you’ll wonder how you ever managed mornings without them.
Take an hour or two this weekend to whip up a big batch, and enjoy the peace of mind that comes with having a healthy, satisfying breakfast ready to go, any day of the week. Say goodbye to breakfast stress and hello to more relaxed, enjoyable mornings with your loved ones. Give this recipe a try and transform your breakfast routine!
Tried this recipe?
Mention @reallittlemeals or tag #reallittlemeals!