
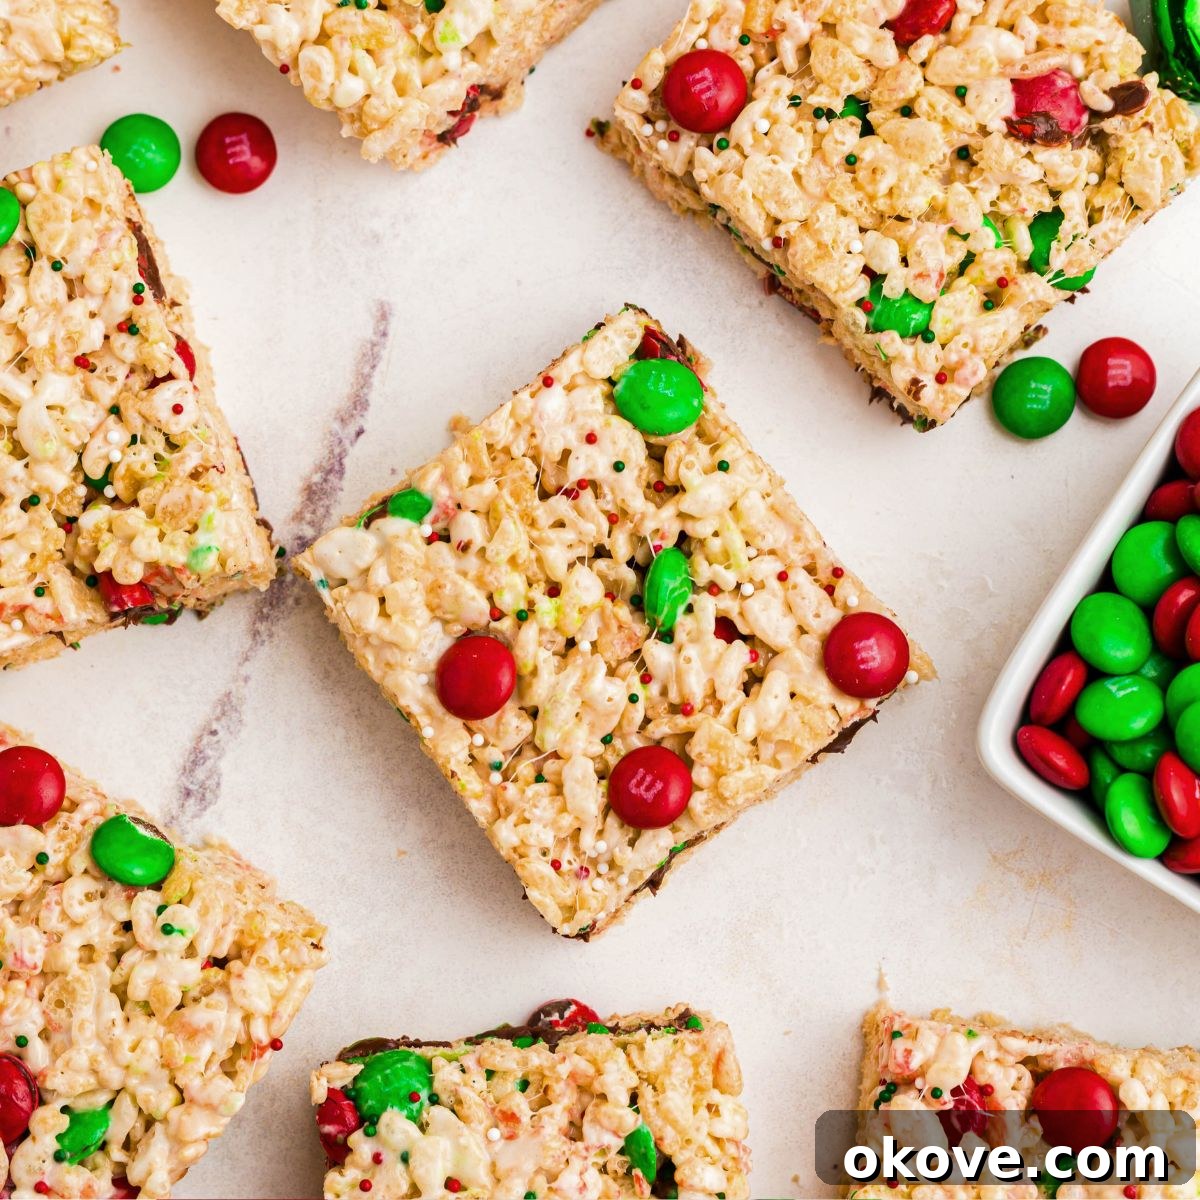
Festive & Easy Christmas Rice Krispie Treats: Your Ultimate Holiday Dessert Guide
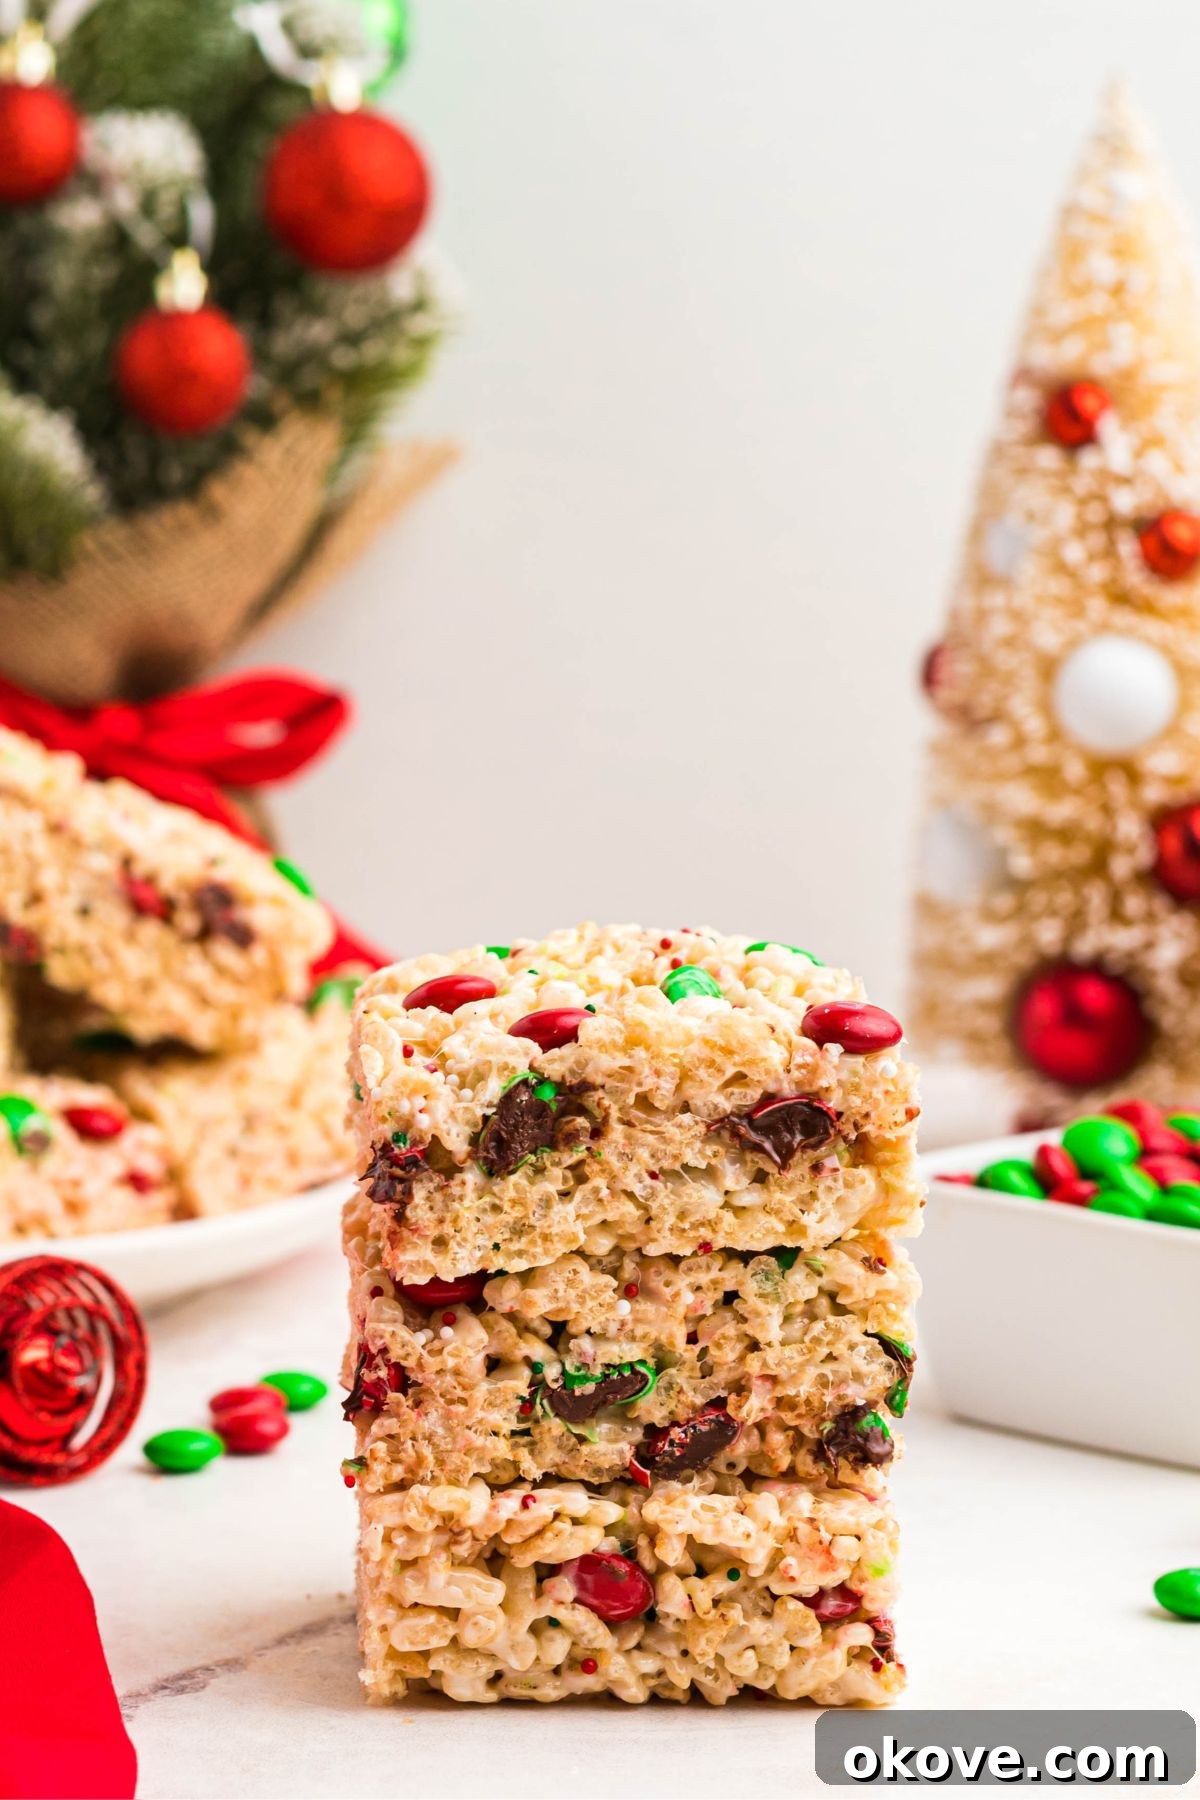
The holiday season brings with it a special kind of magic, often centered around cherished traditions and, of course, delicious food. Among the plethora of festive treats, Christmas Rice Krispie Treats hold a beloved spot in many homes, including mine. These delightful squares are more than just a dessert; they’re a symbol of simplicity, joy, and the irresistible combination of gooey marshmallows perfectly blended with crunchy crispy rice cereal. They effortlessly capture the spirit of the holidays, making them a must-have at any festive gathering or a cozy night in.
What makes these holiday marvels so special? Perhaps it’s their nostalgic charm, reminding us of childhood delights, or maybe it’s the sheer ease with which they come together. Unlike elaborate baked goods that demand hours in the kitchen, these no-bake treats require minimal effort and time, proving that some of the most memorable desserts are also the simplest. Whether you’re a seasoned baker or just starting your culinary journey, these Christmas Rice Krispie Treats are an accessible and rewarding project that promises smiles all around. Get ready to dive into a recipe that’s as fun to make as it is to eat, bringing a touch of festive sweetness to your holiday celebrations.
The Ultimate Christmas Rice Krispie Treats Recipe: Simple & Sweet
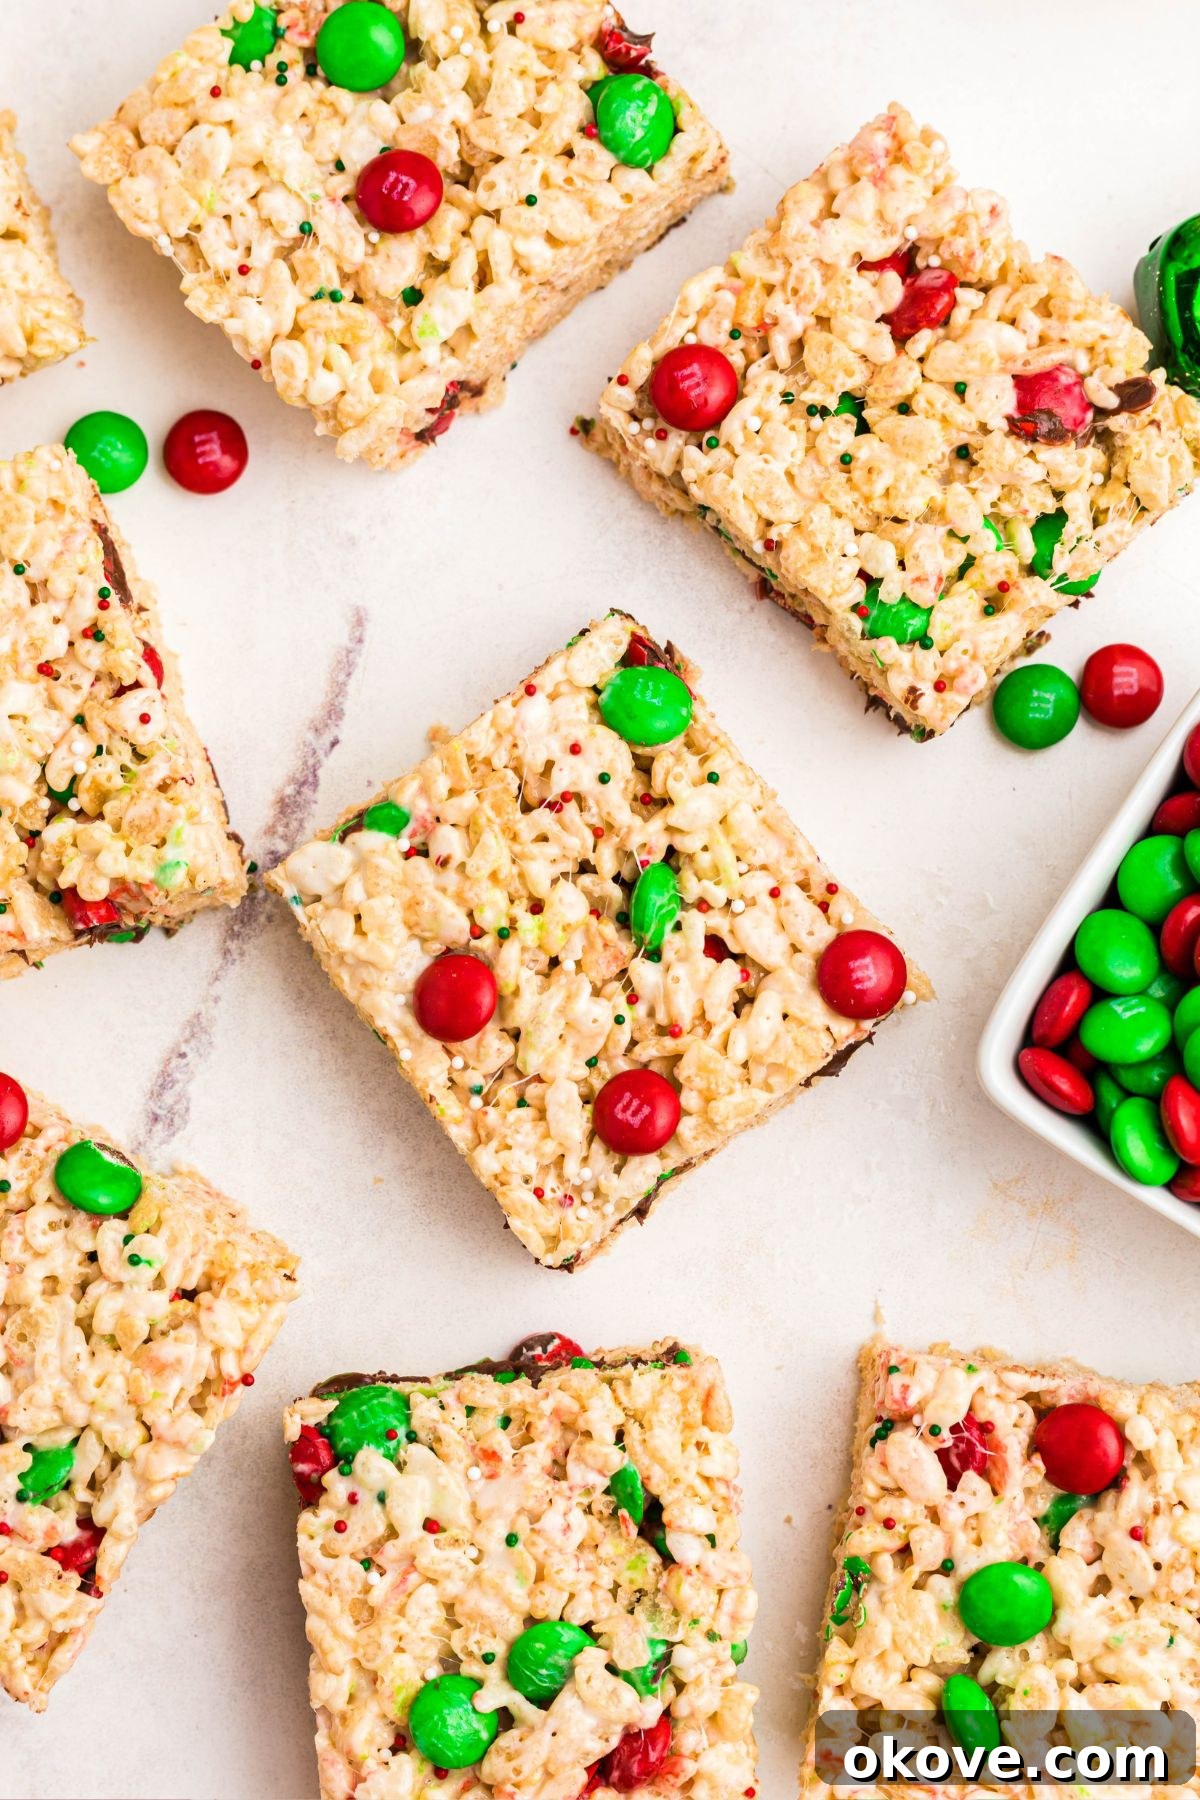
Creating Holiday Rice Krispie Treats is not just incredibly simple, it’s also a fantastic opportunity for culinary creativity, allowing for endless decoration possibilities that elevate them into truly festive desserts. My personal favorite way to prepare these delightful squares is by incorporating vibrant red and green chocolate candies and a generous sprinkle of holiday-themed sprinkles. Once set, I cut them into convenient, easy-to-grab squares, making them ideal for a dessert table or as quick snacks for guests.
For those looking for a truly imaginative twist, consider adding a few drops of green food coloring to the marshmallow mixture. Once tinted, you can shape the warm treats into charming wreaths or miniature Christmas trees, transforming them into a completely unique and eye-catching dessert centerpiece. The versatility doesn’t stop there! You can experiment with different cereal bases, like using chocolate rice cereal paired with white chocolate chips for a decadent double chocolate version, or opt for fruity rice cereal to create bright, multi-colored treats that are sure to captivate both children and adults. The possibilities are only limited by your imagination, ensuring that each batch can be a fresh, exciting creation.
One of the most appealing aspects of this cherished recipe is its remarkable speed and efficiency. There’s absolutely no baking involved, meaning you can have a batch of these delectable treats ready to enjoy in under 30 minutes! This makes them an ideal last-minute dessert solution when unexpected guests arrive or when you simply crave a quick, satisfying sweet. Furthermore, the simplicity of the process makes it a wonderfully fun and engaging activity to do with children. Little hands can help stir ingredients, press the mixture into the pan, or even assist with the festive decorating, turning a cooking task into a memorable bonding experience. It’s truly an easy dessert that anyone, regardless of age or baking prowess, can master and enjoy!
Essential Ingredients You’ll Need for Festive Fun
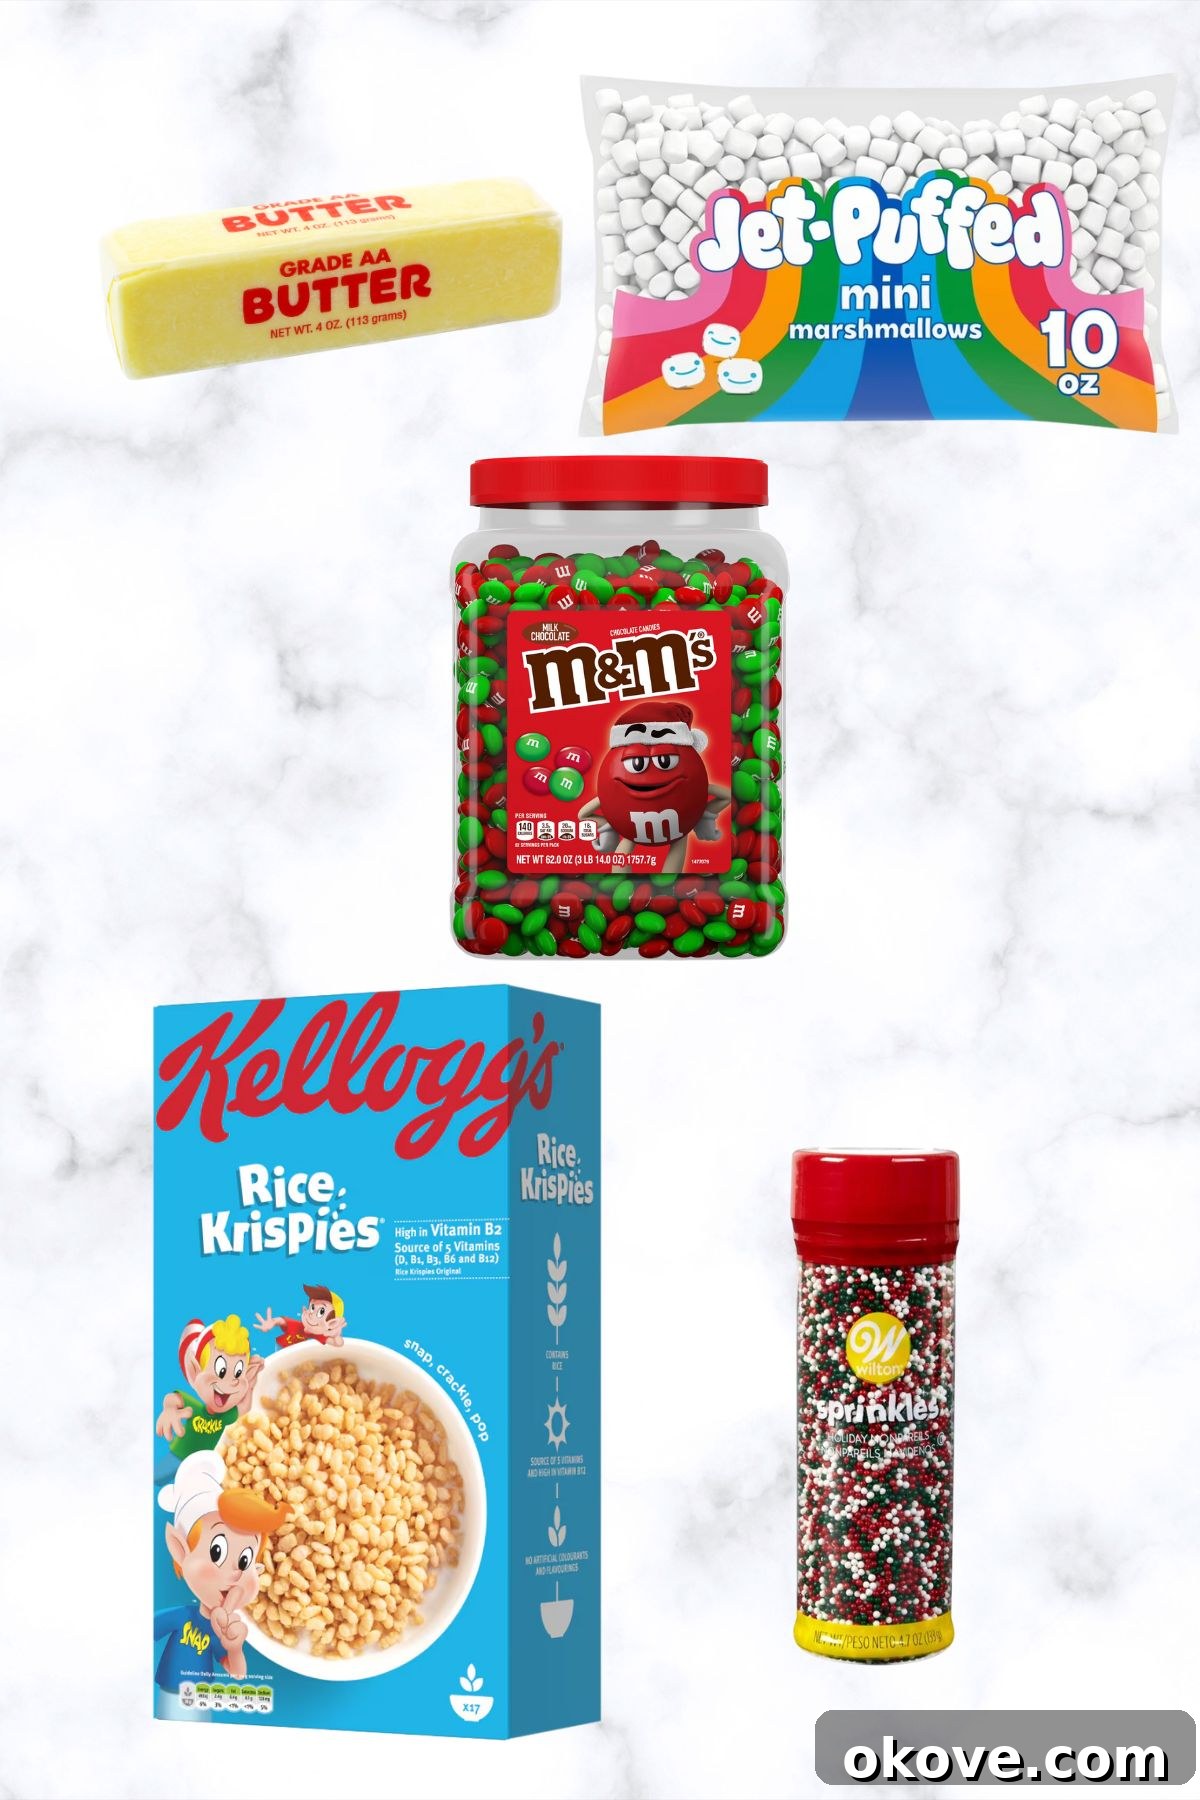
Crafting the perfect batch of Christmas Rice Krispie Treats begins with gathering a few simple, high-quality ingredients. These staples come together to create that quintessential gooey, crunchy texture everyone loves. Ensuring you have these items on hand means you’re just minutes away from holiday deliciousness.
Essential Ingredients:
- Rice Krispies Cereal: The star of the show! Fresh, crispy cereal is key to achieving that satisfying crunch. You’ll need about 6 cups for a standard 9×13 inch pan.
- Mini Marshmallows: These tiny puffs are crucial for the gooey factor. They melt more evenly and quickly than larger marshmallows. A 4-cup bag is usually just right.
- Unsalted Butter: Butter not only adds a rich, delicious flavor but also helps prevent the marshmallows from sticking. Using unsalted butter allows you to control the overall saltiness of your treats. You’ll typically need 4 tablespoons.
- Red and Green Chocolate Candies (e.g., M&M’s): These add a burst of color and extra sweetness, making your treats unmistakably festive. About 1/2 cup is perfect for mixing in.
Optional Additions & Creative Twists:
While the basic recipe is fantastic on its own, adding a few optional ingredients can take your Christmas Rice Krispie Treats to the next level, both in flavor and visual appeal.
- Holiday Cookie Cutters (trees, stars, snowmen): For an extra festive touch, use these to cut out fun shapes after the mixture has been pressed into the pan. This is especially enjoyable if you’re making them with kids!
- Melted Chocolate for Drizzling: A simple drizzle of melted milk, dark, or white chocolate adds an elegant finish and an extra layer of flavor. You can use chocolate chips melted gently or baking chocolate.
- Festive Sprinkles: Christmas-themed sprinkles are a quick and easy way to add sparkle and holiday cheer to your treats.
- Food Coloring: Green or red food coloring can be added to the melted marshmallow mixture to create vibrant, holiday-themed treats. Imagine bright green treats shaped like trees!
- Crushed Peppermint/Candy Canes: For a minty holiday twist, stir in or sprinkle crushed candy canes on top.
- White Chocolate Chips: Mix these in with the cereal for an added creamy sweetness, especially lovely with the red and green candies.
How to Craft Your Christmas Rice Krispie Treats: A Step-by-Step Guide
Making these delightful Christmas Rice Krispie Treats is a straightforward process, whether you opt for the classic stovetop method or the quick microwave approach. Each method yields wonderfully gooey and crispy results. Follow these simple steps to create your perfect batch of holiday treats.
The Stovetop Method: Classic & Reliable
This traditional method ensures even melting and mixing, giving you consistent results every time. It’s ideal for larger batches and provides a bit more control over the melting process.
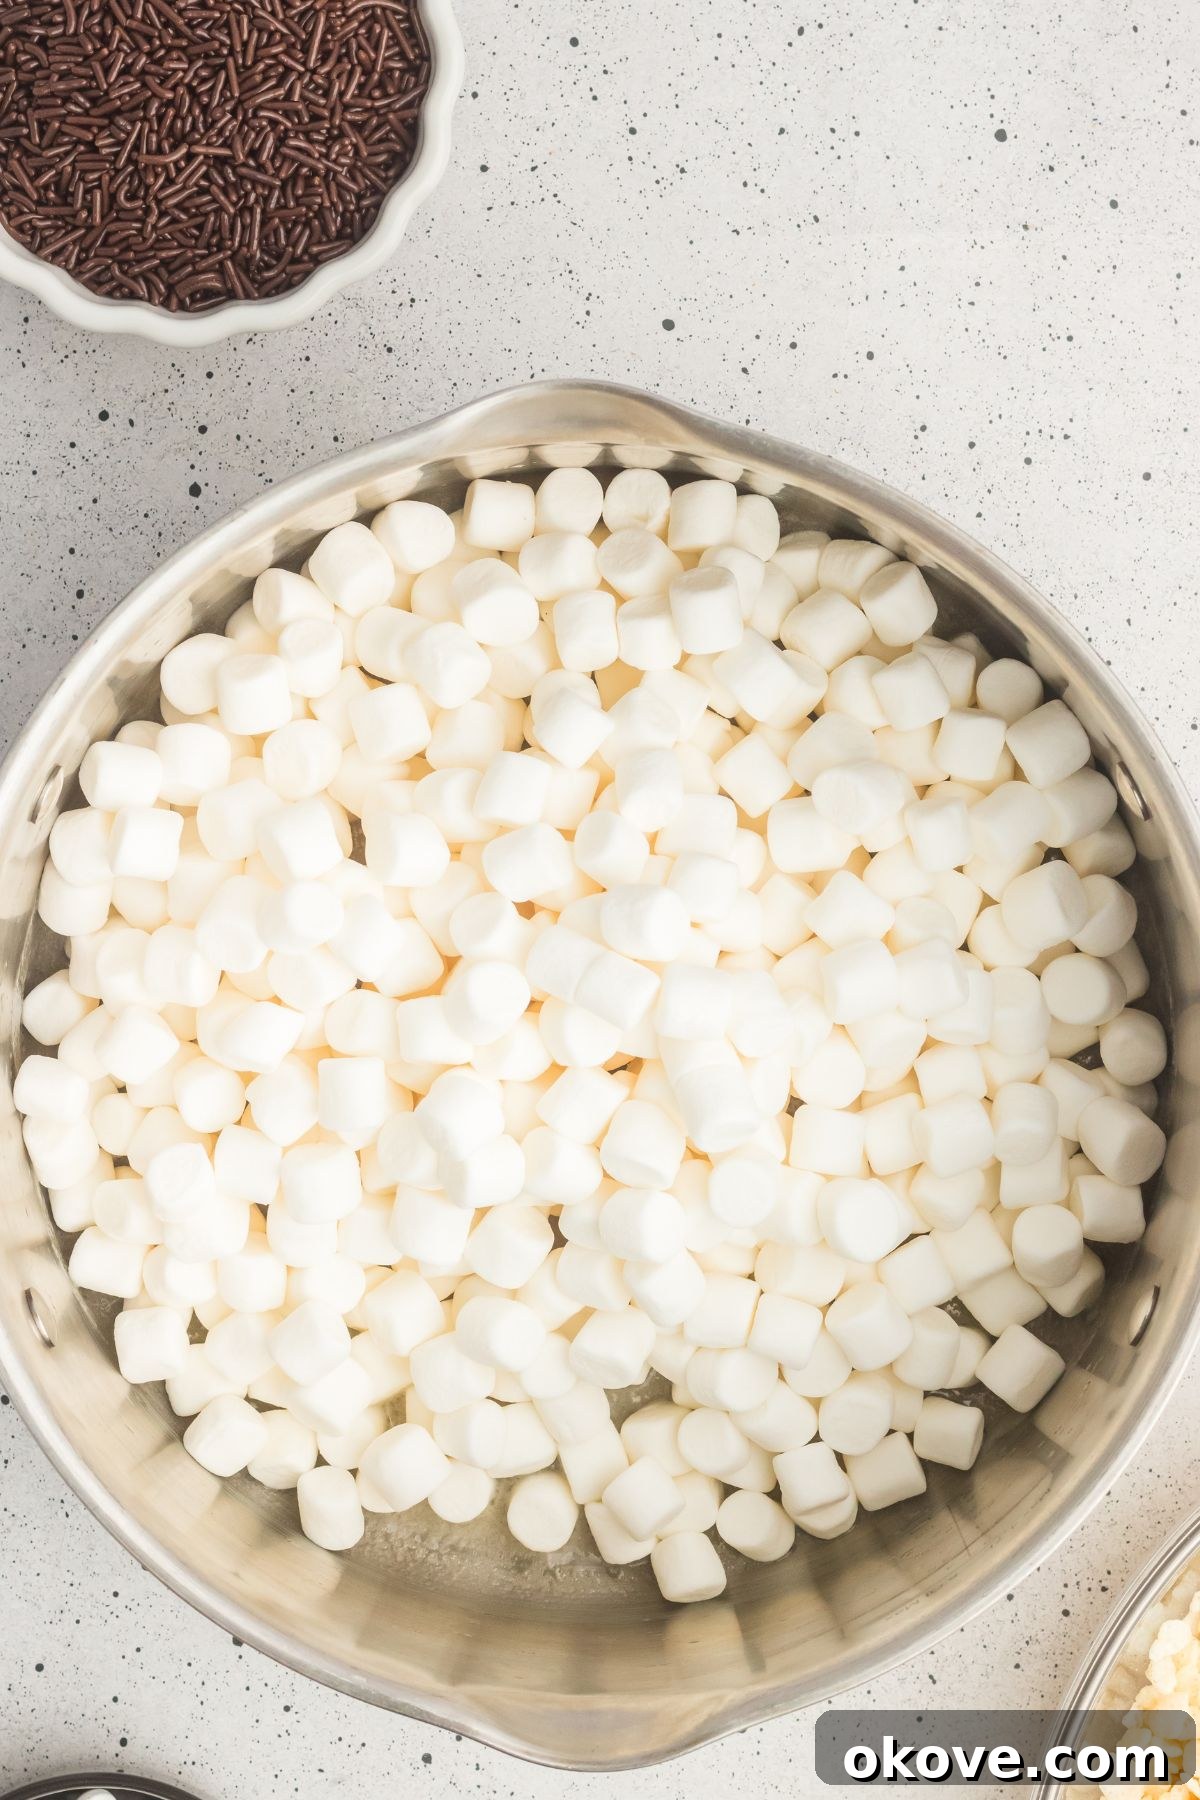
- Step 1: Melt the Butter and Marshmallows. In a large saucepan or a spacious pot, begin by melting the unsalted butter over very low heat. This gentle approach prevents the butter from browning too quickly, which can affect the flavor. Once the butter is mostly melted, add in the mini marshmallows. Continue stirring constantly with a spatula until the marshmallows have completely melted into a smooth, gooey liquid. It’s crucial to keep the heat low and stir consistently to avoid scorching the marshmallows, which can make your treats tough.
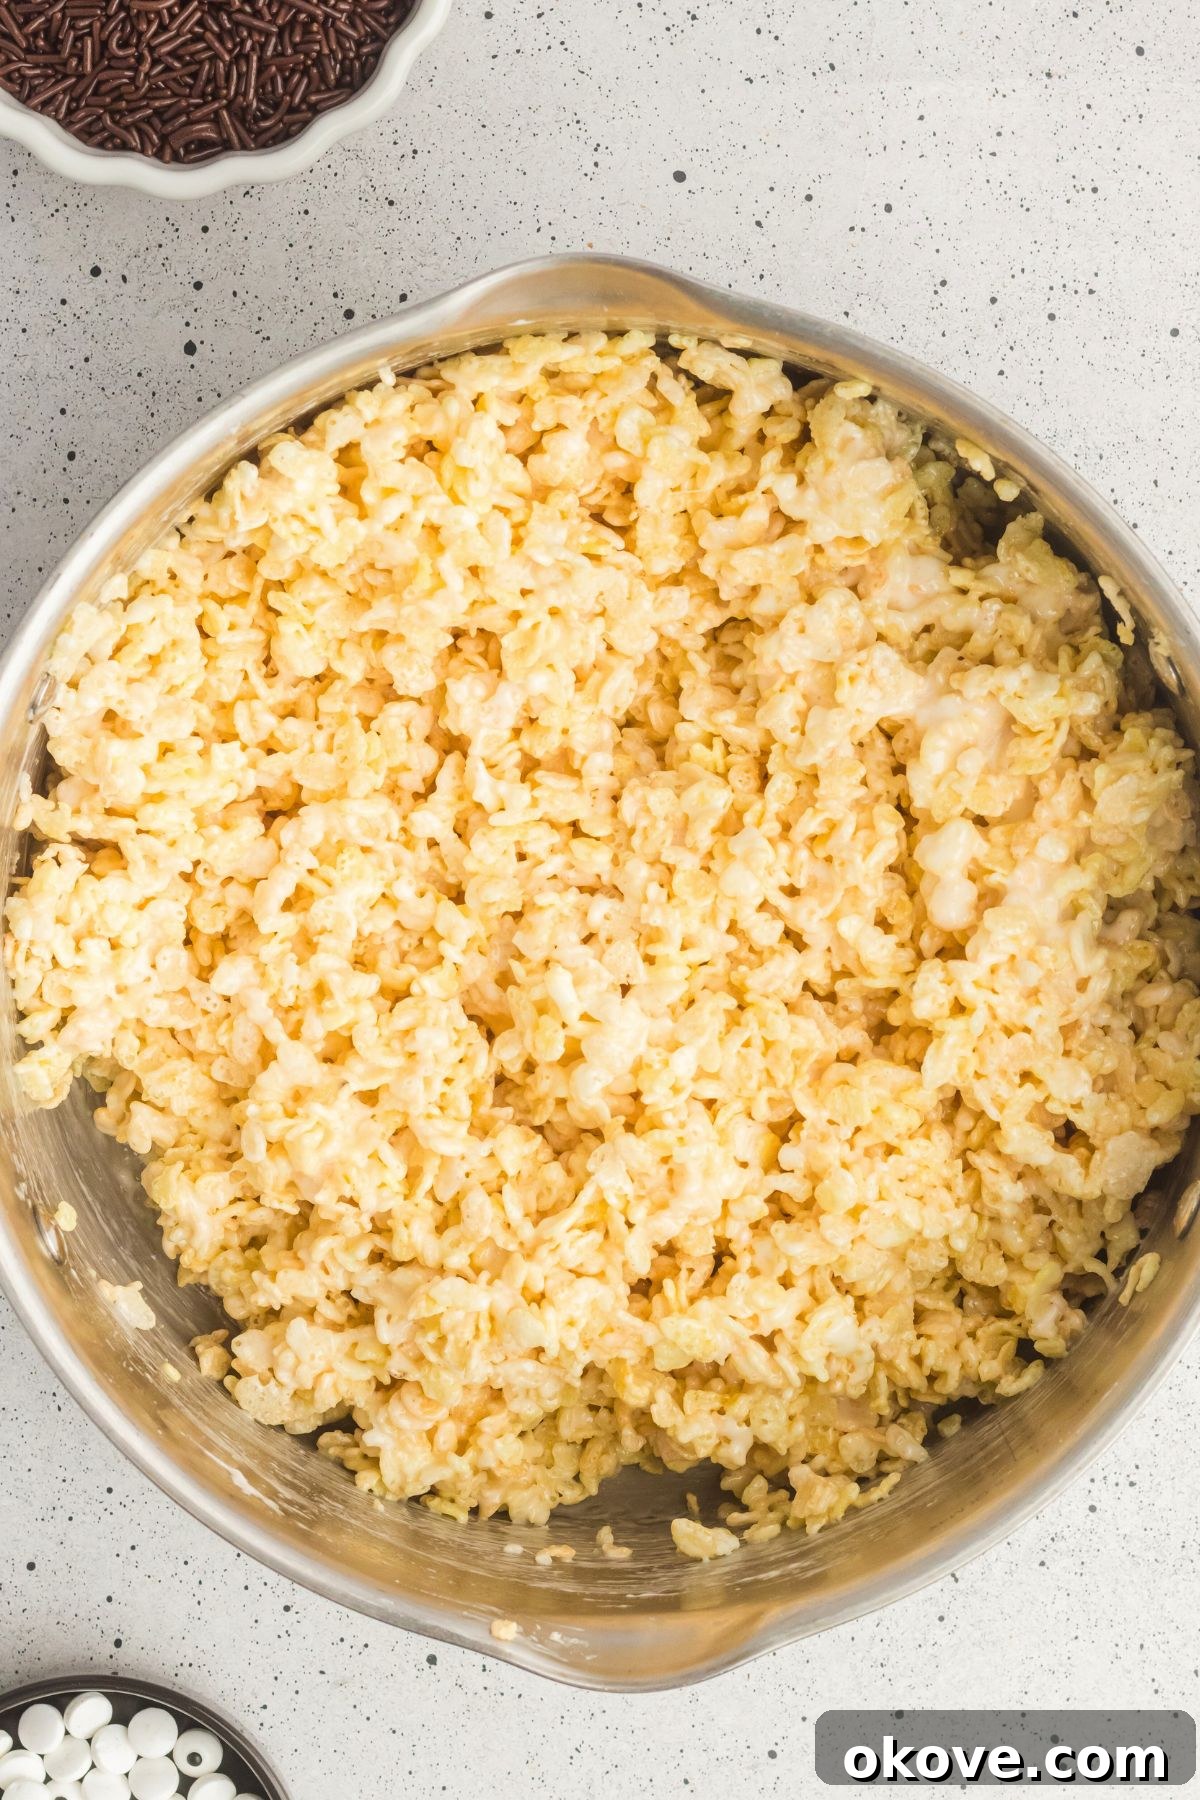
- Step 2: Incorporate the Rice Cereal. Once your marshmallow mixture is smooth and glossy, remove the saucepan from the heat. This helps prevent the cereal from becoming too chewy. Pour in about half of the Rice Krispies cereal and gently stir it into the marshmallow mixture using a greased spatula or spoon. Continue to fold and mix until the cereal is thoroughly coated. Then, add the remaining half of the cereal and repeat the stirring process until all the crispy rice is completely combined with the melted marshmallows, ensuring an even distribution. Working in two batches helps to ensure everything gets properly coated without clumping.
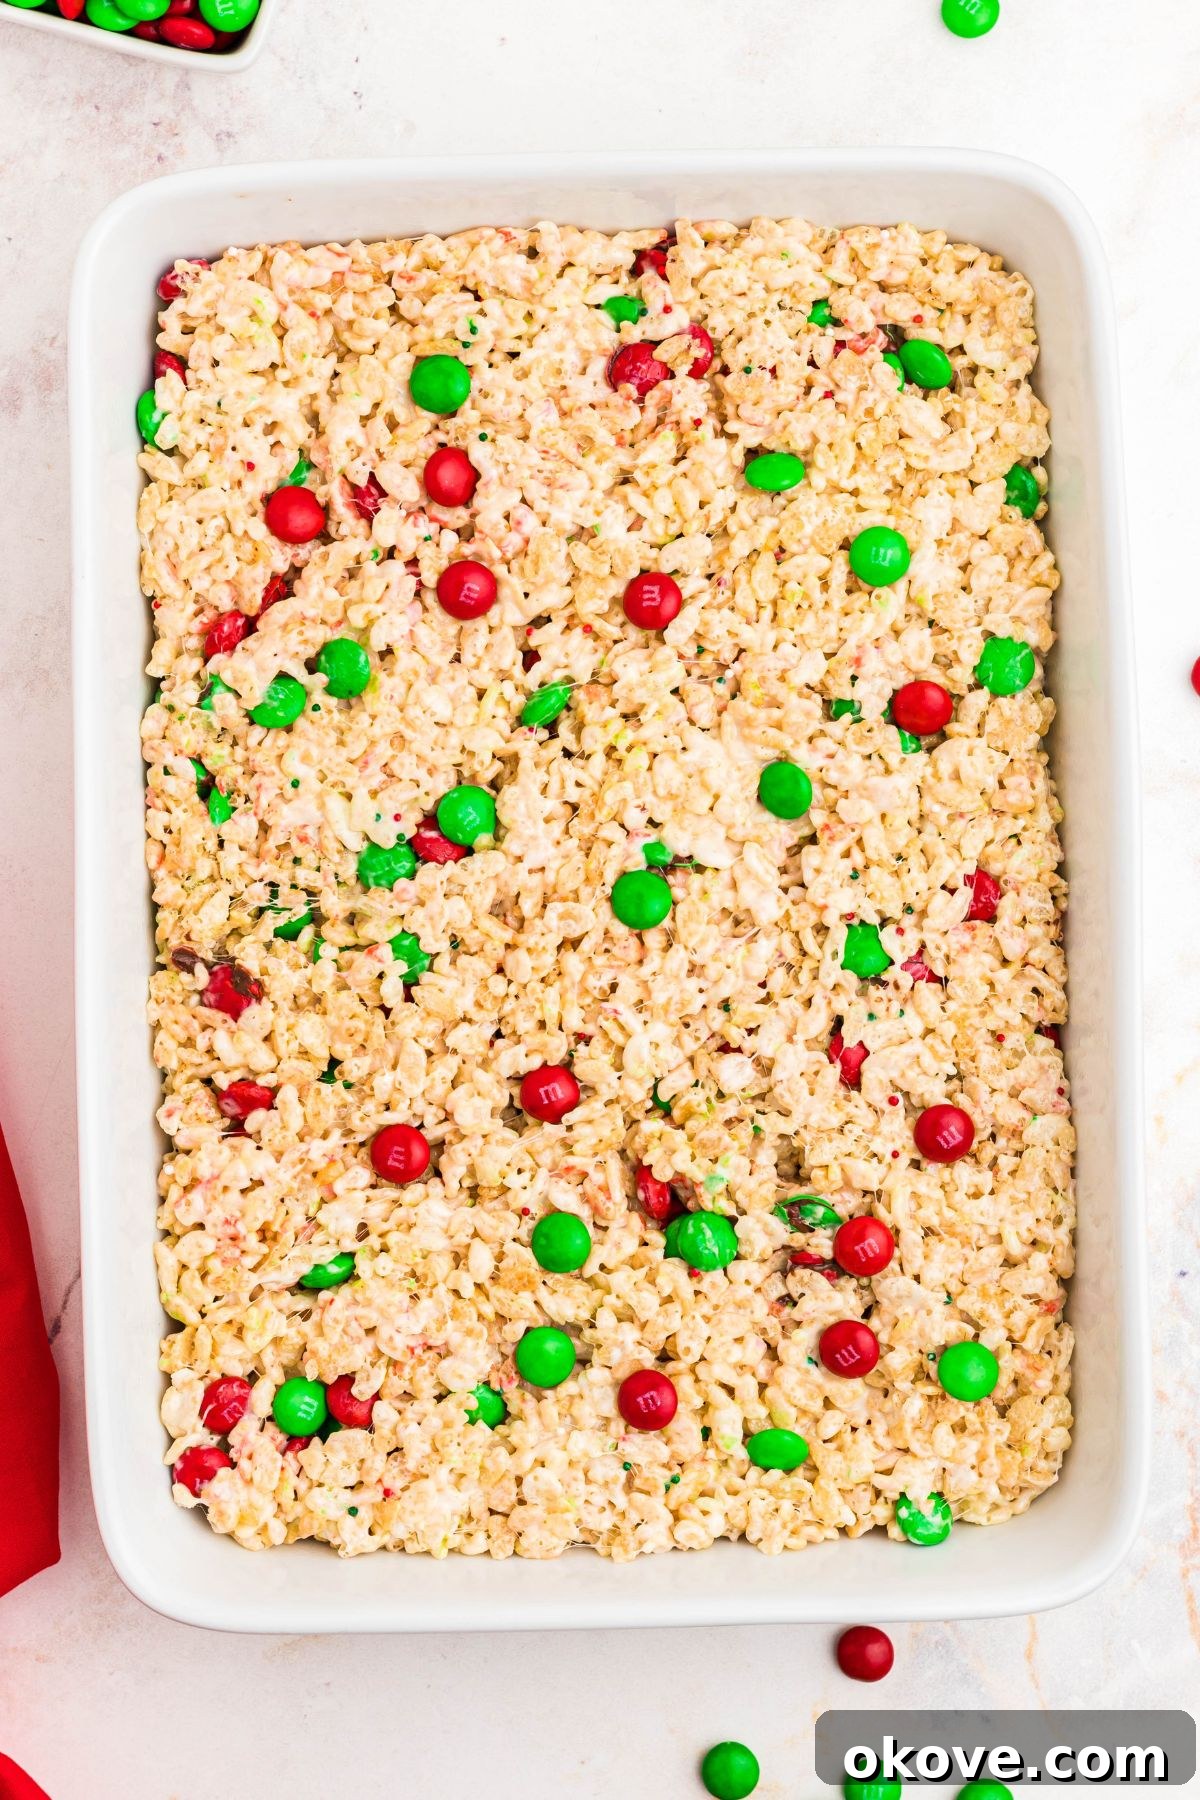
- Step 3: Add Festive Candies. This is where the Christmas magic truly happens! Quickly add the red and green M&M’s (or other chocolate candies) to the mixture. Stir them in swiftly but gently. It’s important to do this before the marshmallow mixture begins to set, ensuring the candies are evenly dispersed throughout the treats without melting excessively.
- Step 4: Press into the Pan. Prepare a 9×13 inch baking pan by lightly spraying it with non-stick cooking spray or lining it with a sheet of parchment paper. This crucial step prevents sticking and makes removal and cutting much easier. Transfer the warm Rice Krispie mixture into the prepared pan. Using a greased spatula, or lightly greased hands, gently press the mixture evenly into the pan. Avoid pressing too firmly, as this can compress the treats and make them dense and hard instead of delightfully chewy.
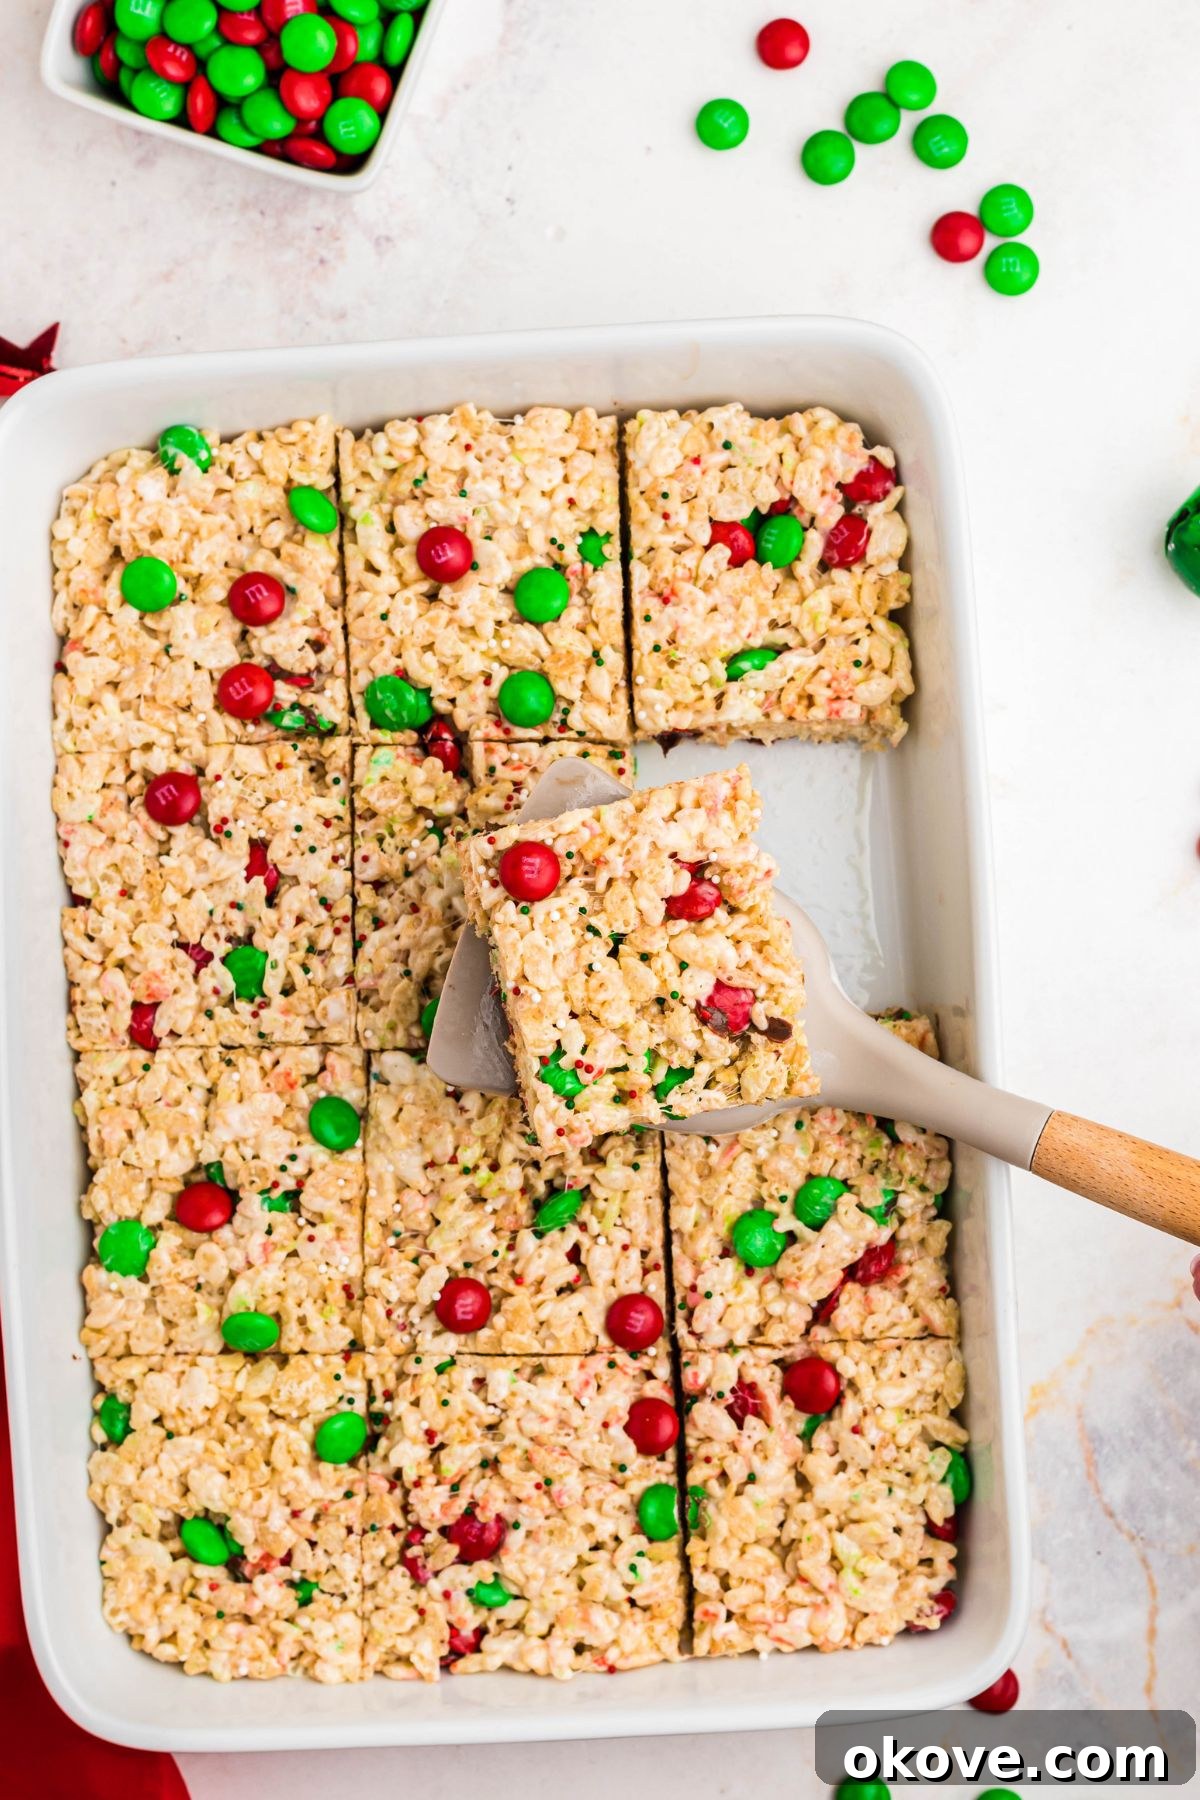
- Step 5: Decorate and Set. For a final flourish, generously sprinkle the top of your treats with Christmas sprinkles, arrange extra candies, or artfully drizzle melted chocolate over the surface. Allow the treats to set at room temperature for about 10-15 minutes. This setting time is important for them to firm up slightly and become easy to cut. Once firm, use a sharp, greased knife to cut them into small, perfect squares. Now, they are ready to be devoured and enjoyed!
Quick Microwave Method: Speed & Convenience
For an even faster way to get your treats ready, the microwave method is a fantastic alternative, especially when you’re short on time or making a smaller batch. It uses fewer dishes and is incredibly efficient.
Simply add the mini marshmallows and butter into a large microwave-safe bowl. Microwave the mixture on high for 2-3 minutes, pausing to stir every minute, until the marshmallows are completely melted and puffy. Be mindful not to overheat them, as this can lead to tough treats. Once melted, quickly stir in the crispy rice cereal until it’s thoroughly combined with the gooey marshmallow and butter mixture. Allow it to cool for just a minute or two, then gently fold in your chosen candies. Press into a greased pan and allow to set as described in the stovetop method. This technique cuts down on prep time without sacrificing any of the deliciousness!
Expert Tips for Perfect Christmas Rice Krispie Treats Every Time
While making Christmas Rice Krispie Treats is generally simple, a few expert tips can ensure your batch is absolutely perfect – gooey, chewy, and irresistibly delicious. Avoid common pitfalls and elevate your treat-making game with these helpful pointers.
- Work Quickly: The marshmallow mixture begins to set very fast once removed from the heat. Have all your ingredients pre-measured and your pan ready before you start melting. Speed is your friend when mixing in the cereal and pressing the treats into the pan.
- Use Non-Stick Tools: Marshmallows are notoriously sticky! To prevent the mixture from adhering to your hands or spatula, lightly grease your hands with butter or non-stick spray, or dip your spatula into a cup of warm water as you press the treats down into the pan. This will make the process much smoother and less messy.
- Don’t Press Too Hard: When spreading the treats into the baking dish, resist the urge to press down with excessive force. Over-compressing the mixture can squeeze out air, making your treats dense, hard, and less enjoyable. A gentle, even pressure is all you need to shape them perfectly while maintaining their signature soft and chewy texture.
- Quality Ingredients Matter: While simple, the quality of your ingredients can make a difference. Fresh crispy rice cereal ensures maximum crunch, and good quality butter enhances the flavor profile.
- Cooling is Key: Allow your treats to cool completely at room temperature before cutting. Rushing this step can result in uneven cuts and sticky pieces. Setting them in the refrigerator can speed up the process, but room temperature yields the chewiest results.
- Clean Cuts: For perfectly clean squares, use a sharp knife that has been lightly coated with non-stick cooking spray or dipped in warm water between cuts. This prevents the knife from sticking and dragging the mixture.
- Give as Thoughtful Gifts: These treats are not only delicious but also make wonderful homemade gifts! Package them in festive cellophane bags, tie with a beautiful ribbon, and share them with friends, neighbors, teachers, or even use them as charming stocking stuffers. A personalized tag adds an extra special touch.
- Proper Storage: To keep your Rice Krispie Treats fresh and chewy, store them in an airtight container at room temperature for up to 3-4 days. Avoid refrigeration if possible, as it can make them hard and less palatable.
Unleash Your Creativity: Exciting Christmas Rice Krispie Treat Variations
Beyond the classic red and green candies, Christmas Rice Krispie Treats offer a fantastic canvas for culinary creativity. Here are several exciting variations to inspire your holiday treat-making, allowing you to customize flavors and appearances to suit any taste or theme.
- Candy Cane Treats: For a refreshing minty twist, add 1/2 cup of finely crushed candy canes to the marshmallow mixture along with the cereal. You can also crush extra candy canes and sprinkle them on top for a beautiful, sparkling finish and an extra burst of peppermint flavor. This variation is especially popular during the festive season.
- Chocolate Delight: Elevate your treats with more chocolate! Mix in 1/2 cup of mini chocolate chips (milk, dark, or white) with the cereal for pockets of melted chocolate goodness. Alternatively, after the treats have set, melt a few ounces of your favorite chocolate and generously drizzle it over the top in a decorative pattern. A sprinkle of sea salt on the chocolate drizzle can create a sophisticated sweet and salty balance.
- Cut Fun Shapes: Transform your squares into delightful holiday figures! Once the treats are pressed into the pan and slightly cooled but still warm, use festive cookie cutters (Christmas trees, stars, gingerbread men, snowmen, or even candy canes) to cut out fun shapes. This is a brilliant activity to do with kids and makes for a charming presentation. Don’t forget to re-press and cut the scraps to minimize waste.
- Extra Gooey: For those who simply can’t get enough of that wonderfully soft, stretchy texture, increase the amount of marshmallows! Add an extra cup of mini marshmallows to the melting pot. This will result in an even more intensely gooey and chewy treat that melts in your mouth.
- Peanut Butter Bliss: Swirl 1/2 cup of creamy peanut butter into the melted marshmallow mixture before adding the cereal for a delightful peanut butter flavor. This pairs wonderfully with chocolate chips mixed in or drizzled on top.
- Spiced Holiday Treats: Incorporate warm holiday spices by stirring 1/2 teaspoon of ground cinnamon, nutmeg, or a pumpkin pie spice blend into the melted butter and marshmallows. This adds a subtle warmth and aroma that’s perfect for the festive season.
- Fruity & Colorful: Instead of traditional Rice Krispies, try using a fruity-flavored crispy rice cereal. This will give your treats a vibrant color and a burst of fruity flavor, perfect for a cheerful and unconventional holiday snack.
Frequently Asked Questions About Christmas Rice Krispie Treats
Making Rice Krispie Treats is simple, but a few common questions often arise. Here are answers to help you perfect your holiday creations.
Why are my treats hard and dense instead of soft and chewy?
The most common reasons for hard treats are overheating the marshmallows or pressing the mixture too firmly into the pan. When marshmallows are heated too much, their sugar can crystallize, leading to a tougher texture. Similarly, pressing the mixture down with too much force compacts the treats, removing the air pockets that contribute to their chewiness. Always melt marshmallows over low heat and apply gentle pressure when shaping them in the pan.
Can I make these treats without marshmallows?
Yes, you certainly can! If you’re out of traditional marshmallows or prefer an alternative, marshmallow creme (also known as marshmallow fluff) works as an excellent substitute. It’s already sticky and gooey, acting as a perfect binder for the cereal. Simply use an equivalent amount (usually a 7-ounce jar of marshmallow creme for a standard batch) and melt it with the butter until smooth before adding the cereal.
Can I make Rice Krispie treats ahead of time for a holiday party?
Absolutely! Rice Krispie Treats are an ideal make-ahead dessert, which is perfect for busy holiday preparations. To keep them fresh and delicious, ensure they are stored in an airtight container at room temperature. You can also wrap the entire baking pan tightly with plastic wrap to prevent air exposure. When properly stored, they should maintain their delightful freshness for 3-4 days, making them perfect for preparing a few days before your event.
How do I cut Rice Krispie treats into perfect squares without them sticking?
Achieving perfectly neat squares is easier than you think! Once your treats have fully set (cooled completely), use a sharp knife that has been lightly coated with non-stick cooking spray. Alternatively, you can dip the knife into a cup of warm water between each cut. The non-stick coating or moisture prevents the sticky marshmallow from adhering to the blade, allowing for smooth, clean cuts every time.
What kind of pan is best for making Rice Krispie Treats?
A 9×13 inch baking pan is the standard choice for this recipe, yielding a good thickness and about 12-16 squares. Glass, metal, or ceramic pans all work well. The most important thing is to properly grease the pan or line it with parchment paper to ensure the treats don’t stick and are easy to remove once set.
Can I add other mix-ins besides M&M’s?
Absolutely! The beauty of Rice Krispie Treats is their versatility. Feel free to experiment with a variety of mix-ins. Consider adding mini chocolate chips, chopped nuts (like pecans or walnuts), dried cranberries or cherries for a fruity touch, or even chopped pretzels for a salty-sweet crunch. Just be sure to add them in step 3, quickly stirring them before the mixture sets.
More Delightful Holiday Recipes
Drinks
Orange Creamsicle Jello Shots
Desserts
Homemade Thin Mint Cookies
Appetizers
Spinach Artichoke Dip
Desserts
Peanut Butter Balls
The Ultimate Christmas Rice Krispie Treats Recipe Card
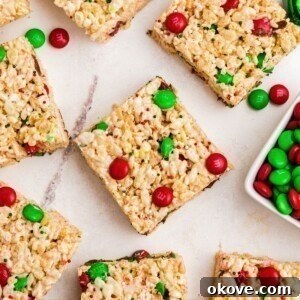
Christmas Rice Krispie Treats
Christmas Rice Krispie treats are a favorite during the holiday season. These yummy squares are ideal for snacking at a dessert table, and everyone loves the gooey marshmallows blended with crispy rice cereal.
- By: Rebecca
- Servings: 12
- Prep Time: 10 minutes
- Resting Time: 10 minutes
- Total Time: 20 minutes
Note: This recipe has an average rating of 5 stars from 1 vote.
Equipment
- Large Saucepan (or microwave-safe bowl)
- 9×13 inch baking pan
- Spatula (greased)
Ingredients
- 6 cups rice cereal
- 4 cups mini marshmallows
- 4 tablespoons unsalted butter
- 1/2 cup red and green M&M’s (or similar chocolate candies)
- Optional: Holiday sprinkles, melted chocolate for drizzling, food coloring
Instructions
- In a large saucepan, melt the butter over low heat. Add in the mini marshmallows, stirring constantly until they are completely melted and smooth. Remove from heat.
- Pour in half of the rice cereal into the marshmallow mixture, stirring gently with a greased spatula until combined. Then, add the remaining half of the cereal and stir thoroughly until it’s completely coated with the melted marshmallows.
- Quickly add the red and green M&M’s into the mixture before it sets. Stir them in just enough to distribute evenly throughout the Krispies.
- Spread the mixture into a 9×13 inch baking pan that has been lightly sprayed with nonstick cooking spray or lined with parchment paper. Gently press the treats to shape them evenly in the pan, avoiding heavy pressing to keep them chewy.
- Top the treats with Christmas sprinkles, extra candies, or drizzle with melted chocolate, if desired. Let it set for 10-15 minutes at room temperature until firm. When ready, cut with a sharp, greased knife into small squares. Enjoy your festive treats!
Notes
Marshmallows set fast, so have all your ingredients ready and work quickly when mixing and shaping. To prevent sticking, grease your hands or dip your spatula into a cup of water as you press the treats into the pan.
Nutrition Information (per serving)
- Calories: 181 kcal
- Carbohydrates: 31g
- Protein: 2g
- Fat: 6g
- Saturated Fat: 4g
- Polyunsaturated Fat: 0.2g
- Monounsaturated Fat: 1g
- Trans Fat: 0.2g
- Cholesterol: 11mg
- Sodium: 158mg
- Potassium: 27mg
- Fiber: 1g
- Sugar: 16g
- Vitamin A: 386 IU
- Vitamin C: 3mg
- Calcium: 62mg
- Iron: 5mg
Nutrition information is automatically calculated, so it should only be used as an approximation.
Additional Info
- Course: Dessert
- Cuisine: American
Tried this recipe? We’d love to see your creations! Mention @celebratingsimplyrecipes or tag #celebratingsimplyrecipes on Instagram!