
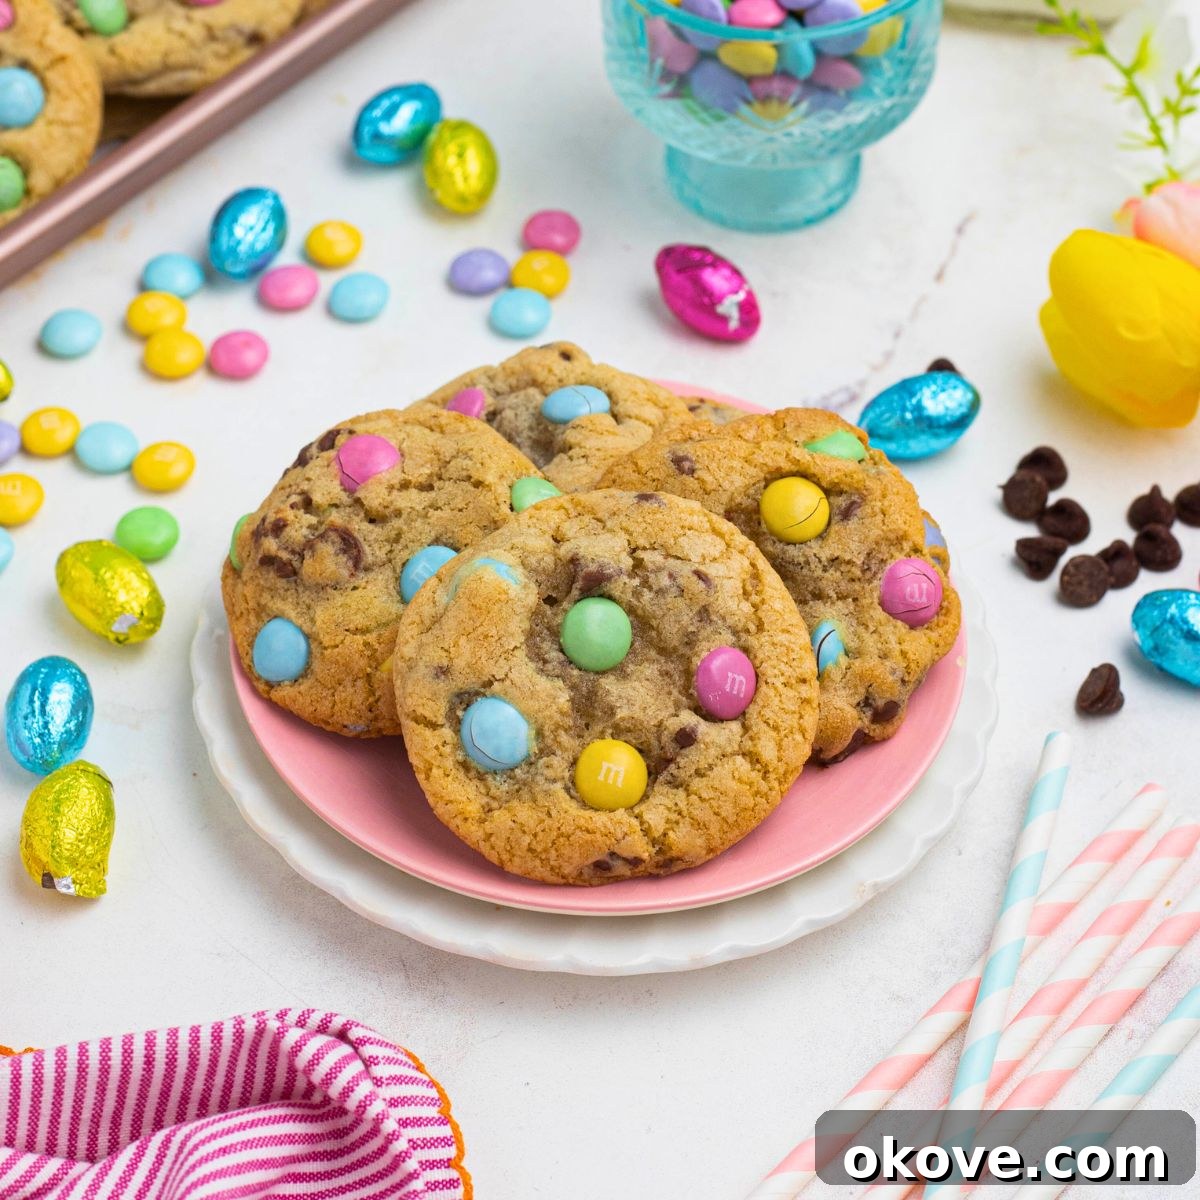
Spring is in the air, and what better way to celebrate than with a batch of freshly baked, vibrantly colored cookies? These **Easter Chocolate Chip Cookies** are the epitome of festive baking, combining the beloved classic chocolate chip cookie with a delightful burst of springtime cheer. Imagine sinking your teeth into a soft, chewy cookie, rich with chocolate, and adorned with cheerful pastel M&Ms that evoke the joy and renewal of the Easter season. This isn’t just a cookie; it’s a celebration in every bite, perfect for brightening any Easter basket, dessert table, or simply satisfying your sweet cravings. They are guaranteed to bring smiles to faces, young and old, making your holiday moments even sweeter.
Easy & Delicious Easter Chocolate Chip Cookies: Your New Favorite Spring Recipe
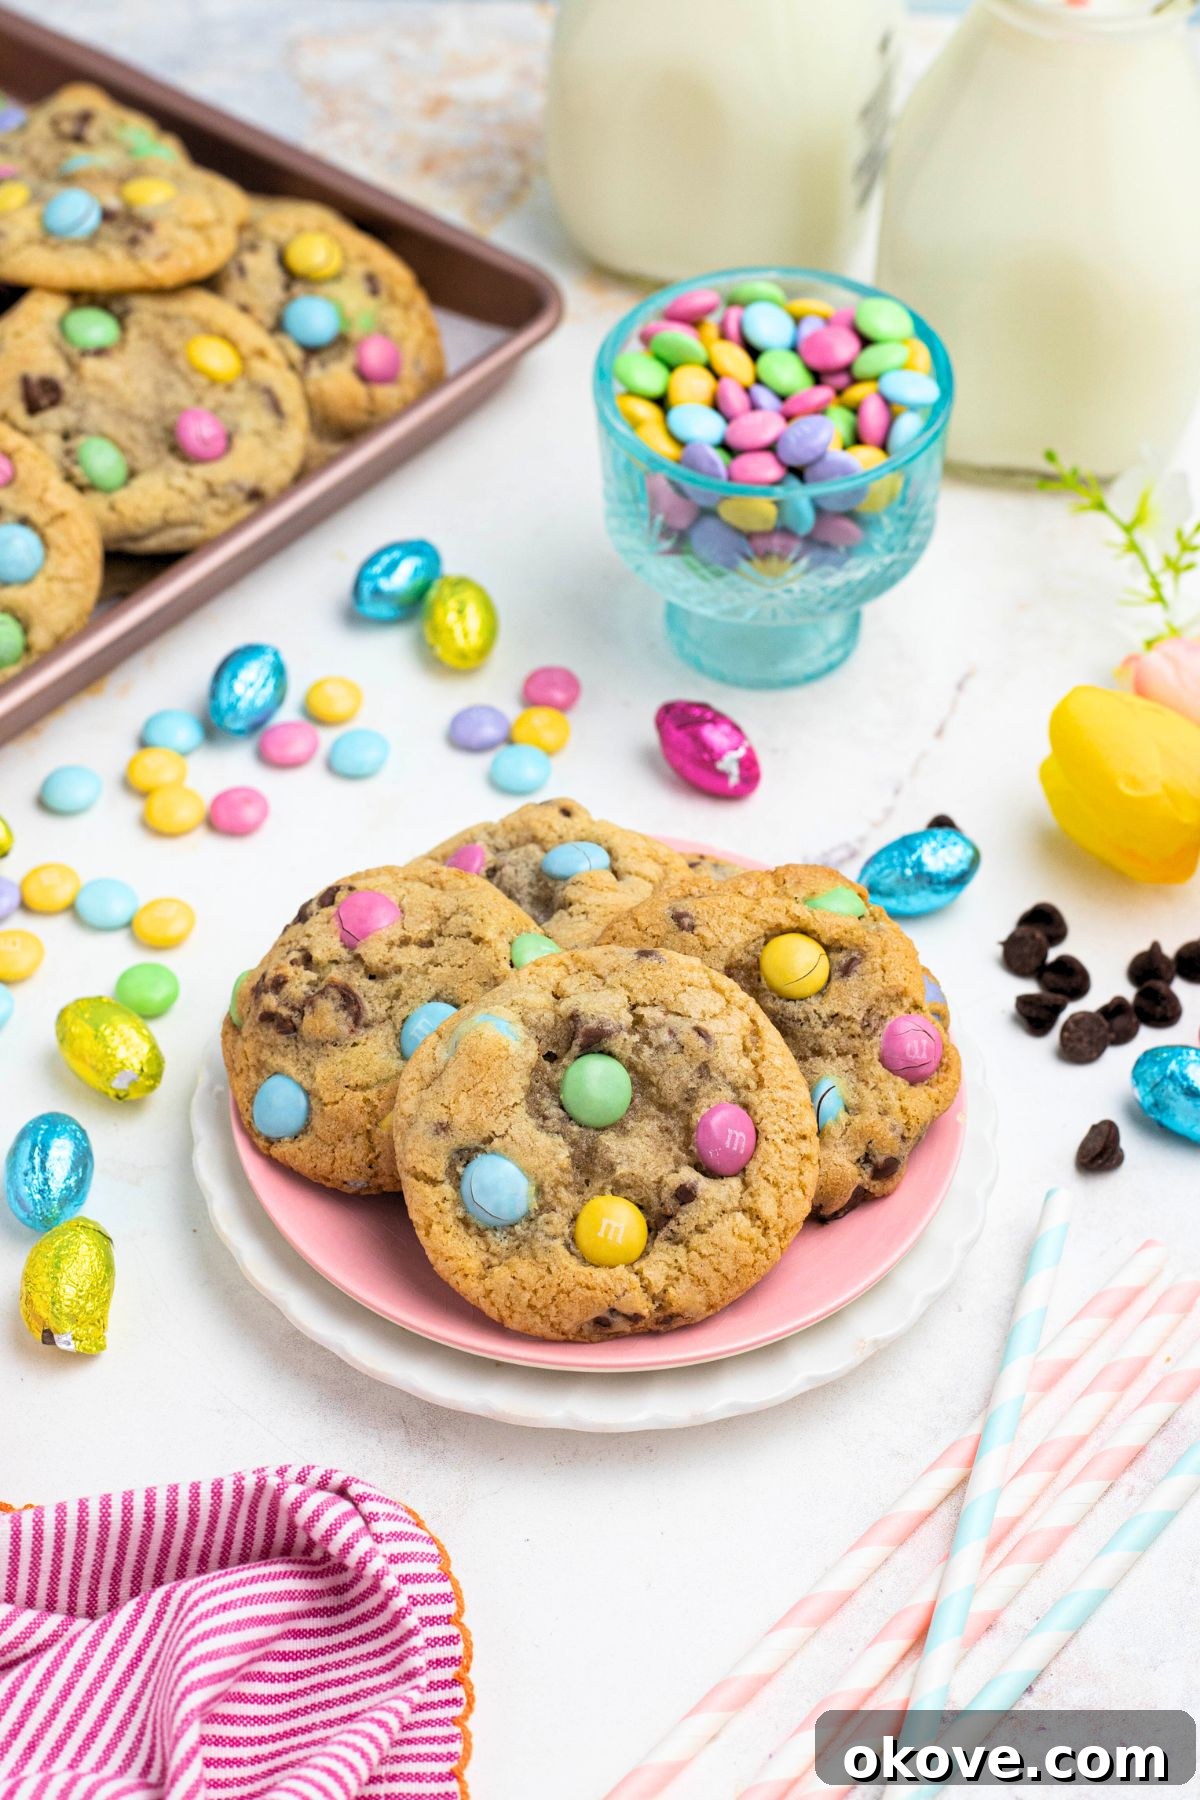
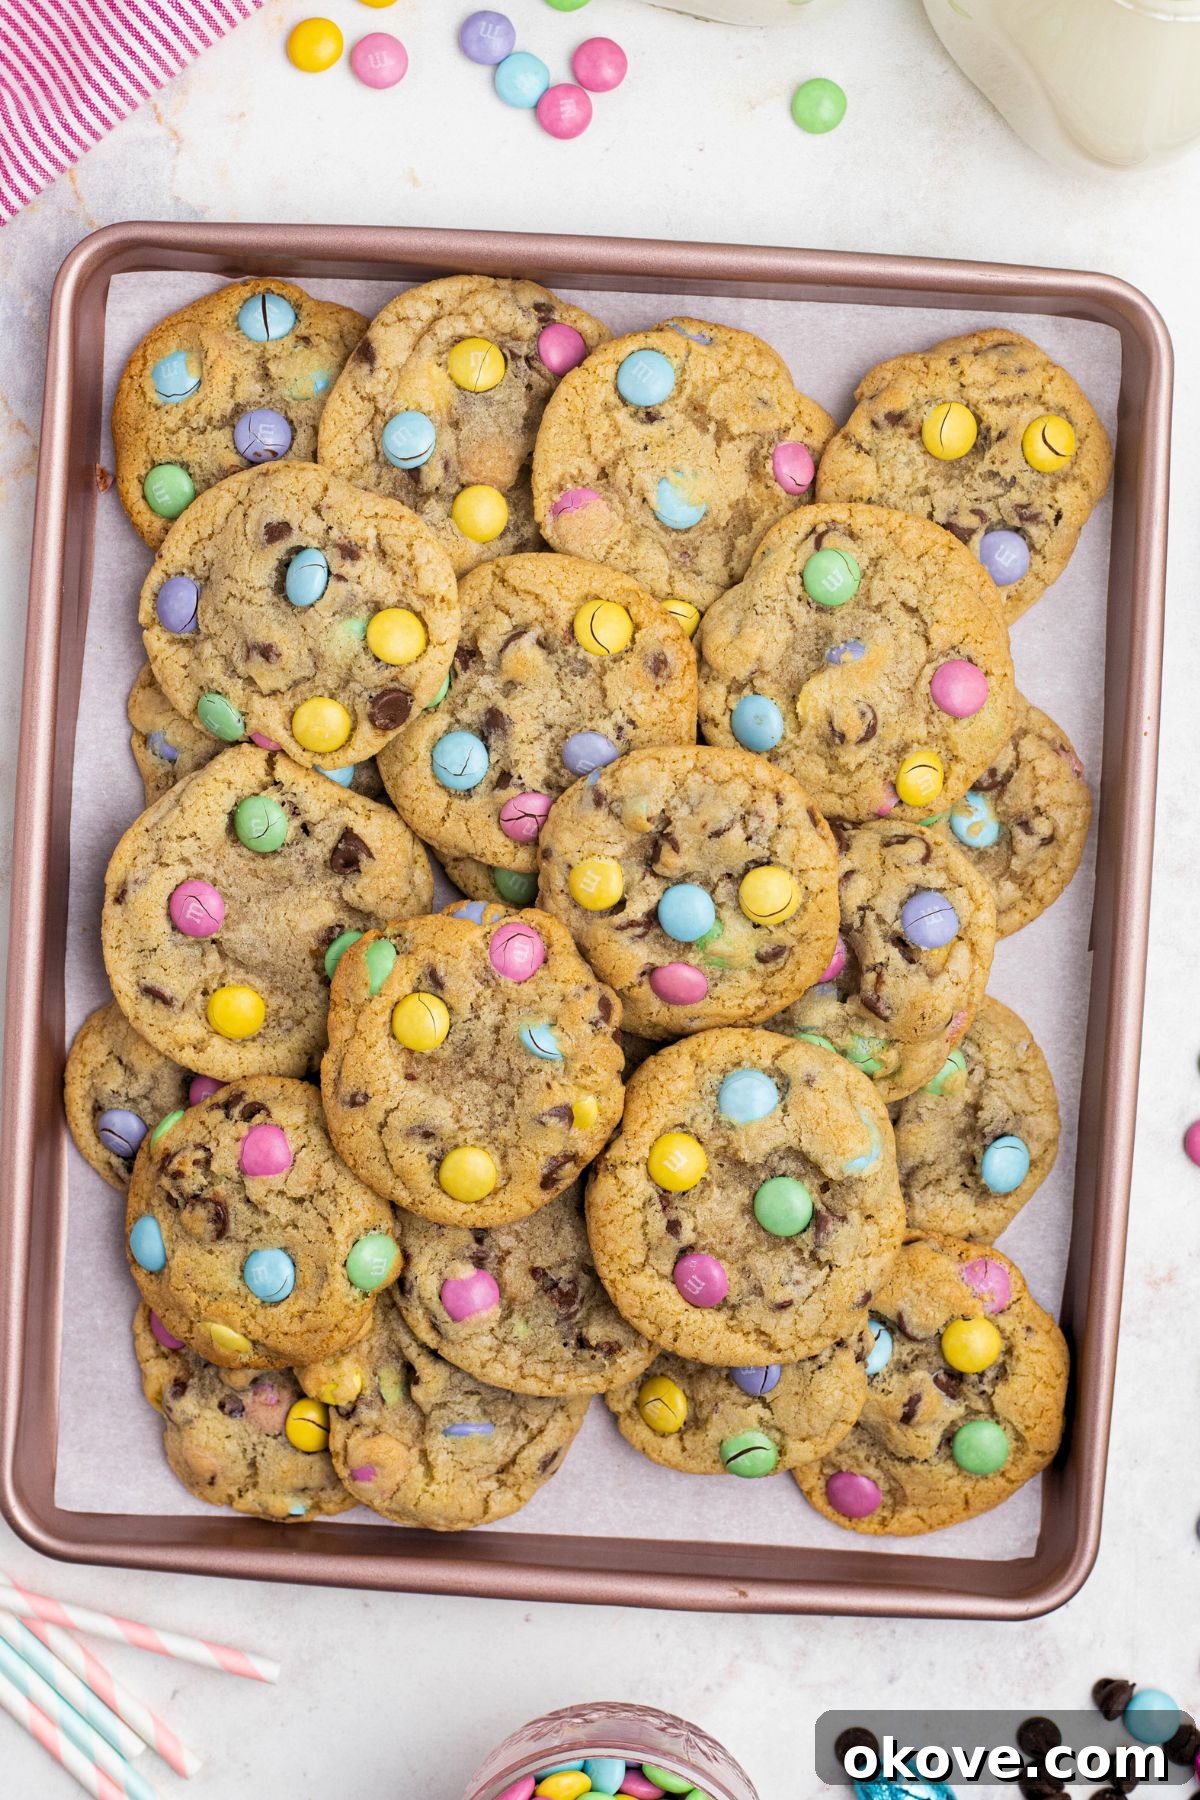
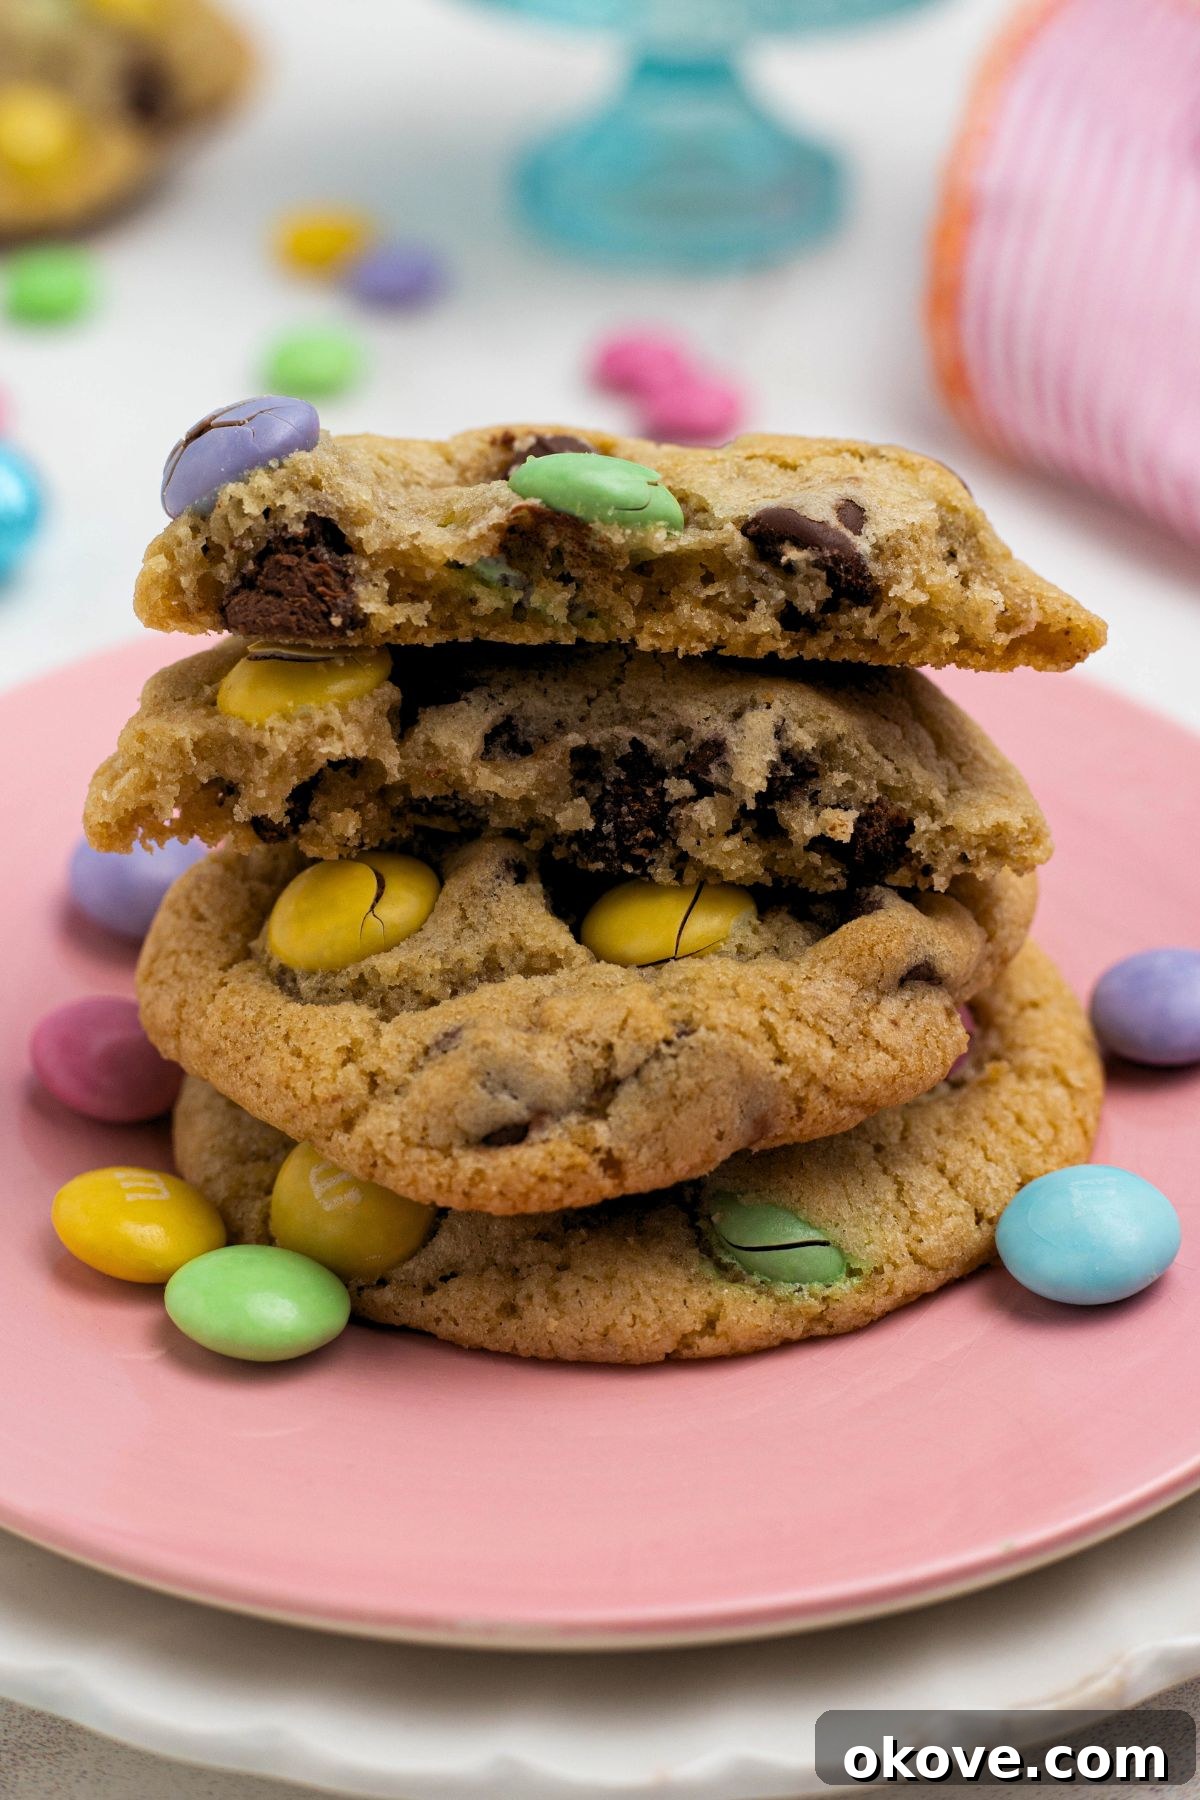
Creating memorable holiday treats doesn’t have to be complicated, and this recipe for Easter Chocolate Chip Cookies proves just that. We’ve simplified the process to ensure that even novice bakers can achieve bakery-quality results with minimal effort. These cookies emerge from the oven beautifully golden, with irresistibly soft centers and slightly crisp edges, generously studded with both classic semi-sweet chocolate chips and festive spring-colored M&Ms. The visual appeal is undeniable – a mosaic of soft blues, pinks, yellows, and greens that instantly signals the arrival of spring and Easter, making them a centerpiece-worthy dessert.
What makes these chocolate chip cookies truly special is their perfect balance of taste and texture. Each bite offers a comforting sweetness, a tender chewiness that melts in your mouth, and that satisfying crunch from the candy-coated chocolates. They’re not just delicious; they’re an experience that captures the essence of the season. Whether you’re baking for an elaborate Easter brunch, a casual family gathering, a school event, or simply want to indulge your sweet tooth, this recipe is guaranteed to be a crowd-pleaser. Prepare to receive endless compliments on both their charming appearance and their exquisite, homemade flavor!
Essential Ingredients for Perfect Easter Cookies
Crafting these delectable Easter cookies requires a handful of common pantry staples, each playing a crucial role in achieving that perfect texture and flavor. Using high-quality ingredients will always yield the best results, so take a moment to gather these essentials. The careful selection and preparation of each component contribute to the overall success of these delightful treats.
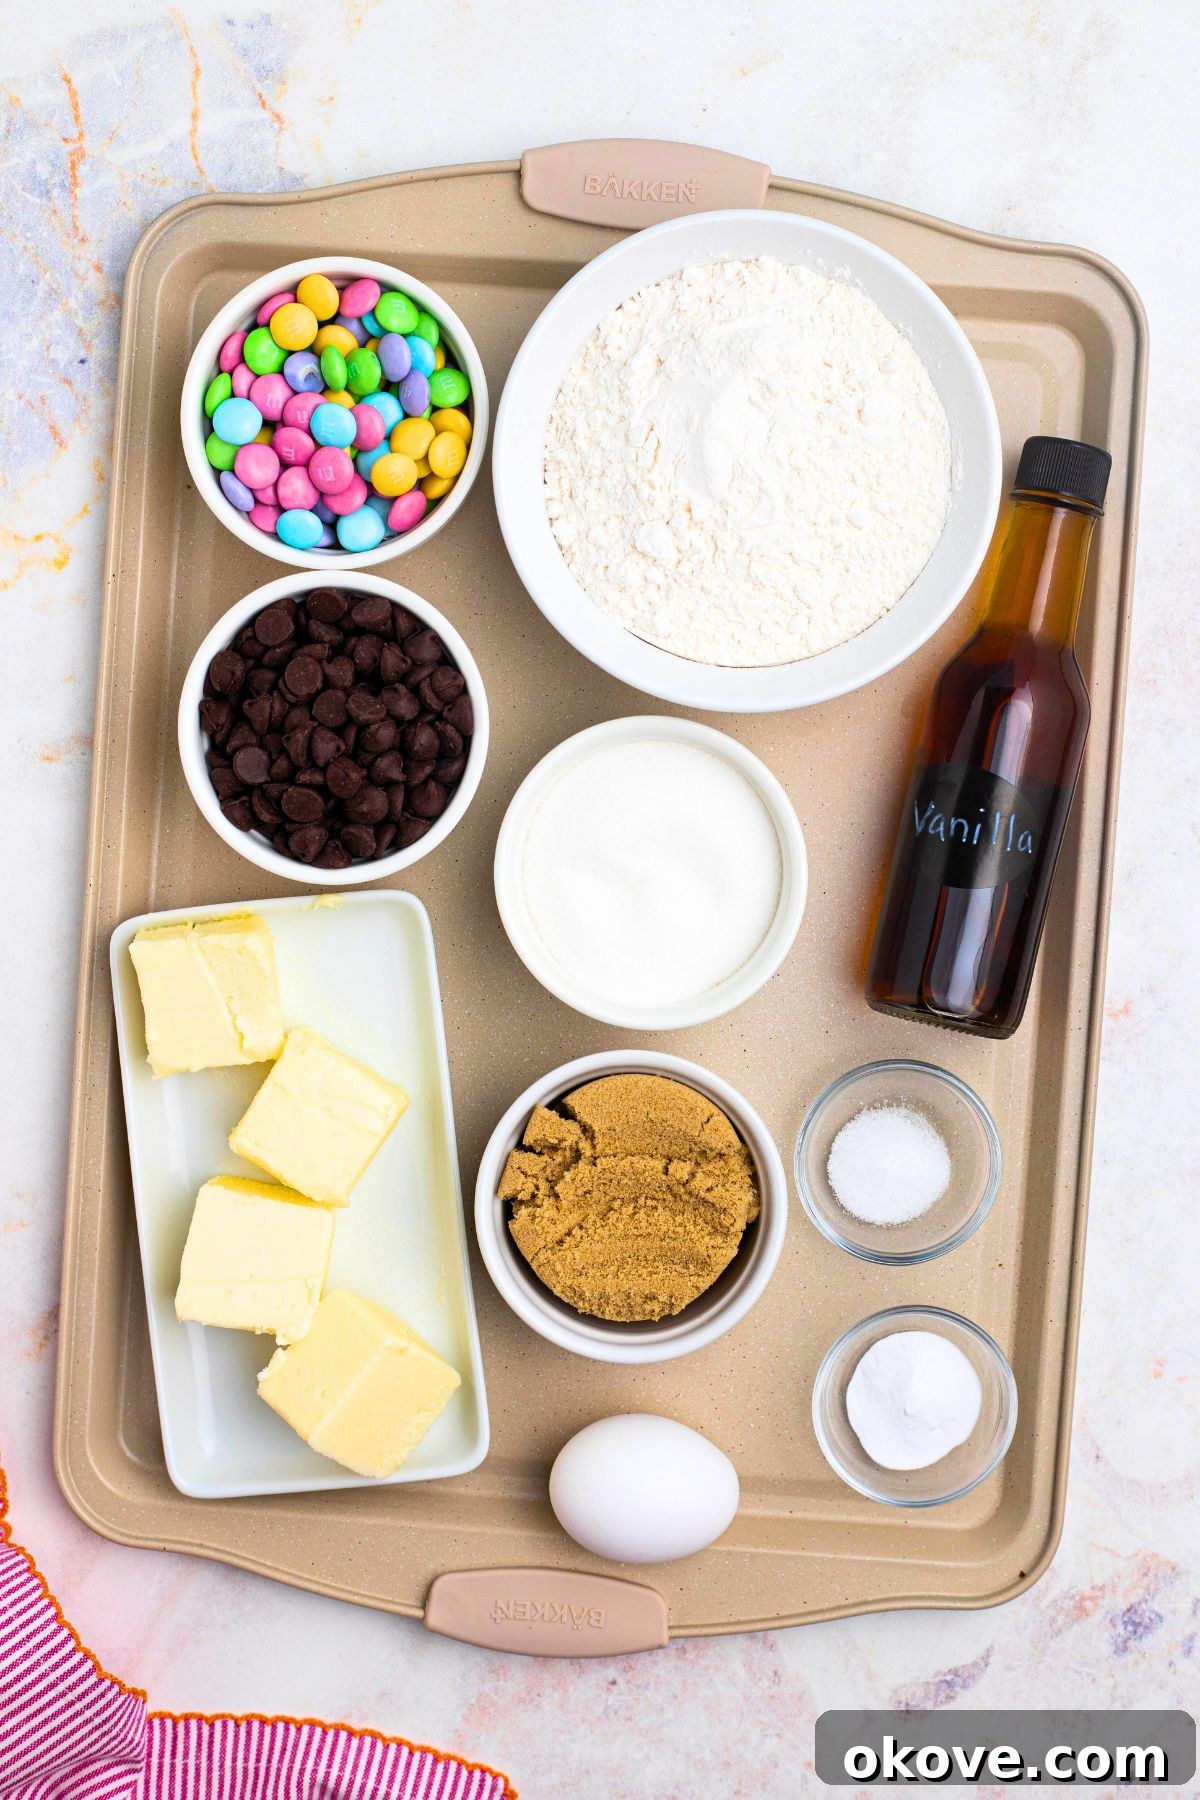
- Granulated Sugar: Beyond just adding sweetness, granulated sugar contributes to the crispness around the edges of the cookies, creating a delightful textural contrast with their soft centers. It also helps with the beautiful golden-brown color.
- Light Brown Sugar: This is a secret weapon for chewy cookies. The molasses in brown sugar keeps the cookies wonderfully moist and soft, while also adding a rich, subtle caramelized depth of flavor that is irresistible. Ensure it’s packed firmly when measuring.
- Unsalted Butter: Essential for richness and flavor, unsalted butter allows you to control the overall saltiness of your dough. Using it at room temperature is absolutely key for proper creaming with the sugars, which incorporates air and leads to a tender, light cookie texture.
- Vanilla Extract: A foundational flavor enhancer in almost any cookie recipe, vanilla extract elevates all the other ingredients and provides that comforting, familiar aroma of homemade baking. For an extra special touch, consider using high-quality or even homemade vanilla extract.
- Egg: The binder that holds everything together. A large egg adds crucial moisture, helps create structure, and contributes to the cookie’s tender crumb and slightly chewy texture. Ensure it’s also at room temperature.
- All-Purpose Flour: The structural backbone of your cookies. When measured correctly, it provides the necessary framework to hold the cookie’s shape without making them tough. Avoid over-measuring, as too much flour results in dry cookies.
- Baking Soda: This leavening agent reacts with the acidic brown sugar to produce carbon dioxide, which helps the cookies rise and spread, contributing to their signature soft and chewy texture.
- Kosher Salt: Don’t skip the salt! It is vital for balancing the sweetness of the sugars and chocolates, enhancing all the flavors in the cookie dough and preventing them from tasting overly sweet.
- Semi-Sweet Chocolate Chips: For that iconic chocolate chip cookie experience, semi-sweet offers a balanced sweetness that pairs wonderfully with the other ingredients. Feel free to substitute with milk chocolate chips if you prefer a sweeter profile, or dark chocolate for a richer taste.
- Spring M&Ms: The star of the show for Easter! These colorful candies add a vibrant pop of pastel color and an extra layer of chocolatey crunch, making these cookies truly festive and visually appealing for any spring celebration.
Creative Variations to Customize Your Easter Cookies
While these Easter Chocolate Chip Cookies are fantastic as written, don’t hesitate to get creative and personalize them to your taste, dietary preferences, or for different occasions. Customizing your cookies is part of the fun of baking!
- Swap Out Chocolate Chips: For a different flavor profile, try using white chocolate chips (which look stunning with pastel M&Ms), dark chocolate chunks for a more intense chocolate flavor, or even a mix of different chocolates. Peanut butter chips could also be a delicious addition for nut lovers.
- Make Them Nutty: Add a delightful crunch and nutty flavor by folding in 1/2 cup of finely chopped pecans, walnuts, or almonds to the dough along with the chocolate. Toasting the nuts lightly before adding them can enhance their flavor even further.
- Change Easter Candies: Instead of spring M&Ms, experiment with other festive Easter candies! Pastel mini eggs (like Cadbury Mini Eggs) are a very popular and delicious alternative, or try chocolate bunnies cut into pieces. You could also incorporate various Easter-themed sprinkles for an extra playful touch.
- Citrus Zest Infusion: For a brighter, more zesty flavor that complements the spring theme beautifully, add 1-2 teaspoons of finely grated lemon or orange zest to the wet ingredients. The subtle citrus notes provide a lovely contrast to the sweetness of the cookie.
- Spice It Up: A pinch of ground cinnamon or nutmeg (about 1/2 teaspoon) can add a subtle warmth and aromatic complexity to the cookies, complementing the chocolate and vanilla notes without overpowering them.
- Make Them Gluten-Free: For a gluten-free option, simply substitute the all-purpose flour with a 1:1 gluten-free baking flour blend that contains xanthan gum. The texture might be slightly different, but the flavor will still be wonderfully satisfying.
Step-by-Step Guide: How to Bake Easter Chocolate Chip Cookies
Baking these festive cookies is a straightforward and enjoyable process that yields truly rewarding results. Follow these detailed steps precisely to ensure perfectly soft, chewy, and colorful Easter Chocolate Chip Cookies every single time. Good baking starts with good preparation!
STEP 1: Prepare Your Workspace and Oven
Begin by preheating your oven to 375 degrees F (190 degrees C). While the oven heats up, prepare your baking sheets. Line them with parchment paper or a silicone baking mat. This crucial step prevents sticking, promotes even baking, and makes cleanup significantly easier. Ensure you have enough space ready for all your cookie batches.
STEP 2: Combine Dry Ingredients Thoroughly
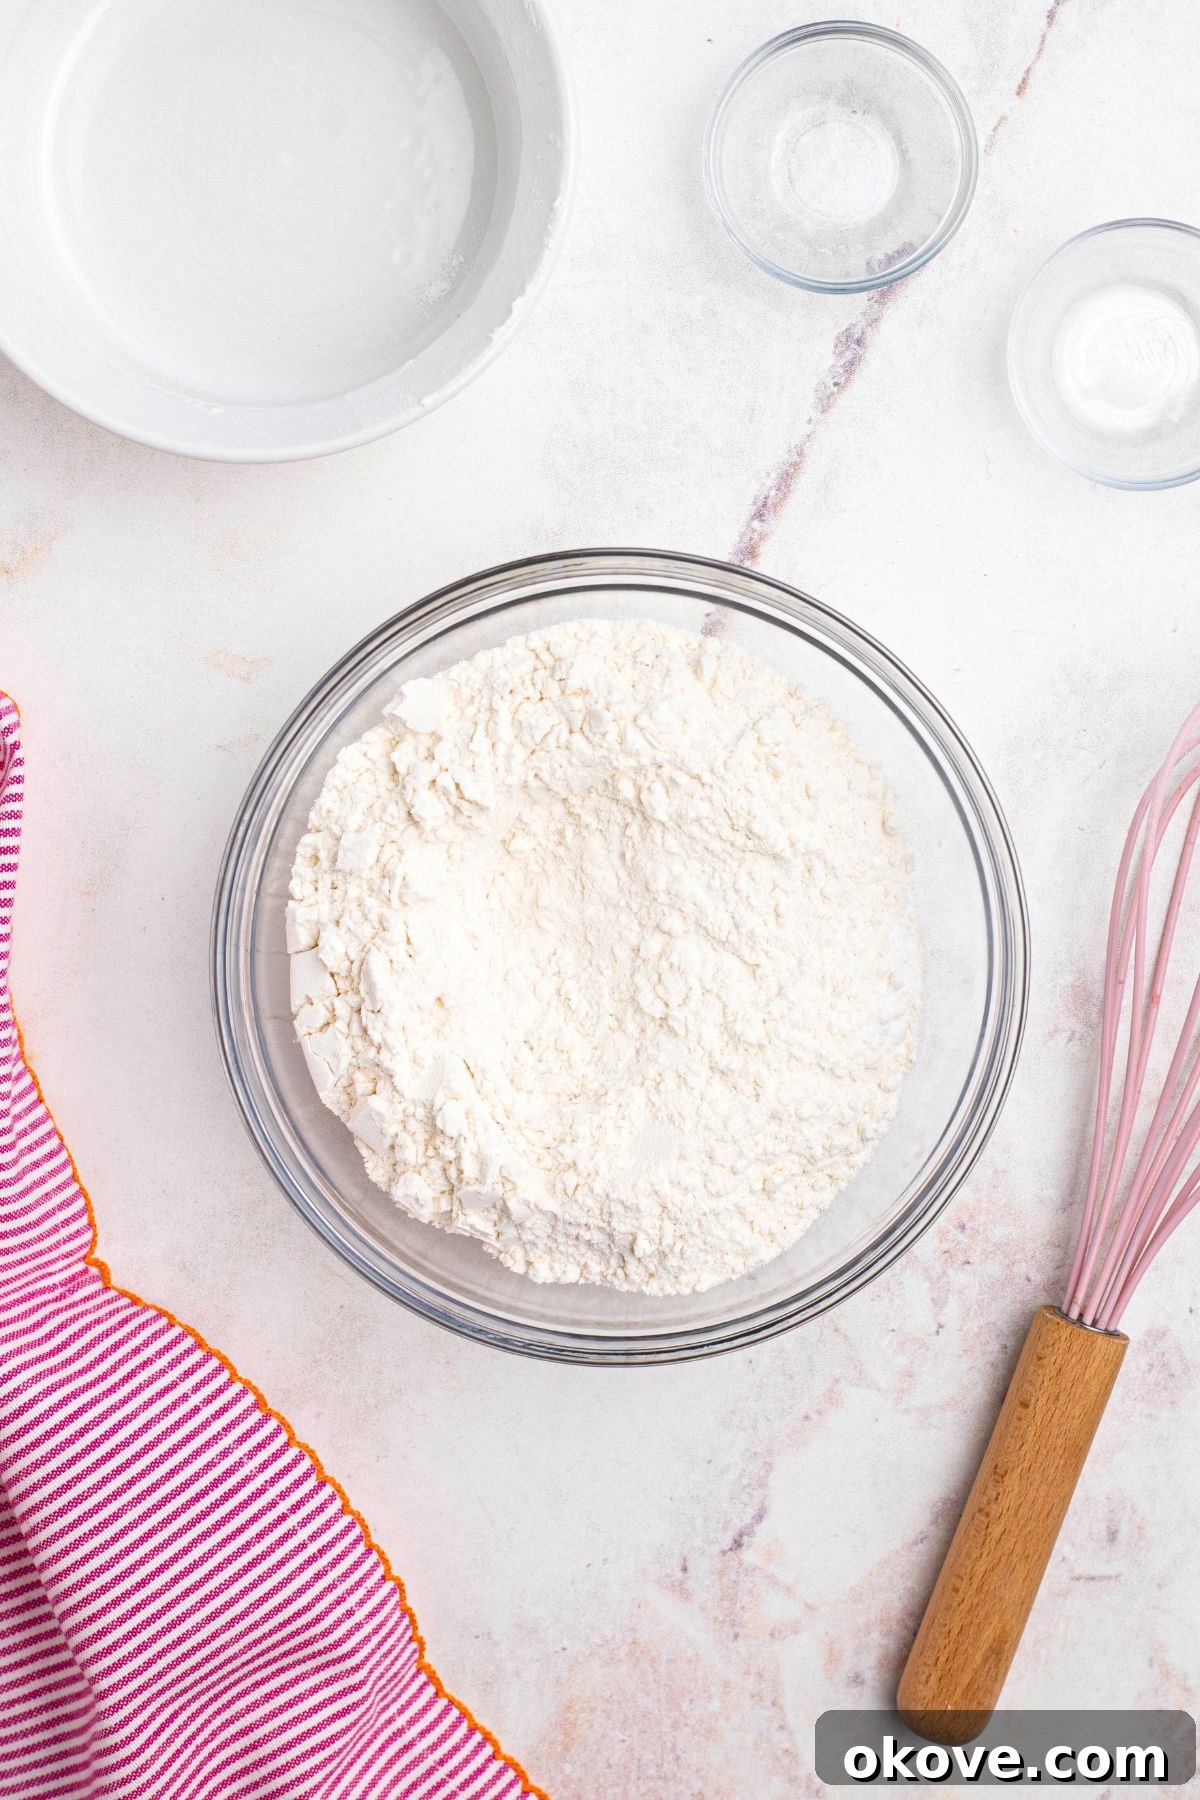
In a medium bowl, whisk together the all-purpose flour, baking soda, and kosher salt. Whisking ensures these dry ingredients are thoroughly combined and evenly distributed. This is crucial for uniform leavening and consistent flavor throughout your cookies. Set this bowl aside for later use.
STEP 3: Cream Wet Ingredients Until Fluffy
In a large mixing bowl, using an electric mixer (either a stand mixer with a paddle attachment or a hand mixer), beat together the granulated sugar, light brown sugar, softened unsalted butter, vanilla extract, and the egg. Continue beating until the mixture is light, fluffy, and well combined, typically 2-3 minutes. This process, known as creaming, incorporates air into the butter and sugar, which contributes significantly to the cookies’ light and tender texture.
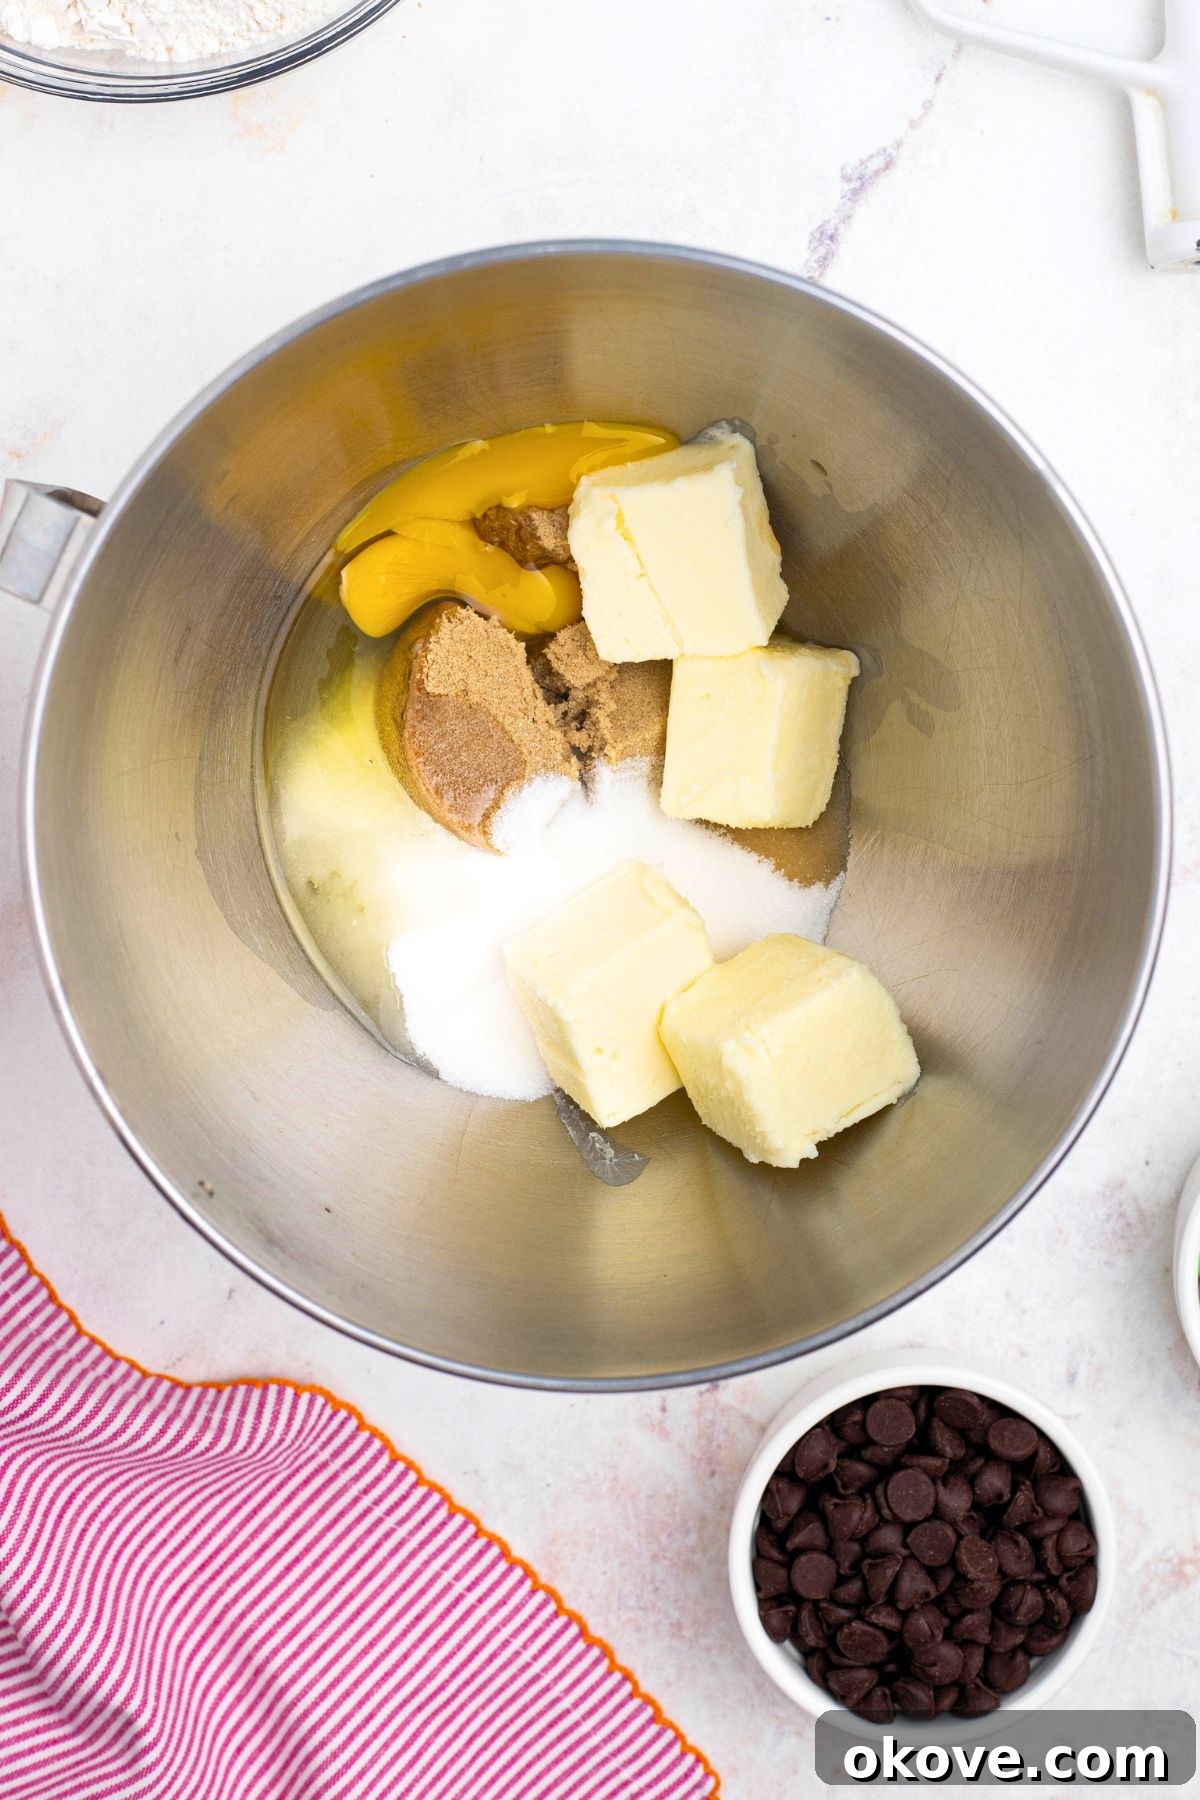
STEP 4: Gradually Add Dry to Wet Ingredients
With the mixer on low to medium speed, gradually add the whisked dry ingredients mixture to the wet ingredients. Mix just until a soft, cohesive dough forms and no streaks of flour remain visible. It’s very important to be careful not to overmix at this stage, as overmixing can develop the gluten in the flour too much, leading to tough and less tender cookies.
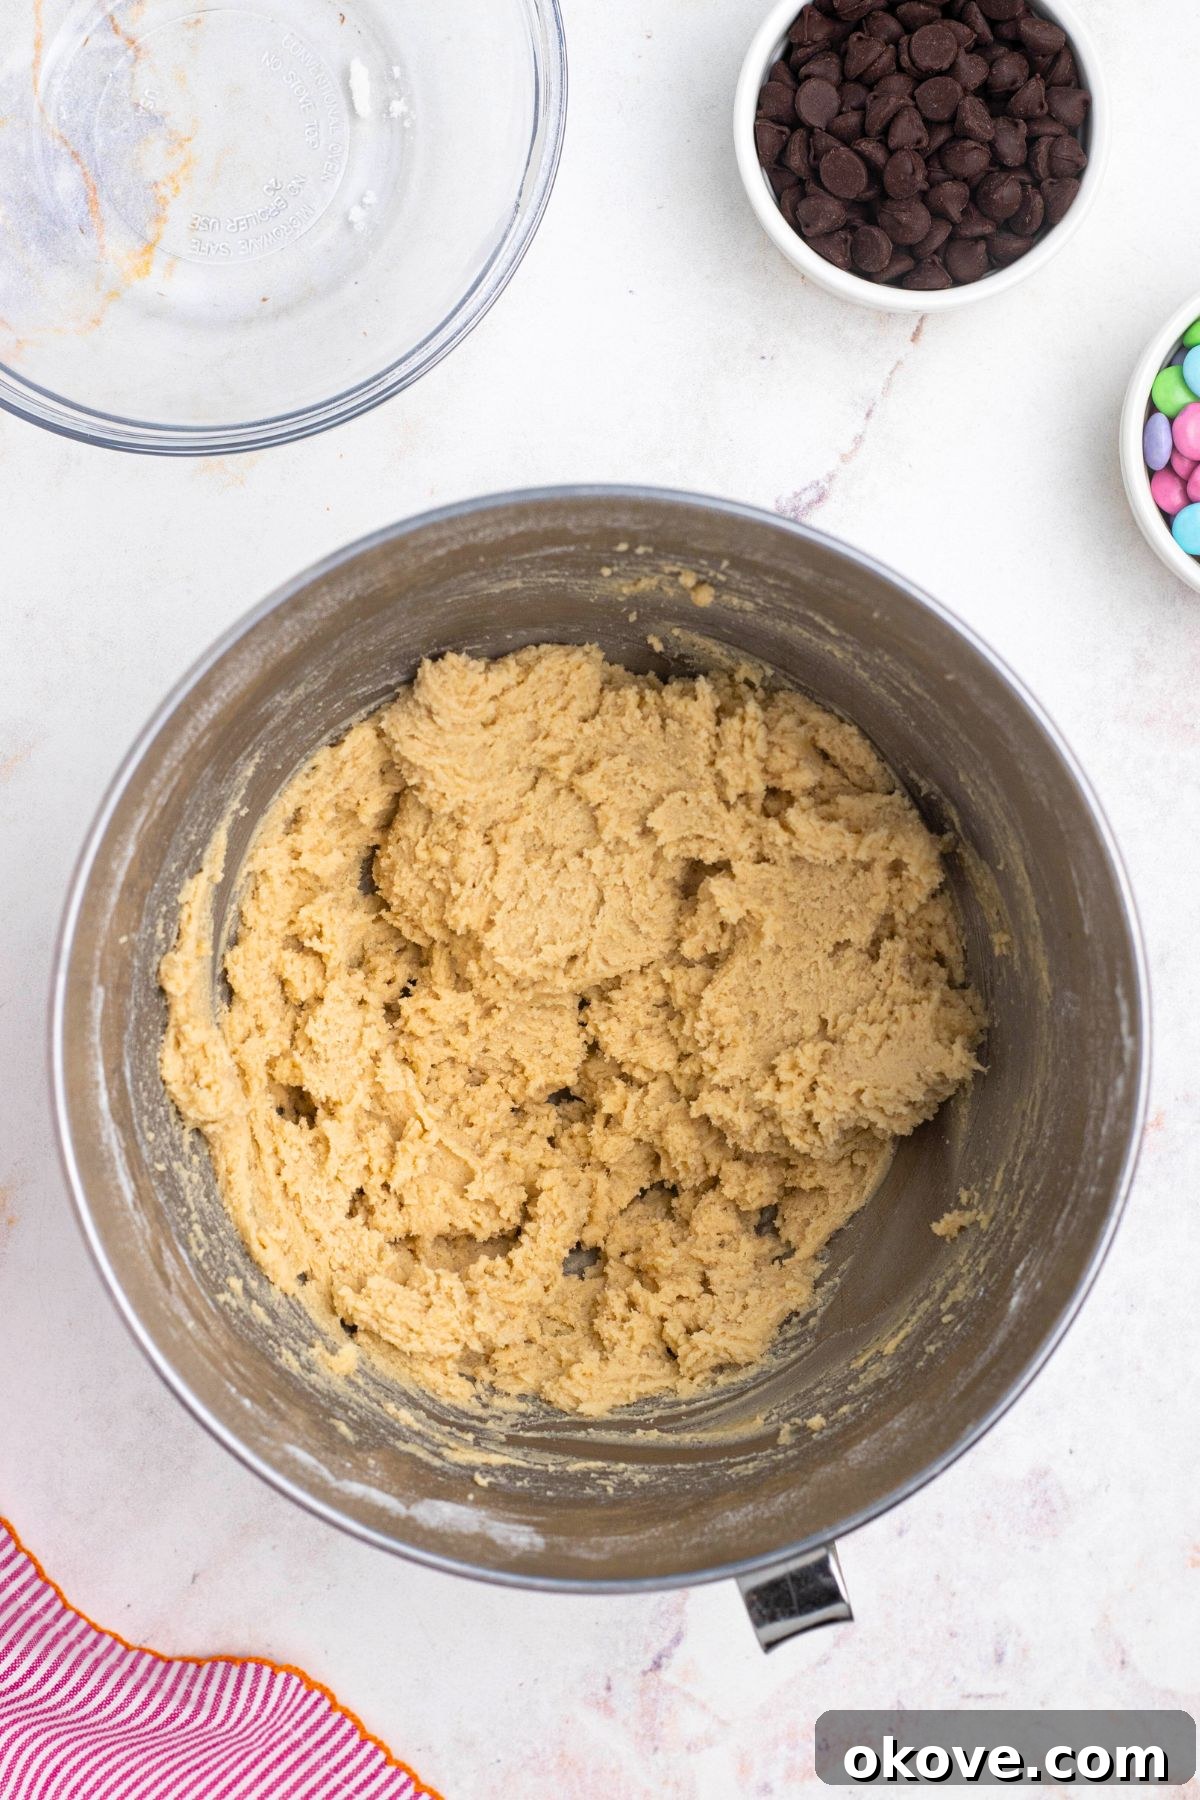
STEP 5: Fold in the Chocolates & Candies
Once your dough is formed, remove the bowl from the mixer. Gently stir in the semi-sweet chocolate chips and the festive spring-colored Easter M&Ms. Fold them in by hand using a sturdy spatula until they are evenly distributed throughout the cookie dough. This ensures that every single cookie gets a generous share of delicious chocolate and vibrant color.
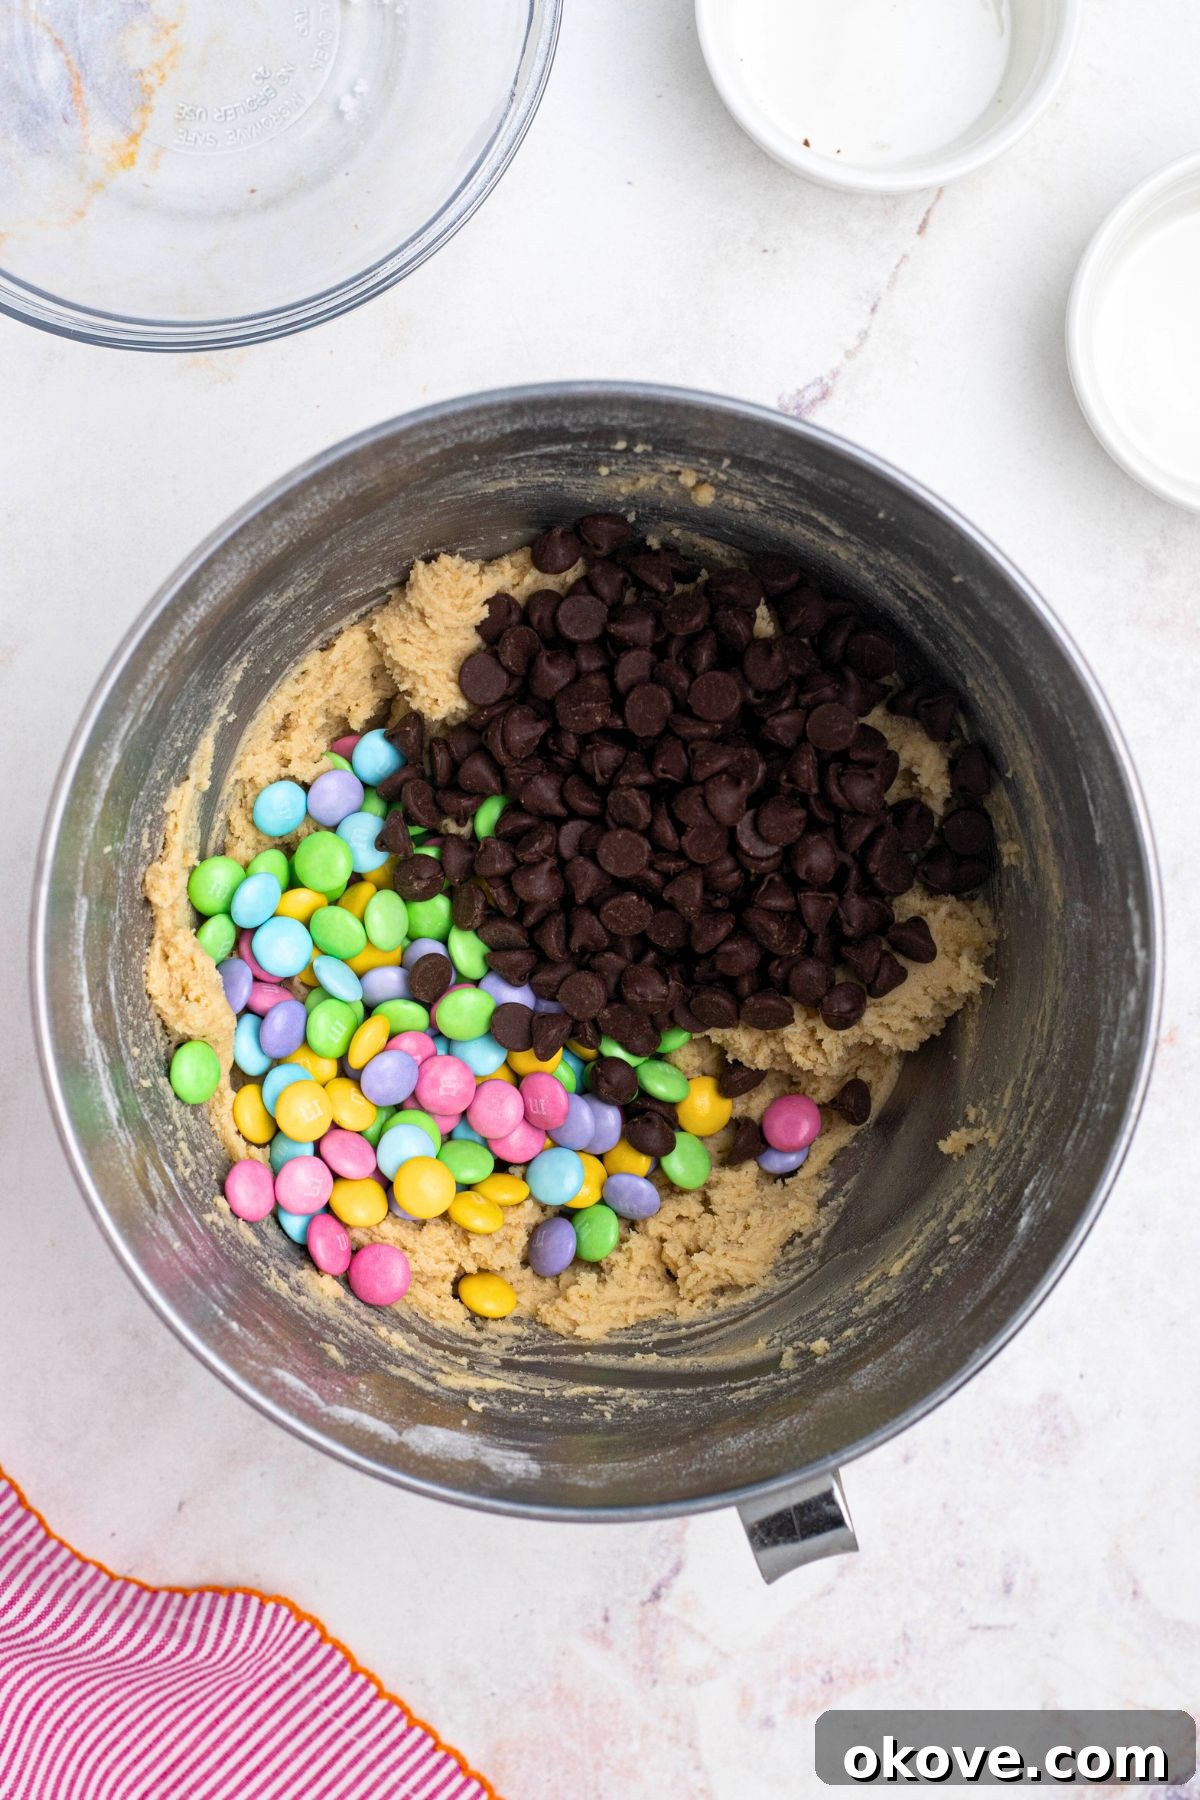
STEP 6: Scoop and Space Your Cookies Evenly
Use a portion scoop (a 1.5 to 2-tablespoon size works perfectly for standard cookies) or a large spoon to scoop out uniform balls of dough. Drop these dough balls onto your prepared baking sheet, ensuring you leave at least one inch of space between each cookie. This generous spacing is crucial as the cookies will spread during baking, preventing them from merging into one giant, uneven cookie.
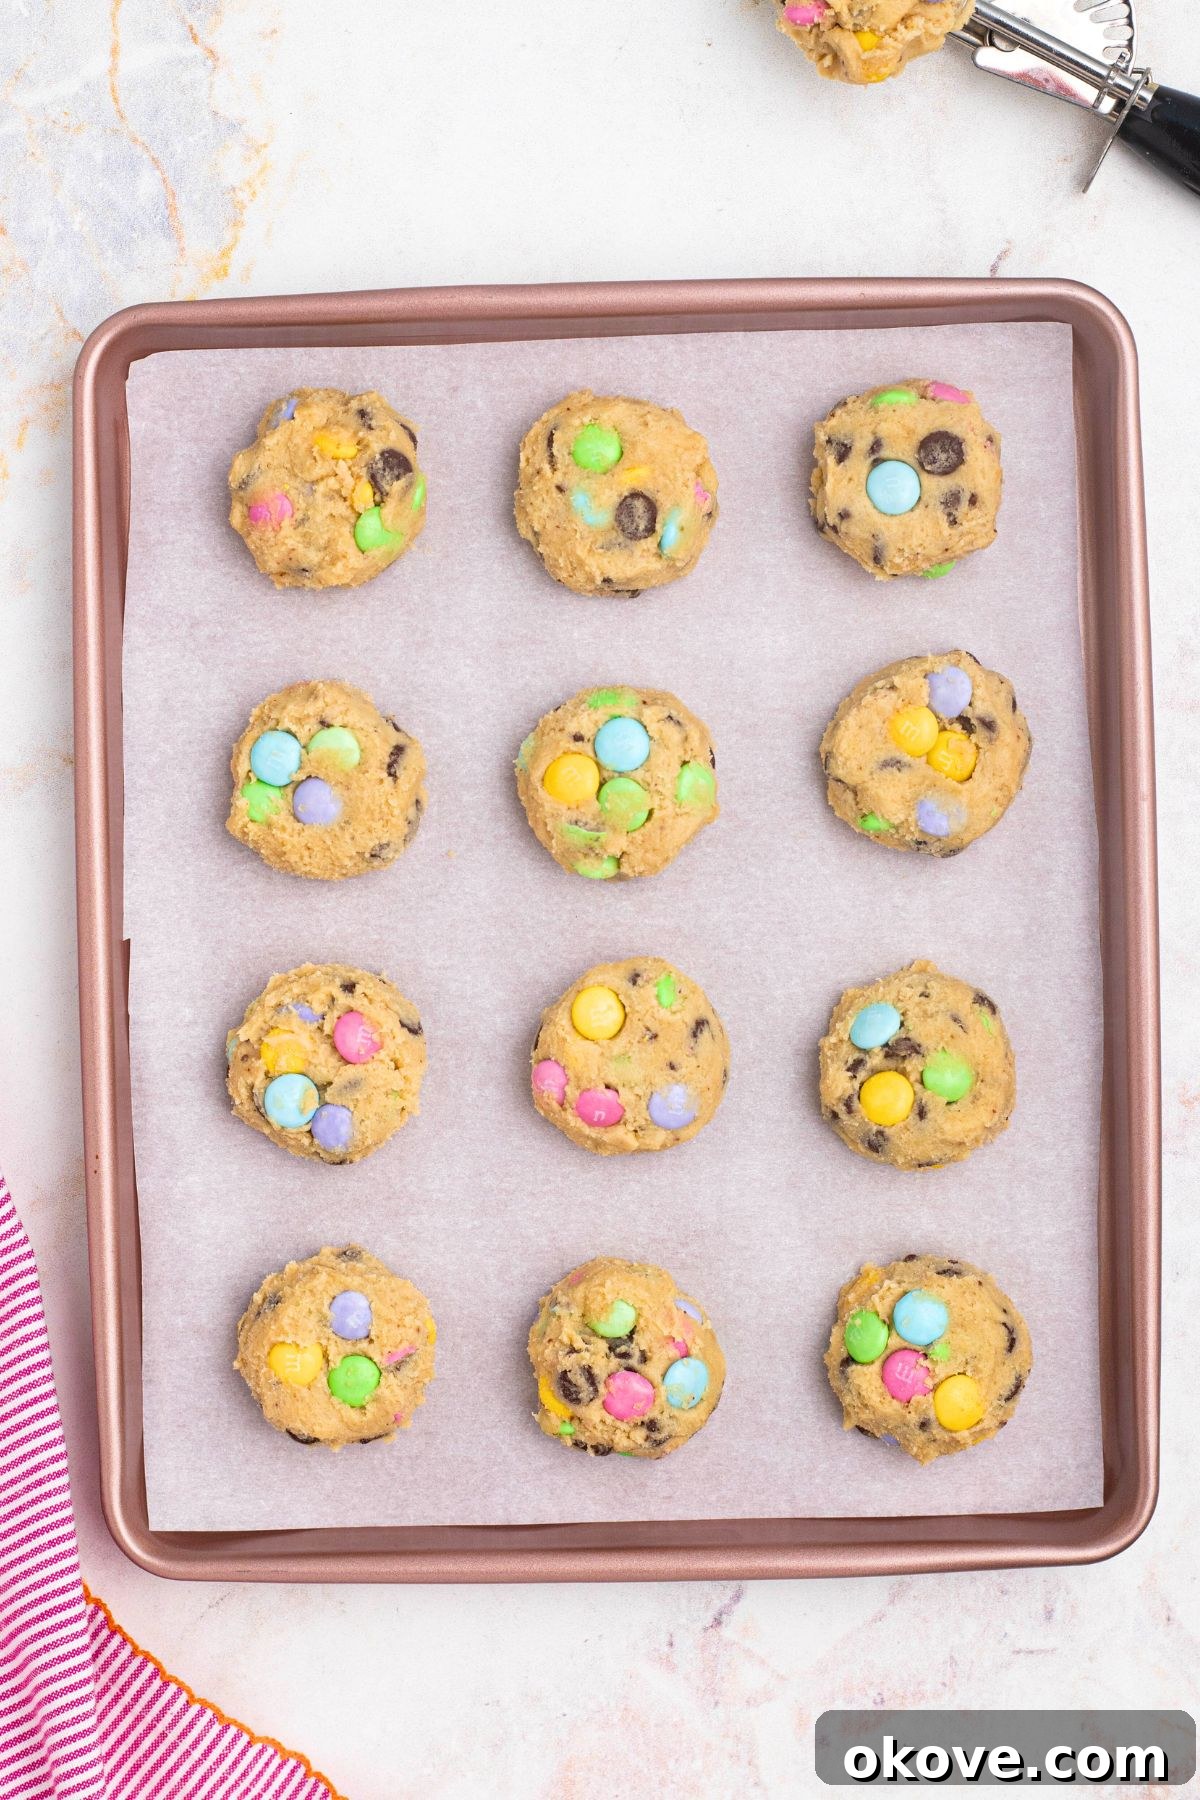
STEP 7: Bake to Golden Perfection
Bake the cookies for 9-11 minutes. Keep a very close eye on them during the last few minutes, as oven temperatures can vary. You’re looking for edges that are just beginning to turn a light golden brown, while the centers still look slightly soft and puffy. This indicates a perfectly chewy interior, as they will continue to set as they cool.
STEP 8: Cool Properly and Enjoy
Once baked, carefully remove the baking sheet from the oven. Let the cookies rest on the hot baking sheet for 1-2 minutes. This brief cooling period allows them to firm up slightly, making them less fragile. Then, using a spatula, carefully transfer them to a wire cooling rack to cool completely. Cooling on a rack ensures air circulation, preventing the bottoms from becoming soggy and maintaining their perfect texture.
Pro Tips for the Best Easter Chocolate Chip Cookies
Achieving the perfect Easter Chocolate Chip Cookie is simple when you know a few expert tricks. These insights will help you bake cookies that are consistently soft, wonderfully chewy, and bursting with delightful flavor, making your Easter baking truly stand out:
- Don’t Overbake: This is perhaps the most crucial tip for achieving wonderfully chewy cookies! Always remove the cookies from the oven when the edges are set and lightly golden, but the centers still look slightly soft, puffy, and perhaps a tiny bit underbaked. They will continue to cook and set as they cool on the hot baking sheet, resulting in that desirable soft, bendy, and chewy texture.
- Use Room Temperature Butter and Egg: For the smoothest dough and best overall texture, ensure both your butter and egg are at room temperature. Room temperature butter creams much better with sugar, incorporating more air into the dough, which leads to lighter, softer cookies. A cold egg can cause the butter mixture to seize up, resulting in a less uniform and lumpier dough.
- Chill the Dough (Optional, but Recommended): For thicker, chewier cookies with a more developed flavor, consider chilling your dough for at least 30 minutes, or even overnight. Chilling helps to solidify the butter, which prevents excessive spreading during baking and allows the flavors in the dough to meld beautifully, creating a richer taste.
- Let the Cookies Cool Properly: Patience is a virtue, especially with cookies! Allowing them to rest on the baking sheet for a minute or two after baking helps them firm up and set. This crucial step prevents them from breaking apart when you transfer them. Always use a wire rack for complete cooling to ensure air circulates around all sides, preventing soggy bottoms.
- Measure Flour Correctly: Too much flour is a common baking mistake that often leads to dry, dense, and crumbly cookies. Always use the “spoon and level” method: spoon flour into your measuring cup until it overflows, then level it off with a straight edge (like the back of a knife). Do not scoop directly from the bag, as this compacts the flour and results in too much being added.
- Customize the Colors & Candies: While spring M&Ms are perfect for Easter, remember you can swap them out for other festive candies to match any holiday or theme. Think vibrant red and green M&Ms for Christmas, spooky orange and black for Halloween, or even your favorite team’s colors for a game day treat. The base recipe is incredibly versatile!
- Don’t Crowd the Baking Sheet: Give your cookies plenty of room to spread. Overcrowding a baking sheet can lead to uneven baking and cookies that stick together. Bake in batches if necessary, ensuring each cookie has ample space.
Frequently Asked Questions About Easter Chocolate Chip Cookies
Got questions about baking, storing, or customizing your Easter Chocolate Chip Cookies? We’ve got answers! Here are some common inquiries to help you master this delightful spring treat:
Can I make these cookies ahead of time?
Absolutely! You have a couple of great options for making these cookies ahead. You can prepare the cookie dough ahead of time and store it in an airtight container in the refrigerator for up to 3 days. When you’re ready to bake, simply scoop the dough and add an extra minute or two to the baking time, as the dough will be cold. Alternatively, you can freeze scooped dough balls for up to 3 months. Place them on a baking sheet to freeze solid, then transfer to a freezer-safe bag. Bake from frozen, adding a few extra minutes to the baking time until golden.
Can I use margarine instead of butter?
While butter is highly recommended for the best flavor, richness, and tender texture, margarine can be used as a substitute in a pinch. However, be aware that cookies made with margarine may spread a bit more and turn out slightly flatter due to differences in fat content and melting points compared to butter. You might need to adjust baking time slightly. For optimal results, stick with unsalted butter.
How do I store leftover cookies?
Once your Easter Chocolate Chip Cookies are completely cooled, store them in an airtight container at room temperature for up to 5-7 days. For longer storage, you can freeze baked cookies for up to 3 months. To do this, arrange them in a single layer on a baking sheet to freeze solid, then transfer them to an airtight freezer-safe container, layering with parchment paper to prevent sticking. Thaw them at room temperature for a quick treat whenever a craving strikes!
Can I make these cookies smaller or larger?
Yes, you can easily adjust the size of your cookies to suit your preference! Just remember that the baking time will need to be adjusted accordingly. For smaller, bite-sized cookies (about 1-tablespoon scoops), bake for approximately 7-8 minutes. For larger, bakery-style cookies (using 3-tablespoon scoops), you might need 12-14 minutes. Always keep an eye on those golden edges and slightly soft centers as your primary indicator of doneness.
Can I make these cookies gluten-free?
Yes, you can often adapt this recipe to be gluten-free. Simply substitute the all-purpose flour with a good quality 1:1 gluten-free baking flour blend that contains xanthan gum. The texture might be slightly different, possibly a little more crumbly, but the flavor will still be wonderfully satisfying. Always double-check that your M&Ms (or any other candies) are also gluten-free if that is a strict requirement.
Why did my cookies spread too much?
Several factors can cause cookies to spread excessively: butter that is too warm (or even melted), overmixing the dough, too little flour (or incorrect measurement), or an oven that isn’t hot enough. To prevent this, ensure your butter is softened but not melted, measure your flour accurately using the spoon-and-level method, avoid overmixing the dough, and ensure your oven is preheated properly and holding its temperature. Chilling the dough for 30 minutes before baking can also significantly help prevent excessive spreading.
More Delightful Holiday Dessert Recipes
Holidays
Festive Christmas Cupcakes
Holidays
Easy Christmas Sugar Cookie Bars
Holidays
Spooky Halloween Rice Krispie Treats
Desserts
Colorful Easter Brownies
Easter Chocolate Chip Cookies
By: Rebecca
Yields: Approximately 24 cookies
Prep Time: 10 minutes
Cook Time: 7-11 minutes
Total Time: Approximately 17-21 minutes
Pin Recipe |
Email Share |
Print Recipe

These Easter Chocolate Chip Cookies are irresistibly soft, delightfully chewy, and packed with a generous amount of classic chocolate chips and festive pastel M&Ms. They are the perfect sweet treat for all your Easter celebrations and spring gatherings, bringing joy and color to every bite!
Equipment
- Baking Sheet
- Large Mixing Bowl
- Medium Bowl
- Electric Mixer (Stand or Hand Mixer)
- Whisk
- Rubber Spatula
- Cookie Scoop (optional, for uniform cookies)
- Wire Cooling Rack
Ingredients
- 1 1/2 cups all-purpose flour
- 1/2 teaspoon baking soda
- 1/4 teaspoon kosher salt
- 1/2 cup granulated sugar
- 1/2 cup light brown sugar, packed
- 1/2 cup (1 stick) unsalted butter, softened to room temperature
- 1 teaspoon vanilla extract
- 1 large egg, room temperature
- 1 cup semi-sweet chocolate chips
- 1 cup spring M&M’s
Instructions
- Preheat your oven to 375°F (190°C). Line a large baking sheet with parchment paper or a silicone baking mat to ensure even baking and prevent sticking.
- In a medium bowl, whisk together the all-purpose flour, baking soda, and kosher salt until thoroughly combined. Set this dry mixture aside.
- In a large mixing bowl, using an electric mixer, cream together the granulated sugar, light brown sugar, softened unsalted butter, vanilla extract, and the room temperature egg until the mixture is light, fluffy, and well combined (this usually takes about 2-3 minutes).
- Gradually add the whisked dry ingredient mixture to the wet ingredients, mixing on low speed. Continue mixing just until a soft dough forms and no dry streaks of flour remain. Be careful not to overmix the dough.
- Using a rubber spatula, gently fold in the semi-sweet chocolate chips and the festive spring M&Ms until they are evenly distributed throughout the cookie dough.
- Using a cookie scoop (or a large spoon), scoop rounded tablespoons of dough (about 1.5-inch balls) onto the prepared baking sheet. Ensure you leave at least 1 inch of space between each cookie to allow for proper spreading during baking.
- Bake for 9-11 minutes, or until the edges of the cookies are lightly golden brown and the centers still appear slightly soft and puffy.
- Remove the baking sheet from the oven. Let the cookies cool on the hot baking sheet for 1-2 minutes to allow them to set slightly. Then, carefully transfer them with a spatula to a wire cooling rack to cool completely.
Recipe Notes
- Don’t Overbake: For perfectly soft and chewy cookies, it’s essential not to overbake them. Remove them from the oven when the edges are just set and lightly golden, even if the centers still look a little soft. They will continue to firm up as they cool on the baking sheet.
- Room Temperature Ingredients: Always use room temperature butter and eggs. This ensures that the ingredients emulsify properly, creating a smooth dough and contributing to the optimal texture of the baked cookies. Cold ingredients can lead to a lumpy dough and inconsistent baking.
- Proper Cooling: Allowing the cookies to rest on the baking sheet for a couple of minutes after baking helps them firm up and prevents them from breaking when you transfer them to a wire rack. Cooling completely on a wire rack is crucial to prevent the bottoms from becoming soggy.
- Storage: Store your completely cooled Easter Chocolate Chip Cookies in an airtight container at room temperature. They will stay fresh and delicious for up to 5-7 days.
Nutrition Information (Approximate per serving, based on 24 cookies)
Calories: 186kcal | Carbohydrates: 25g | Protein: 2g | Fat: 9g | Saturated Fat: 5g | Polyunsaturated Fat: 0.3g | Monounsaturated Fat: 2g | Trans Fat: 0.2g | Cholesterol: 20mg | Sodium: 59mg | Potassium: 61mg | Fiber: 1g | Sugar: 17g | Vitamin A: 153IU | Vitamin C: 0.1mg | Calcium: 22mg | Iron: 1mg
Nutrition information is automatically calculated and should only be used as an approximation. It can vary based on specific ingredients and brands used.
Additional Info
Course: Cookies, Dessert, Holiday Treat
Cuisine: American
Occasion: Easter, Spring, Celebrations
Tried this delightful recipe? We’d love to see your creations! Mention @celebratingsimplyrecipes or tag #celebratingsimplyrecipes on Instagram to share your Easter Chocolate Chip Cookies with our community!