
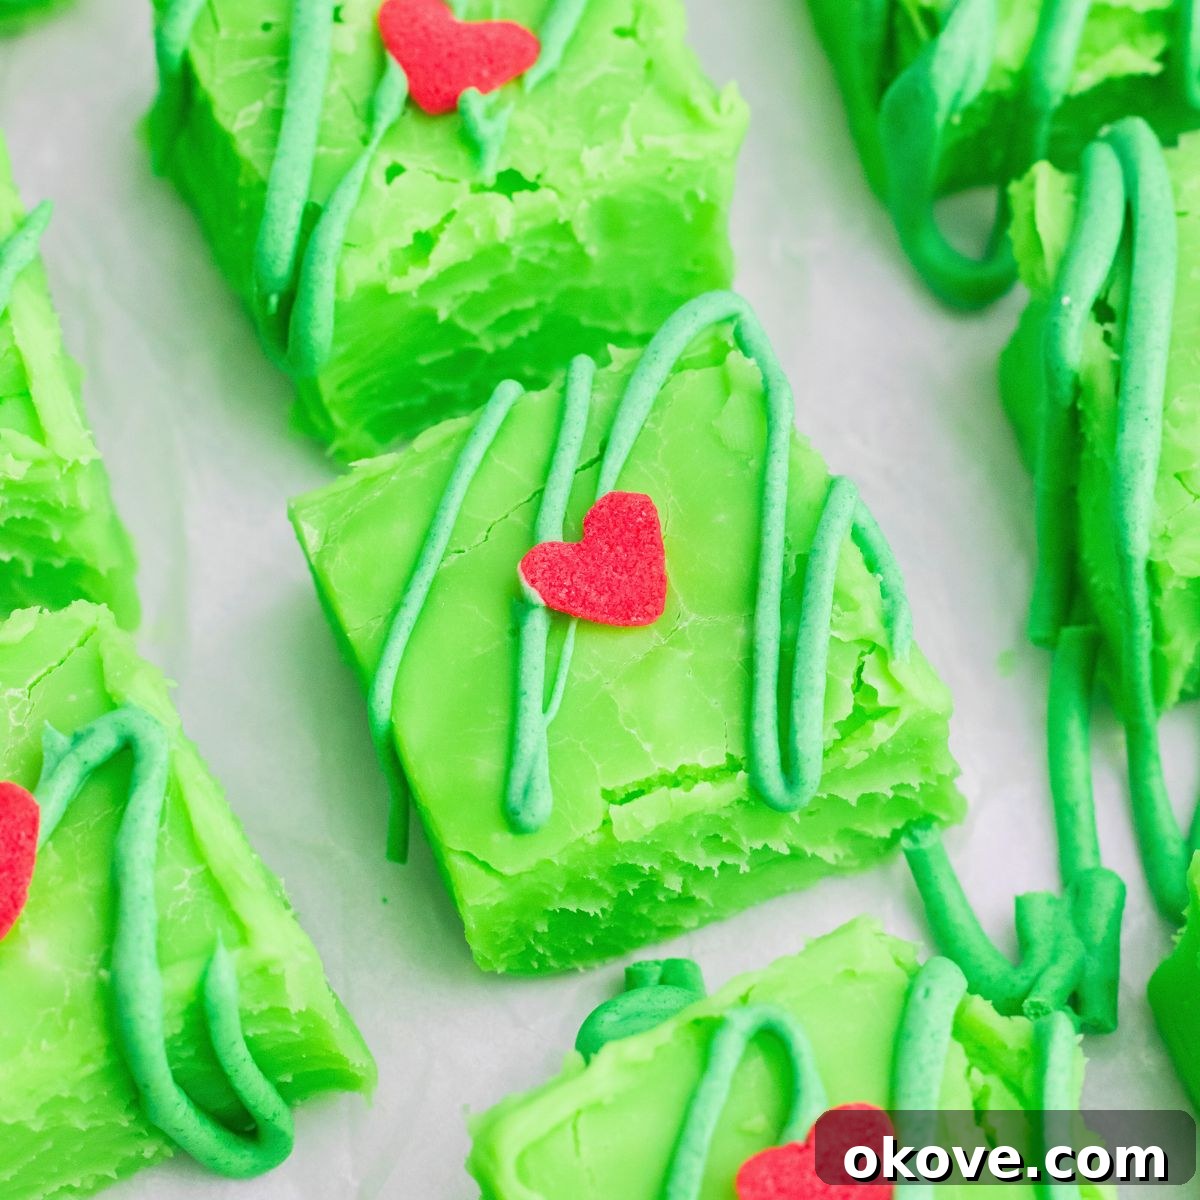
Easy Grinch Fudge Recipe: A Festive No-Bake Holiday Treat
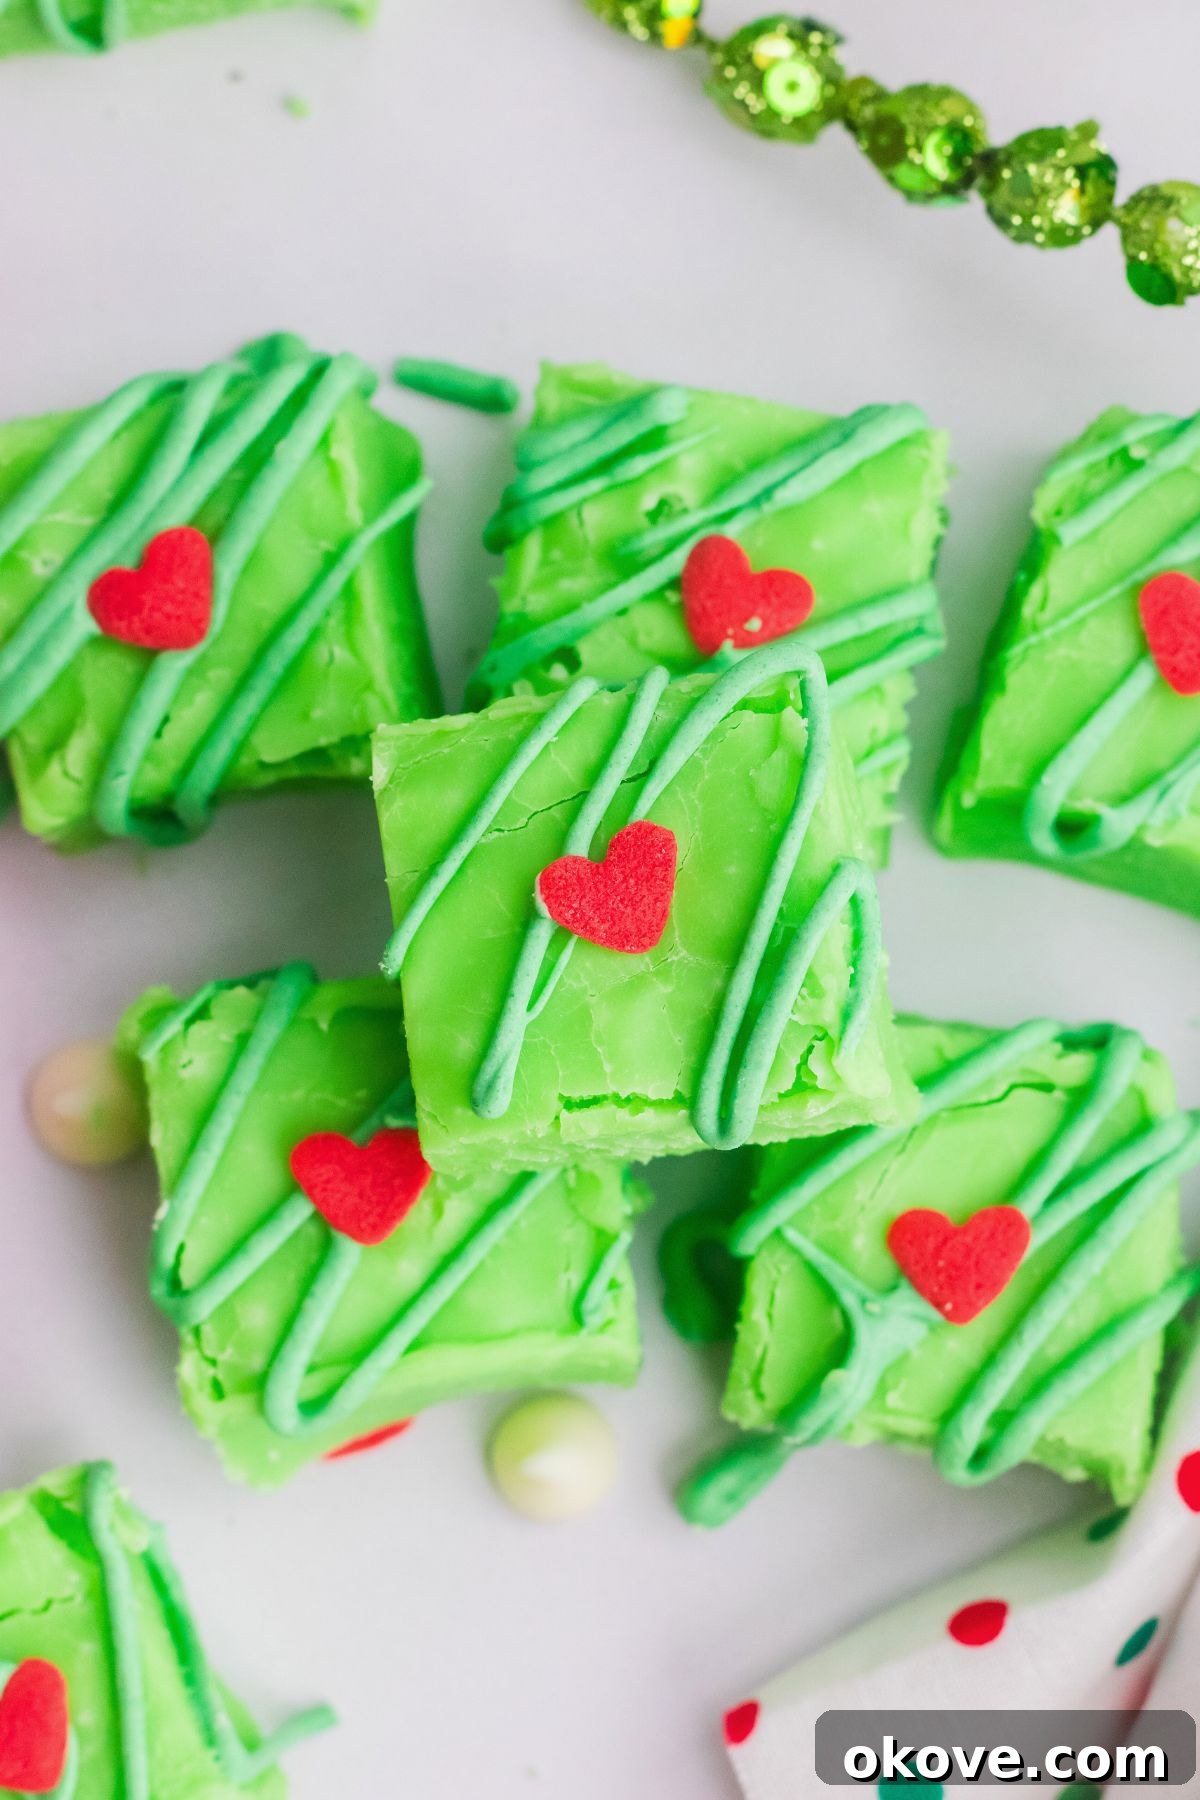
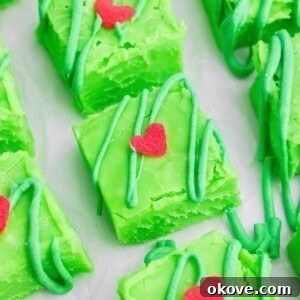
The holiday season isn’t truly complete without cozying up for a Grinch movie night, and what better way to enhance the experience than with a batch of delightful homemade Grinch Fudge? This festive treat boasts a smooth, creamy vanilla flavor that literally melts in your mouth, making it the perfect sweet addition to any holiday gathering. Its vibrant green hue and signature red heart sprinkle capture the mischievous spirit of the Grinch himself, promising smiles and festive cheer with every bite.
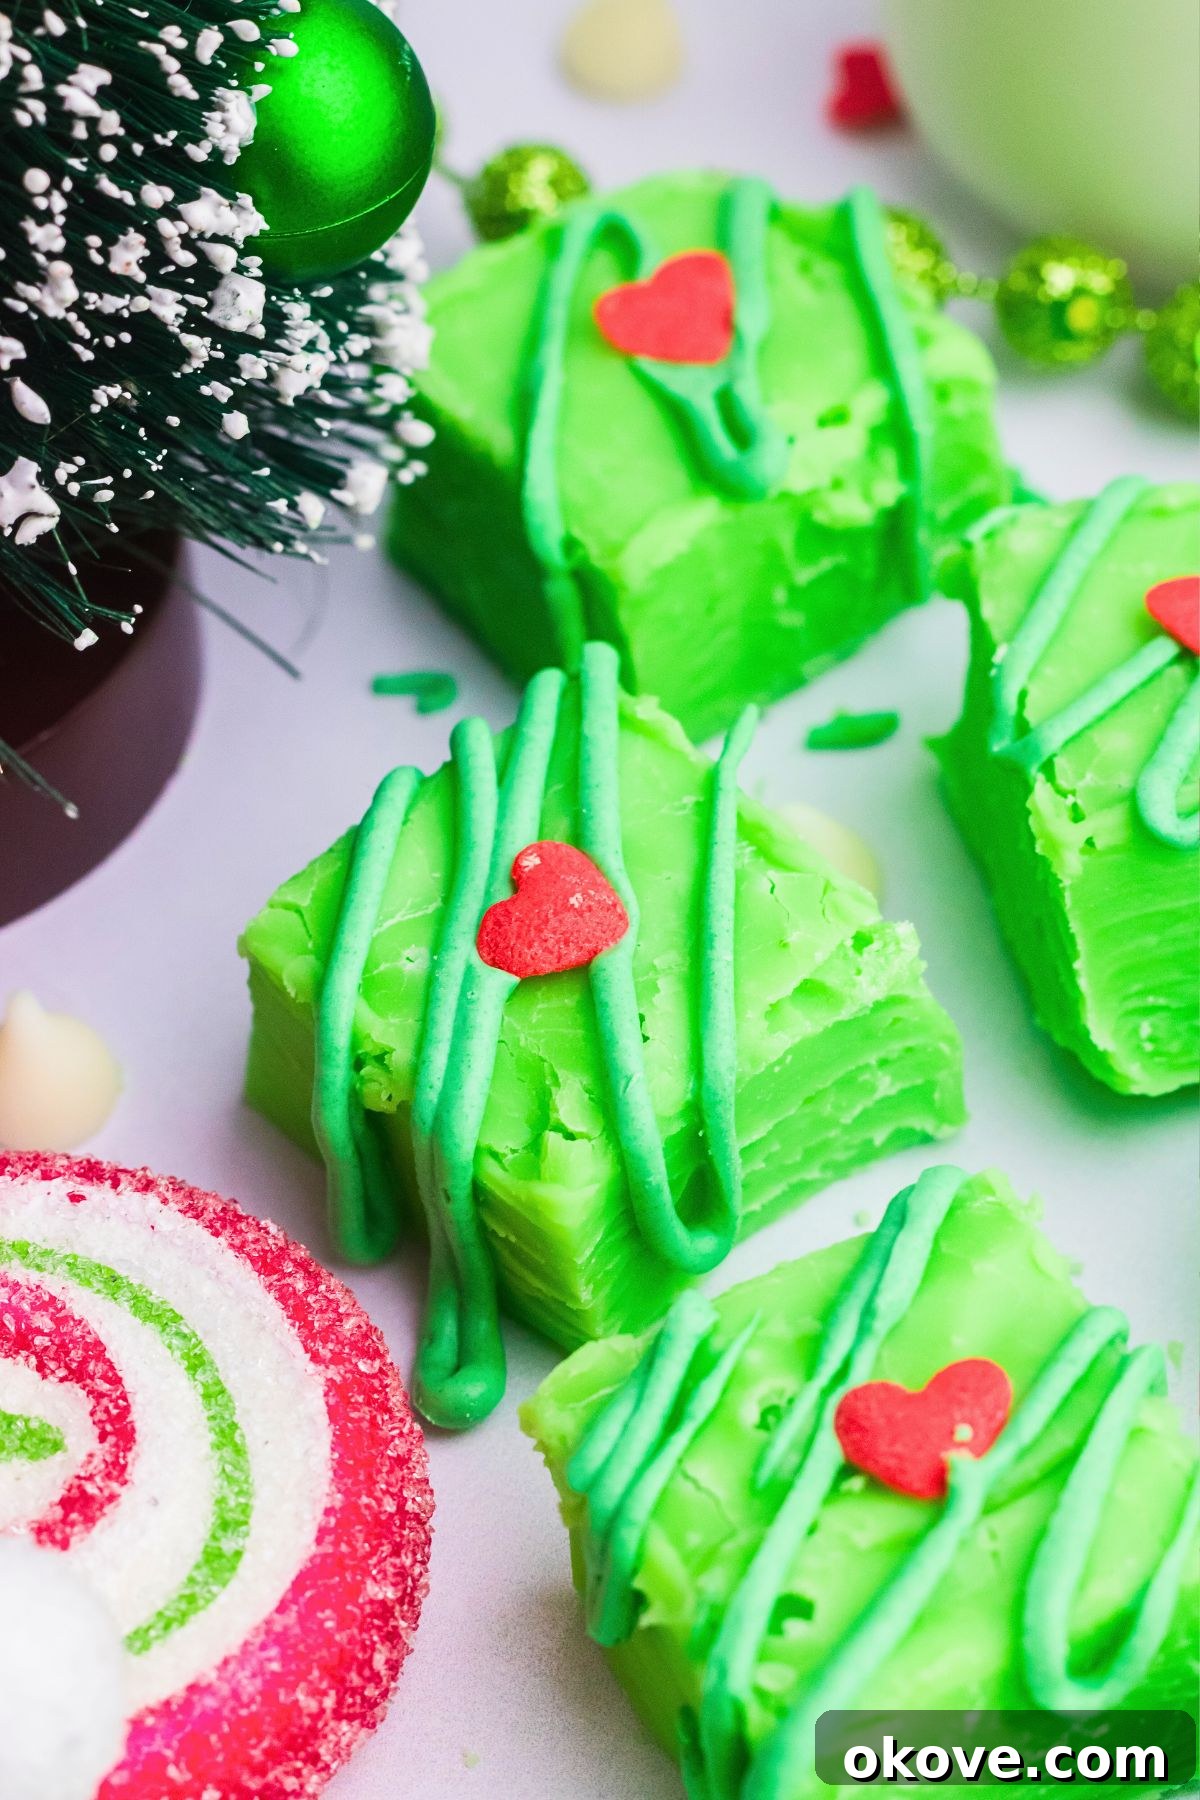
Simple & Delicious Grinch Fudge Recipe for Christmas
Making this no-bake Grinch fudge recipe is incredibly straightforward and requires minimal effort, leaving you more time to enjoy the festive season. This rich vanilla fudge isn’t just easy; it’s also a showstopper! Its eye-catching red and green colors instantly evoke the joyous Christmas spirit, making it an ideal dessert for holiday parties, cookie exchanges, or simply a sweet indulgence for your family.
Beyond being a delicious treat, Grinch fudge makes for a wonderfully thoughtful and unique gift. Imagine the delight on a neighbor’s, teacher’s, or friend’s face when they receive a beautifully packaged box of this homemade festive fudge. To prepare them for gifting, simply cut the set fudge into uniform squares, arrange them in charming festive tins with layers separated by parchment paper, and tie it all off with a decorative bow. It’s an adorable Grinch-themed gift that speaks volumes of your holiday cheer and effort.
For even more Grinch-themed fun, consider pairing this fudge with these delightful Grinch Oreo Balls. Both of these whimsical treats would look absolutely adorable arranged on a festive Christmas charcuterie board, creating an irresistible spread of holiday delights.
Why You’ll Adore This Easy Grinch Fudge
This Grinch fudge isn’t just another holiday dessert; it’s a hassle-free marvel that will become a staple in your festive repertoire. Here’s why this recipe stands out:
- Effortlessly Easy & No-Bake: Forget about complex baking steps or turning on the oven. This recipe is designed for simplicity, allowing anyone, regardless of baking experience, to create a stunning treat. It’s perfect for busy holiday schedules.
- Perfect for All Ages: The vibrant green color and iconic red heart appeal to both children and adults. It’s a whimsical dessert that adds a playful touch to any holiday table, inviting everyone to embrace their inner Grinch (in the best possible way!).
- Customizable Fun: While the classic Grinch design is wonderful, this fudge is a fantastic canvas for creativity. Easily add mix-ins like crushed candy canes, marshmallows, or different sprinkles to suit your taste and theme.
- Visually Stunning & Festive: The bright, bold green, contrasted with the tiny red heart, makes this fudge incredibly Instagram-worthy and instantly recognizable. It truly embodies the festive spirit of Christmas and the Grinch story.
- Thoughtful Homemade Gift: Show your appreciation to loved ones, teachers, or colleagues with a homemade gift that truly shines. Handcrafted Grinch fudge is not only delicious but also shows a personal touch that store-bought gifts can’t match.
- Irresistibly Creamy Vanilla Flavor: At its core, this is a decadent vanilla fudge. The texture is smooth and velvety, melting beautifully in your mouth, making it an utterly satisfying sweet indulgence that pairs perfectly with a cup of hot cocoa.
Essential Ingredients for Your Grinch Fudge
Crafting this magical Grinch fudge requires a few simple ingredients, each playing a crucial role in achieving that perfect creamy texture and iconic festive look. Here’s a detailed look at what you’ll need:
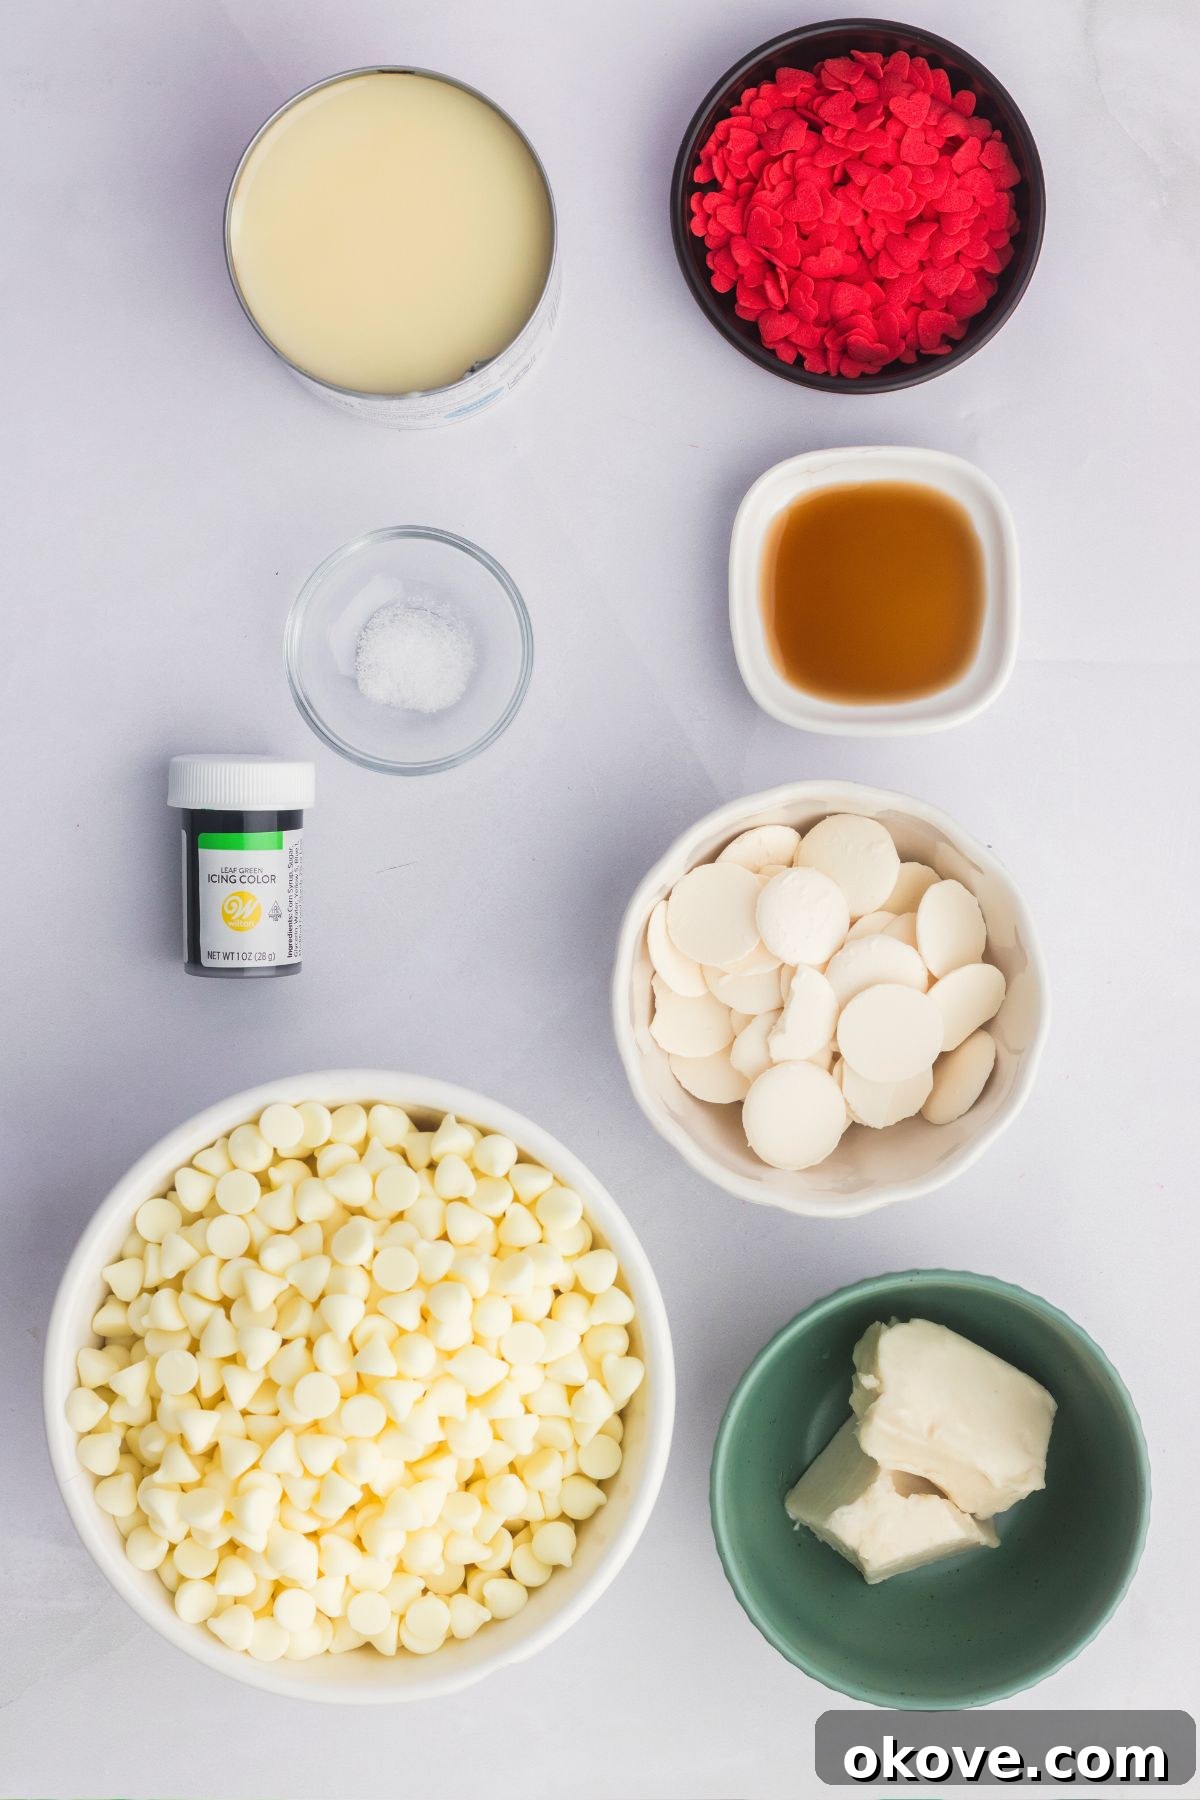
- White Chocolate Chips: These are the foundational ingredient for our Grinch fudge, providing the primary structure and its rich, sweet flavor. Opt for high-quality white chocolate chips as they melt more smoothly and contribute significantly to the fudge’s creamy texture. They also provide the perfect neutral base for the green coloring.
- Butter: A touch of unsalted butter is added to give the fudge a luxurious richness, balancing out the sweetness of the chocolate and condensed milk. It also helps achieve that desirable melt-in-your-mouth quality, making each bite incredibly decadent.
- Sweetened Condensed Milk: This magical ingredient is key to our no-bake fudge. It provides essential creaminess and acts as a binder, effortlessly bringing all the ingredients together into a smooth, cohesive mixture. It’s what gives the fudge its signature soft, chewy consistency without the need for traditional candy-making techniques.
- Vanilla Extract: For the purest vanilla flavor without affecting the vibrant color, clear vanilla extract is highly preferred. It imparts a classic, aromatic vanilla essence that complements the white chocolate beautifully, ensuring the fudge tastes as good as it looks.
- Green Gel Food Coloring: This is where the Grinch magic happens! Just a few drops of concentrated green gel food coloring will transform the white base into the iconic, bright Grinch green. Gel coloring is recommended over liquid as it provides more vibrant color without adding excess moisture that can alter the fudge’s consistency.
- Pinch of Salt: A tiny pinch of salt might seem insignificant, but it’s crucial for balancing the intense sweetness of the white chocolate and condensed milk. It enhances the overall flavor profile, preventing the fudge from being overly cloying.
- Heart Sprinkles: The bright red candy hearts are the quintessential finishing touch, representing the Grinch’s growing heart. They add a pop of color and an adorable thematic detail to each piece of fudge, making it instantly recognizable and delightful.
Step-by-Step Guide: Crafting Your Grinch Fudge
Follow these simple instructions to create your own batch of delicious and festive Grinch fudge. The process is quick, easy, and incredibly rewarding!
- STEP 1: Prepare Your Baking Dish. Begin by lining an 8×8 inch square baking dish with parchment paper. Ensure the parchment paper extends up the sides of the pan; these overhangs will serve as convenient “handles” later, making it incredibly easy to lift the set fudge out of the pan. Set the prepared pan aside.
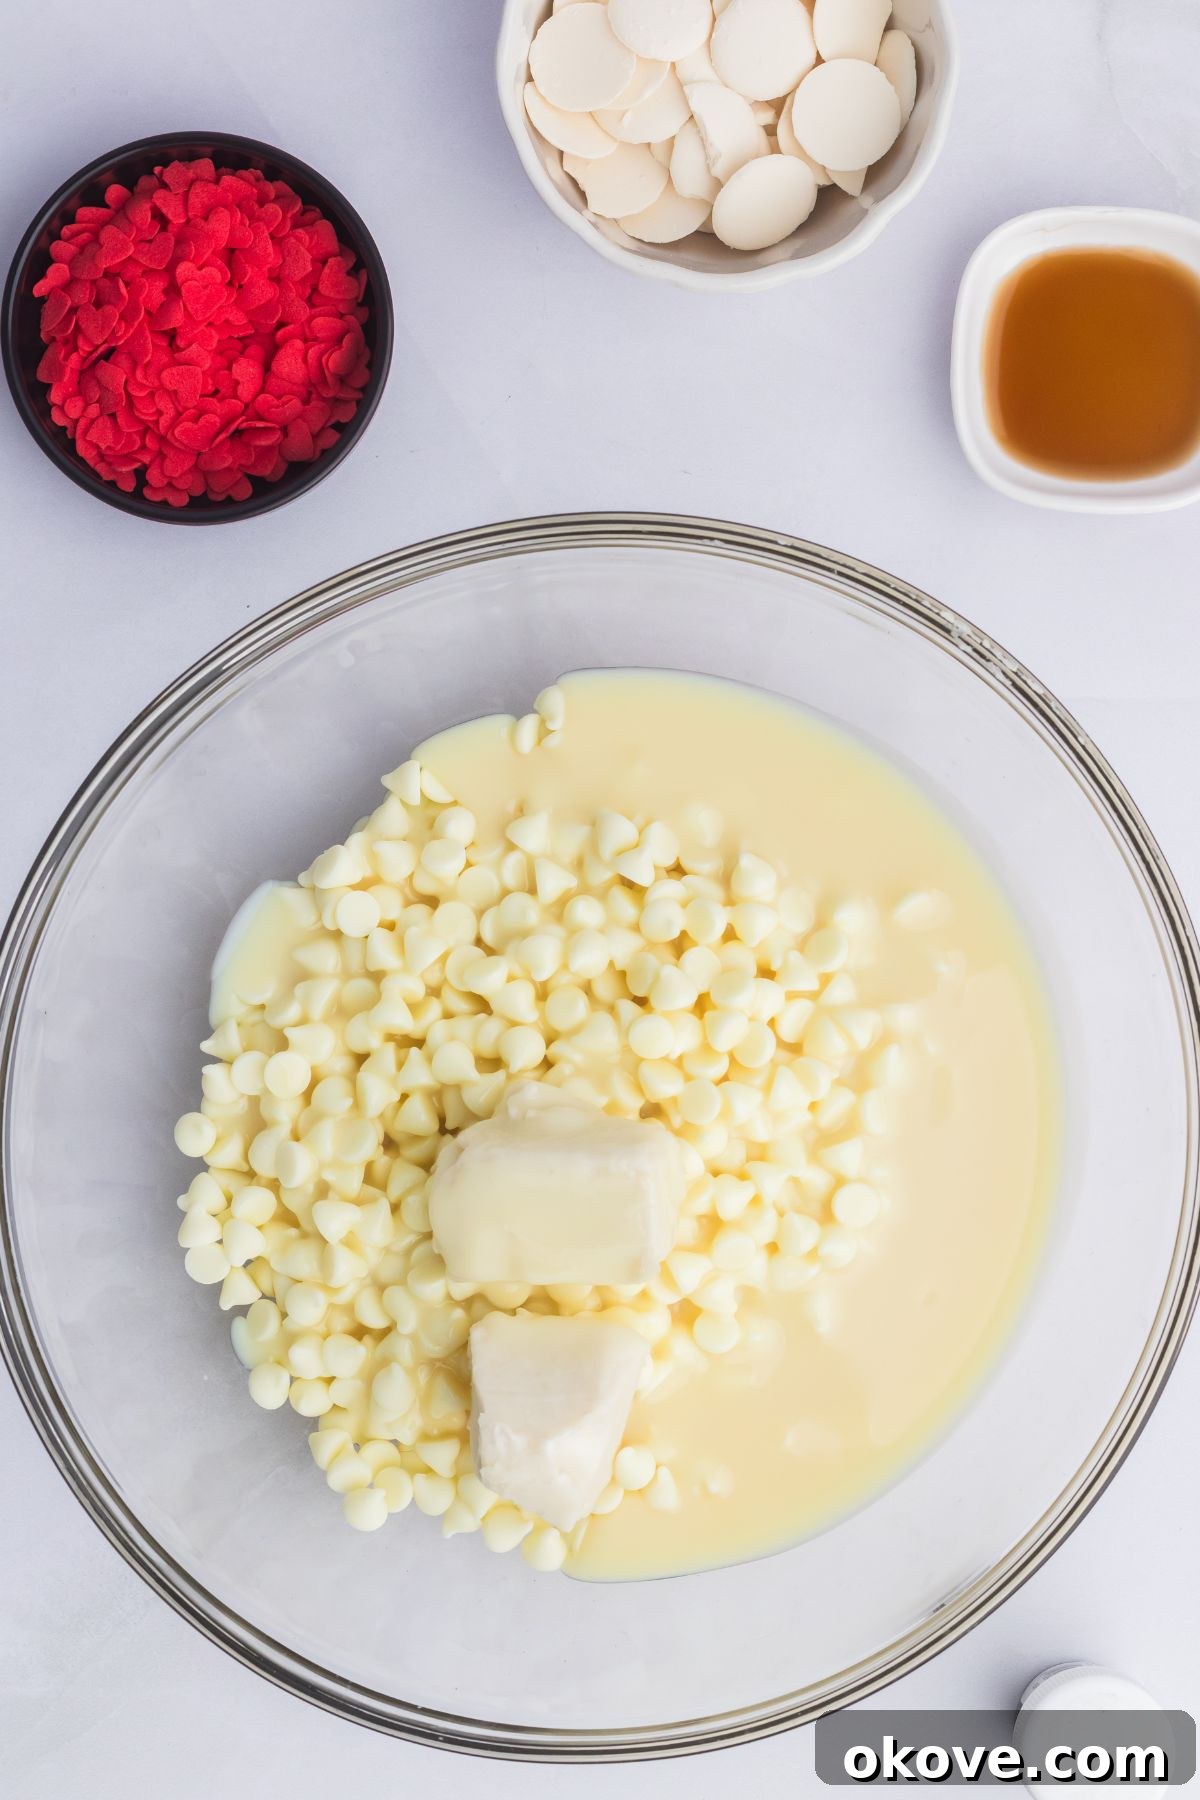
- STEP 2: Melt the Base Ingredients. In a large microwave-safe bowl, combine the white chocolate chips, sweetened condensed milk, butter, and a tiny pinch of salt. Heat this mixture in the microwave in short 30-second intervals. After each interval, stir the mixture thoroughly with a spatula. Continue heating and stirring until the chocolate is completely melted and the mixture is wonderfully smooth and creamy. If you prefer, or if you don’t have a microwave, you can also melt these ingredients gently in a double boiler or a saucepan over low to medium heat, stirring continuously until smooth.
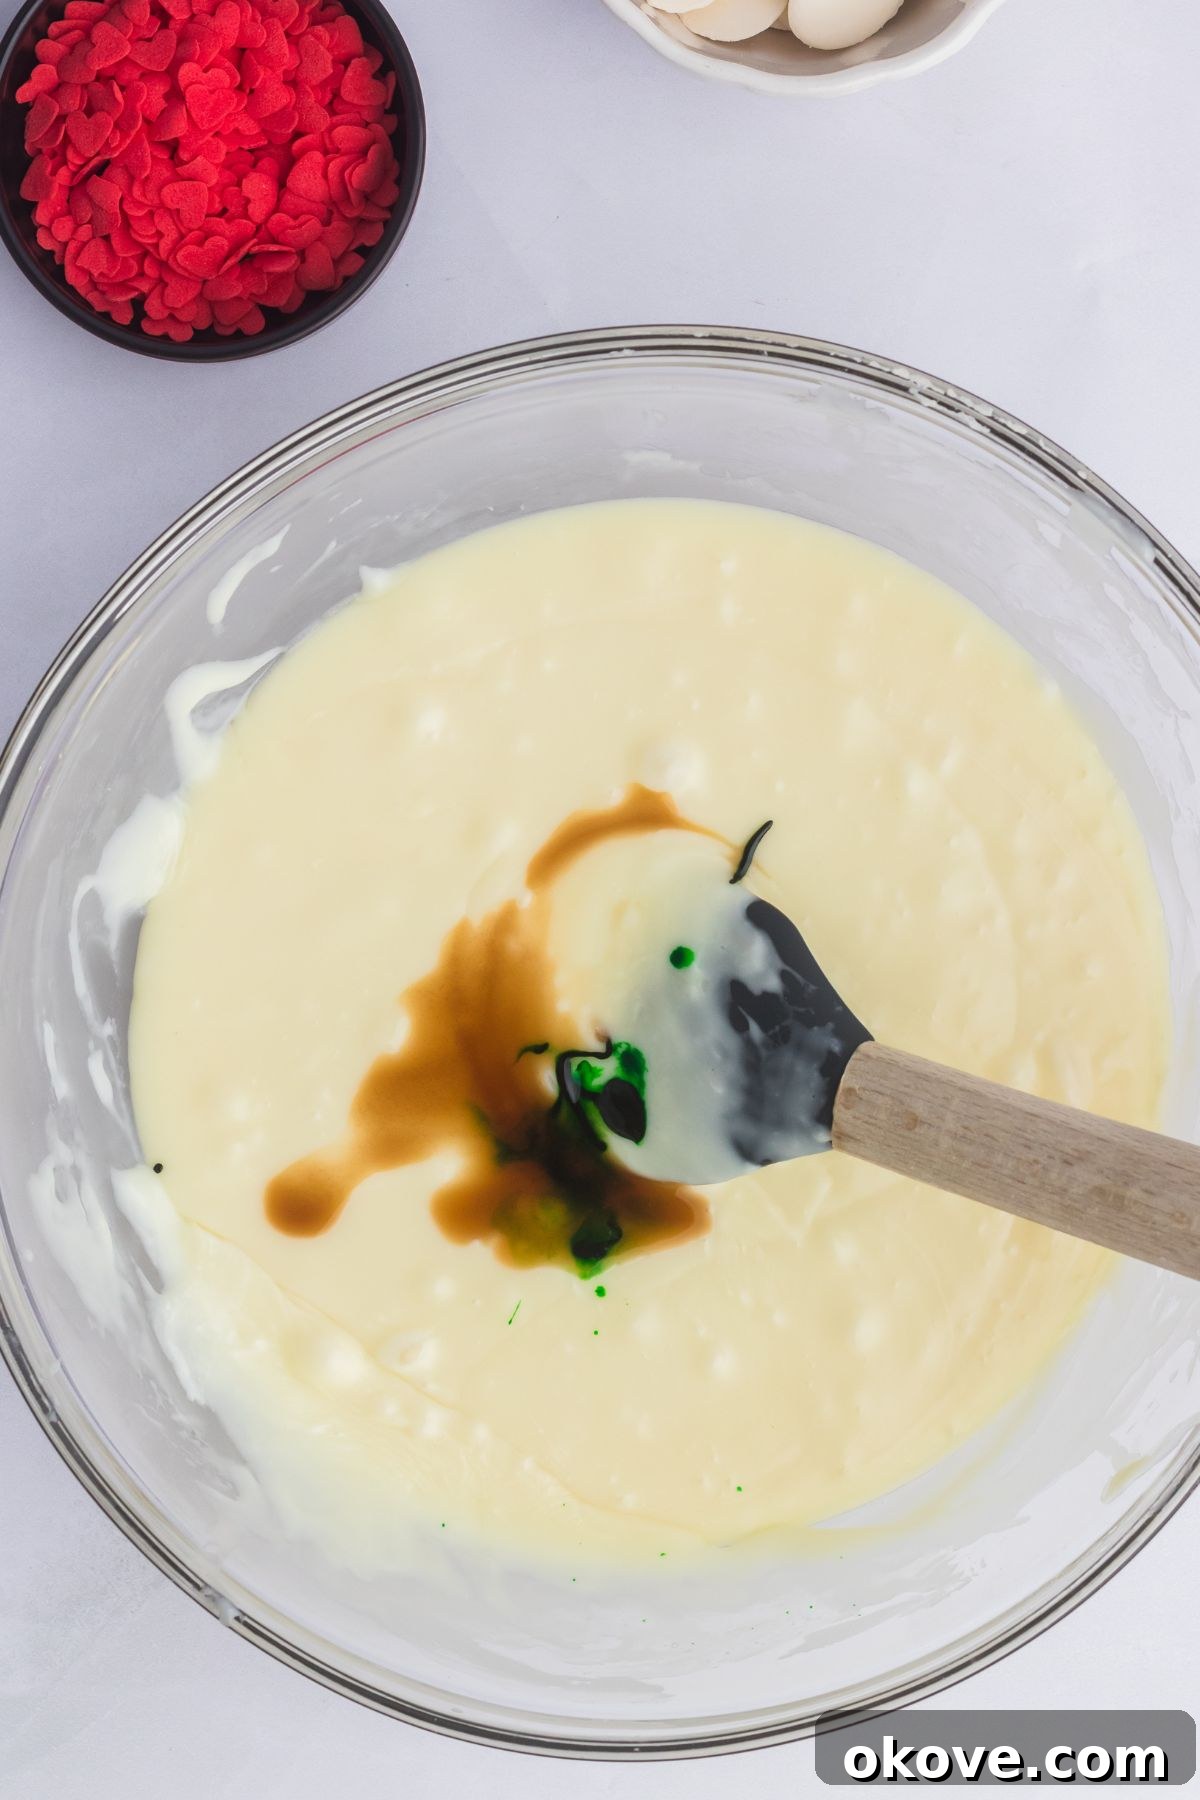
- STEP 3: Add Color and Flavor. Once your chocolate mixture is smooth and creamy, stir in the clear vanilla extract. Now for the signature Grinch color: add a few drops of green gel food coloring to the mixture. Stir well to fully incorporate the color. Continue adding drops of food coloring, one or two at a time, stirring after each addition, until you achieve your desired vibrant Grinch green shade. Remember, a little gel coloring goes a long way!
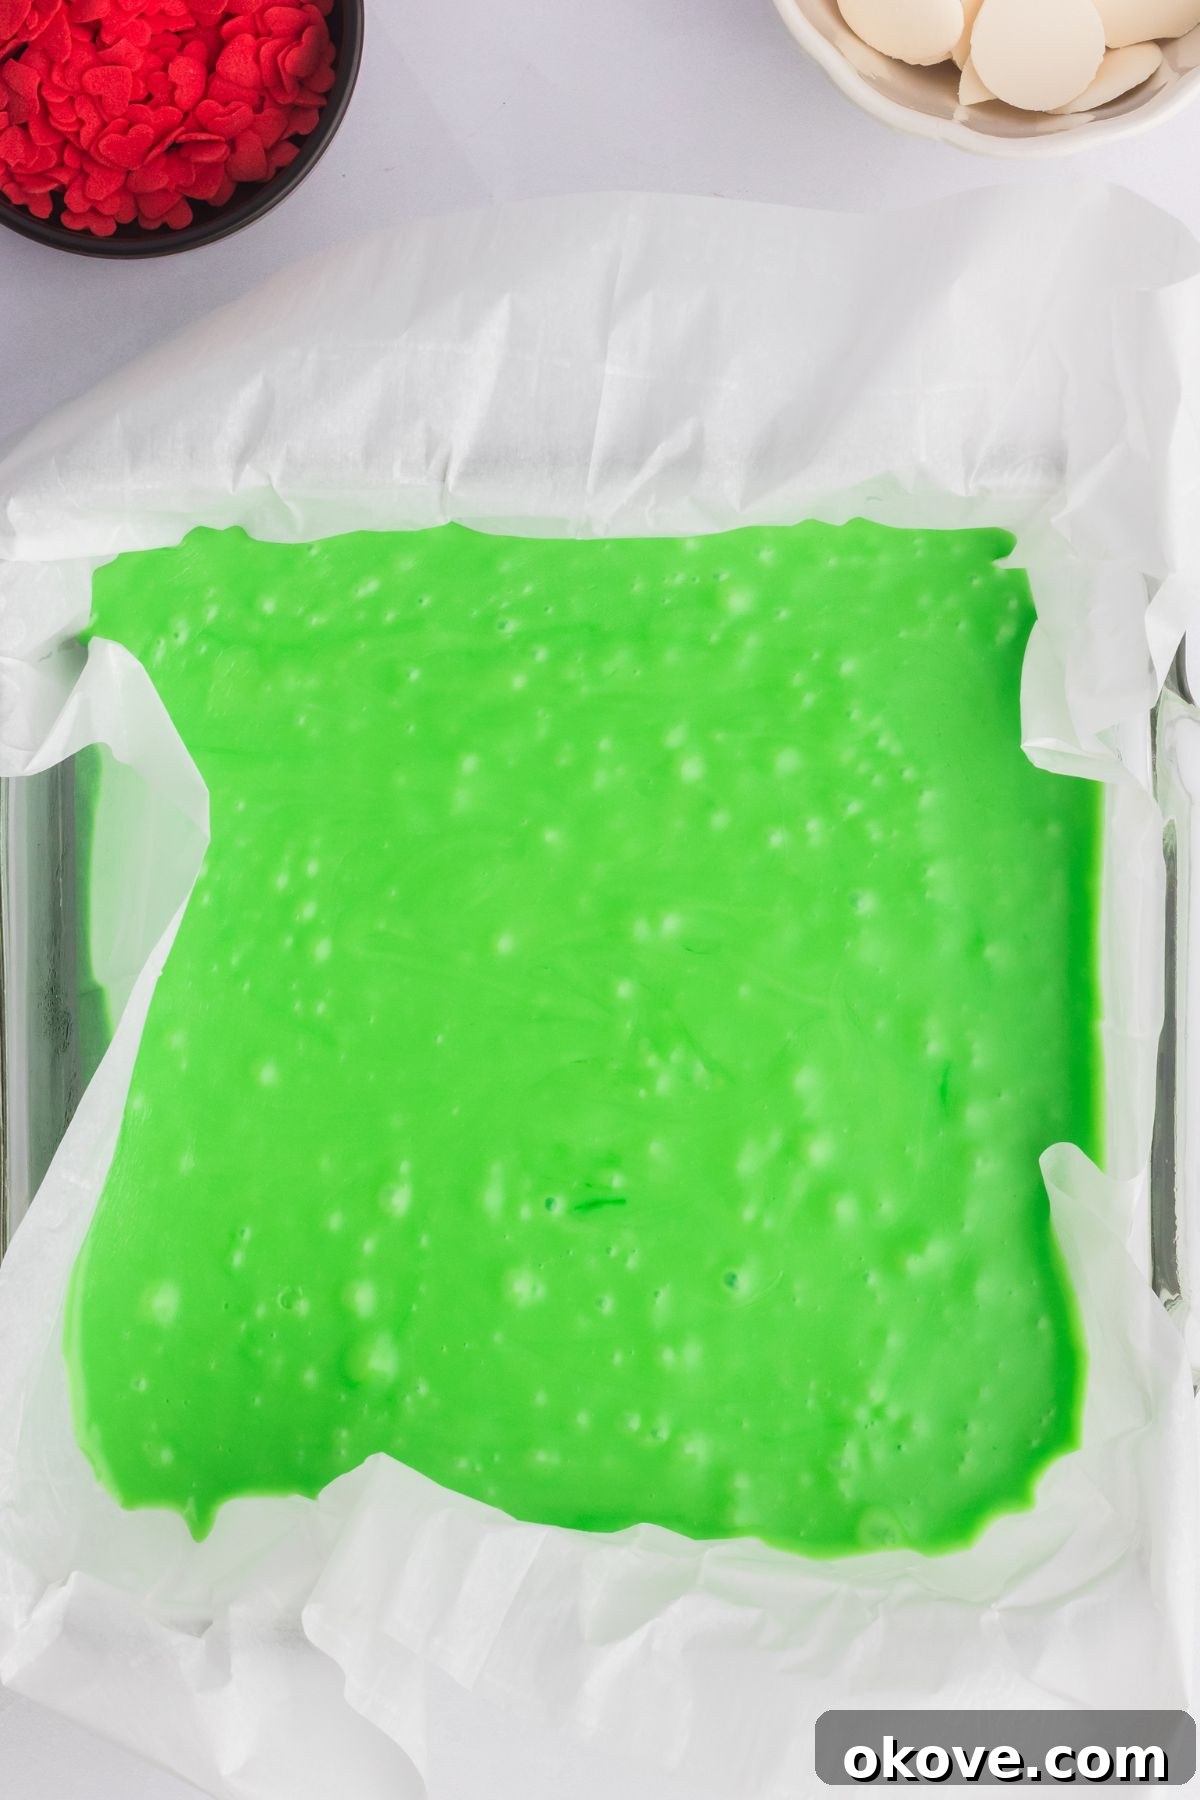
- STEP 4: Chill to Set. Carefully pour the beautifully green fudge mixture into your prepared 8×8 inch baking dish. Use the spatula to spread it evenly into a flat layer. Once smooth, place the dish into the refrigerator for approximately 2 hours, or until the fudge is completely firm and set. Adequate chilling time is crucial for easy cutting.
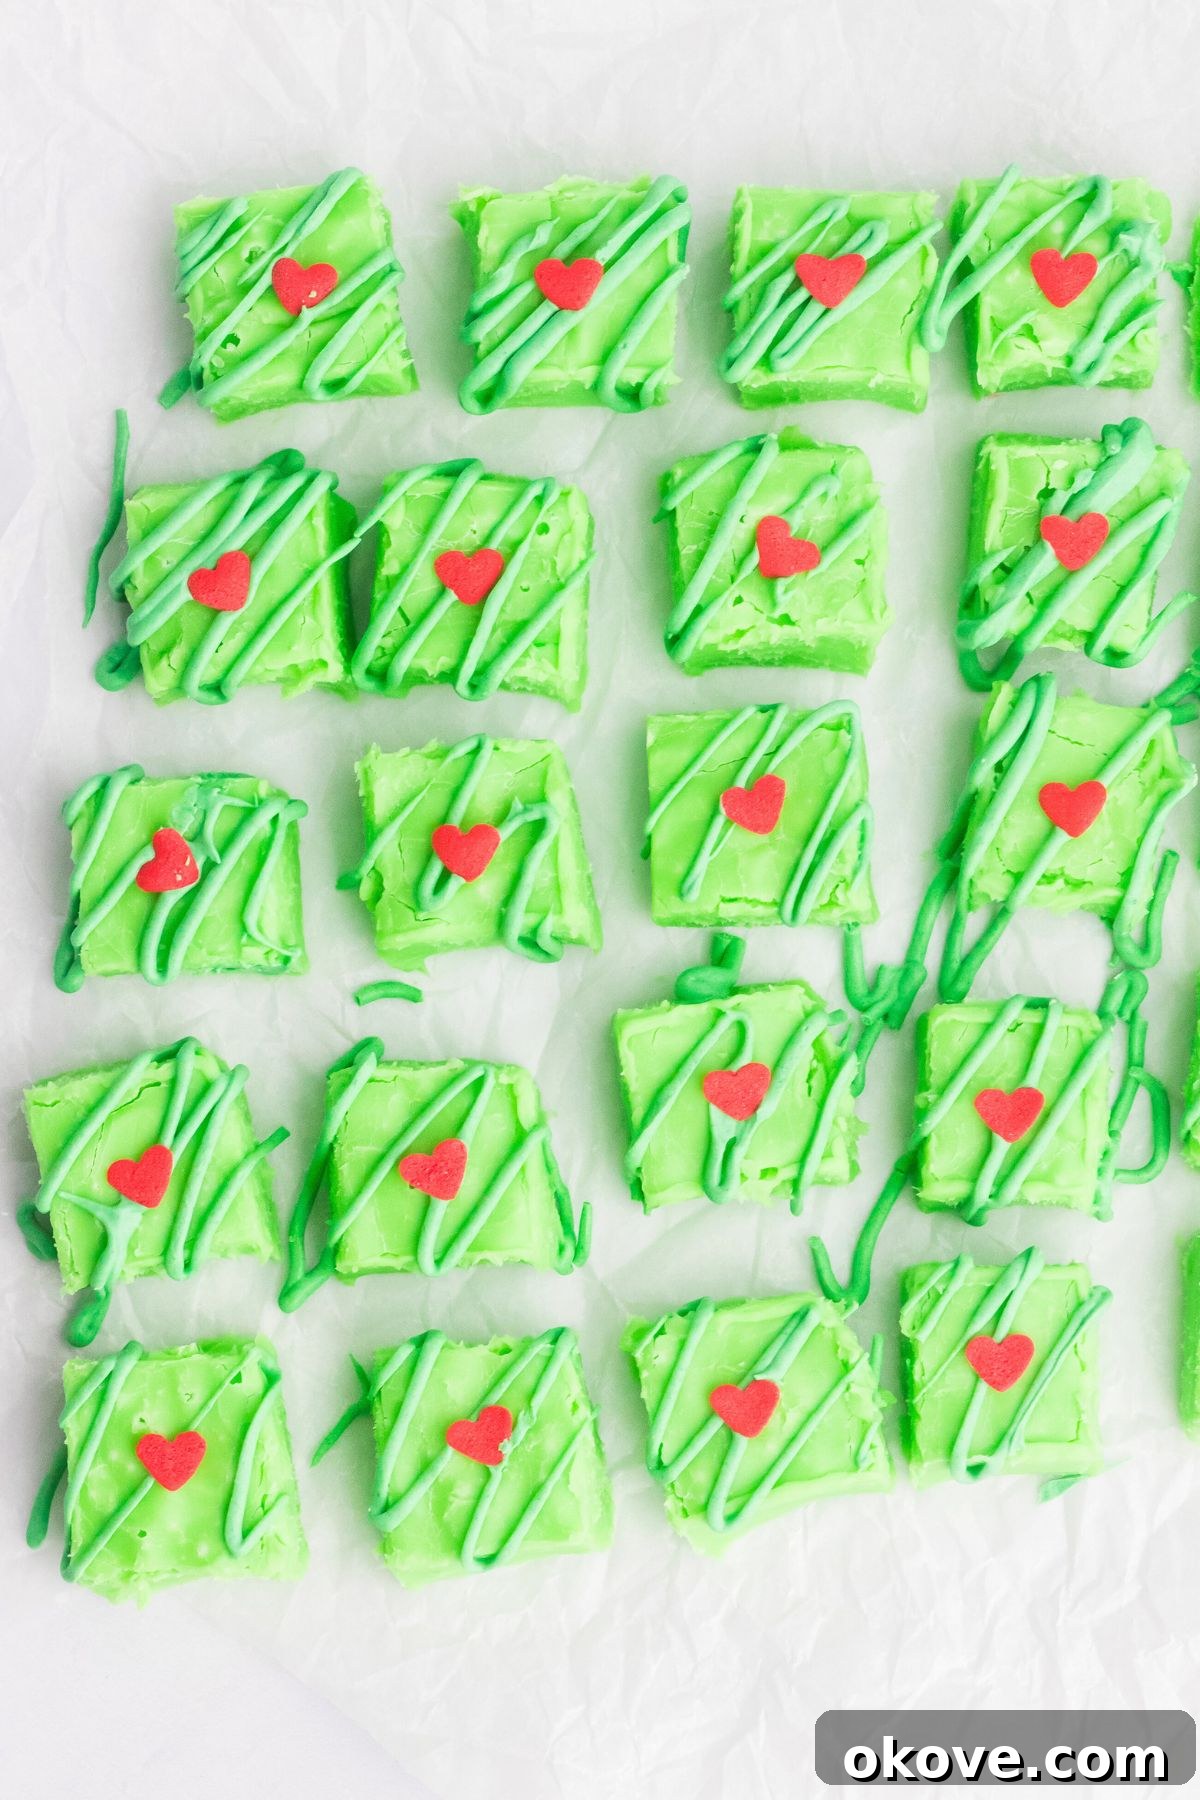
- STEP 5: Cut into Squares. Once the fudge is thoroughly set and firm, use the parchment paper overhangs as handles to carefully lift the entire block of fudge from the baking dish. Transfer it to a clean cutting board or a sturdy, flat surface. Using a sharp knife, cut the fudge into neat, evenly sized squares. For best results, clean your knife between cuts, especially if the fudge starts to stick.
- STEP 6: Decorate and Enjoy! For the final touch, gently press a single red heart sprinkle into the center of each fudge square. This instantly gives them that iconic Grinch heart detail. Your homemade Grinch fudge is now ready to be served and enjoyed! Prepare for compliments and requests for the recipe!
Pro Tips for Making the Best Grinch Fudge
Achieving perfectly creamy, vibrant Grinch fudge is easy, especially with these insider tips:
- Always Use Gel Food Coloring: This is paramount for success! I cannot stress enough how much I HIGHLY recommend using gel coloring over liquid. Gel food coloring is concentrated and blends seamlessly with melted chocolate without altering its consistency. Liquid coloring, on the other hand, contains water, which can cause the chocolate to “seize” or become grainy, and it may also dilute the flavor.
- Invest in Quality White Chocolate: The quality of your white chocolate chips significantly impacts the final texture and flavor of your fudge. High-quality white chocolate melts much smoother, resulting in a silkier, creamier fudge that truly melts in your mouth. Avoid confectionery coating or almond bark if you desire superior taste and texture.
- Achieving the Perfect Grinch Green: The key to that iconic vibrant green is to add food coloring gradually. Start with just a couple of drops of green gel food coloring, then stir thoroughly. Continue adding additional drops, one at a time, until you reach the intensely vibrant green color you desire. Remember, the brighter, the better for that authentic Grinch look!
- Opt for Clear Vanilla Extract: When making any white chocolate fudge recipe where color vibrancy is important, using clear vanilla extract is a game-changer. Standard brown vanilla extract can subtly tint your white chocolate, making it harder to achieve a true, bright green. Clear vanilla ensures the color you add remains pure and vibrant.
- Don’t Overheat Your Chocolate: Whether using a microwave or a double boiler, be mindful not to overheat the white chocolate mixture. Overheated chocolate can become grainy or seize. Heat in short bursts, stirring frequently, to ensure a smooth, luscious melt without scorching.
- Clean Cuts for Presentation: For perfectly clean and uniform fudge squares, use a sharp, warm knife. You can warm your knife by dipping it in hot water and wiping it dry between each cut. This prevents sticking and ensures crisp edges, making your Grinch fudge look professionally made.
Creative Variations & Customizations
While classic Grinch fudge is undeniably charming, feel free to get creative and customize your batch with these exciting variations:
- Minty Grinch Fudge: For a refreshing twist that perfectly complements the green color, add a drop or two of peppermint extract along with the vanilla. This will infuse your fudge with a delightful minty flavor, creating a “Whoville Mint Fudge” experience. Start with a small amount and add more to taste, as extracts can be potent.
- Fun Add-Ins: Before pouring the fudge into the prepared dish, stir in some extra festive elements. Consider adding mini marshmallows for a softer bite, crushed candy canes for a refreshing crunch, or other small Christmas candies like red and green M&M’s for added texture and color. Chopped nuts (like pistachios) could also offer a delightful contrast.
- Different Toppings: Beyond the iconic heart sprinkles, explore other topping ideas. Drizzle with melted white chocolate (plain or tinted red), sprinkle with edible glitter for a snowy effect, or use different holiday-themed sprinkles (like tiny stars or snowflakes) to make each piece unique.
- Grinch White Chocolate Bark: Instead of making traditional fudge, spread the green white chocolate mixture thinly on a parchment-lined baking sheet. Before it sets, scatter various toppings like crushed pretzels, mini marshmallows, or different sprinkles. Once firm, break it into irregular pieces for a fun, snackable Grinch bark.
Frequently Asked Questions (FAQ’s)
Here are some common questions about making and storing Grinch Fudge:
To keep your Grinch fudge fresh and delicious, store it in an airtight container at room temperature for up to one week. If you prefer it firmer or need to extend its shelf life, you can store it in the refrigerator for up to two weeks. For longer storage, this festive fudge freezes beautifully for up to three months. Just ensure it’s tightly wrapped to prevent freezer burn.
While you technically can use other chocolates, white chocolate is highly recommended to achieve that signature, vibrant Grinch green color. Milk chocolate or dark chocolate would result in a muddy green or brownish-green color, losing the iconic Grinch aesthetic. Vanilla-flavored melting wafers can also be used as an alternative to white chocolate chips for a similar result.
Yes, you can adapt this recipe to be dairy-free. Substitute regular white chocolate chips with dairy-free white chocolate chips and use sweetened condensed coconut milk instead of traditional sweetened condensed milk. Be aware that the texture and flavor might have a subtle coconut hint and may not be exactly the same as the dairy version, but it will still be a delicious dairy-free treat.
Absolutely! This recipe is easy to double if you need a larger batch for parties or extensive gifting. When doubling, make sure to use a larger baking dish, such as a 9×13 inch pan, to ensure the fudge sets evenly. Keep an eye on the melting process, as larger quantities may take slightly longer, and ensure even mixing of the food coloring.
If your fudge isn’t setting properly, it’s often due to insufficient chilling time or incorrect ingredient ratios. Ensure you’ve used sweetened condensed milk (not evaporated milk) and allowed at least 2 hours in the refrigerator. Sometimes, an extra hour of chilling can make all the difference. High humidity can also affect setting, so ensure your kitchen isn’t overly damp during preparation.
More Delightful Holiday Recipes to Try
Desserts
Grinch Oreo Balls
Desserts
Red Velvet Cake Mix Cookies
Holidays
Hot Cocoa Bombs
Holidays
Christmas Cupcakes
Grinch Fudge Recipe Card
Rebecca
25 pieces
10 mins
5 mins
2 hrs
2 hrs 15 mins
Equipment
- 8×8 baking dish
- Microwave safe bowl (or double boiler/saucepan)
- Spatula
Ingredients
- 3 cups white chocolate chips
- 2 tablespoons unsalted butter
- 14 ounces sweetened condensed milk
- 1 teaspoon clear vanilla extract
- green gel food coloring (a few drops)
- red heart sprinkles
- Pinch of salt
Instructions
-
Line an 8×8 inch baking pan with parchment paper, leaving an overhang on the sides to act as handles. Set aside.
-
In a microwave-safe bowl, combine white chocolate chips, sweetened condensed milk, butter, and a pinch of salt. Microwave in 30-second increments, stirring well after each, until the mixture is smooth and fully melted. Alternatively, melt over a double boiler on low heat.
-
Once smooth, stir in the clear vanilla extract and green gel food coloring. Add drops gradually until your desired vibrant Grinch green color is achieved.
-
Pour the green fudge mixture into the prepared baking dish, spreading evenly. Refrigerate for at least 2 hours, or until firm.
-
Once firm, use the parchment paper handles to lift the fudge out of the pan. Place on a cutting board and slice into squares using a sharp knife.
-
Gently press a red heart sprinkle onto the top of each fudge piece. Serve and enjoy your festive Grinch fudge!
Notes
Clear Vanilla Extract: Using clear vanilla extract is key for maintaining the brightest, most vibrant green color in your white chocolate fudge. Brown vanilla can subtly alter the shade.
Nutrition Facts (Per serving)
Carbohydrates: 21 g
Protein: 3 g
Fat: 9 g
Saturated Fat: 6 g
Polyunsaturated Fat: 0.3 g
Monounsaturated Fat: 3 g
Trans Fat: 0.04 g
Cholesterol: 12 mg
Sodium: 47 mg
Potassium: 121 mg
Fiber: 0.04 g
Sugar: 21 g
Vitamin A: 77 IU
Vitamin C: 1 mg
Calcium: 88 mg
Iron: 0.1 mg
Nutrition information is automatically calculated and should only be used as an approximation.
Additional Info
Dessert
American