
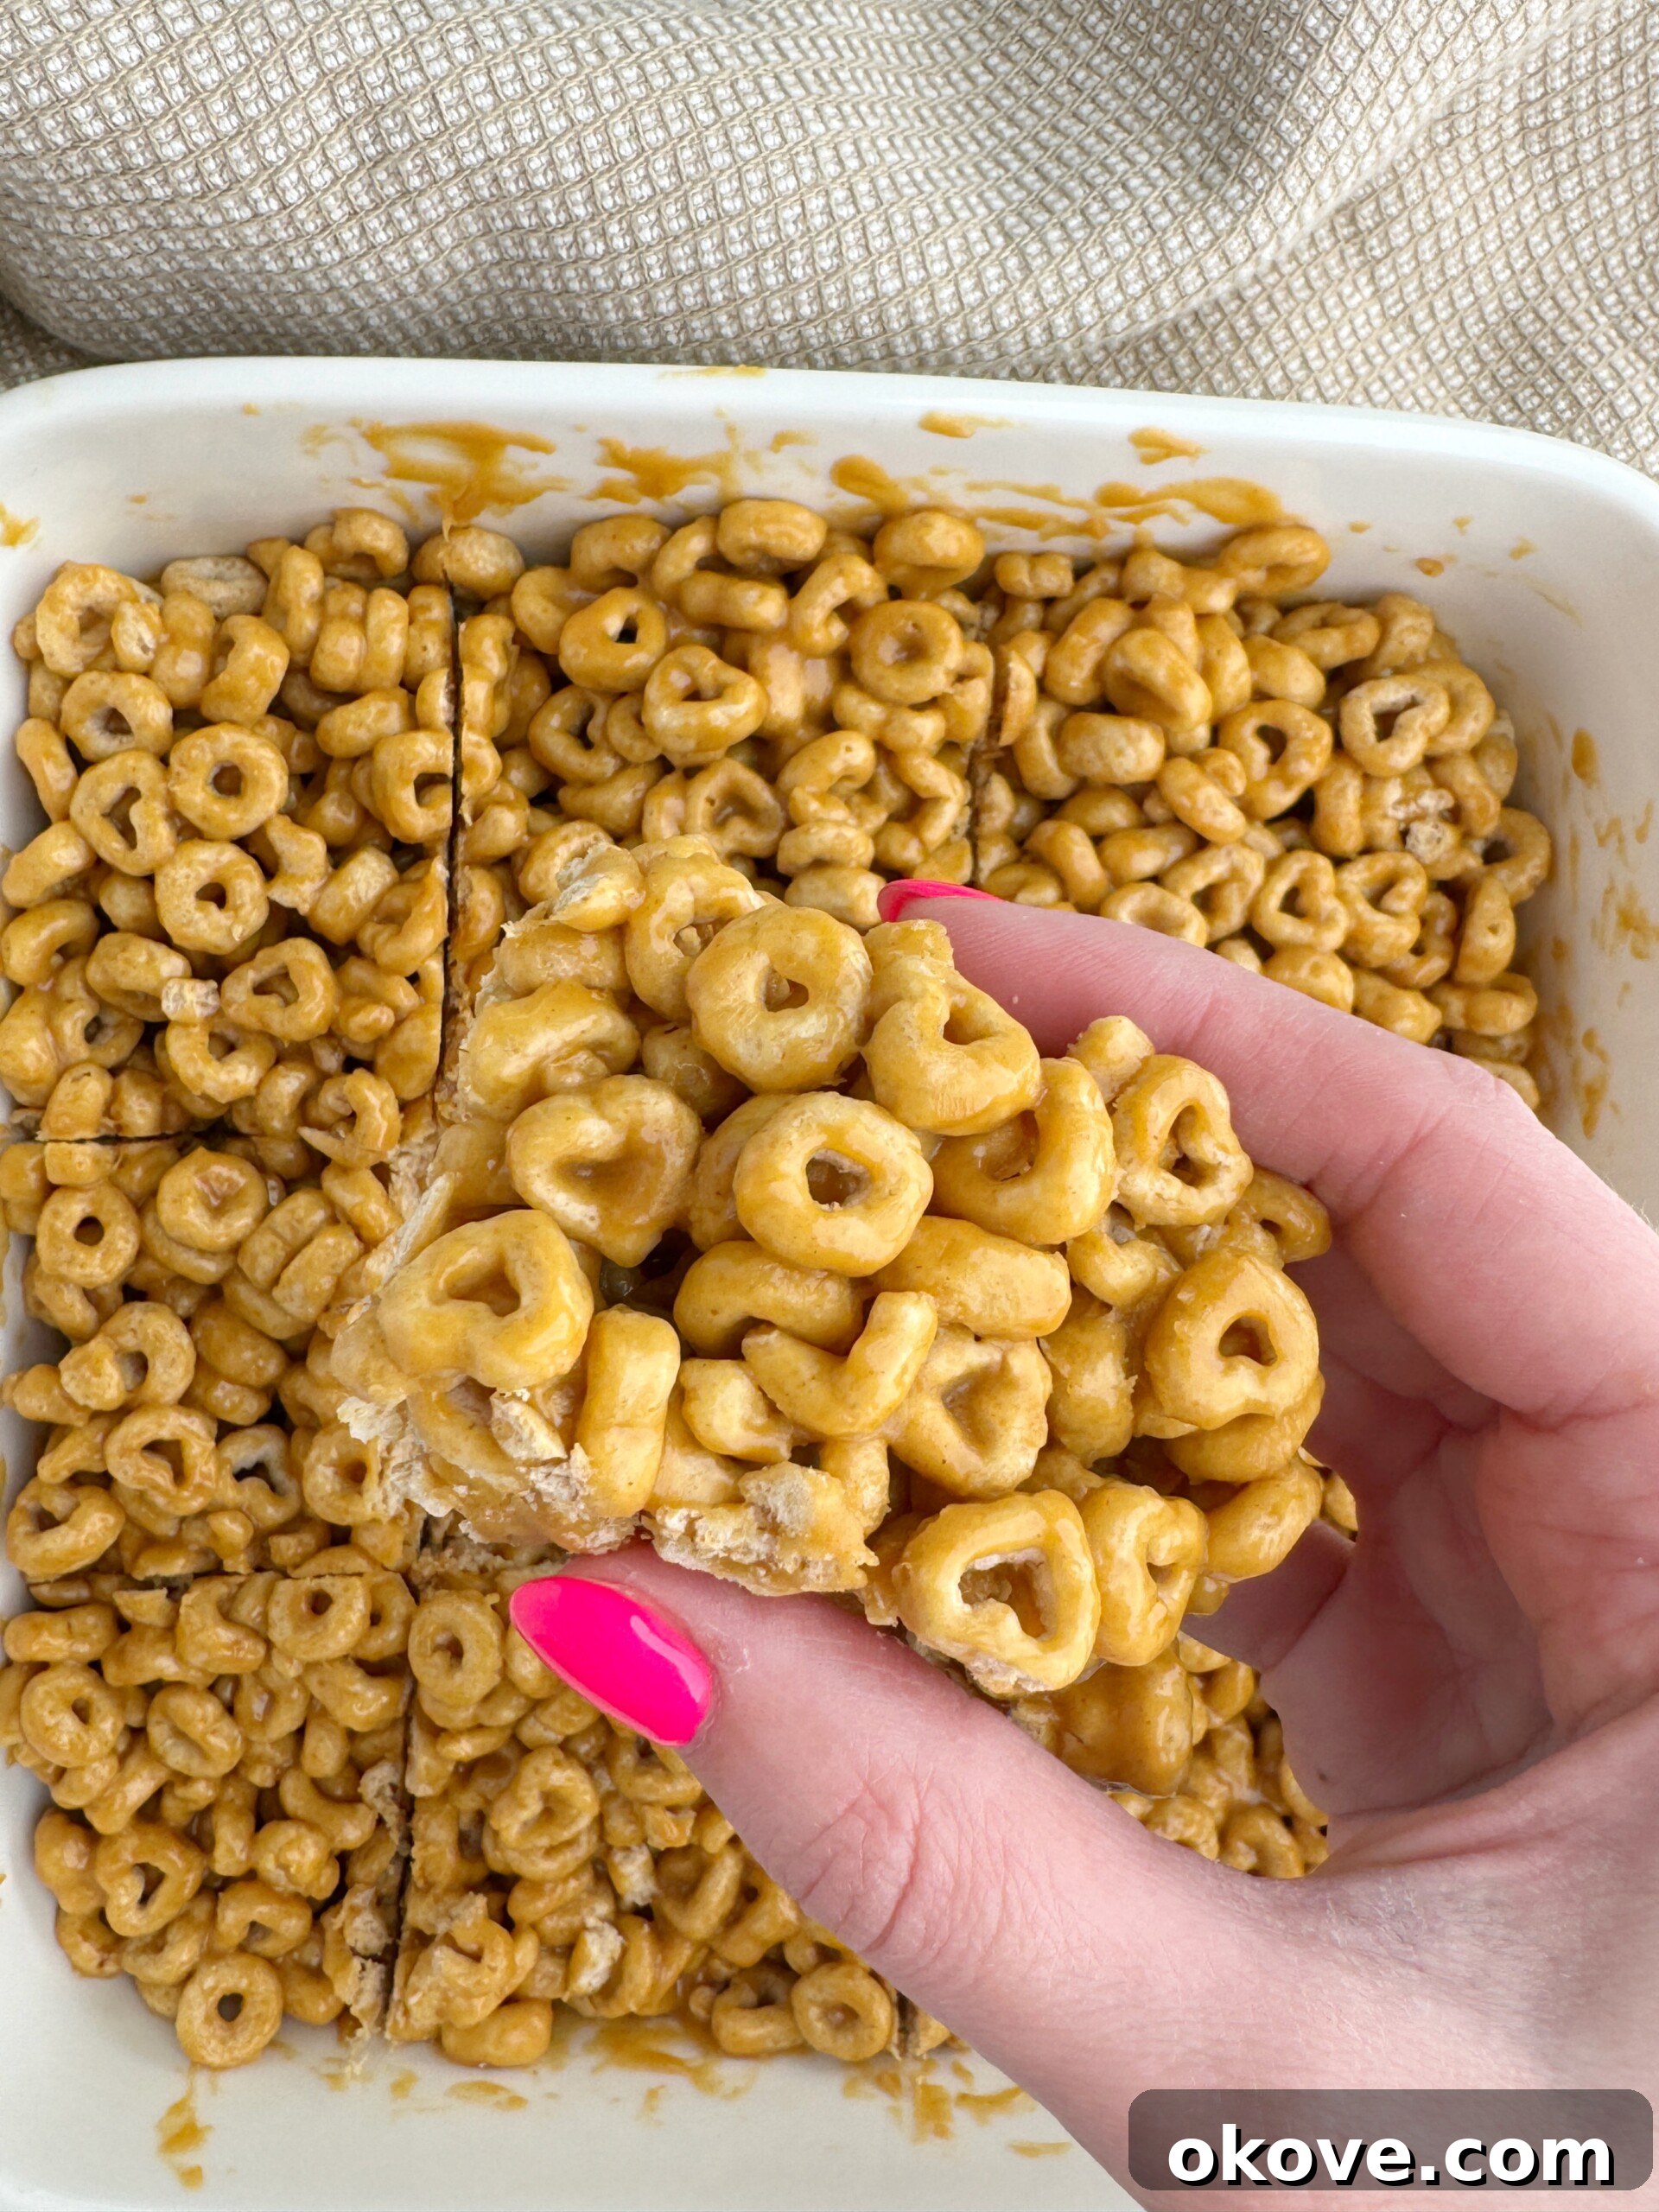
Are you searching for the perfect snack that effortlessly combines health, flavor, and convenience for your little ones and the entire family? Look no further than these incredibly easy-to-make, no-bake homemade cereal bars! Crafted with just a handful of wholesome ingredients, these delightful bars come together in minutes, requiring no oven time and minimal cleanup. They are an ideal solution for busy parents needing a quick, nutritious treat to combat hunger pangs at any time of day. Let’s delve into why these customizable cereal bars are a staple for active families and how you can whip up a batch today.
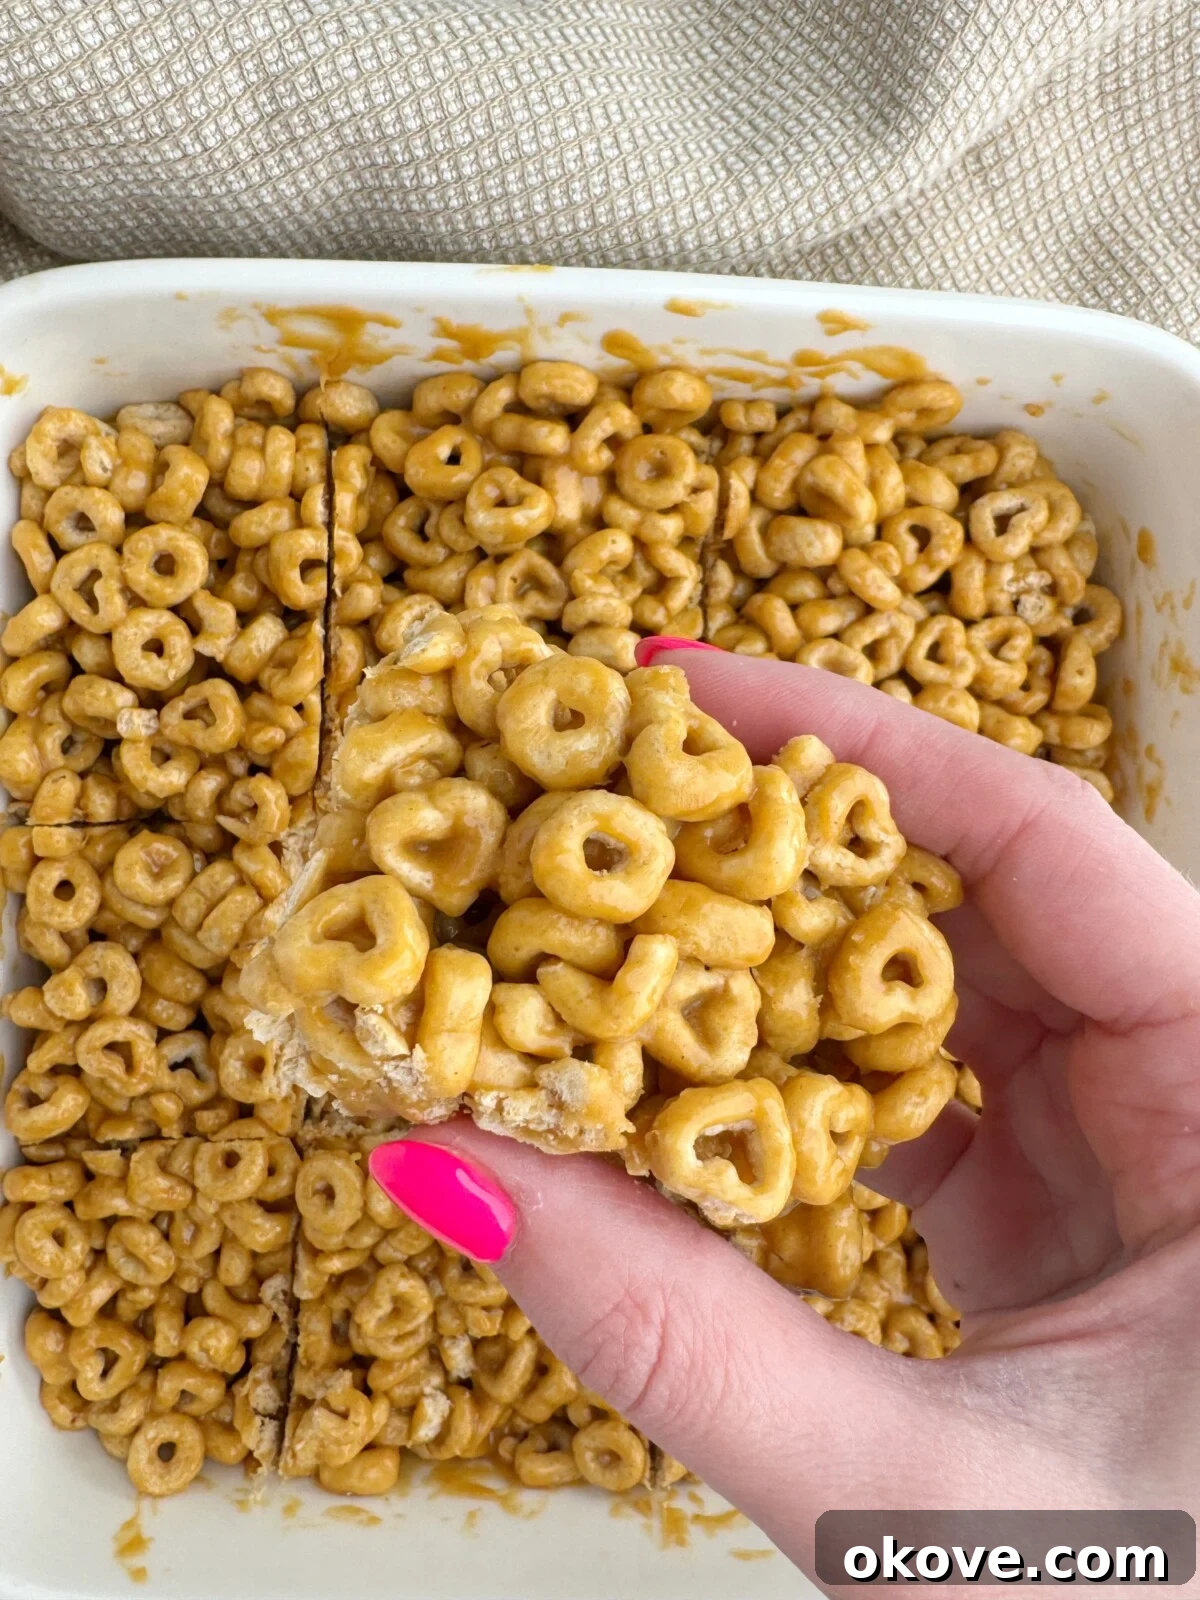
Homemade No-Bake Cereal Bars: The Ultimate Healthy Snack for Toddlers & Families
In today’s fast-paced world, finding snacks that are both genuinely healthy and appealing to picky eaters can be a challenge. These no-bake cereal bars offer a fantastic solution, bridging the gap between nutrition and deliciousness. They are not only a hit with toddlers but also provide sustained energy for adults, making them a universal family favorite. Their simplicity and versatility mean you can adapt them to various dietary needs and taste preferences, ensuring everyone gets a treat they love.
Why These Cereal Bars Are a Superior Snack Choice for Toddlers
When it comes to feeding our little ones, we always strive for options that are both beneficial and enjoyable. These homemade cereal bars tick all the boxes, offering a multitude of advantages that make them stand out from store-bought alternatives:
- Nutritious Whole-Grain Foundation: The base of these bars typically uses O-shaped cereals like Cheerios, which are celebrated for being low in sugar and fortified with essential vitamins and minerals crucial for growing bodies. Opting for whole-grain versions ensures your toddler receives valuable fiber and complex carbohydrates for sustained energy release, avoiding the sugar crashes often associated with highly processed snacks. This makes them a smart choice for supporting daily activities and healthy development.
- Rich in Protein and Fiber for Lasting Fullness: The addition of peanut butter not only brings a creamy texture and delicious flavor but also packs a significant punch of protein and healthy fats. Combined with the fiber from the cereal, this powerful duo helps keep tiny tummies feeling full and satisfied for longer periods. This reduces the likelihood of constant snacking between meals, promoting better eating habits and providing consistent energy without the mid-afternoon slump.
- Effortlessly Quick and Convenient: Life with toddlers is often a whirlwind, leaving little time for elaborate snack preparations. These no-bake cereal bars are a lifesaver for busy parents, requiring minimal ingredients and virtually no cooking. From start to finish, you can have a fresh batch ready to chill in under 15 minutes. This unparalleled convenience means you can quickly prepare a wholesome snack even on your busiest days, making healthy eating accessible and stress-free.
- Infinitely Customizable to Every Palate: One of the greatest advantages of making your own cereal bars is the freedom to customize. While the base recipe is fantastic on its own, you can easily incorporate various add-ins to boost nutrition, flavor, or texture. Think about mixing in finely chopped nuts (for older toddlers), dried fruits like raisins or cranberries, mini chocolate chips for a touch of indulgence, or even seeds for an extra dose of healthy fats and omega-3s. This adaptability allows you to cater to specific tastes, dietary restrictions, or simply what you have on hand in your pantry.
- The Perfect Portable Snack: Whether you’re heading to the park, packing lunchboxes for daycare, embarking on a road trip, or simply need a quick grab-and-go option for school or errands, these homemade cereal bars are your best companion. They are sturdy, mess-free, and perfectly portioned, making them an ideal on-the-go snack. Forget about crumbs or spills; these bars are designed for easy handling, ensuring healthy eating is always within reach, no matter where your adventures take you.
Simple Ingredients for Delicious Cereal Bars
The beauty of these no-bake cereal bars lies in their minimalist ingredient list. With just three core items, you can create a wholesome and satisfying snack that everyone will adore.
- 3.5 cups O-shaped cereal (such as Cheerios, or a similar whole-grain, low-sugar cereal like Three Wishes Honey cereal)
- 1/2 cup creamy peanut butter (or any smooth nut/seed butter)
- 1/2 cup honey (or another liquid sweetener for younger children or dietary needs)
How to Craft Homemade No-Bake Cereal Bars for Toddlers
Making these nutritious and delicious cereal bars is incredibly straightforward. Follow these simple steps for a perfect batch every time:
- Prepare the Binder: In a microwave-safe bowl, combine the peanut butter and honey. Microwave the mixture for 30 seconds to 1 minute on high heat. The goal is to warm it slightly, making it more fluid and easier to mix. Stir the mixture well until it’s perfectly smooth, creamy, and thoroughly combined. This creates the sticky, sweet binder that holds the bars together.
- Combine Cereal and Binder: Place the 3.5 cups of O-shaped cereal in a large mixing bowl. Pour the warm peanut butter and honey mixture evenly over the cereal. Using a sturdy spatula, gently but thoroughly stir the ingredients until every piece of cereal is coated with the sticky mixture. Ensure there are no dry spots for consistent texture.
- Press into Pan: Transfer the entire cereal mixture into an 8×8 inch baking dish. For easier removal and cleanup, consider lining the dish with parchment paper beforehand, leaving an overhang on the sides. Use the back of a spoon, a spatula, or even your hands (lightly greased if it’s too sticky) to press the mixture down firmly and evenly into the pan. Compacting it well is key to ensuring the bars hold their shape when sliced.
- Chill to Set: Place the baking dish in the refrigerator for a minimum of 30 minutes to 1 hour, or until the cereal mixture is completely firm and set. This chilling process is essential for the bars to solidify and maintain their shape when cut.
- Slice and Serve: Once the bars are thoroughly chilled and firm, remove the dish from the refrigerator. If you used parchment paper, simply lift the entire block out of the pan. Using a sharp knife, slice the mixture into desired squares or rectangles. Serve immediately and enjoy!
Clever Substitutions for Dietary Needs and Preferences
The flexibility of this recipe allows for numerous substitutions, making it adaptable to almost any dietary requirement or taste preference:
Cereal Alternatives: While O-shaped cereals are classic, feel free to experiment with other whole-grain dry cereals. Rice puffs offer a lighter texture, while multigrain squares provide more chewiness. For those following a gluten-free diet, ensure you select a certified gluten-free cereal, as some oat-based cereals can contain traces of gluten due to cross-contamination.
Nut Butter Variations: Any smooth nut or seed butter can replace peanut butter. Almond butter, cashew butter, or even a blend of nut butters work wonderfully. For individuals with nut allergies, sunflower seed butter (SunButter) is an excellent, safe alternative that mimics the creamy texture and flavor profile beautifully. Always choose natural, unsweetened varieties when possible.
Sweetener Options: Honey provides a classic flavor and binding power. However, for babies under one year old, honey should be avoided. Maple syrup, agave nectar, or brown rice syrup are fantastic alternatives. Be mindful that thinner liquid sweeteners might require a slight increase in cereal quantity (e.g., an extra 1/4 cup) to achieve the desired firm consistency and prevent the bars from being too sticky or soggy.
Exciting Add-ins: Elevate your cereal bars with a variety of mix-ins. Consider adding mini chocolate chips for a sweet treat, dried fruits like chopped apricots, cranberries, or raisins for natural sweetness and chewiness. Seeds such as chia or flax seeds can boost omega-3s and fiber content. Lightly toasted shredded coconut adds a delightful tropical flavor and texture. Feel free to mix and match to create unique flavor combinations!
Optimal Storage for Your Homemade Cereal Bars
Proper storage ensures your homemade cereal bars stay fresh and delicious for as long as possible:
Any leftover cereal bars can be stored in an airtight container at room temperature for up to 3-4 days, especially if your home isn’t too warm. For extended freshness and to maintain their firm texture, store them in the refrigerator for up to a week. They hold their shape exceptionally well when chilled. For longer-term storage, you can freeze the bars for up to 1 month. To prevent sticking, individually wrap each bar tightly in plastic wrap or aluminum foil before placing them in a freezer-safe bag or container. When you’re ready to enjoy them, simply thaw the frozen bars at room temperature for a quick and convenient snack.
Common Questions About Cereal Bars for Toddlers
Are these cheerio cereal bars gluten-free?
These cereal bars can absolutely be made gluten-free! The key is to use a certified gluten-free O-shaped cereal. While some oat-based cereals are naturally gluten-free, cross-contamination can occur during processing. Always double-check ingredient labels and look for explicit “gluten-free” certifications to ensure they are safe for individuals with gluten sensitivities or celiac disease.
Can I substitute honey for something else for babies?
Yes, absolutely. Honey should not be given to babies under one year old due to the risk of infant botulism. For younger children, excellent alternatives include pure maple syrup, agave nectar, or brown rice syrup. These sweeteners provide the necessary binding and sweetness without the risks associated with honey for infants. Remember, if using a thinner liquid sweetener, you might need to add a touch more cereal (about 1/4 cup) to help the bars hold together firmly.
Are these cereal bars healthy?
Homemade cereal bars, especially this recipe, are generally much healthier than many store-bought options. When you make them yourself, you have complete control over the ingredients. This means you can reduce added sugars, choose whole-grain cereals, and opt for natural binders like honey or maple syrup instead of high-fructose corn syrup and artificial additives often found in commercial bars. They provide a good balance of carbohydrates, protein, and healthy fats, making them a nutritious choice for a growing child’s snack.
How long do these bars last?
When stored correctly in an airtight container, these cereal bars will last for 3-4 days at room temperature, up to a week in the refrigerator, and can be frozen for up to one month. Freezing is a great option for meal prepping large batches.
Can I add chocolate chips or other sweet treats?
Absolutely! Mini chocolate chips, white chocolate chips, or even chopped dark chocolate can be folded into the mixture for a sweeter, more indulgent bar. Just be mindful of the sugar content if you’re aiming for a very low-sugar snack for younger toddlers. Other fun additions include sprinkles for a festive look or a drizzle of melted chocolate over the top once chilled.
More Easy & Delicious Toddler Snack Recipes
If your family loves these no-bake cereal bars, be sure to explore more of our simple and wholesome snack ideas perfect for little ones:
Cottage Cheese Muffins – These savory muffins are a powerhouse of protein, thanks to cottage cheese, and require just a few basic pantry staples. Their soft texture makes them ideal for toddlers, and they’re incredibly easy to prep ahead, serving as a nutritious breakfast, snack, or convenient on-the-go option for busy families.
Peanut Butter Banana Bars – Naturally sweetened with ripe bananas, these chewy bars are blended with oats and creamy peanut butter. Best of all, they’re free from refined sugar, flour, and eggs! An excellent make-ahead snack that both toddlers and adults will wholeheartedly enjoy.
2-Ingredient Apricot Bars – Simplicity at its best! Made with just dried apricots and coconut, these no-bake bars are a naturally sweet, toddler-friendly snack that can be prepped in mere minutes. They’re perfect for on-the-go munching or as a no-added-sugar option for your youngest eaters.
Yogurt Granola Bites – These delightful freezer-friendly snack bites combine creamy yogurt with crunchy granola, creating a treat that toddlers adore. They’re a refreshing and fun option for warmer days and can be easily customized with fresh fruit, a sprinkle of cinnamon, or even a few mini chocolate chips.
Strawberry Granola Bars – Filled with the juicy goodness of strawberries and wholesome oats, these soft, homemade granola bars offer just the right touch of sweetness. They hold their shape beautifully and make a wonderfully fruity snack or breakfast bar for toddlers and older children alike.
If you’re seeking a quick, wholesome, and undeniably delicious treat, these easy no-bake cereal bars for toddlers are an absolute triumph. They promise to become a firm favorite in your household, offering a perfect blend of nutrition and taste without the fuss. Give them a try, and let me know how much your family loves them!
If you make these fantastic cereal bars, be sure to share your creations! Tag me on Instagram @reallittlemeals so I can see your toddler snack masterpieces!
No-Bake Cereal Bars
These easy, no-bake cereal bars come together with just three wholesome ingredients—perfect for a quick toddler snack, a school-safe lunchbox treat, or a satisfying bite for anyone. Naturally sweetened and super customizable, they’re a simple homemade alternative to store-bought bars.
Prep time: 40 minutes (includes chilling)
Yields: 9 bars
Review Recipe |
Print Recipe
Ingredients
- 3.5 cups O-shaped cereal (e.g., Cheerios or Three Wishes Honey cereal)
- 1/2 cup creamy peanut butter
- 1/2 cup honey
Instructions
- In a microwave-safe bowl, combine the peanut butter and honey. Microwave for 30 seconds to 1 minute until smooth and creamy.
- In a large mixing bowl, place the cereal. Pour the warm peanut butter and honey mixture over the cereal and stir until all the cereal is evenly coated.
- Transfer the cereal mixture into an 8×8 inch baking dish (lined with parchment paper for easy removal). Use a spatula or the back of a spoon to press the mixture down very firmly until it is smooth and compacted.
- Refrigerate the Cereal Bars for 30 minutes to 1 hour, or until firm and set.
- Once chilled, slice the bars into squares or rectangles and serve.
Notes
- Press firmly: Ensure you press the mixture very firmly into the pan (using parchment paper and a spatula helps) so the bars hold their shape beautifully once chilled.
- Chill time matters: Refrigerate for at least 30–60 minutes before slicing to prevent crumbling and ensure a perfect, sturdy bar.
- Storage tips: Store bars in an airtight container in the fridge for up to 7 days, or freeze for up to 1 month. Use parchment paper between layers to prevent sticking if stacking.
Nutrition Information (per serving, approximate)
Calories: 173kcal, Carbohydrates: 25g, Protein: 4g, Fat: 8g, Saturated Fat: 2g, Polyunsaturated Fat: 2g, Monounsaturated Fat: 4g, Trans Fat: 0.001g, Sodium: 103mg, Potassium: 142mg, Fiber: 2g, Sugar: 17g, Vitamin A: 269IU, Vitamin C: 2mg, Calcium: 37mg, Iron: 3mg.
Nutrition information is automatically calculated and should only be used as an approximation.
Additional Info
Course: Snack
Cuisine: American
Tried this recipe?
Mention @reallittlemeals or tag #reallittlemeals!