
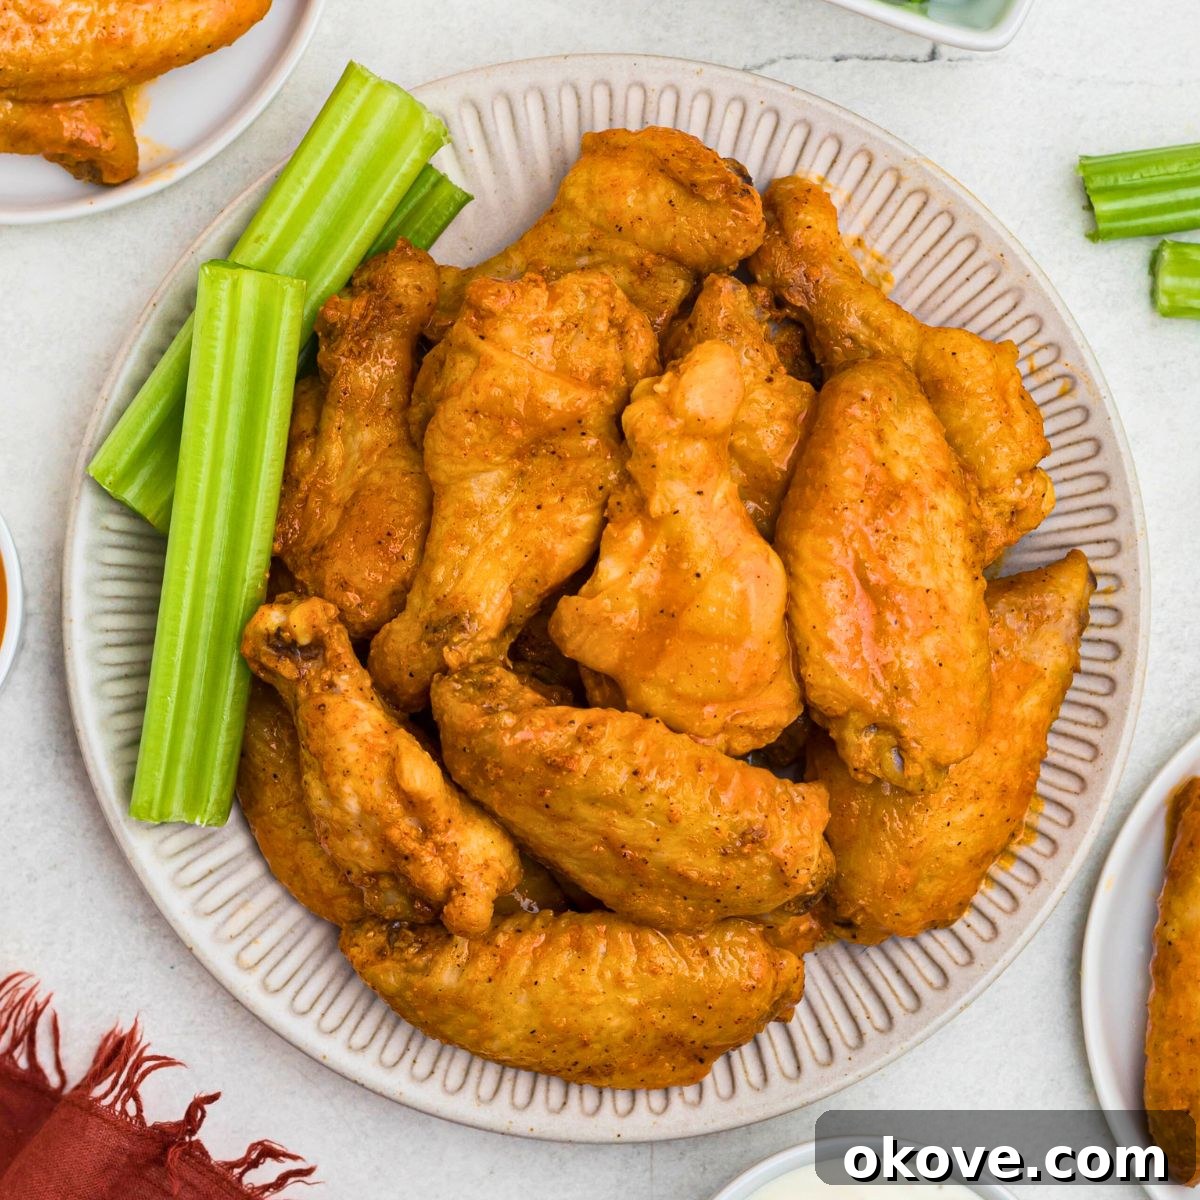
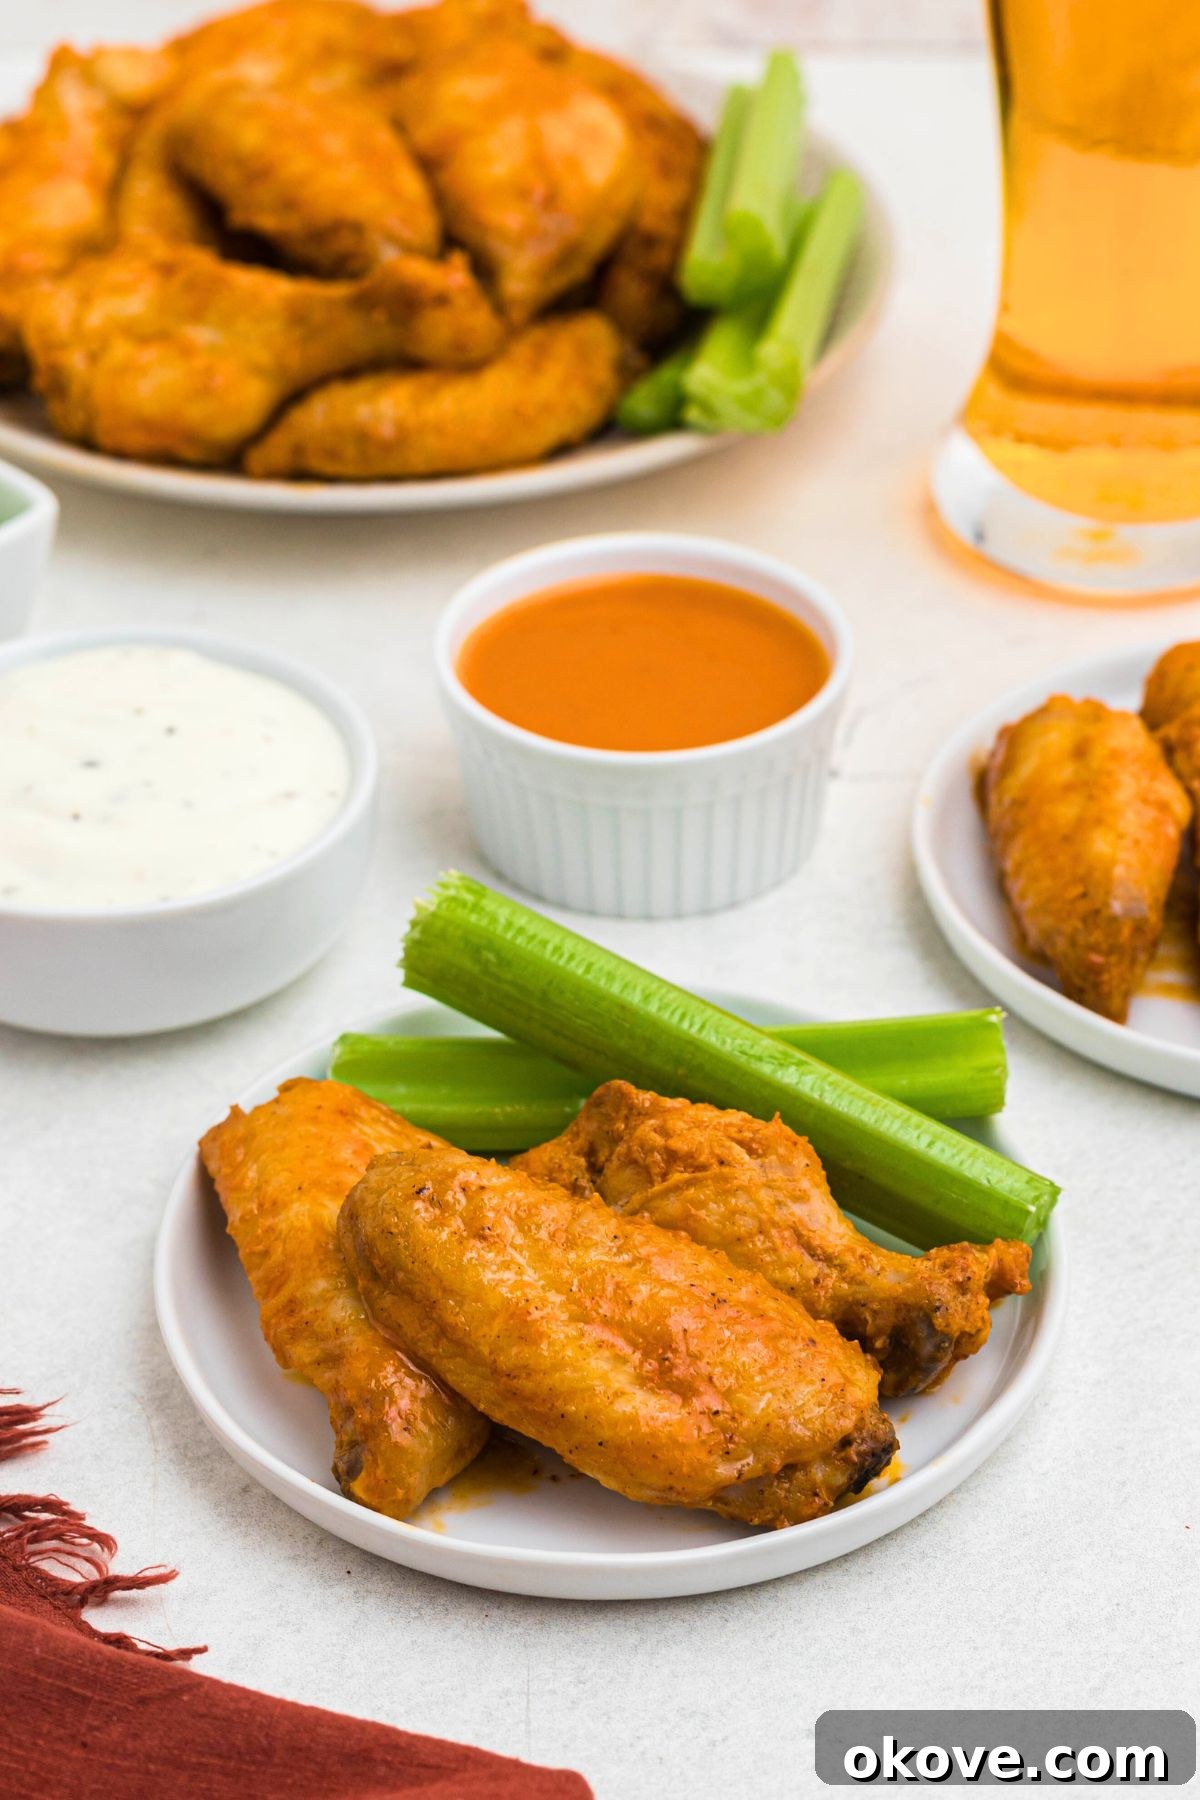
Get ready for a culinary revelation! This recipe guarantees the crispiest, most ridiculously easy-to-make baked chicken wings you’ve ever tasted. Whether you’re whipping up a quick family dinner or preparing an impressive appetizer for game day, these wings are destined to be a crowd-pleaser. Forget deep-frying and excessive oil; our oven-baked method delivers perfectly golden, succulent chicken wings with an irresistible crunch, all with minimal effort.
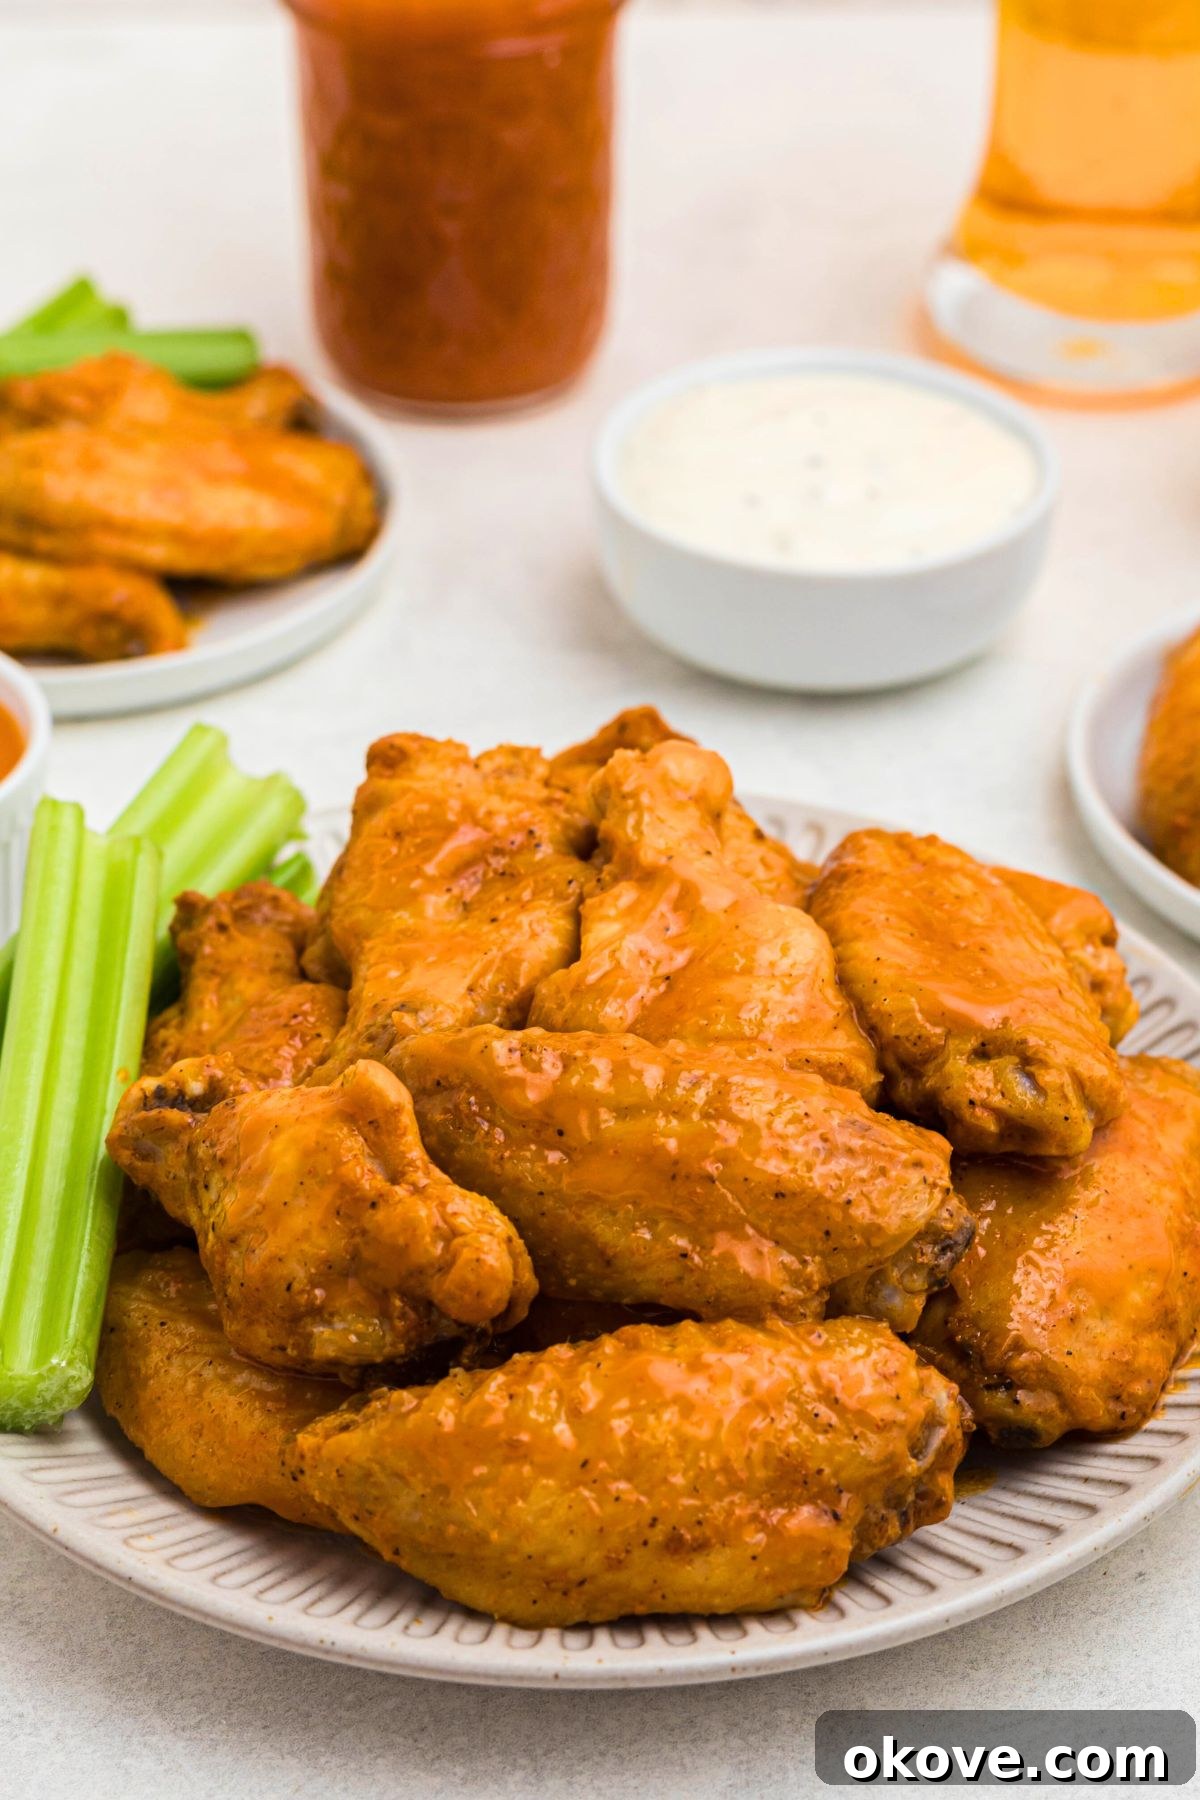
The Easiest Baked Chicken Wings Recipe for Ultimate Crispiness
You’re probably thinking, “Crispy wings without frying? That sounds too good to be true!” But rest assured, this recipe is incredibly straightforward, requiring just a few simple steps to achieve wings so crispy, you’ll swear they were fried. They boast a perfect balance of savory seasonings and emerge from the oven with a stunning golden-brown hue, all in under 30 minutes of active cooking time. This method is a game-changer for anyone seeking delicious, healthier alternatives to traditional fried wings without sacrificing flavor or texture.
One of the many joys of chicken wings is their incredible versatility. Once these perfectly baked beauties are out of the oven, the real fun begins! You can simply toss them with your favorite tangy BBQ sauce for classic BBQ chicken wings, or elevate them to legendary status with our easy Homemade Buffalo Sauce for a spicy kick. The possibilities are endless, allowing you to customize each batch to suit any preference or occasion. No matter your chosen flavor profile, you are guaranteed to fall in love with these unbelievably delicious and crispy oven-baked wings!
Looking for more effortless chicken dishes? Be sure to explore our collection of other simple and satisfying chicken recipes. Try this delightful Easy Chicken Pot Pie Casserole for comforting goodness, the quick one-skillet Chicken Marsala for an elegant weeknight meal, or this zesty Cajun Chicken Alfredo if you crave a touch of spice. Each recipe is designed for maximum flavor with minimal fuss, just like these amazing wings.
Table of Contents
- The Easiest Baked Chicken Wings Recipe for Ultimate Crispiness
- Essential Ingredients for Perfect Baked Wings
- Step-by-Step Guide: How to Make Crispy Baked Chicken Wings
- Expert Tips for the Best Baked Chicken Wings
- Exciting Chicken Wing Flavor Variations
- How to Properly Cut Chicken Wings into Drumettes and Flats
- Frequently Asked Questions (FAQs) About Baked Chicken Wings
- More Easy Appetizers You’ll Love
- Easy Baked Chicken Wings Recipe Card
Essential Ingredients for Perfect Baked Wings
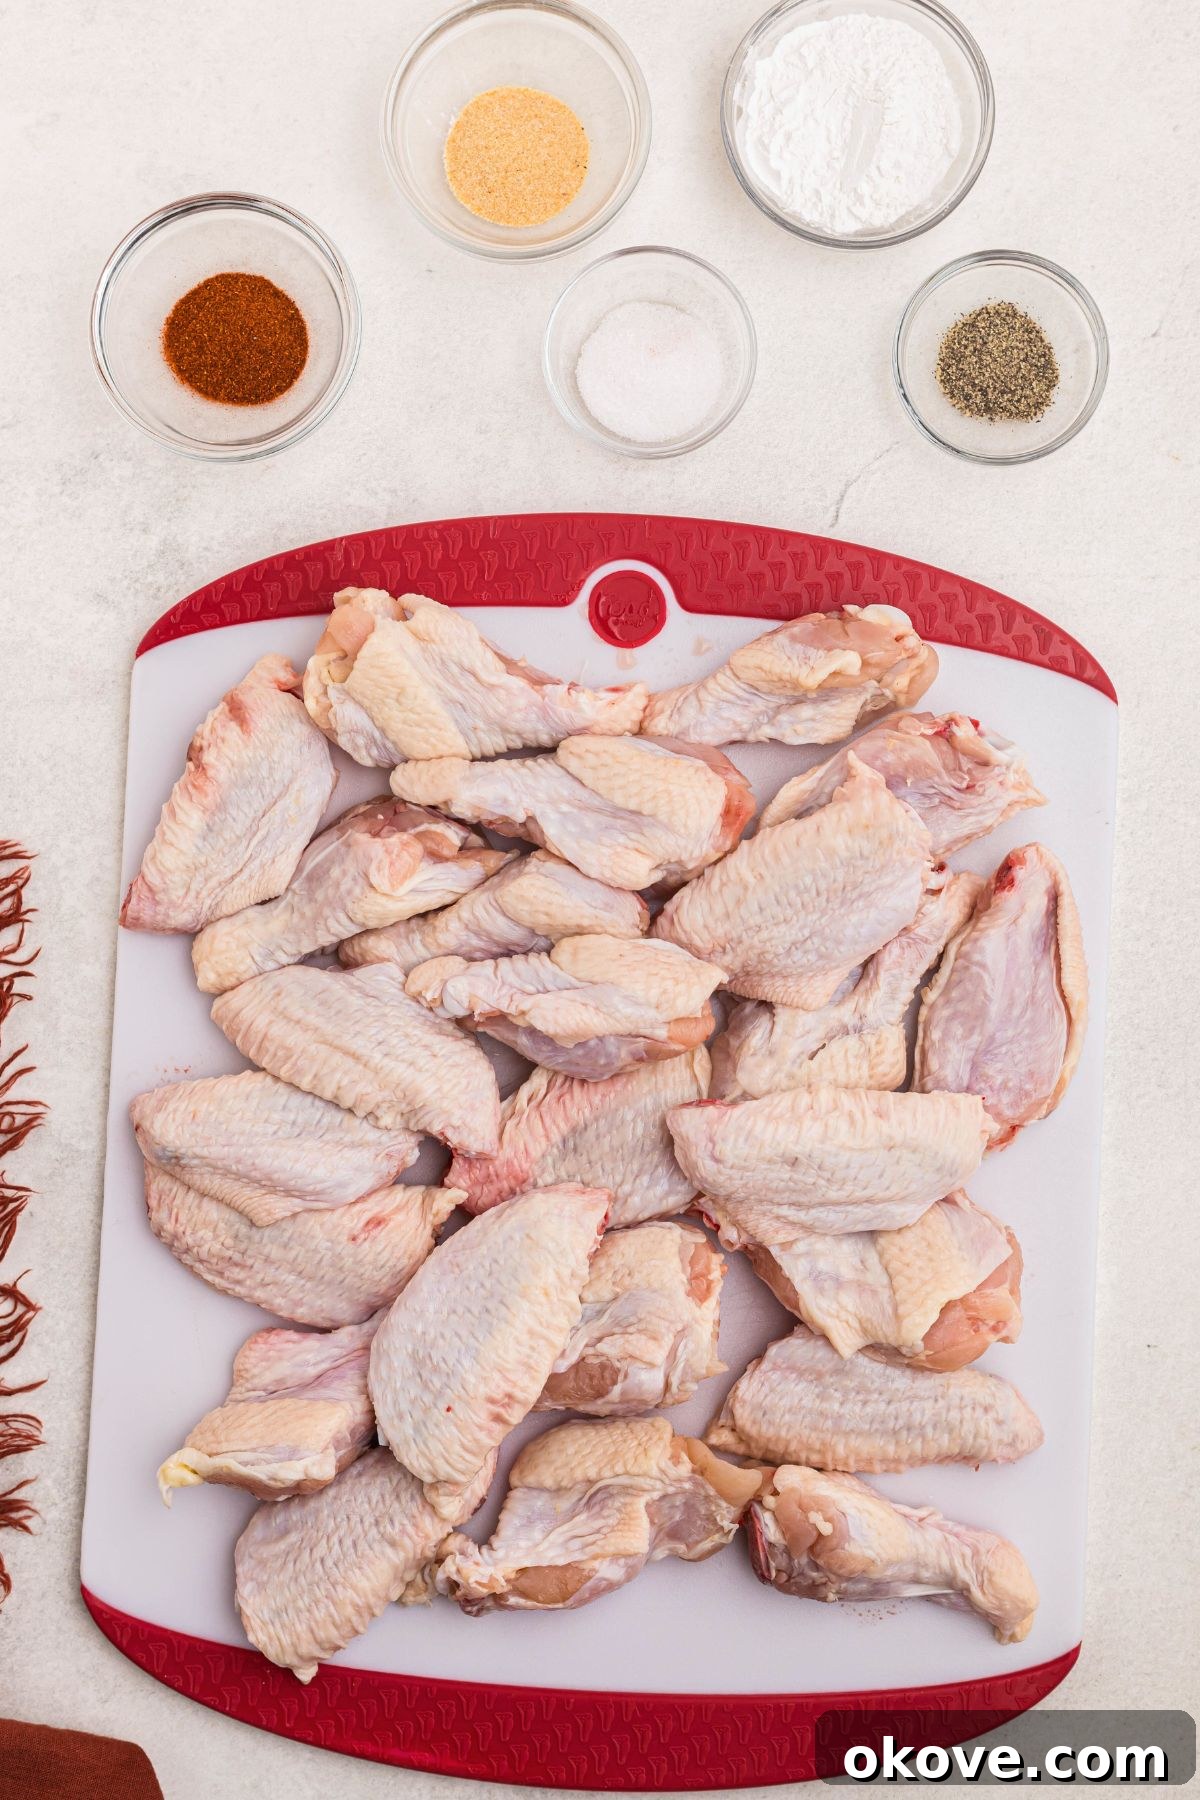
Achieving truly crispy, flavorful baked chicken wings starts with a few key ingredients. Each component plays a crucial role in developing that sought-after texture and savory taste profile. Here’s what you’ll need:
- Chicken Wings: Opt for fresh, high-quality chicken wings. For easier handling and even cooking, it’s best to use them cut into “drumettes” and “flats.” Many grocery stores offer these pre-cut as “party wings,” saving you prep time.
- Baking Powder (Aluminum-Free): This is truly the secret ingredient for exceptionally crispy skin. Baking powder works by raising the pH level of the chicken skin, which breaks down proteins and allows the skin to dry out more effectively during baking. Make sure it’s aluminum-free to avoid any metallic aftertaste.
- Garlic Powder: Provides a foundational savory aroma and flavor that complements the chicken without overpowering it, making it an ideal base for any sauce you might add later.
- Smoked Paprika: Adds a beautiful reddish-golden color and a subtle, enticing smoky depth to the wings, enhancing the overall flavor complexity.
- Salt: Essential for seasoning the chicken and bringing out all the other flavors. Don’t skip it, as it helps tenderize the meat and crispen the skin.
- Ground Black Pepper: Contributes a gentle warmth and a mild peppery kick, rounding out the spice blend.
- Optional Sauces: The beauty of these wings lies in their adaptability. Have your favorite sauces ready for tossing after baking! Popular choices include classic buffalo sauce, sweet and savory BBQ sauce, sticky honey garlic, a zesty lemon pepper glaze, or a creamy ranch dressing for dipping.
Step-by-Step Guide: How to Make Crispy Baked Chicken Wings
Follow these simple instructions to prepare a batch of the most delicious, crispy baked chicken wings that will have everyone asking for more. Precision in these steps ensures maximum crispiness!
Step 1: Prepare Your Baking Setup
Begin by preheating your oven to a robust 425 degrees F (220 degrees C). High heat is crucial for achieving that desirable crispy skin. Next, prepare a baking sheet. For best results, line a large baking sheet with aluminum foil for easier cleanup, then place a wire rack on top. A wire rack is highly recommended as it allows air to circulate around all sides of the wings, promoting even cooking and superior crispiness. Lightly spray the wire rack or foil with a non-stick cooking spray to prevent the wings from sticking as they bake.
Step 2: Dry the Chicken Wings Thoroughly
This step is absolutely critical for crispiness. Using paper towels, meticulously pat the chicken wings completely dry. Excess moisture on the skin is the enemy of crispiness, as it will steam the wings rather than allowing them to brown and become crunchy. Take your time to ensure every piece is as dry as possible.
Step 3: Season the Wings Generously
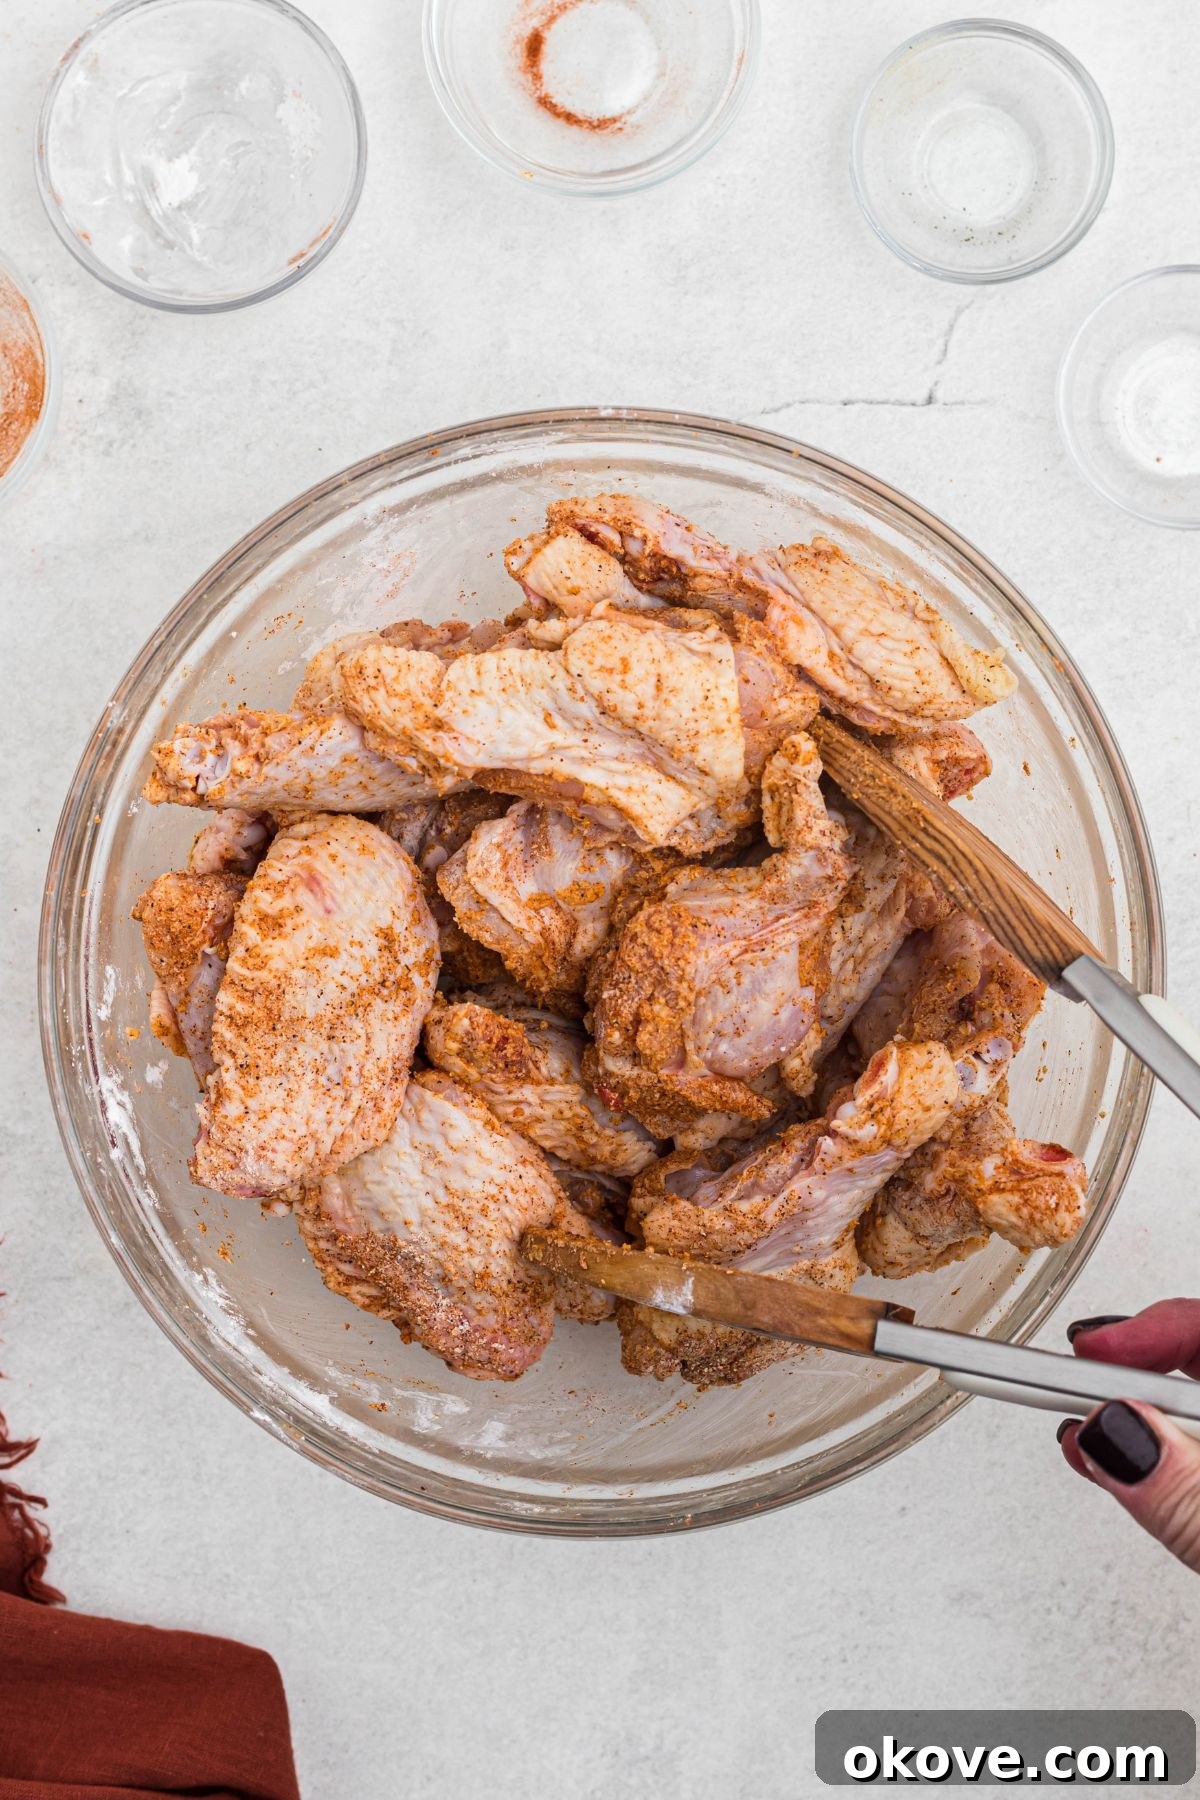
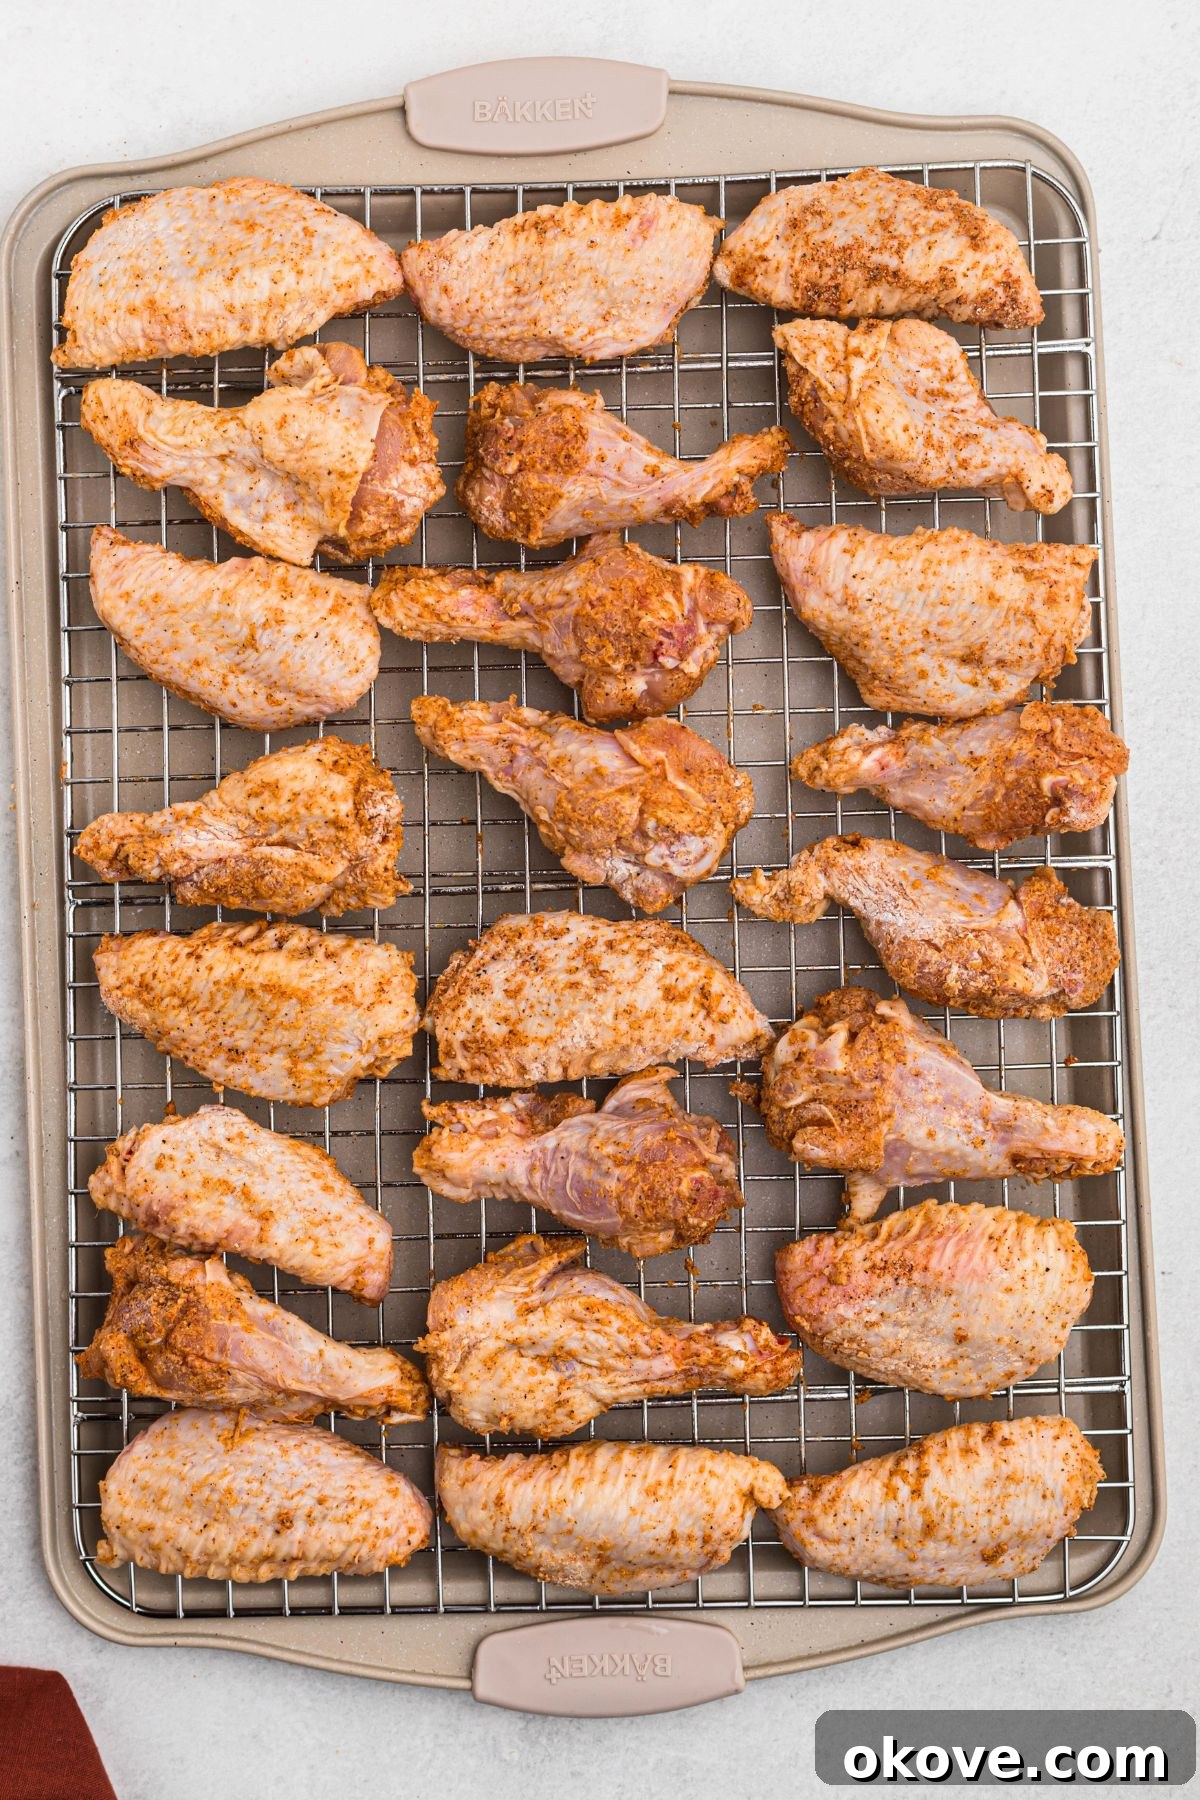
In a large mixing bowl, combine the dried chicken wings with the baking powder, garlic powder, smoked paprika, salt, and ground black pepper. Toss vigorously until every single wing is evenly coated with the seasoning mixture. The baking powder should form a fine, almost invisible, powdery layer on the chicken skin.
Step 4: Arrange for Optimal Airflow
Carefully arrange the seasoned wings in a single layer on the prepared wire rack (or foil-lined baking sheet, if a rack isn’t available). Ensure there is a small amount of space between each chicken piece. Overcrowding the pan will lead to steaming instead of baking, preventing the wings from crisping up properly. Give them room to breathe!
Step 5: Bake to Golden Perfection
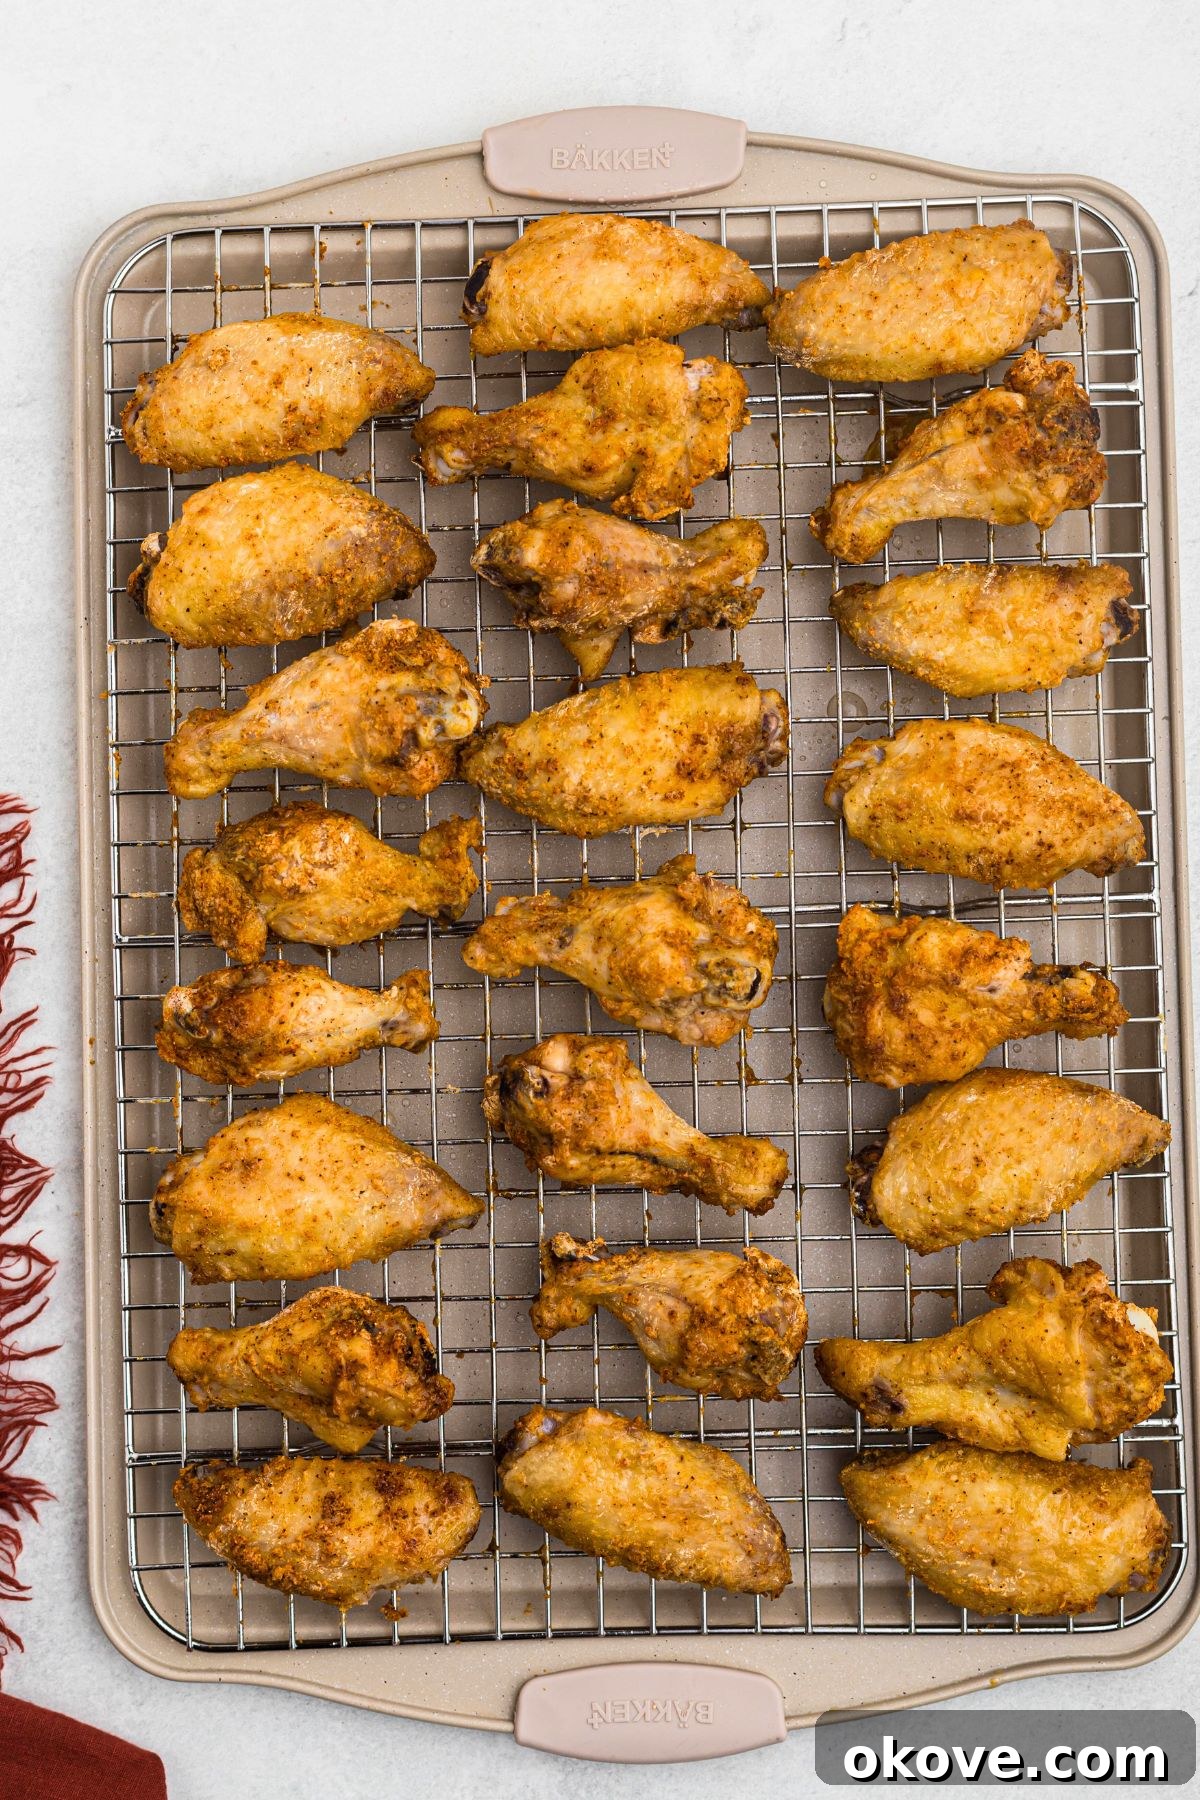
Place the baking sheet in your preheated oven. Bake the wings for 20 minutes at 425 degrees F (220 degrees C). After 20 minutes, carefully remove the tray from the oven, flip each wing over to ensure even crisping on both sides, and return to the oven for another 5-10 minutes, or until they reach a beautiful golden-brown color and are irresistibly crispy. The exact baking time may vary slightly depending on your oven and the size of the wings.
Step 6: Sauce and Serve
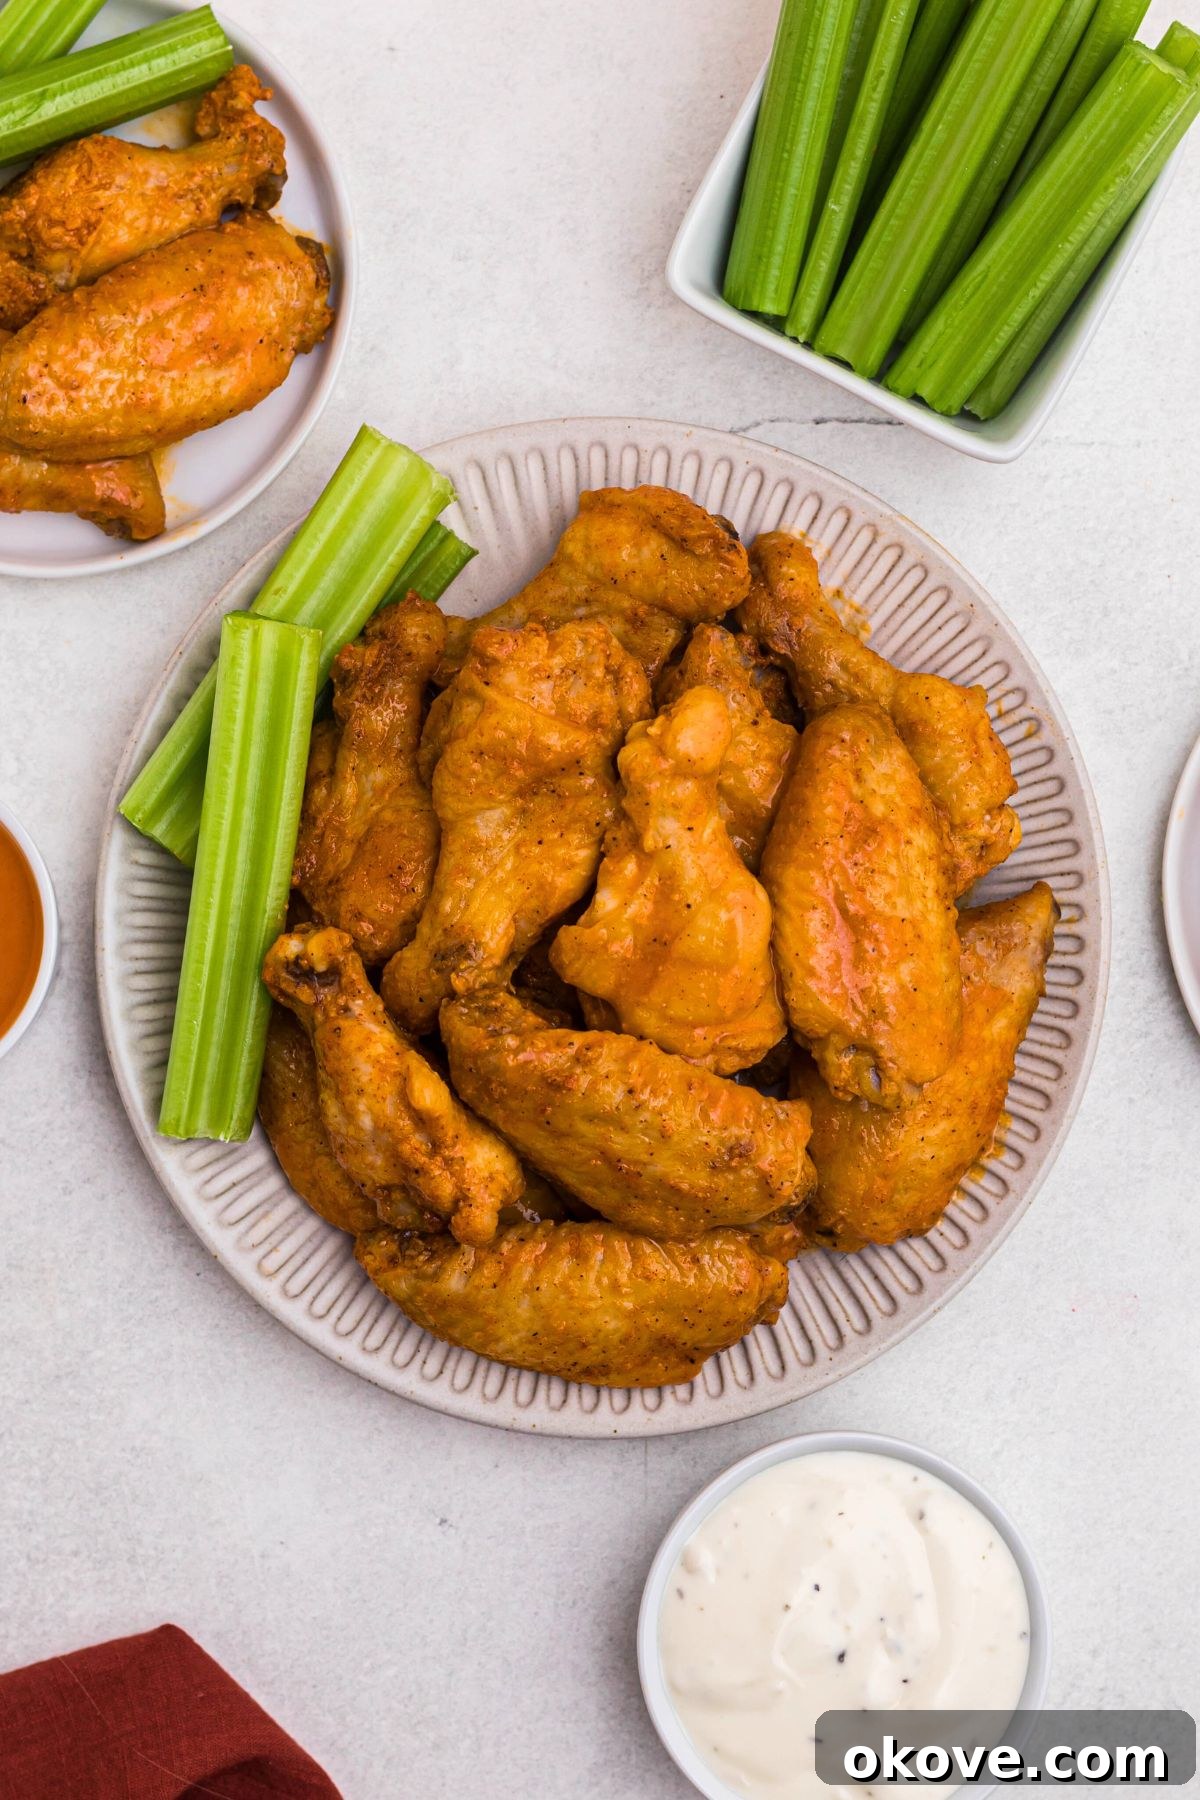
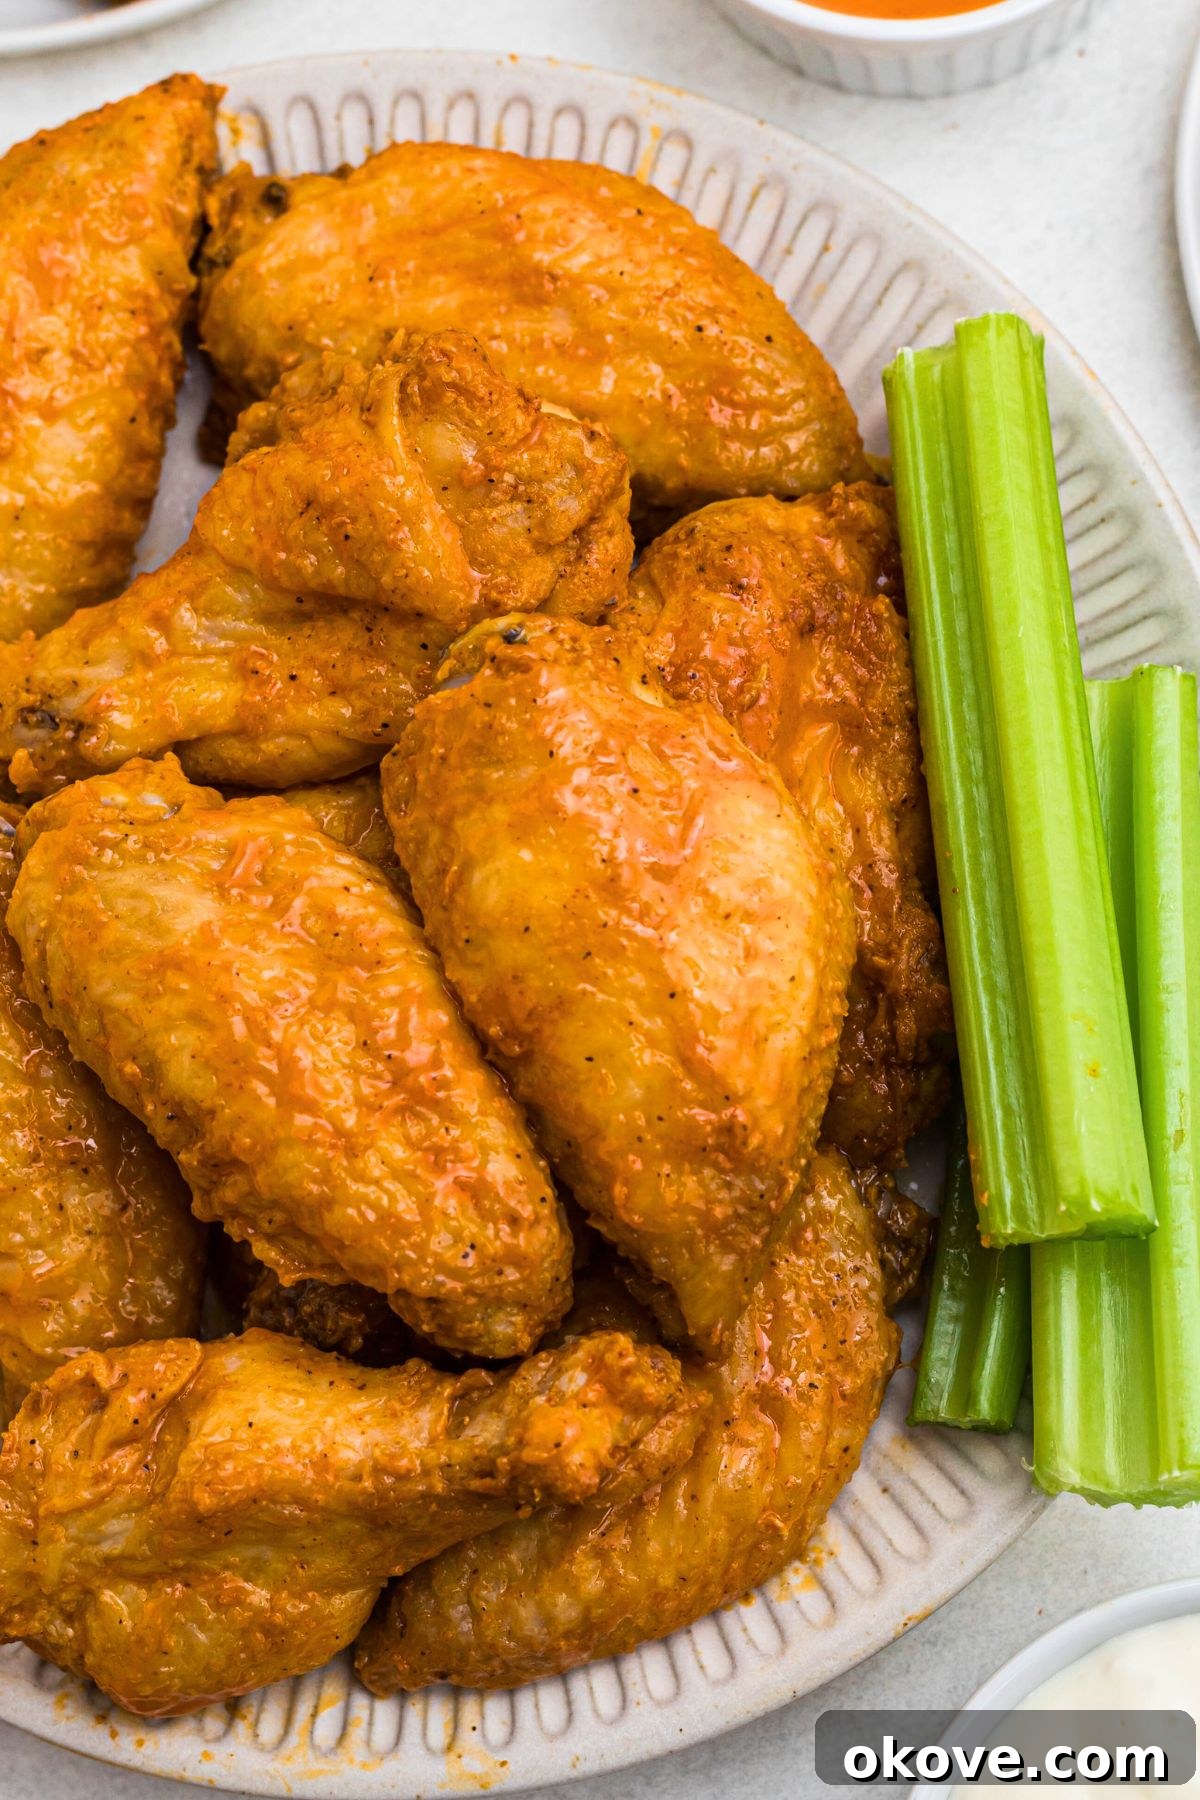
Once baked to your desired crispiness, immediately transfer the hot wings to a clean large bowl. Toss them with your favorite sauce while they are still hot, ensuring they get a nice, even coating. Alternatively, serve them plain alongside classic dips like ranch or blue cheese dressing, with crisp celery sticks and carrot sticks for a refreshing contrast. Enjoy your perfect crispy baked chicken wings!
Expert Tips for the Best Baked Chicken Wings
Transform your baked chicken wings from good to absolutely phenomenal with these expert tips. Mastering these techniques will guarantee a consistently crispy, flavorful outcome every time:
- Baking Powder is Your Secret Weapon: We can’t stress this enough! Aluminum-free baking powder is the magic ingredient. It works by slightly raising the pH of the chicken skin, which leads to increased browning and a dryer, crispier surface. This chemical reaction is what makes baked wings rival their fried counterparts.
- Always Use a Wire Rack: For truly crispy wings, a wire rack placed over a baking sheet is non-negotiable. This setup lifts the wings above the baking surface, allowing hot air to circulate completely around each piece. This prevents the bottom of the wings from becoming soggy in their own juices and ensures even crisping on all sides.
- Sauce After Baking for Maximum Crispness: Resist the urge to toss your wings in sauce before baking. Applying sauce prior to cooking introduces moisture, which will inhibit the skin from crisping up. Bake the wings naked (just with the dry rub) until they’re perfectly crispy, then toss them immediately with your chosen sauce while they’re still hot. The heat helps the sauce adhere beautifully.
- Verify Doneness with a Meat Thermometer: Food safety is paramount. Always use a reliable meat thermometer to check the internal temperature of the chicken. Insert the thermometer into the thickest part of a drumette, avoiding the bone. Cooked chicken wings should reach an internal temperature of 165 degrees F (74 degrees C). Cooking times can vary slightly based on wing size and oven calibration, so always check!
- Don’t Overcrowd the Pan: As mentioned in the instructions, ensure ample space between each wing on the baking rack. Overcrowding traps steam, leading to soggy, pale wings. If necessary, use two baking sheets to give the wings enough room.
- Pat Dry, Then Dry More: The drier the chicken skin, the crispier the result. After patting the wings dry, some chefs even suggest refrigerating them uncovered for an hour or two (or even overnight) to allow the skin to air dry further. This extra step can yield extraordinary crispiness.
- Flip Halfway Through: While a wire rack helps with even cooking, flipping the wings halfway through the baking process ensures both sides get direct exposure to the heat, promoting uniform browning and crispiness.
- Let Them Rest (Briefly): After baking and before saucing, let the wings rest for 2-3 minutes. This allows any surface moisture to evaporate and the skin to set, making them even crispier.
Exciting Chicken Wing Flavor Variations
One of the most enjoyable aspects of making chicken wings at home is the endless opportunity for customization. Once you’ve mastered the basic crispy baked wing, you can experiment with a myriad of flavors. Here are some popular and delicious variations to inspire your next batch:
- Classic Buffalo: The quintessential wing flavor. After baking, toss the crispy wings with a mixture of hot sauce (like Frank’s RedHot) and melted butter. Serve with blue cheese dressing and celery sticks for an authentic experience.
- Garlic Parmesan: A rich and savory option. Once baked, combine melted butter, minced garlic (or garlic powder), and a generous amount of freshly grated Parmesan cheese. Toss the wings until fully coated. A sprinkle of fresh parsley adds a nice touch.
- Sweet and Spicy Sriracha: For those who love a balance of heat and sweetness. Whisk together honey, sriracha, a splash of soy sauce, and a hint of rice vinegar. Heat the sauce gently, then toss with the hot, crispy wings for a sticky, glossy glaze. Garnish with sesame seeds.
- Zesty Lemon Pepper: A bright and tangy choice. After baking, sprinkle the wings generously with lemon zest, freshly cracked black pepper, and a touch of garlic powder. You can also add a squeeze of fresh lemon juice for extra zing.
- Tangy BBQ: A timeless favorite. Simply toss the baked wings with your preferred brand of barbecue sauce. For an extra kick, choose a spicy BBQ sauce, or make it a honey BBQ for a sweeter profile.
- Asian Sticky Ginger-Soy: Combine soy sauce, grated fresh ginger, minced garlic, honey or brown sugar, and a dash of sesame oil. Simmer until slightly thickened, then toss with the wings. Garnish with green onions and toasted sesame seeds.
- Smoky Chipotle Lime: Mix adobo sauce from a can of chipotles, lime juice, a touch of honey, and some cumin. This creates a smoky, tangy, and slightly spicy sauce that pairs wonderfully with chicken.
- Ranch Dry Rub: For a flavor explosion without liquid sauce. Instead of the basic seasoning, use a packet of dry ranch dressing mix along with a little baking powder. Bake as directed for a savory, herb-packed wing.
How to Properly Cut Chicken Wings into Drumettes and Flats
While many grocery stores offer pre-cut “party wings,” sometimes you’ll find whole chicken wings, which can be less expensive and offer a great opportunity to hone your butchering skills. Cutting whole wings into drumettes and flats isn’t difficult and will ensure more even cooking and easier eating. Here’s a simple guide:
- Identify the Sections: A whole chicken wing consists of three parts: the drumette (the part that looks like a miniature drumstick), the flat (the middle section with two small bones running parallel), and the wing tip (the very end, pointy part).
- Locate the First Joint (Drumette and Flat): Hold the wing with the skin side up. Stretch the wing out slightly to make the joints more prominent. You should be able to clearly feel the joint where the drumette connects to the flat. This joint will feel like a slight indentation or a small knobby area.
- Cut Between the Drumette and Flat: Using a sharp chef’s knife or, even better, sturdy kitchen shears, carefully cut through the joint. You want to cut *between* the bones, not *through* them. If you feel resistance, you might be hitting bone; adjust your position slightly until the knife or shears slide through cleanly. This will separate the drumette from the flat.
- Locate the Second Joint (Flat and Wing Tip): Now take the flat section. At one end, you’ll find the second joint connecting the flat to the small, bony wing tip.
- Remove the Wing Tip: Again, using your knife or shears, cut through this joint to remove the wing tip. The wing tip contains very little meat and is typically discarded. However, it’s excellent for making chicken stock, so consider saving them in a freezer bag for future use.
And there you have it! You’ll now have perfectly separated drumettes and flats, ready for seasoning and baking. This process is quick and makes a big difference in the presentation and enjoyment of your chicken wings.
Frequently Asked Questions (FAQs) About Baked Chicken Wings
Absolutely! You can bake the wings a day in advance. To reheat and restore their crispiness, arrange them on a wire rack over a baking sheet and bake at 400 degrees F (200 degrees C) for 10-15 minutes, or until thoroughly heated through and crisp again. It’s best to add any sauce after reheating for optimal texture.
Yes, cooked chicken wings freeze wonderfully! Allow them to cool completely, then place them in an airtight freezer-safe container or heavy-duty freezer bag. They will keep well for up to 2 months. For best reheating results, thaw them in the refrigerator overnight and then reheat them in the oven as described above.
While a wire rack is highly recommended for ultimate crispiness, you can still achieve good results without one. Bake the wings directly on an aluminum foil-lined baking sheet. To prevent sogginess and promote even crisping, you will need to flip the wings more frequently during baking (every 10-15 minutes) to ensure all sides get browned.
Allow the wings to cool down to room temperature completely before storing. Then, transfer them to an airtight container and refrigerate for 3-4 days. When reheating, use the oven method to bring back some of their crisp texture.
Always use aluminum-free baking powder for this recipe. Regular baking powder can sometimes leave a metallic aftertaste, especially when used in larger quantities for crisping. Brands like Rumford or Bob’s Red Mill typically offer aluminum-free options.
Yes, but they must be completely thawed before preparation. Thaw frozen wings in the refrigerator overnight. Once thawed, pat them extremely dry with paper towels, even more thoroughly than fresh wings, to remove any excess moisture from the thawing process. Then proceed with the recipe as directed.
Chicken wings pair perfectly with classic sides like celery and carrot sticks, cool ranch or blue cheese dressing, crisp coleslaw, potato salad, or even a simple green salad. For a heartier meal, serve them alongside French fries, onion rings, or sweet potato fries.
More Easy Appetizers You’ll Love
Holidays
Holiday Sliders
Holidays
Halloween Rice Krispie Treats
Appetizers
Pizza Cupcakes
Desserts
Oreo Popcorn
Easy Baked Chicken Wings
Rebecca
8
10 mins
25 mins
35 mins
Equipment
- Baking Pan with Rack or lined with foil
- Large Bowl
Ingredients
- 3 pounds chicken wings
- 1 tablespoon baking powder (aluminum-free)
- 1 teaspoon garlic powder
- 1 teaspoon smoked paprika
- 1 teaspoon salt
- 1/2 teaspoon ground black pepper
- Optional: Your favorite sauce for tossing (e.g., buffalo, BBQ, honey garlic)
Instructions
-
Preheat your oven to 425 degrees F (220 degrees C). Line a baking sheet with foil, and if you have one, place a wire rack on top. Lightly spray the rack or foil with non-stick spray to prevent sticking.
-
Pat the chicken wings thoroughly dry with paper towels to remove excess moisture. This is crucial for crispiness.
-
In a large bowl, toss the dried wings with baking powder, garlic powder, smoked paprika, salt, and black pepper. Ensure they are evenly coated.
-
Arrange the seasoned wings in a single layer on the prepared rack or baking sheet, leaving a little space between each piece to allow for even cooking and crisping.
-
Bake the wings at 425 degrees F (220 degrees C) for 20 minutes. Then, flip them over and continue baking for another 5-10 minutes, or until they are deeply golden brown and deliciously crispy. Check the internal temperature to ensure it reaches 165°F (74°C).
-
Immediately transfer the hot, crispy wings to a clean bowl and toss them with your favorite sauce, or serve them plain with ranch or blue cheese dressing and crisp celery sticks on the side. Enjoy!
Notes
Nutrition
Calories: 207kcal
Carbohydrates: 1g
Protein: 17g
Fat: 15g
Saturated Fat: 4g
Polyunsaturated Fat: 3g
Monounsaturated Fat: 6g
Trans Fat: 0.2g
Cholesterol: 71mg
Sodium: 517mg
Potassium: 155mg
Fiber: 0.2g
Sugar: 0.04g
Vitamin A: 259IU
Vitamin C: 1mg
Calcium: 101mg
Iron: 1mg
Nutrition information is automatically calculated, so should only be used as an approximation.
Additional Info
Tried this recipe?
Mention @celebratingsimplyrecipes or tag #celebratingsimplyrecipes!