
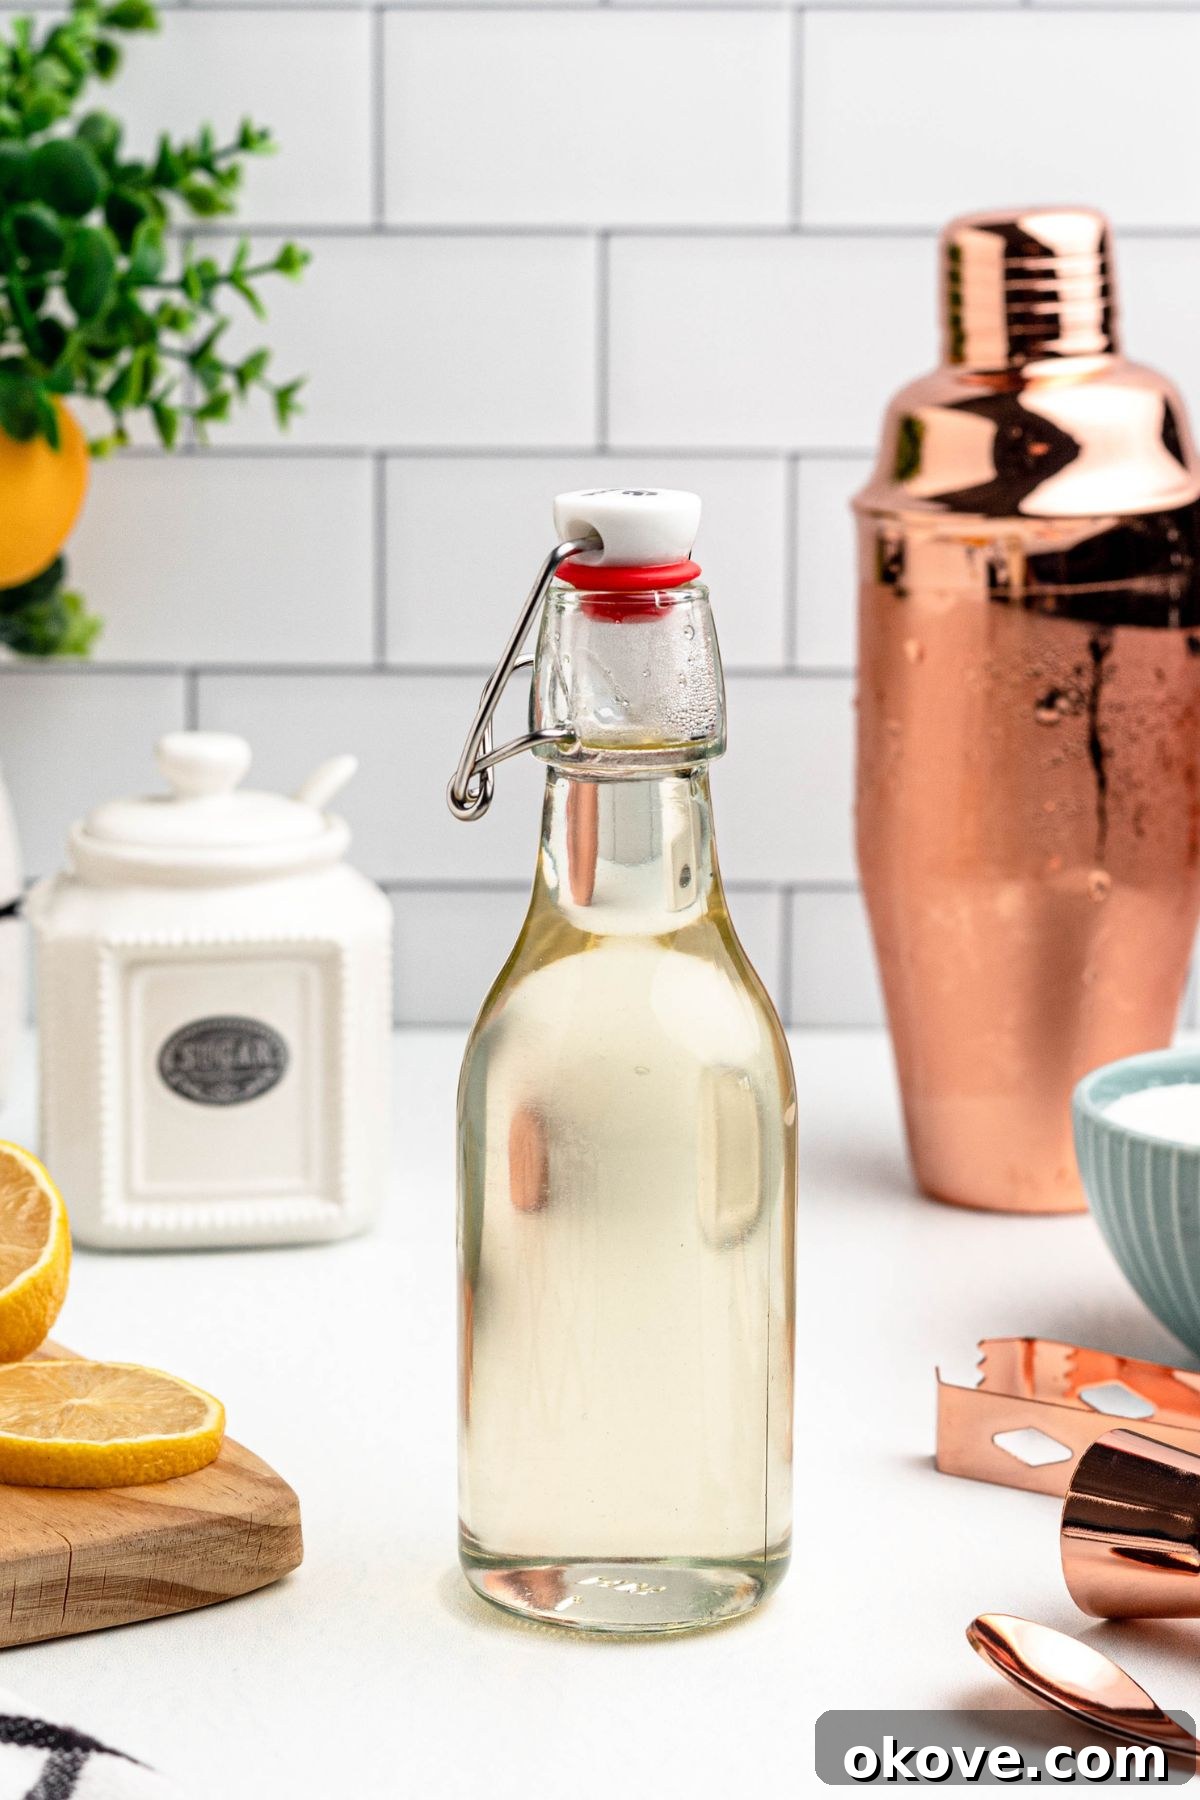
Mastering Simple Syrup: The Ultimate Guide to Homemade Sweetener
Discovering the secret to consistently delicious beverages and enhanced desserts starts with one fundamental ingredient: simple syrup. This incredibly easy-to-make liquid sweetener is a game-changer for anyone looking to elevate their culinary creations. Unlike granulated sugar that tends to settle at the bottom of cold drinks, simple syrup effortlessly blends into any liquid, ensuring a perfectly balanced sweetness in every sip.
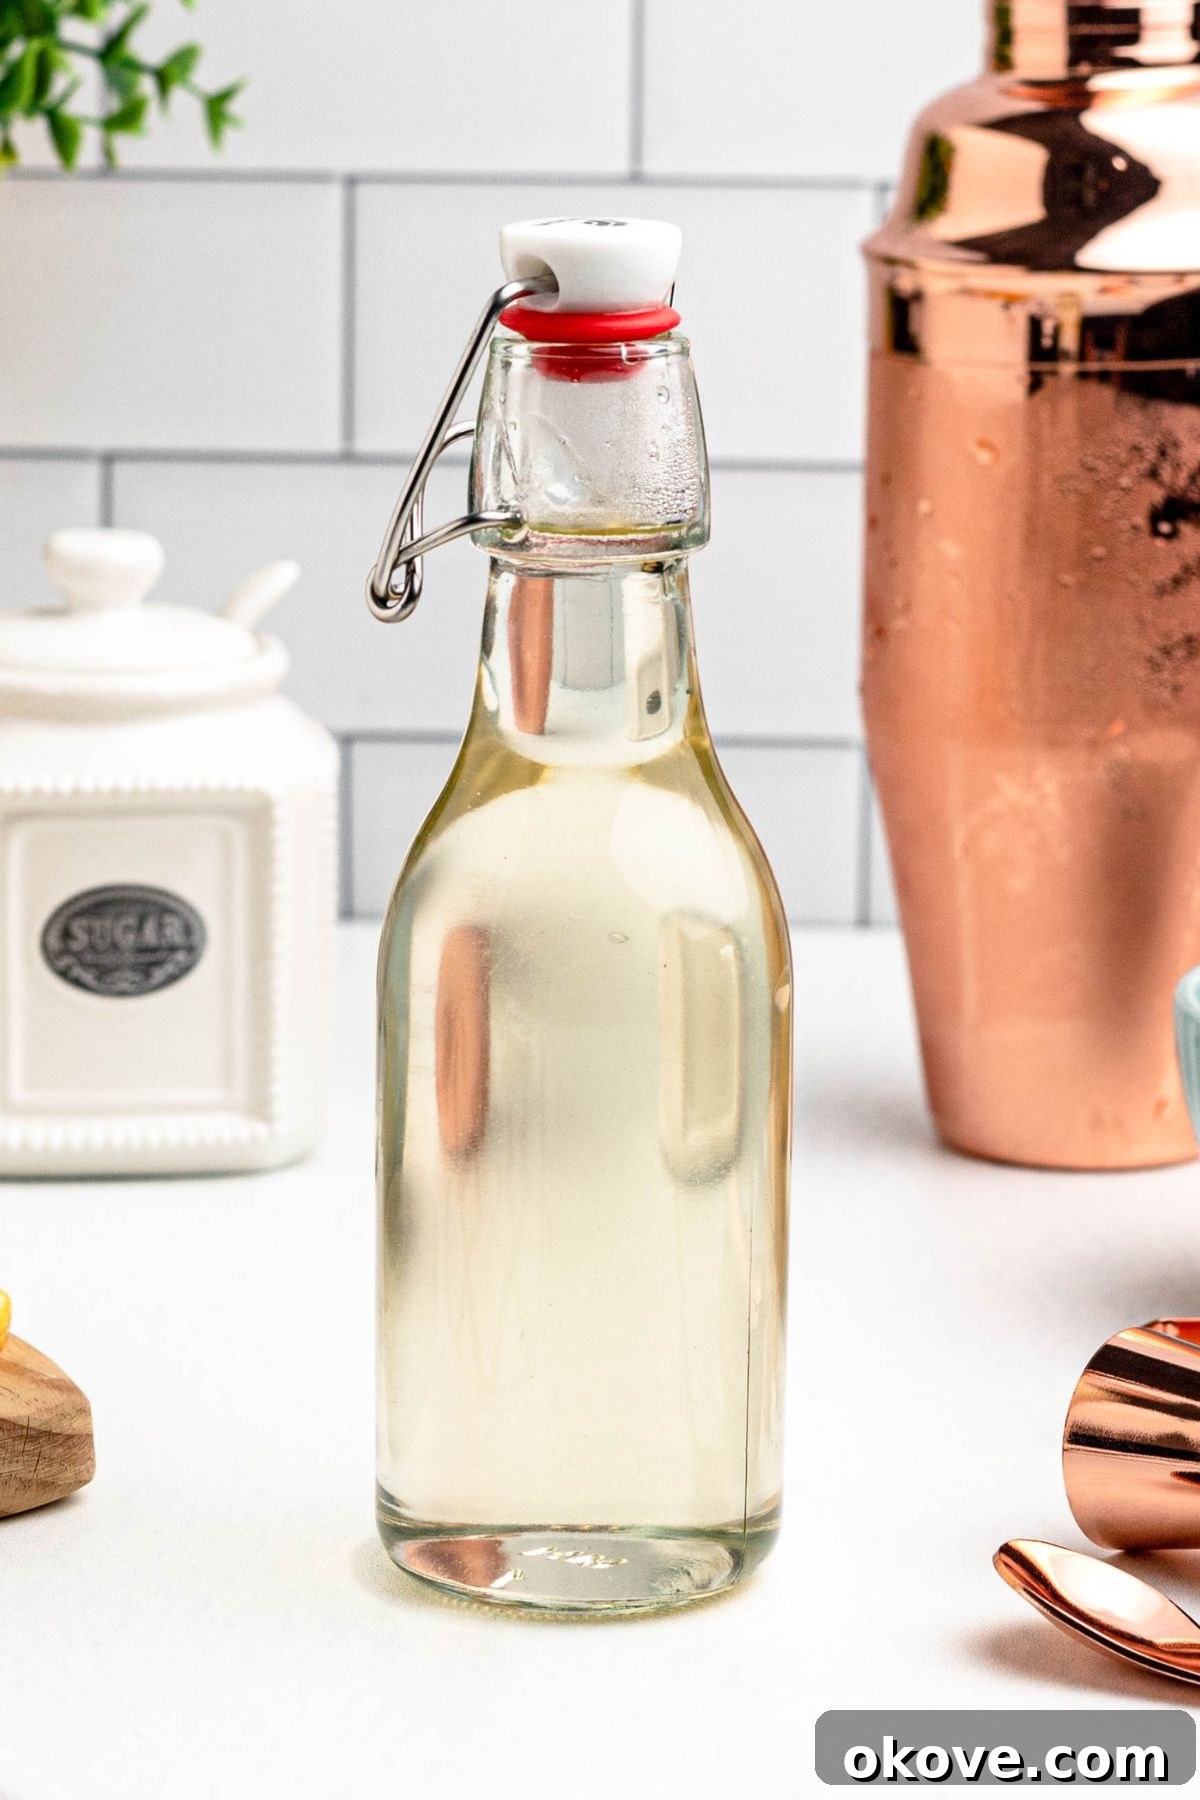
I find immense satisfaction in crafting this versatile sweetener right in my own kitchen. It’s a simple blend of plain sugar and water, free from the preservatives, artificial flavors, and high-fructose corn syrup often found in store-bought alternatives. Once you experience the convenience and superior taste of homemade simple syrup, it quickly becomes an indispensable kitchen staple, always within reach for your coffee, tea, cocktails, and mocktails. Furthermore, the ability to infuse it with a myriad of flavors like vanilla, mint, ginger, or lavender opens up a world of creative possibilities, allowing you to tailor your sweeteners to any occasion or preference.
This basic simple syrup serves as the perfect foundation for an array of delightful drinks. Imagine a refreshing, mint-infused Mojito, or a creamy, tropical Virgin Piña Colada. It also complements vibrant Bahama Mama and classic Daiquiri cocktails, adding just the right touch of sweetness. For a non-alcoholic treat, try it in a homemade Watermelon Lemonade. The possibilities are truly endless!
Essential Ingredients for Simple Syrup
At its core, simple syrup lives up to its name, requiring only two basic ingredients that you likely already have in your pantry:
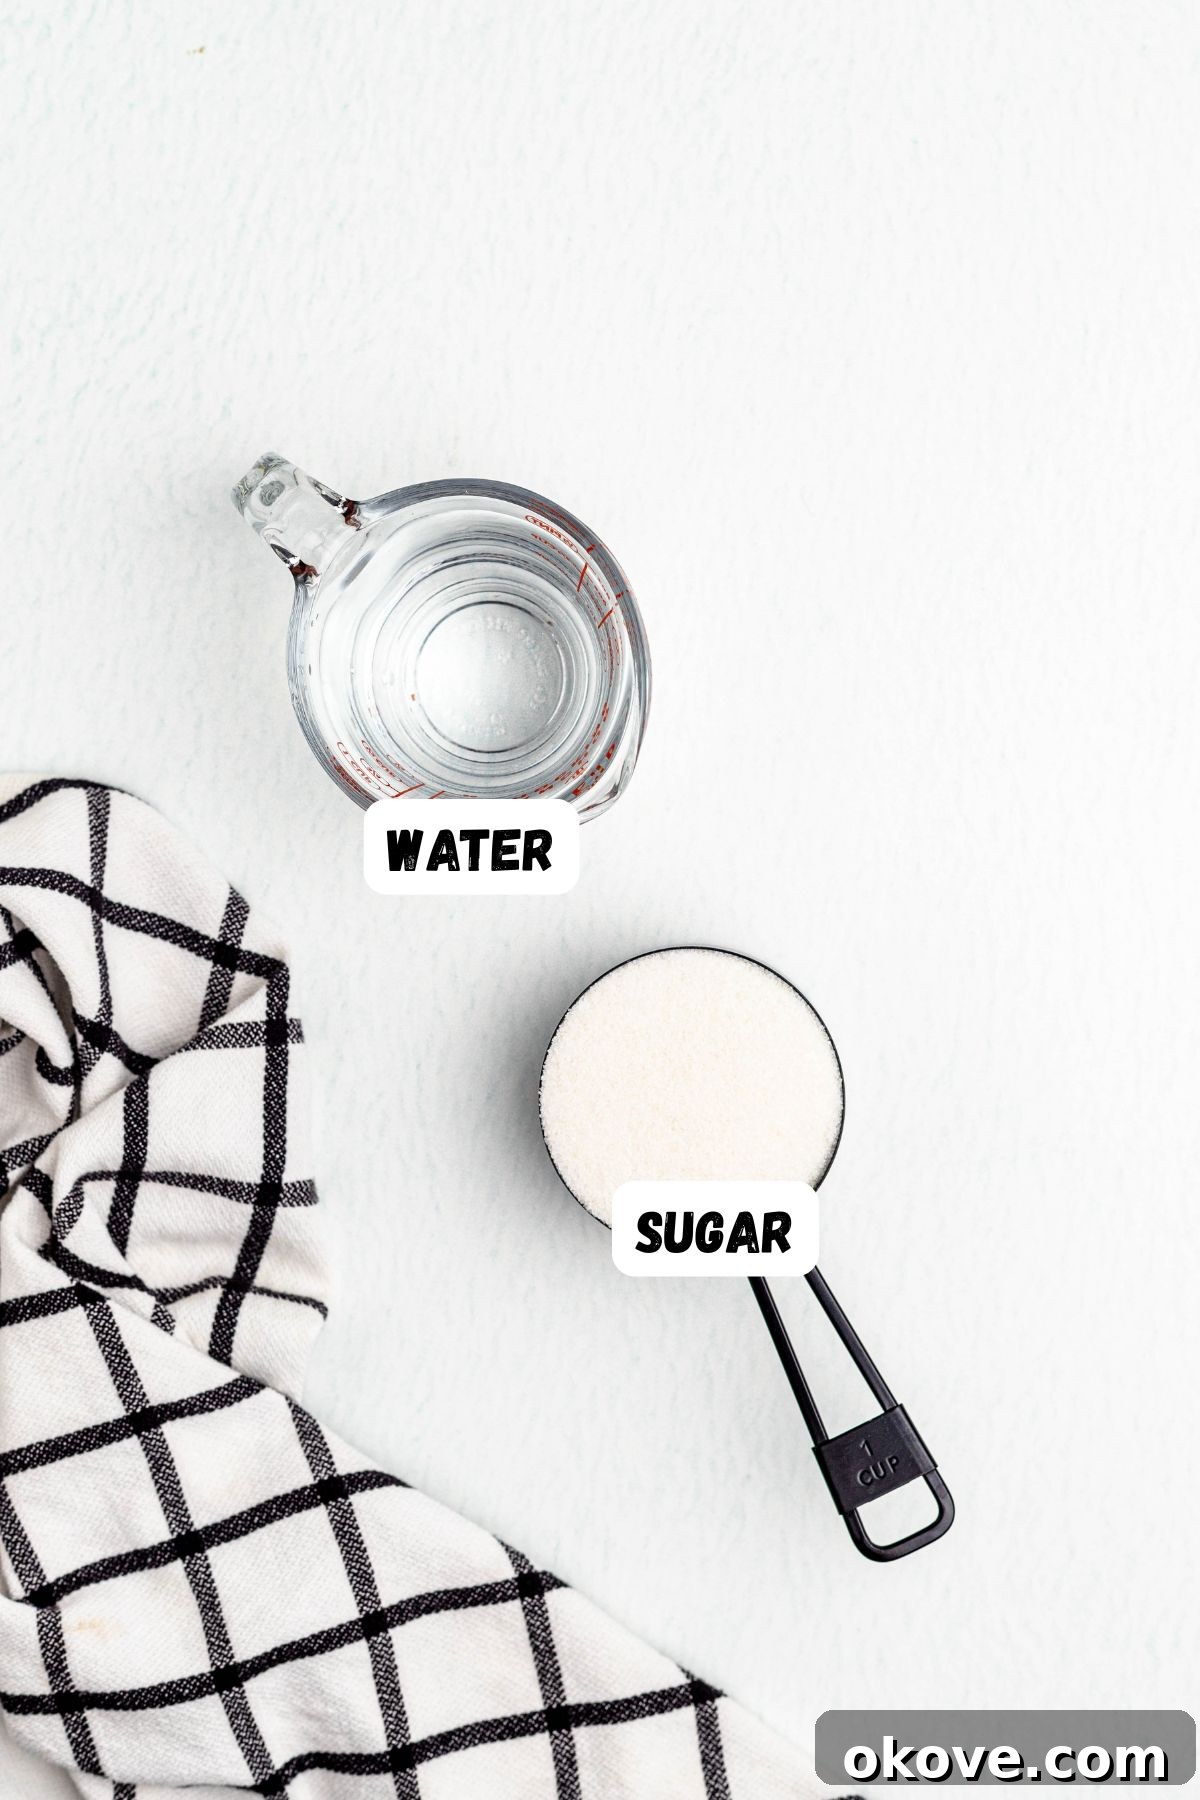
- Granulated Sugar: Standard white sugar is perfect for simple syrup. Its neutral flavor ensures that any added infusions truly shine. While other sugars like brown sugar or raw sugar can be used, they will impart their own distinct flavor and color to the syrup, which might be desirable for certain applications. For a classic, versatile simple syrup, stick to granulated white sugar.
- Water: Tap water is generally fine, especially if it’s palatable for drinking. For the purest flavor, some prefer filtered water. The quality of your water can subtly impact the final taste, particularly in delicate drinks.
Exact measurements for cups and ounces are provided in the comprehensive recipe card below.
Exploring Simple Syrup Variations
While the basic concept remains the same, simple syrup can be adjusted to suit different needs, primarily based on the sugar-to-water ratio. Understanding these variations allows you to choose the perfect sweetness level and texture for your specific use.
- Light Simple Syrup: This variation uses a higher water-to-sugar ratio, typically 2 parts water to 1 part sugar (e.g., 2 cups water to 1 cup sugar). The result is a gently sweet mixture that won’t overpower the delicate nuances of your drinks. It’s ideal for beverages where you want to control the sweetness precisely, or when pairing with ingredients that already contribute significant flavor. This lighter syrup is perfect for everyday use in teas, lemonades, and more subtle cocktails.
- Rich Simple Syrup: Often favored by professional bartenders for spirit-forward cocktails, rich simple syrup uses a 2 parts sugar to 1 part water ratio (e.g., 2 cups sugar to 1 cup water). This creates a thicker, more viscous syrup with a more concentrated sweetness. Due to its higher sugar content, rich simple syrup also has a longer shelf life. It provides intense sweetness with less liquid, which is crucial for not diluting strong spirits.
Creative Simple Syrup Flavor Infusions
One of the most exciting aspects of making simple syrup at home is the ease with which you can infuse it with an array of flavors. This customization transforms a basic sweetener into a unique ingredient that can truly elevate your drinks and desserts. The best way to achieve vibrant flavors is by adding your chosen ingredients *after* heating the syrup and allowing them to steep as it cools.
- Vanilla: For a warm, inviting aroma and taste, add a teaspoon or two of Homemade Vanilla Extract (or a vanilla bean pod) to your cooling syrup. Vanilla simple syrup is exquisite in morning coffee, creamy cocktails, or drizzled over fruit desserts.
- Mint: Fresh mint leaves steeped in warm simple syrup create an incredibly refreshing sweetener. This is absolutely perfect for summer drinks like mojitos, iced tea, or even just sparkling water. Use about a quarter cup of gently bruised mint leaves per cup of finished syrup.
- Ginger: For a subtle spice and warming kick, add 2 or 3 tablespoons of thinly sliced fresh ginger to the warm syrup. Let it steep for about 15-30 minutes, then strain to remove the ginger pieces. Ginger simple syrup is fantastic in mules (Moscow or Kentucky), hot toddies, or invigorating mocktails.
- Lavender: Achieve a light, floral, and sophisticated syrup by steeping one or two teaspoons of food-grade dried lavender buds in the warm mixture. Strain the leaves once cool. This delicate syrup pairs beautifully with lemonade, iced tea, gin cocktails, or even drizzled over baked goods.
- Basil or Lime: For herbaceous or citrusy notes, add fresh basil leaves or a generous squeeze of fresh lime juice to your cooled syrup. These bright flavors are particularly well-suited for fruit-based syrups, sparkling drinks, or savory cocktails. Experiment with other herbs like rosemary or thyme for unique twists.
- Spices: Whole spices like cinnamon sticks, star anise, cloves, or cardamom pods can be added to the warm syrup for an aromatic infusion. Allow them to steep for several hours or overnight for maximum flavor.
- Fruits & Zests: The zest of citrus fruits (lemon, orange, grapefruit) or even berries (muddled slightly) can add a wonderful fresh dimension. Just remember to strain out any solids before storing.
Step-by-Step Guide to Making Simple Syrup
Making simple syrup is a straightforward process that requires minimal effort and time. Follow these simple steps for a perfect batch every time.
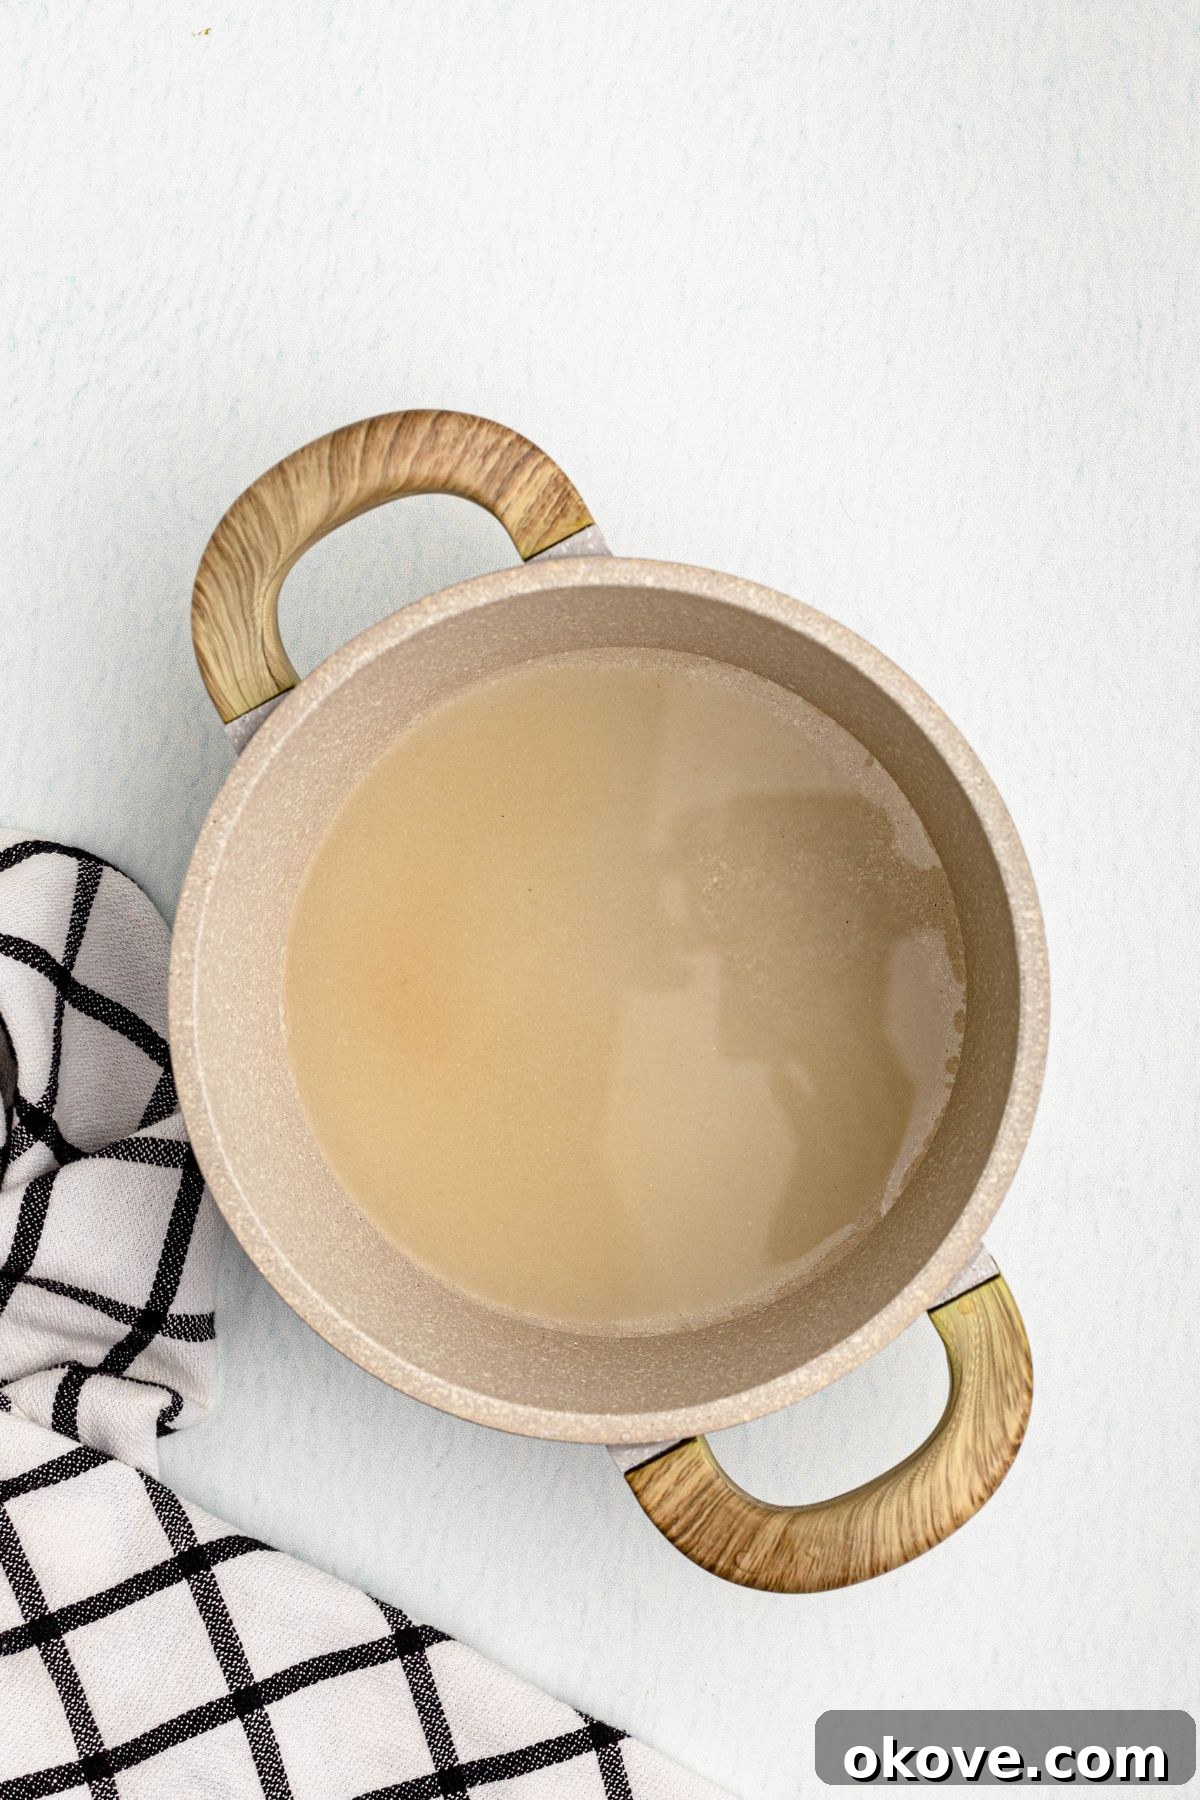
- Combine Ingredients: Pour the granulated sugar and your measured water into a small saucepan. For a standard light simple syrup, a 1:1 or 1:2 sugar-to-water ratio is common, but as discussed, I often prefer a lighter 1:2 sugar to water ratio for broader use.
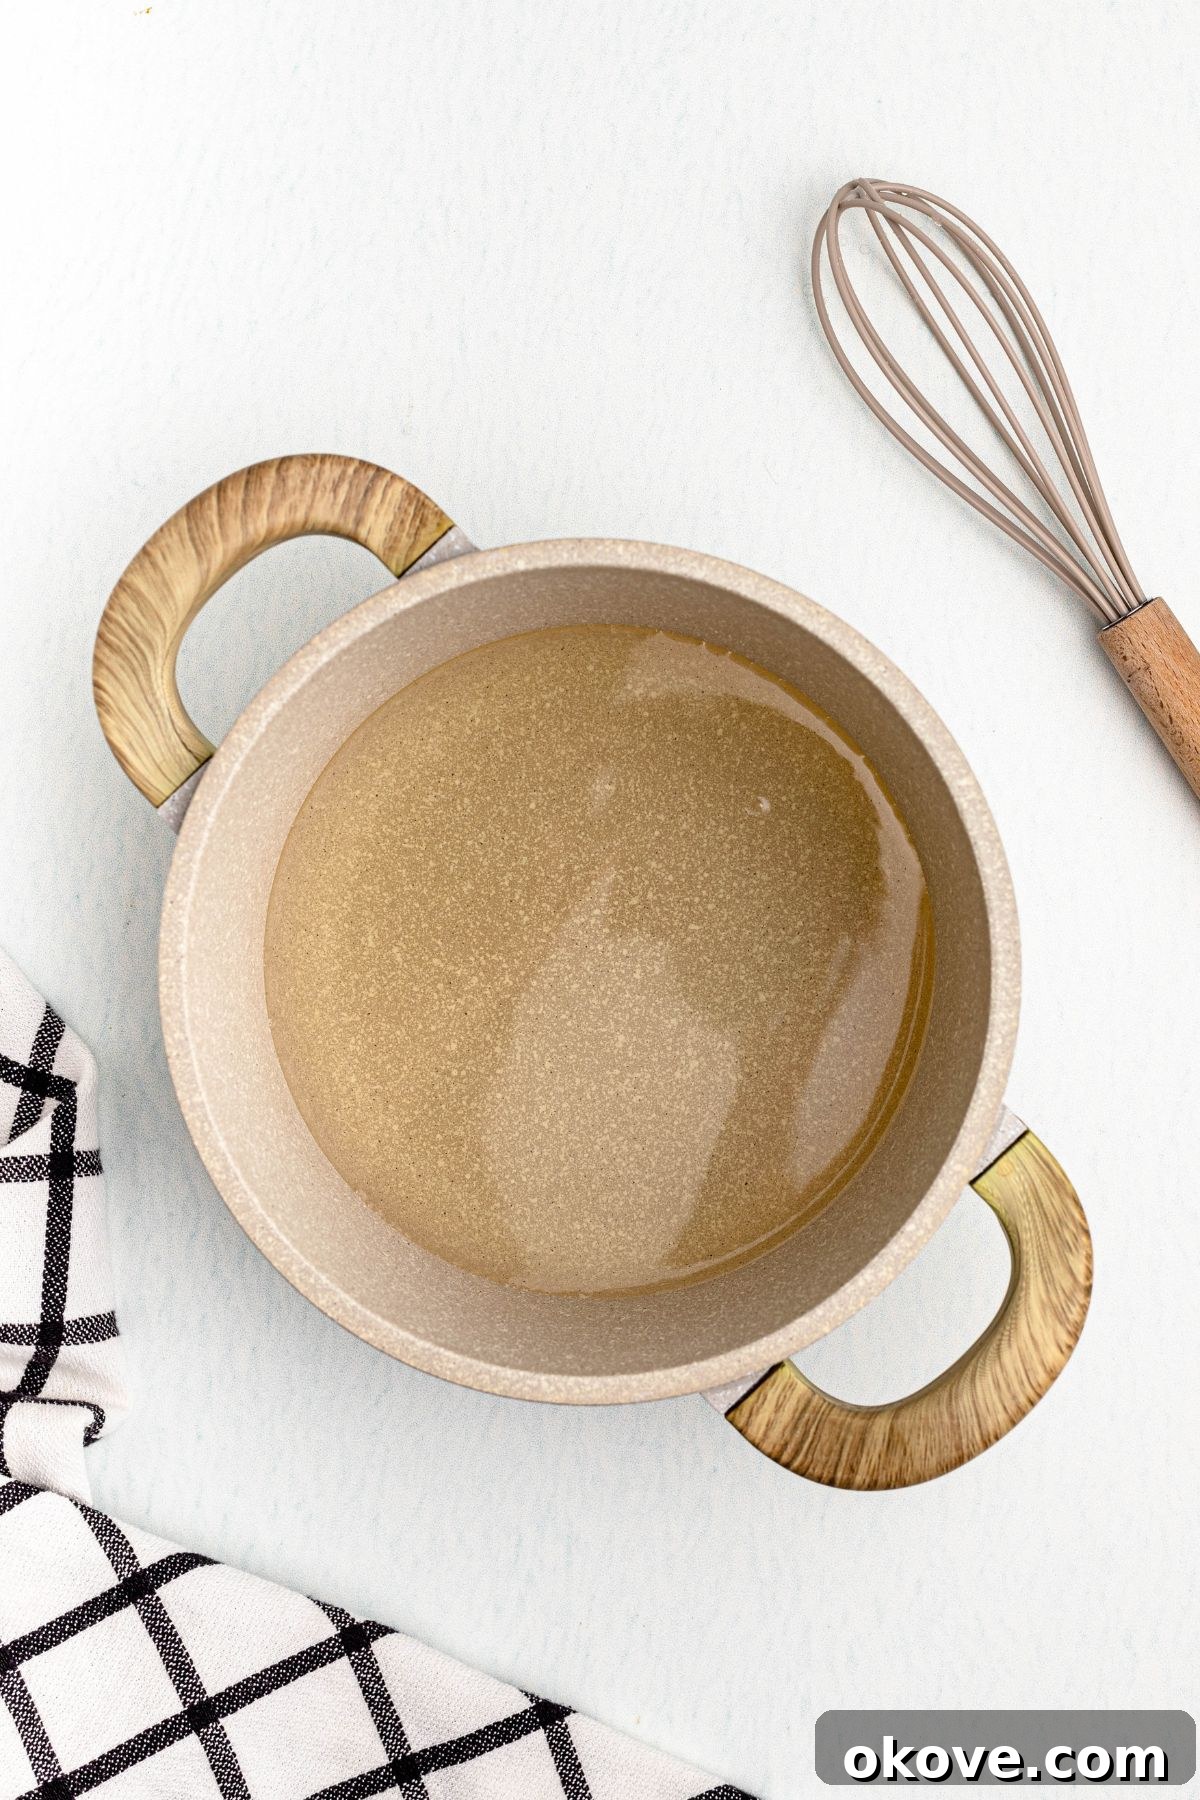
- Heat and Dissolve: Place the saucepan over medium heat. Stir continuously or frequently until all the sugar crystals have completely dissolved into the water. The mixture will become clear. It is crucial *not* to bring the mixture to a rolling boil; gentle heat is sufficient to dissolve the sugar without causing excessive evaporation or caramelization, which can alter the flavor.
- Cool and Store: Once the sugar is fully dissolved and the syrup is clear, immediately remove the saucepan from the heat. Allow the simple syrup to cool completely to room temperature. This cooling process is essential as hot syrup can crack glass containers. Once cool, carefully transfer the syrup into a clean, airtight glass jar or bottle. Store it in the refrigerator for optimum freshness.
Expert Tips for Perfect Simple Syrup Every Time
Achieving the perfect simple syrup is effortless with these professional insights:
- Gentle Heating is Key: Resist the urge to boil the mixture vigorously. Heating just enough to dissolve the sugar is ideal. This preserves the clean, neutral flavor of the syrup and prevents unnecessary water evaporation, which could alter your desired sugar concentration.
- Always Use Clean Glassware: Store your simple syrup in thoroughly cleaned and sanitized glass jars or mason jars. Glass is non-reactive and helps preserve the syrup’s flavor and freshness, preventing any metallic or plastic tastes. Ensure the container is airtight to prevent contamination and extend shelf life.
- Monitor for Spoilage: While simple syrup has a decent shelf life, it’s not indefinite. Always use clean utensils when dispensing syrup to avoid introducing bacteria. If you notice any cloudiness, discoloration, or signs of mold, it’s best to discard the entire batch to ensure safety.
- Embrace Small Batches: Unless you run a bustling bar, making smaller batches of simple syrup is highly recommended. Smaller quantities ensure that your syrup is always fresh and potent, and it’s incredibly easy to whip up a new batch when needed, minimizing waste.
- Experiment with Infusion Times: When adding flavor variations, don’t be afraid to taste as you go. Some flavors, like mint or delicate florals, may only need 15-30 minutes of steeping. Stronger flavors, or ingredients like cinnamon sticks, might benefit from steeping for several hours or even overnight in the refrigerator.
- Strain for Clarity: If you’ve infused your syrup with fresh ingredients, always strain the cooled syrup through a fine-mesh sieve or cheesecloth before bottling. This removes any solids, ensuring a clear, smooth syrup and improving its shelf life.
Delicious Ways to Utilize Simple Syrup
The versatility of simple syrup extends far beyond just cocktails. Once you have a batch on hand, you’ll find countless applications for this essential liquid sweetener:
- Perfecting Beverages: Effortlessly sweeten iced tea, homemade lemonade, fruit punches, and any other cold beverage where granulated sugar would struggle to dissolve.
- Crafting Cocktails and Mocktails: A cornerstone for mixologists, simple syrup ensures a smooth blend of sweetness in everything from a classic Old Fashioned to a vibrant spritzer. It’s indispensable for balancing flavors in both alcoholic and alcohol-free creations.
- Enhancing Morning Coffee: Stir a spoonful into your hot or iced coffee for an instant, perfectly dissolved sweetener. Add a flavored syrup like vanilla or cinnamon for a gourmet coffee experience at home.
- Moistening Cakes: Brushing simple syrup onto warm cake layers adds incredible moisture and can prevent them from drying out. You can also infuse the syrup with a complementary flavor before brushing it on.
- Sweetening Fruit Syrups and Dressings: Integrate it into homemade fruit purees, vinaigrettes, or glazes for a balanced sweetness that emulsifies beautifully.
- Dessert Drizzles: Drizzle plain or flavored simple syrup over fresh fruit salads, pancakes, waffles, or ice cream for an extra touch of sweetness and shine.
- Candied Fruits & Glazes: Use a richer simple syrup to candy citrus peels or to create shiny glazes for pastries and tarts.
The Benefits of a Lighter Simple Syrup
While many classic cocktail recipes and culinary sources often recommend a “traditional” simple syrup using equal parts sugar and water (1:1 ratio), I personally lean towards a lighter simple syrup, typically a 1:2 sugar to water ratio (e.g., 1 cup sugar to 2 cups water). This preference stems from several key advantages that cater to a wider audience and enhance overall flavor balance.
The primary reason for opting for more water is to create a sweetener that blends easily without overwhelming or masking the delicate flavors of the main ingredients in a drink or dessert. A 1:1 ratio syrup can sometimes be too potent, leading to overly sweet results unless meticulously measured. With a lighter syrup, you have more control, allowing you to gradually add sweetness to taste without the risk of making your concoction cloying.
Using 2 cups water to 1 cup sugar ensures that beverages remain perfectly balanced, whether you’re serving a diverse group of family and friends with varying sweetness preferences or simply crafting a drink where the spirit or fruit flavor should be the star. This approach also subtly helps in managing calorie content per serving, offering a lighter option without compromising on the perception of sweetness. It’s about achieving harmony in taste, allowing all ingredients to shine through beautifully.
Optimal Storage for Homemade Simple Syrup
Proper storage is crucial for maintaining the freshness and extending the shelf life of your homemade simple syrup. Store simple syrup in a clean, sterilized, and tightly sealed glass jar or bottle in the refrigerator. When handled correctly and kept cold, it typically lasts about two to three weeks. Syrups made with a higher sugar concentration (rich simple syrup) or those containing alcohol may last longer, sometimes up to a month. Always ensure the container is airtight to prevent air exposure, which can accelerate spoilage.
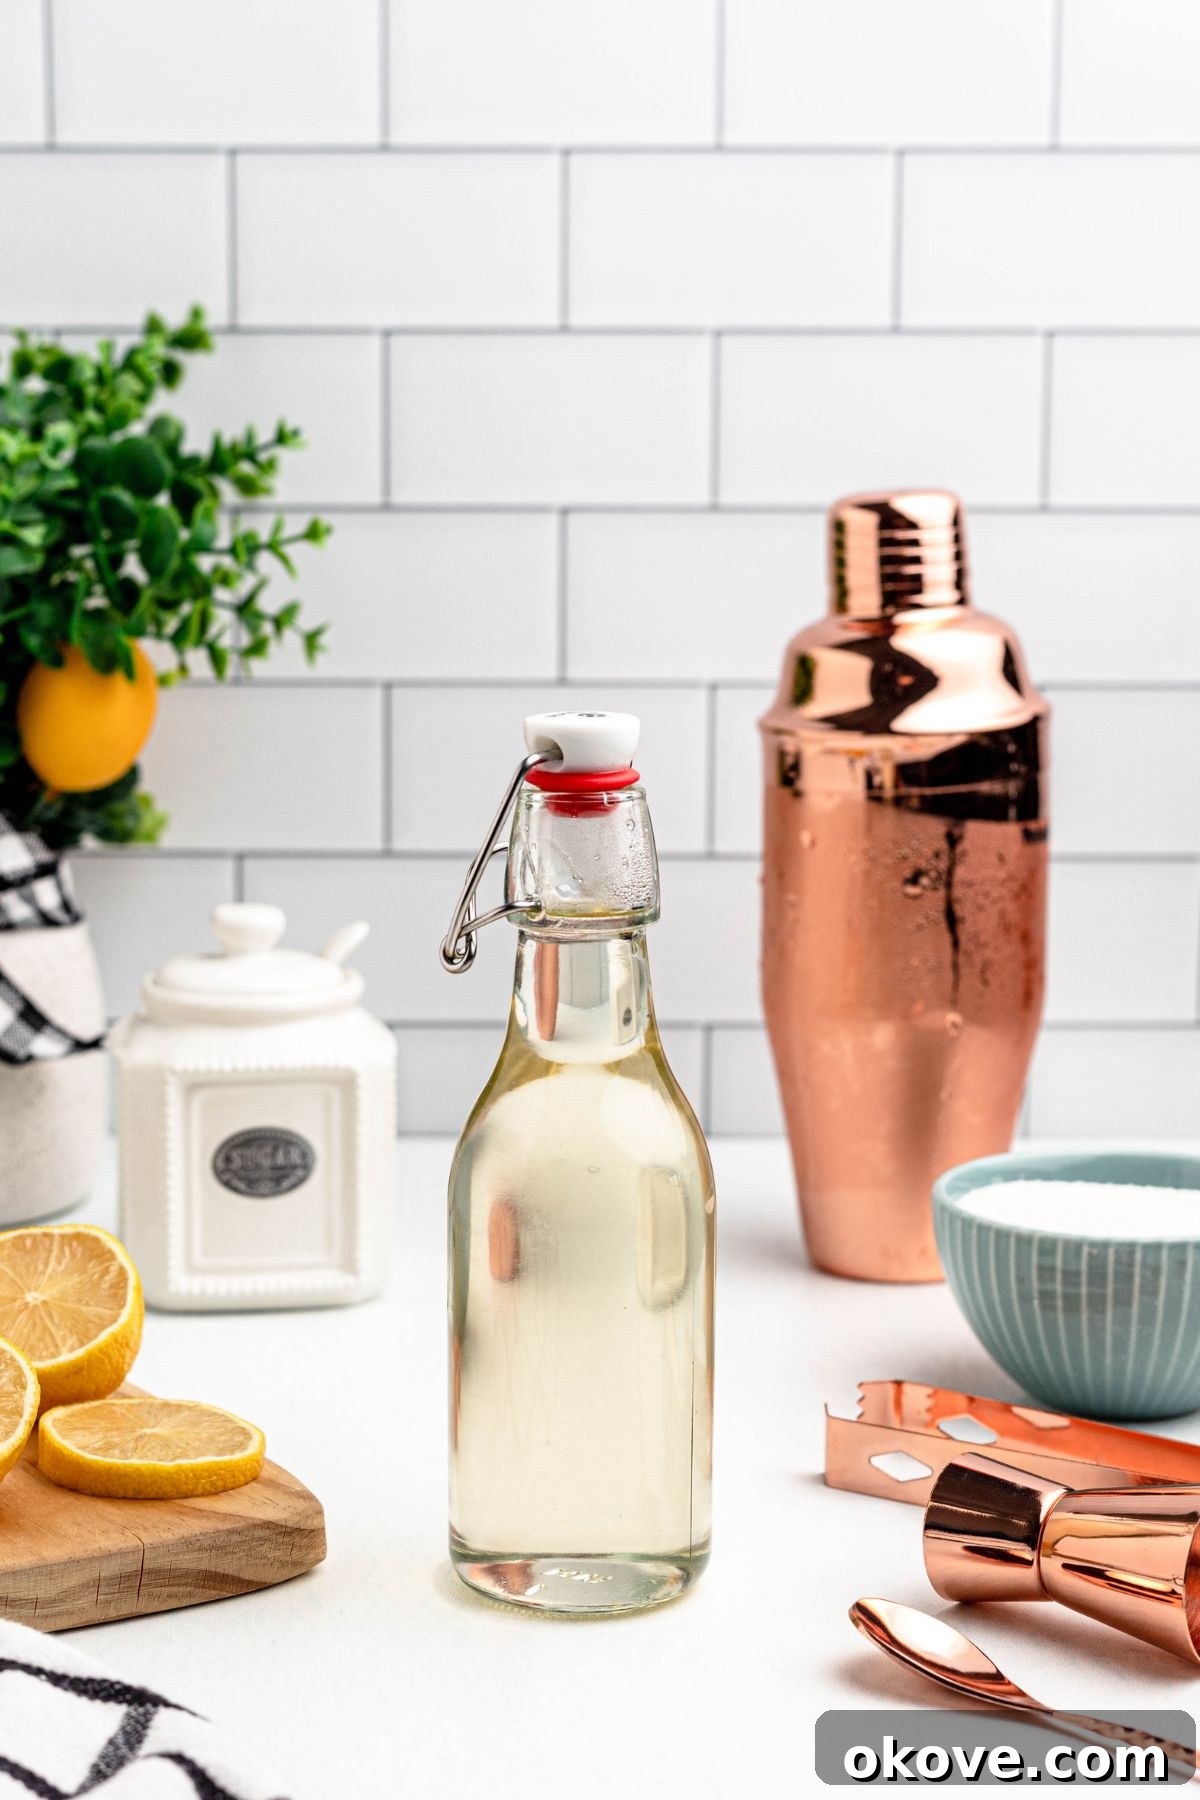
Before each use, it’s a good practice to quickly check your syrup. Look for any signs of cloudiness, which can indicate bacterial growth, or visible mold. If you detect either, or if the syrup develops an off-smell, it’s safer to discard it and make a fresh batch. Keeping your utensils clean when pouring or measuring will also help prevent contamination.
Frequently Asked Questions About Simple Syrup
What is simple syrup made of?
Simple syrup is a basic liquid sweetener made from just two ingredients: plain granulated sugar and water, gently heated together until the sugar dissolves completely.
Do I need to boil simple syrup?
No, boiling is not necessary and generally not recommended. Gentle heat is sufficient to dissolve the sugar crystals. Boiling can cause excessive evaporation, altering the sugar concentration, and may also introduce a slightly caramelized flavor if overheated, which isn’t desirable for a truly “simple” syrup.
Can simple syrup replace store-bought sweeteners?
Absolutely! Homemade simple syrup is an excellent, natural alternative to many retail liquid sweeteners. It allows you to control the ingredients, avoiding unwanted preservatives, artificial flavors, and high-fructose corn syrup, offering a purer, cleaner taste for your drinks and dishes.
How long does homemade simple syrup last?
When properly stored in a clean, airtight glass container in the refrigerator, homemade simple syrup typically maintains its quality for two to three weeks. Rich simple syrup (2:1 sugar to water) can last a bit longer due to its higher sugar content, potentially up to a month.
Can I make simple syrup without heating?
While possible, it’s less efficient. You can combine sugar and water and shake or stir vigorously until the sugar dissolves, but this takes much longer than applying gentle heat. Heat significantly speeds up the dissolving process, ensuring a smooth, clear syrup quickly.
What if my simple syrup turns cloudy?
Cloudiness in simple syrup is often a sign of bacterial growth or spoilage. This can happen if the syrup was not stored in a clean container, if dirty utensils were used, or if it was stored for too long. If your syrup becomes cloudy, it’s best to discard it and prepare a fresh batch.
More Simple Drink Recipes to Enjoy
Drinks
Simple Syrup Recipe
Drinks
Watermelon Lemonade
Drinks
Virgin Piña Colada Recipe
Drinks
Shirley Temple Drink
If you have tried this recipe or any others from Celebrating Simply, I’d love it if you would leave a ⭐ star rating and share your thoughts in the ✍️ comments below. Your feedback means a lot!
Simple Syrup Recipe
Servings: 12
Cook: 5 mins
Total: 7 mins
Share by Email
Print Recipe
Homemade simple syrup is a quick and easy sweetener for drinks and desserts. Great for coffee, tea, mocktails, and cocktails.
Equipment
- Saucepan
Ingredients
- 1 cup granulated sugar
- 1 cup water
Instructions
- Add the sugar and water to a small pot.
- Heat over medium heat and stir until the sugar dissolves. There is no need to boil the mixture.
- Remove from the heat once the syrup is clear and allow it to cool to room temperature.
- Transfer the syrup to a glass jar or glass container and store it in the fridge.
Notes
Skip the boil: Heating just enough to dissolve the sugar keeps the flavor clean and prevents unnecessary evaporation.
Use a glass jar: Storing simple syrup in a glass jar or mason jars helps preserve flavor and freshness.
Watch for mold: Always use clean utensils and discard the syrup if you notice cloudiness or mold.
Make it small batch: Smaller batches stay fresher and are easy to remake when needed.
Nutrition
Calories: 64 kcal | Carbohydrates: 17g | Fat: 0.1g | Sodium: 1mg | Potassium: 0.3mg | Sugar: 17g | Calcium: 1mg | Iron: 0.01mg
Nutrition information is automatically calculated, so should only be used as an approximation.
Additional Info
Course: Dessert, Drinks
Cuisine: American
Tried this recipe?
Mention @celebratingsimplyrecipes or tag #celebratingsimplyrecipes!