
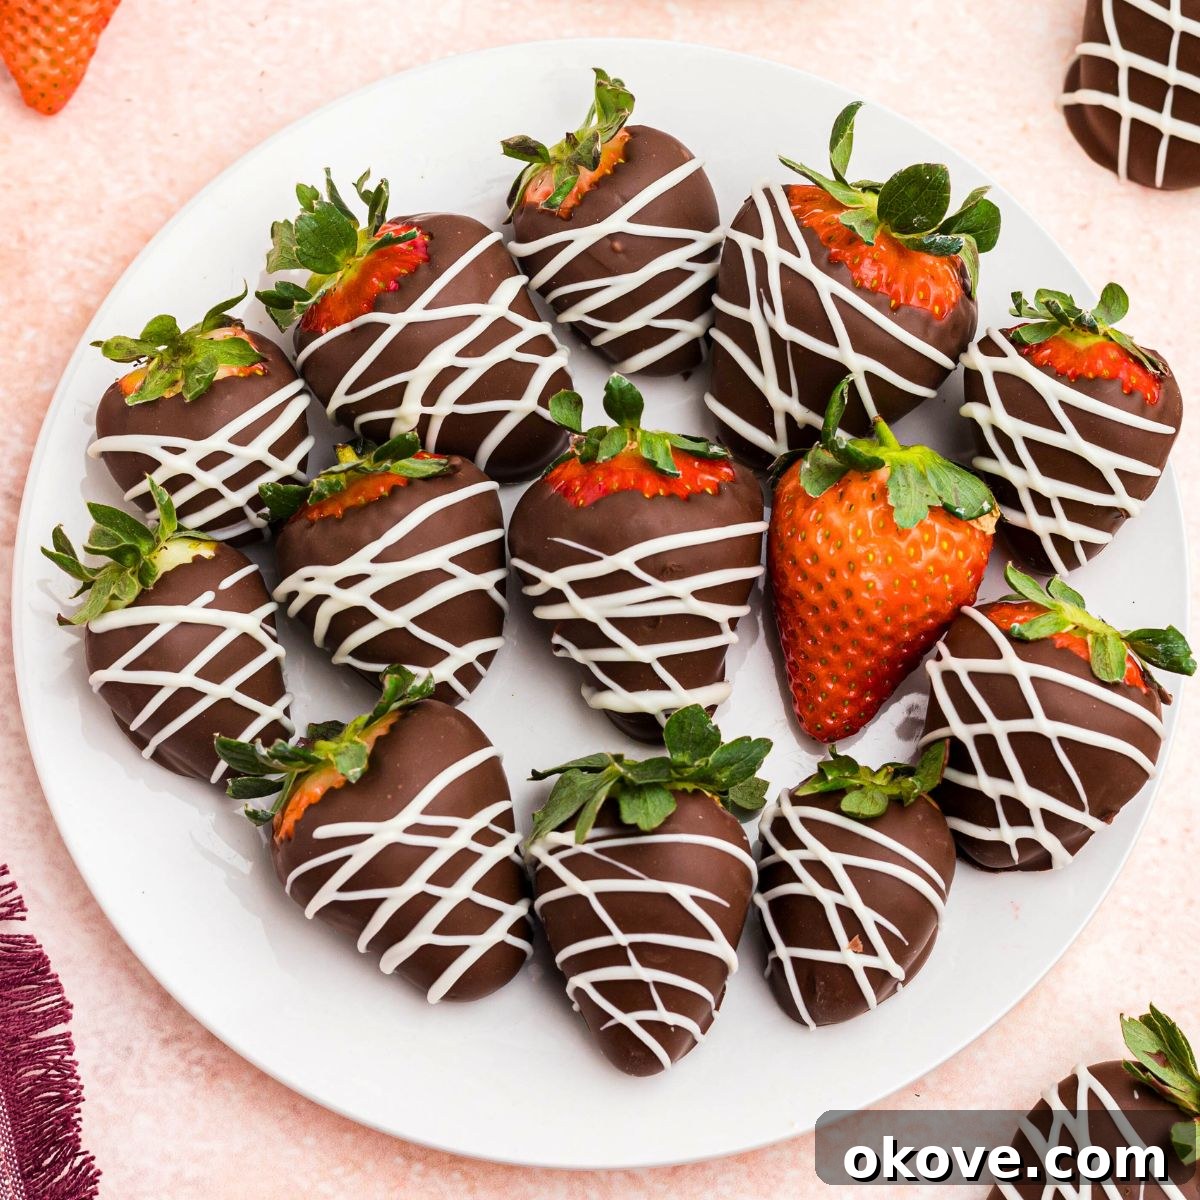
There are few desserts as elegantly simple yet utterly delightful as chocolate-covered strawberries. This classic treat brings together the luscious juiciness of fresh strawberries with the smooth, rich indulgence of premium chocolate. More than just a dessert, it’s an experience – a perfect blend of natural sweetness and decadent flavor that captivates taste buds and charms at any occasion. Having crafted these beautiful berries for countless celebrations, I can attest to their universal appeal and surprisingly straightforward preparation.
Whether you’re hosting an intimate dinner party, marking a special holiday like Valentine’s Day or Mother’s Day, or simply seeking a sophisticated yet easy sweet indulgence, homemade chocolate-covered strawberries stand out as the ideal choice. Their stunning appearance and irresistible taste make them a guaranteed crowd-pleaser, transforming ordinary moments into extraordinary memories.
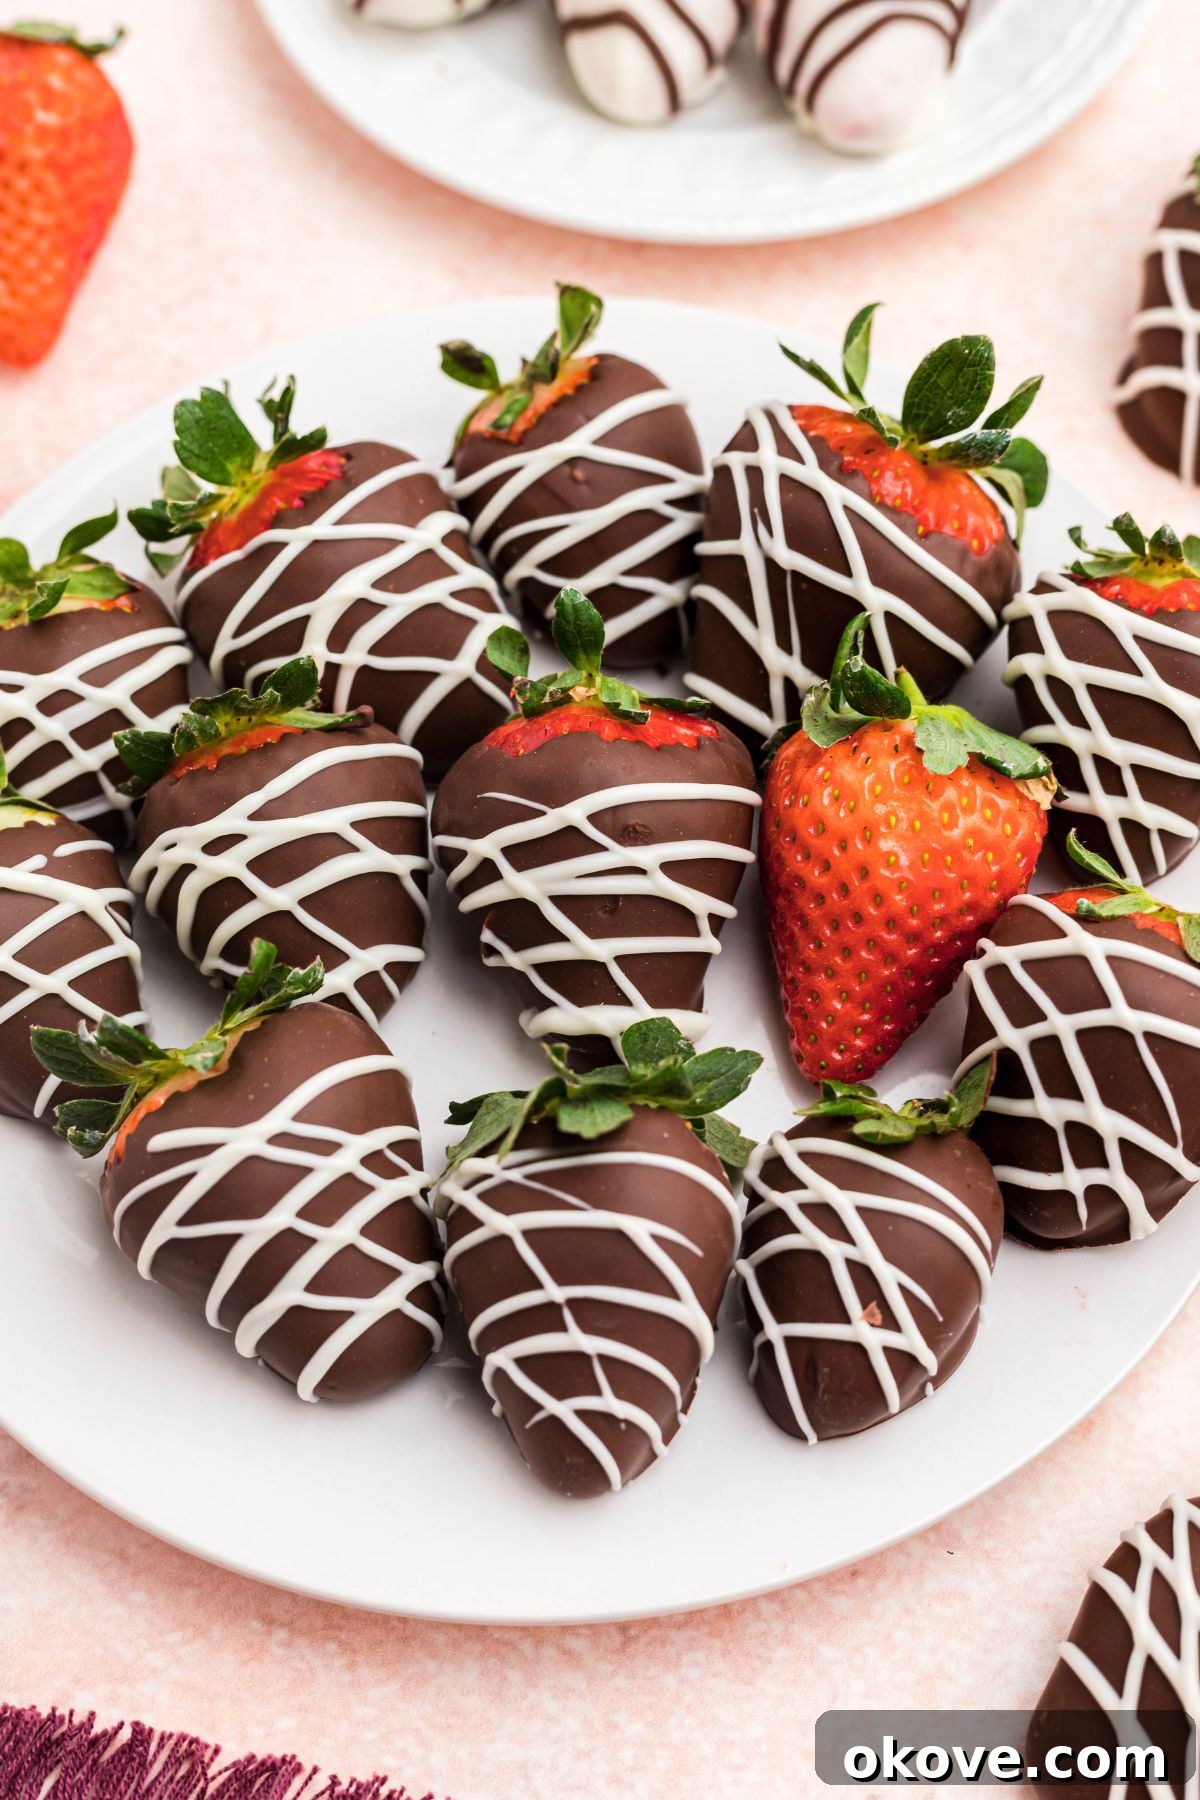
The Ultimate Guide to Easy Homemade Chocolate Covered Strawberries
This recipe is my go-to for creating elegant desserts with minimal fuss but maximum impact. You don’t need to be a gourmet chef to whip up a batch of these exquisite treats. With just a handful of quality ingredients and a few simple steps, you can create show-stopping chocolate-dipped strawberries that taste as incredible as they look. The beauty lies in their versatility; they can be effortlessly customized with various toppings and chocolate types to perfectly match any event, color scheme, or personal preference. Imagine double-dipping them in contrasting chocolates for a stylish tuxedo effect or adding a splash of colorful sprinkles for a festive vibe. These berries are not just for romantic holidays; they are ideal for birthdays, anniversaries, graduations, or as a thoughtful homemade gift. Guests invariably delight in discovering a platter of these beautiful confections!
If you have a penchant for sweet, festive treats, be sure to also explore our Valentine’s Day Pancakes for a delightful breakfast or brunch, and these charming Pink Cupcakes for another visually appealing dessert option.
Why Make Your Own Chocolate Covered Strawberries?
While store-bought chocolate-covered strawberries are readily available, making them at home offers numerous advantages. Firstly, you have complete control over the quality of ingredients, from selecting the freshest, ripest strawberries to choosing your favorite premium chocolate. This ensures a superior taste and texture that mass-produced versions often lack. Secondly, homemade berries are significantly more cost-effective, especially when preparing for a larger gathering. Finally, there’s immense satisfaction in crafting these beautiful desserts yourself, allowing for endless customization and a personal touch that makes them truly special for any recipient or occasion.
Selecting the Perfect Strawberries
The foundation of an exceptional chocolate-covered strawberry lies in the strawberry itself. Look for berries that are bright red, firm, and plump, indicating peak ripeness and sweetness. Ensure their green caps are vibrant and attached, as these provide a natural handle for dipping. While size can vary, larger strawberries offer more surface area for chocolate and make a more substantial treat. Always aim for strawberries that are at room temperature before dipping, as cold berries can cause the chocolate to set too quickly and unevenly, or even crack.
Choosing the Right Chocolate for Dipping
The type and quality of chocolate you use will significantly impact the final taste and appearance of your dipped strawberries. High-quality chocolate melts more smoothly and provides a superior flavor. Consider these options:
- Milk Chocolate: A classic choice, offering a sweet, creamy flavor that complements strawberries beautifully.
- Dark Chocolate: For those who prefer a less sweet, more intense chocolate flavor, dark chocolate provides a wonderful contrast to the strawberry’s natural sugars.
- White Chocolate: A delightful and versatile option, perfect for creating two-tone designs or as a base for food coloring (using oil-based colors).
- Semi-Sweet Chocolate: A popular middle-ground, offering a balanced sweetness that appeals to many.
- Candy Melts or Almond Bark: These are specially formulated to melt smoothly and set quickly with a shiny finish, making them incredibly easy to work with, especially for beginners. They often come in various colors, eliminating the need for food coloring.
Regardless of your choice, ensure it’s a good quality chocolate designed for melting or baking. A small amount of coconut oil or vegetable shortening (about 1 teaspoon per cup of chocolate) can be added to chocolate chips or baking bars to help achieve a smoother, more fluid consistency for dipping.
Ingredients You Will Need
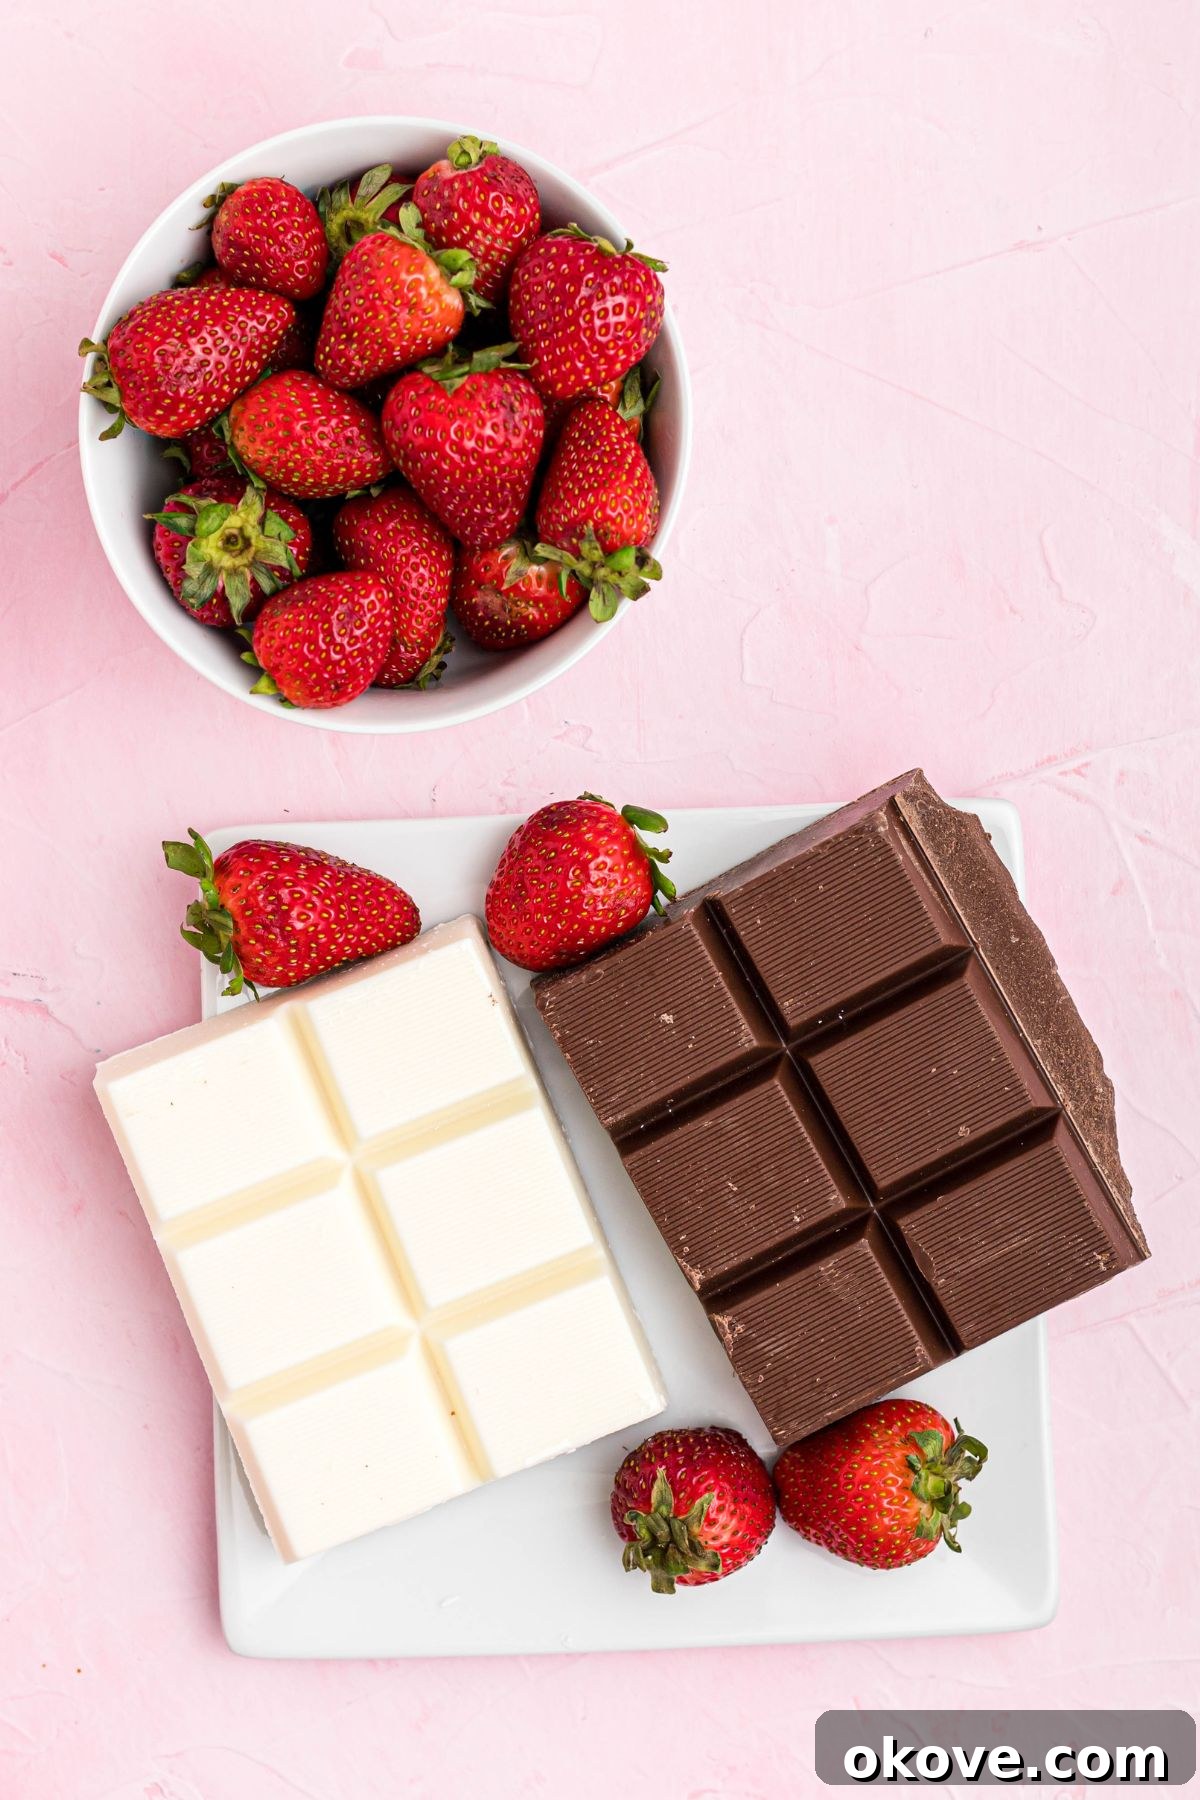
Gathering your ingredients is the first step to creating these delightful treats:
- Fresh Strawberries: One pint of ripe, firm, room-temperature strawberries with green leaves intact. This quantity typically yields 12-16 dipped strawberries, depending on size.
- Melting Chocolate: Approximately 12 ounces of high-quality milk chocolate, dark chocolate, white chocolate, almond bark blocks, or candy melts. Choose your favorite type for the best results.
Optional Toppings and Decorations:
Elevate your chocolate-covered strawberries with these exciting additions:
- Sprinkles: A classic choice for adding color and fun.
- Crushed Cookies: Oreos, graham crackers, or shortbread for added texture and flavor.
- Chopped Nuts: Pecans, peanuts, pistachios, almonds, or hazelnuts provide a delightful crunch.
- Mini Chocolate Chips: For an extra layer of chocolatey goodness.
- Shredded Coconut: Sweetened or unsweetened for a tropical twist.
- Candy Drizzles: Contrasting melted chocolate or colored candy melts drizzled over the set base coat.
- Edible Glitter or Dust: For an extra touch of glamour.
How to Make Chocolate Covered Strawberries: A Step-by-Step Guide
Creating these beautiful desserts is an enjoyable and straightforward process. Follow these steps for perfect results every time:
Step 1: Prepare the Strawberries
Begin by gently rinsing your fresh strawberries under cool running water. It’s crucial to then dry them completely. Use paper towels to thoroughly blot each berry, ensuring there is absolutely no moisture remaining on their surface or within their caps. Even a single drop of water can cause the melted chocolate to seize and become grainy, making it unusable for dipping. For best results, allow them to air dry on a clean paper towel for a few minutes after blotting to be absolutely sure they are dry.
Step 2: Melt the Chocolate
Place your chosen chocolate (milk, dark, white, or candy melts) into a microwave-safe bowl. Heat the chocolate in short bursts, typically 15 to 30-second intervals, stirring thoroughly after each interval. This prevents the chocolate from burning and ensures even melting. Continue this process until the chocolate is smooth, creamy, and completely melted, with no lumps. Alternatively, you can use a double boiler method for a more controlled melting process, stirring constantly until smooth. The chocolate should be warm enough to be fluid but not excessively hot.
Step 3: Dip the Strawberries
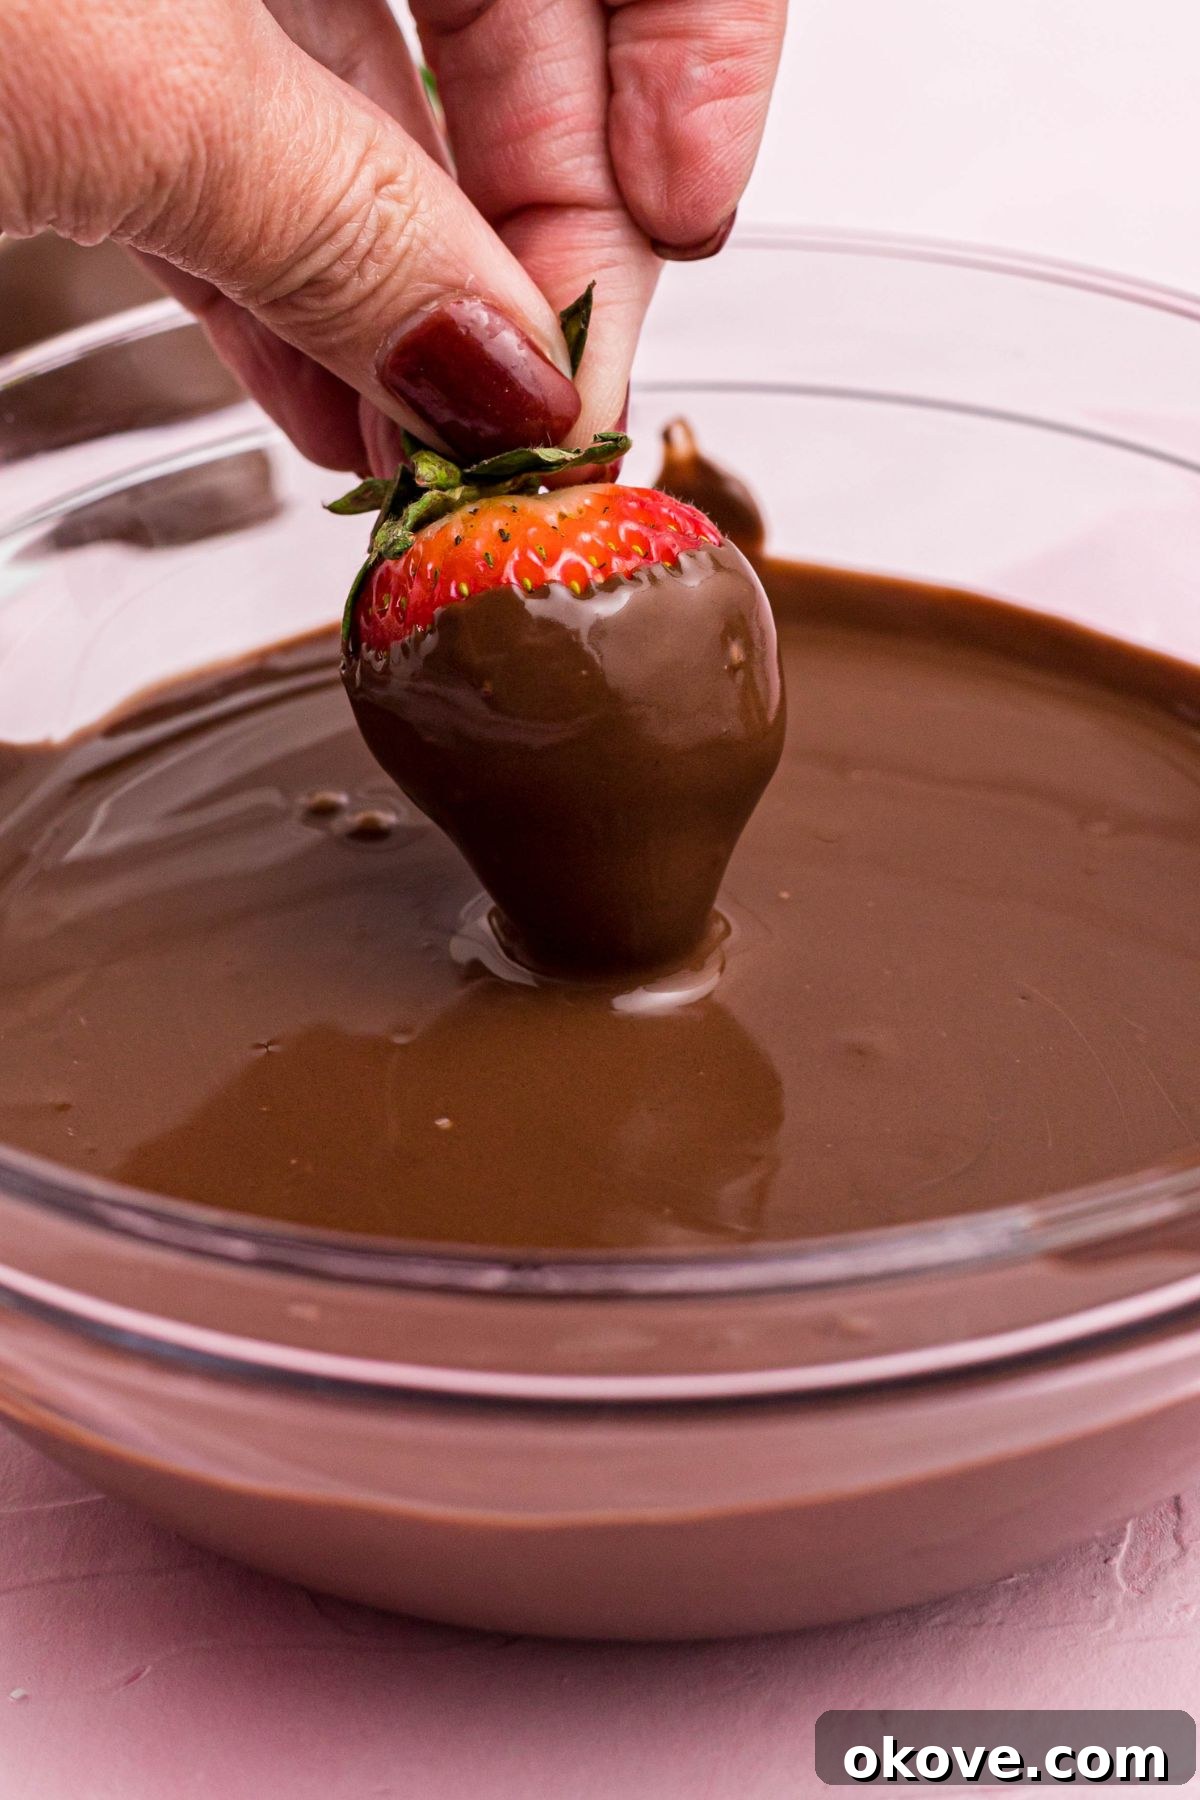
Once your chocolate is perfectly melted and your strawberries are bone-dry, it’s time to dip! Hold each strawberry by its green leaves (or insert a wooden skewer into the top if the stem is fragile). Submerge the berry into the melted chocolate, rotating it gently to coat about two-thirds to three-quarters of the strawberry. Lift the strawberry out and allow any excess chocolate to drip back into the bowl. You can gently tap the stem against the edge of the bowl or lightly shake it to remove drips and ensure a smooth, even coating. Place the dipped strawberries onto a baking sheet that has been lined with parchment paper or wax paper. This prevents sticking and makes for easy cleanup.
Step 4: Add Toppings (If Desired)
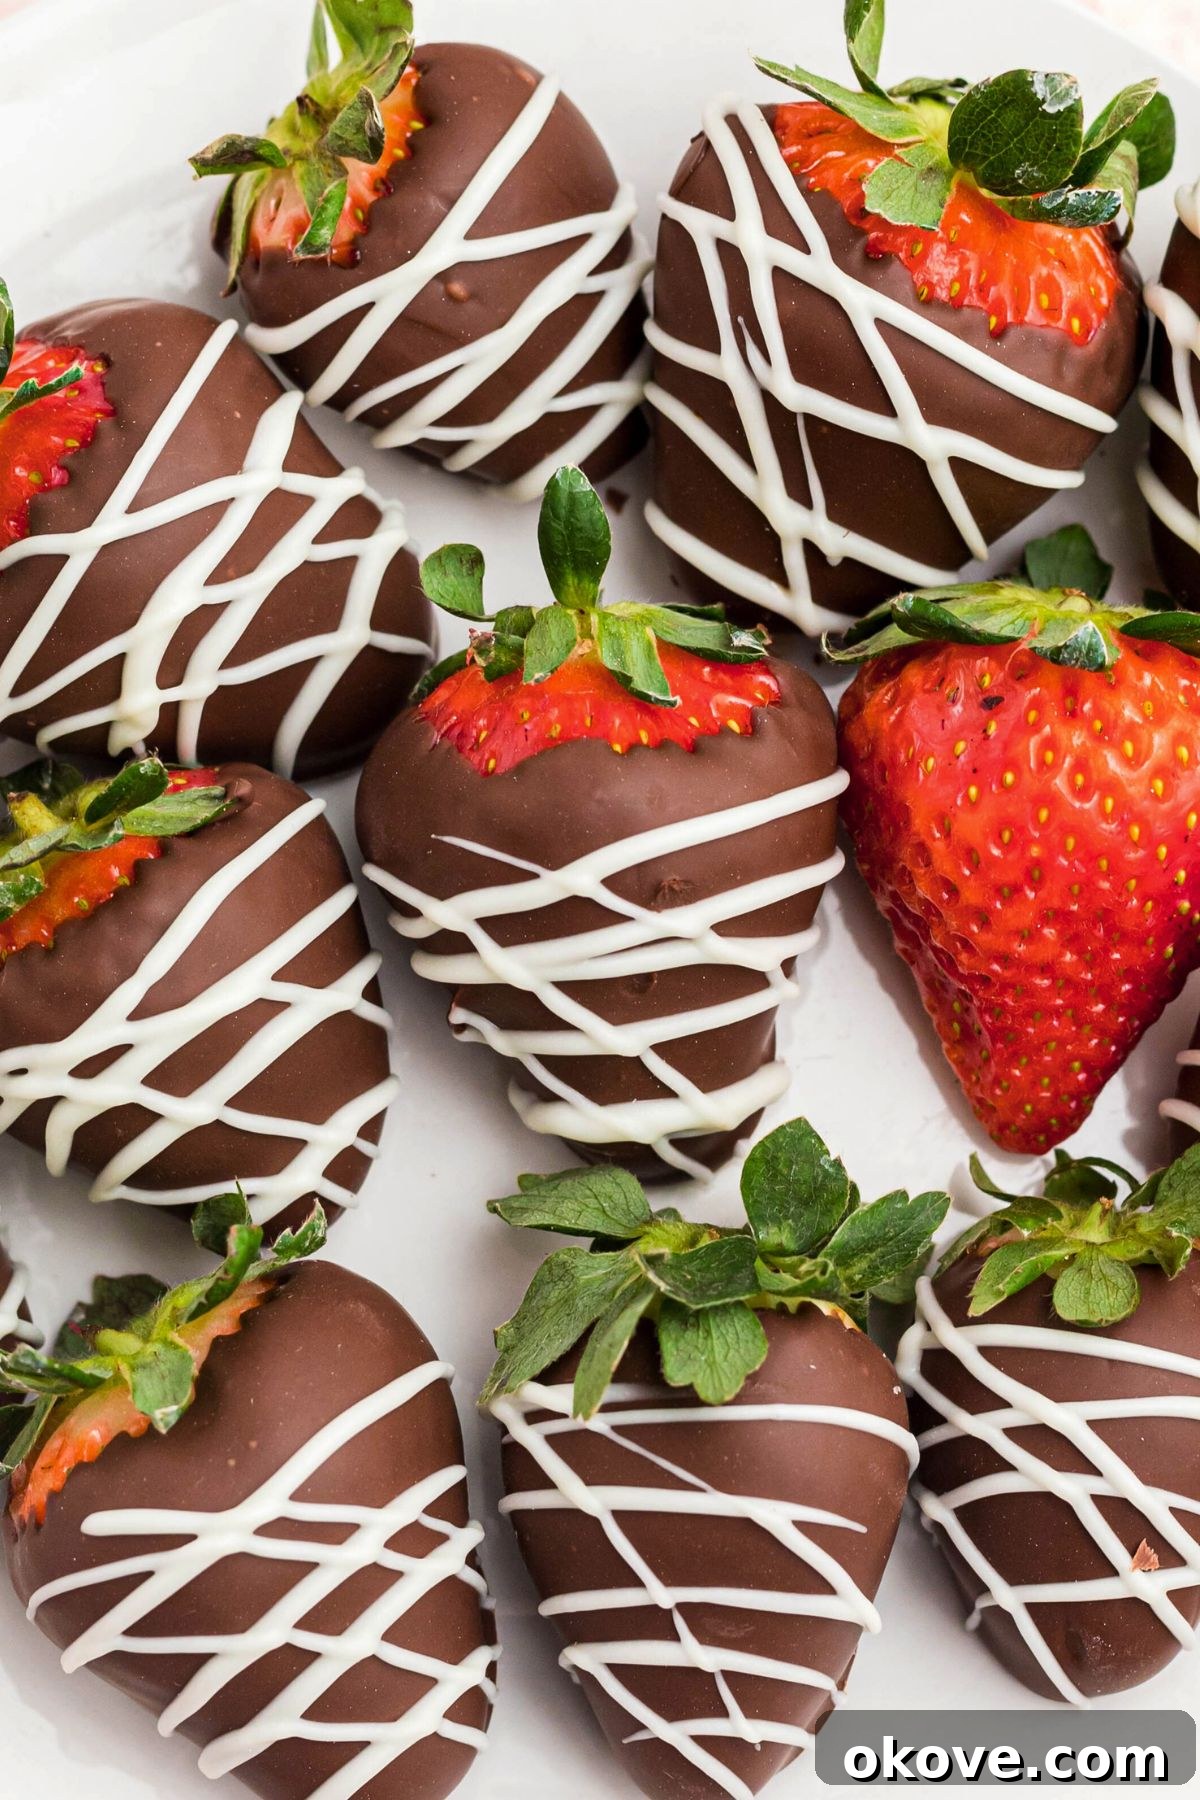
If you plan to add sprinkles, chopped nuts, or crushed cookies, do so immediately after dipping each strawberry, while the chocolate is still wet and tacky. This ensures the toppings adhere securely. If you intend to drizzle contrasting chocolate or colored candy melts, wait until the first layer of chocolate has completely set and dried. This will create clean lines and prevent the colors from bleeding together.
Step 5: Allow the Chocolate to Set
Let the chocolate-covered strawberries set at room temperature for approximately 15 minutes to 1 hour, depending on the ambient temperature and chocolate type. For faster setting, especially on a warm day, you can carefully place the baking sheet into the refrigerator for 10-15 minutes. Be mindful not to leave them in the fridge for too long initially, as condensation can form.
Expert Tips for Flawless Dipped Strawberries
Achieving perfectly coated strawberries is simpler with a few insider tricks:
- Invest in Quality Chocolate: The better the chocolate, the smoother the melt and the finer the taste. Candy melts or almond bark are exceptionally easy to use for a consistently smooth, glossy finish that sets quickly. If using standard chocolate chips or baking bars, adding a teaspoon of coconut oil or vegetable shortening per cup of chocolate can improve its fluidity for dipping and make it set a bit faster. However, keep in mind that chocolate chips, even with an additive, sometimes take a little longer to fully harden compared to candy melts.
- Keep Strawberries Dry and at Room Temperature: This cannot be stressed enough. Moisture is the arch-nemesis of melted chocolate, causing it to seize and become grainy. Ensure your strawberries are completely dry before dipping. If you’ve stored them in the refrigerator, let them come to room temperature first; cold strawberries can cause the chocolate to harden too quickly, potentially leading to cracks or an uneven coating.
- Work Quickly with Toppings: If you’re adorning your strawberries with sprinkles, crushed nuts, or other solid toppings, apply them immediately after dipping while the chocolate is still wet and pliable. This ensures they adhere firmly to the berry. For chocolate drizzles, wait until the initial chocolate layer is completely firm to achieve clean, distinct lines.
- Maintain Chocolate Temperature: If your chocolate starts to thicken during dipping, return it to the microwave for a few seconds (5-10 seconds max) and stir until it reaches a fluid consistency again.
- Use a Deep, Narrow Bowl: A deep, narrow bowl helps ensure that the chocolate pool is deep enough to fully submerge the strawberries, minimizing waste.
Creative Variations & Decoration Ideas
The beauty of chocolate-covered strawberries lies in their endless customization potential. Get creative with these ideas:
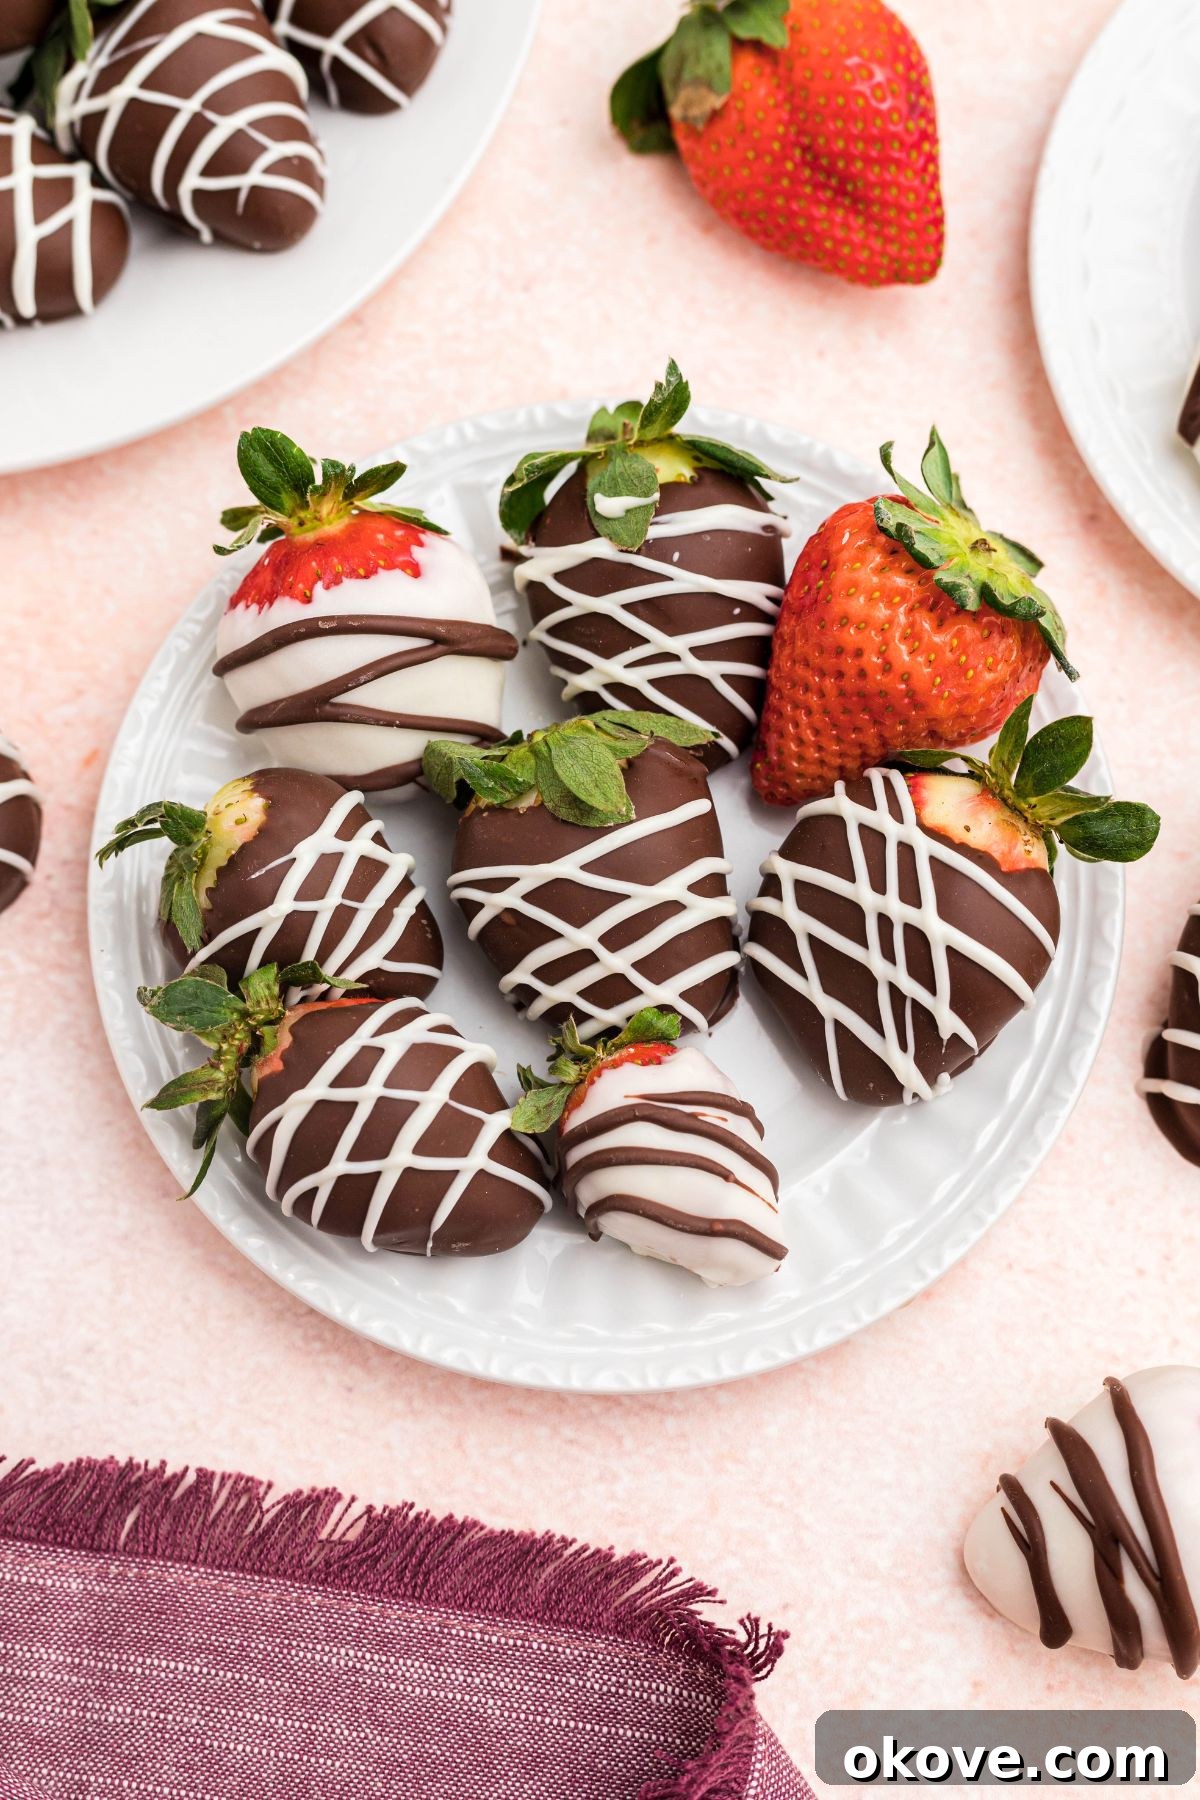
- Two-Tone Designs: Achieve an elegant look by dipping half of the strawberry in one type of chocolate (e.g., dark chocolate) and, once set, dipping the other half in a contrasting chocolate (e.g., white chocolate). For a classic “tuxedo” design, dip in dark chocolate, let set, then drizzle white chocolate in a V-shape, and add a small chocolate “button.”
- Holiday Themes: Tailor your decorations to any season or celebration. Use red and pink sprinkles or colored candy melts for Valentine’s Day, green and red for Christmas, pastels for Easter, or school colors for graduation parties. The possibilities are truly limitless!
- Zigzag Drizzle: Once the main chocolate coat is set, melt a contrasting chocolate (or candy melt) and drizzle it in a zigzag pattern across the berries using a spoon or a piping bag with a very small hole.
- Stripes: For neat stripes, let the initial chocolate set. Then, melt a contrasting chocolate, load it into a piping bag with a small round tip, and draw fine parallel lines across the berries.
- Coconut Snow: For a delicate look, gently roll a freshly dipped (and still wet) strawberry in fine shredded coconut.
Troubleshooting Common Issues
Even with simple recipes, sometimes things don’t go exactly as planned. Here are solutions to common chocolate-dipping dilemmas:
- Chocolate Seizes (becomes thick and clumpy): This almost always happens when moisture (even a tiny drop of water or steam) gets into melted chocolate. Unfortunately, seized chocolate is difficult to fully recover. To prevent this, ensure all your equipment is completely dry, and the strawberries are perfectly blotted. If it happens, you might try stirring in a teaspoon of vegetable oil or shortening at a time to see if it becomes workable again, though the texture might be compromised.
- Chocolate is Too Thick for Dipping: If your chocolate isn’t flowing smoothly, it might be slightly too cool or simply a thick consistency. Add 1/2 teaspoon of coconut oil or vegetable shortening (not water!) at a time, stirring well, until it reaches a desirable dipping consistency.
- Chocolate is Too Thin: This is less common but can happen if the chocolate gets too hot or if too much thinning agent was added. If it’s too thin, let it cool slightly and stir. If still too thin, you can try adding a few more solid chocolate pieces and letting them melt into the mixture, or adding a tablespoon of cocoa powder (though this will affect flavor).
- Chocolate Not Setting: This usually means the chocolate wasn’t cooled enough or it’s a type of chocolate that takes longer to set. Ensure your room isn’t too warm. Placing them in the refrigerator for 10-15 minutes should help them firm up quickly. Avoid freezing, as this can cause condensation when they thaw.
- Strawberries “Sweating” or Weeping: This occurs due to temperature changes, typically when cold strawberries are brought to a warmer room, or when stored in a humid refrigerator. Ensure strawberries are at room temperature before dipping, and store them properly to minimize moisture.
Storage and Shelf Life
Chocolate-covered strawberries are undoubtedly best enjoyed fresh, ideally within a few hours of preparation for optimal taste and appearance. The juicy freshness of the strawberry is at its peak right after dipping.
If you need to store them, place the strawberries in a single layer in an airtight container. Lay a piece of parchment paper between layers if stacking is necessary, but avoid pressing down. Store them in the refrigerator for up to 2-3 days. Be aware that storing them in the refrigerator can cause the berries to “sweat” slightly due to condensation, which might make the chocolate appear dull or create small moisture beads. The berries themselves can also begin to soften or shrivel slightly after a day or two in the cold. For the freshest experience, plan to make them close to when you intend to serve them.
Serving Suggestions & Pairing Ideas
Chocolate-covered strawberries are incredibly versatile and can be served in many ways to elevate any occasion:
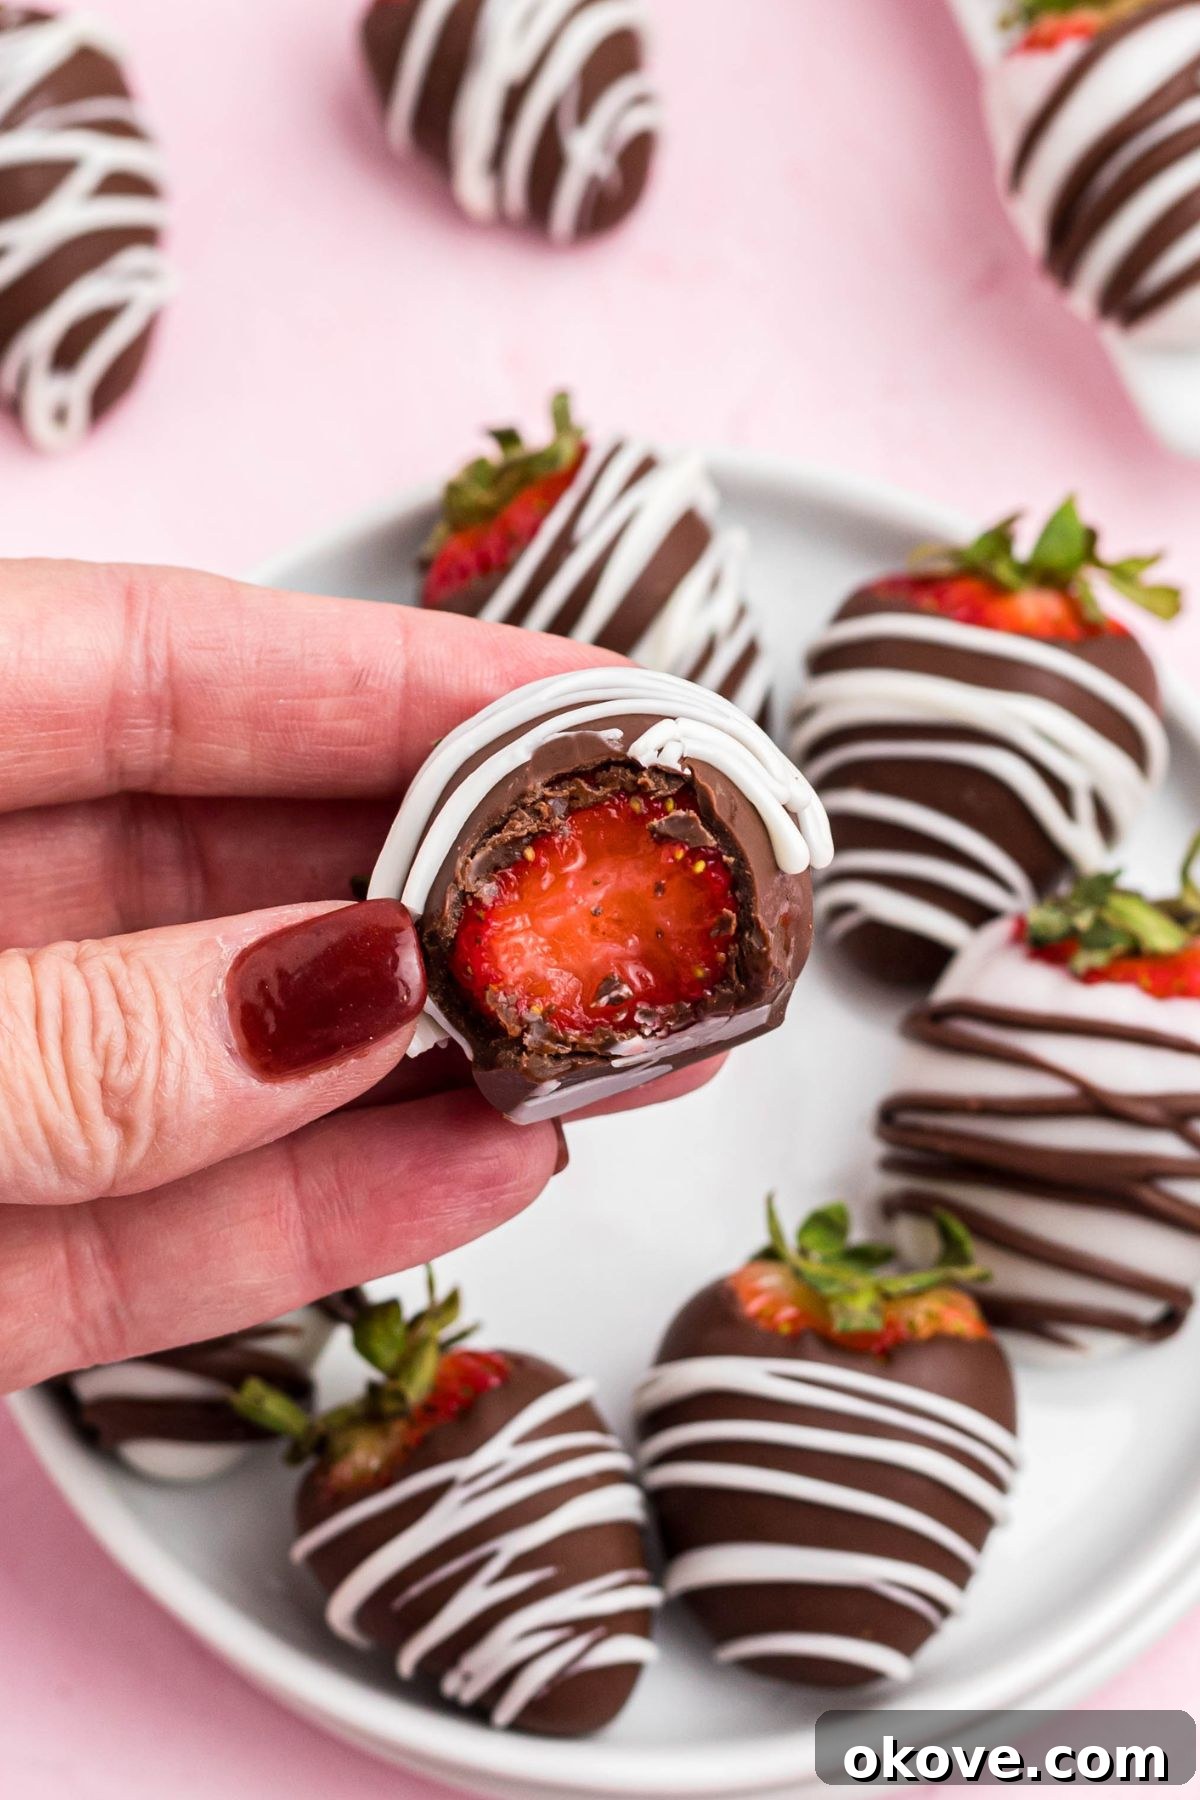
- Elegant Platter: Arrange them beautifully on a white platter, perhaps with a few fresh mint leaves or a dusting of powdered sugar for visual appeal.
- Dessert Bar: Feature them alongside other small desserts like mini cupcakes, macarons, or fruit tarts for a decadent spread.
- Romantic Treat: Serve them with a glass of champagne, sparkling wine, or prosecco for a sophisticated and romantic dessert.
- Coffee or Tea Companion: They pair wonderfully with a freshly brewed cup of coffee or a delicate tea for an afternoon treat.
- Gift Giving: Package them in a decorative box with tissue paper for a thoughtful and impressive homemade gift for friends, family, or colleagues.
- Fondue Alternative: Offer a variety of dipped strawberries alongside other fruits and sweets as a pre-made fondue experience.
Frequently Asked Questions
How long do chocolate strawberries last?
For the best quality, chocolate-covered strawberries are best consumed within a few hours of making them. If refrigeration is necessary, store them in an airtight container for up to 2-3 days. Be aware that prolonged refrigeration can cause the strawberries to “sweat” and the berries themselves may lose some firmness.
Can I use food coloring to change the chocolate color?
Yes, but it’s important to use oil-based food coloring or specialized candy coloring. Regular water-based food coloring will cause the chocolate to seize and become thick and unusable. For ease and best results, colored candy melts are often a simpler alternative if you desire vibrant colors.
More Delightful Dessert Recipes
If you’ve enjoyed making these easy chocolate-covered strawberries, you’ll love exploring more of our simple and delicious dessert recipes:
Cakes
Pink Cupcakes
Desserts
Hydrangea Cupcakes
Desserts
Homemade Vanilla Extract
Desserts
How to Make Chocolate Curls
Easy Chocolate Covered Strawberries Recipe

Juicy, creamy chocolate covered strawberries in a few easy steps, perfect for any sweet craving or celebration.
Recipe Details:
- By: Rebecca
- Servings: 4 (yields about 12-16 strawberries)
- Prep Time: 15 mins
- Drying Time: 15 mins
- Total Time: 30 mins
Equipment:
- Microwave safe bowl (or double boiler)
- Parchment Paper or Wax Paper
- Baking Sheet
- Paper Towels
Ingredients:
- 1 pint fresh strawberries
- 12 ounces melting chocolate (milk, dark, white chocolate, almond bark, or candy melts)
Optional: Add sprinkles, chopped nuts, or crushed cookies to dipped strawberry for extra decoration and variety.
Instructions:
- Rinse the strawberries in slightly cool water, then use a paper towel to dry them completely. Even a drop of moisture will ruin the chocolate, so make sure they are fully dried off.
- Melt the chocolate in a microwave-safe bowl or use a double boiler. If microwaving, heat in 15-second intervals, stirring in between, until the chocolate is smooth and creamy.
- Hold the strawberry by the green leaves and dip it into the melted chocolate. Gently tap or shake it so excess chocolate will drip back into the bowl. Place the dipped strawberries onto parchment paper until chocolate dries.
- Let the chocolate set at room temperature for about 15 minutes to 1 hour. If you’re in a hurry, pop them in the fridge to speed up the process.
Notes:
Add sprinkles immediately after dipping, while the chocolate is still wet. If you’re drizzling chocolate or candy melts, wait until the coating has dried completely.
Nutrition:
Nutrition information is automatically calculated, so should only be used as an approximation.
- Calories: 469 kcal
- Carbohydrates: 60 g
- Protein: 4 g
- Fat: 29 g
- Saturated Fat: 17 g
- Polyunsaturated Fat: 1 g
- Monounsaturated Fat: 10 g
- Sodium: 15 mg
- Potassium: 428 mg
- Fiber: 7 g
- Sugar: 50 g
- Vitamin A: 14 IU
- Vitamin C: 70 mg
- Calcium: 39 mg
- Iron: 3 mg
Additional Info:
- Course: Dessert
- Cuisine: American
Tried this recipe? Mention @celebratingsimplyrecipes or tag #celebratingsimplyrecipes!