
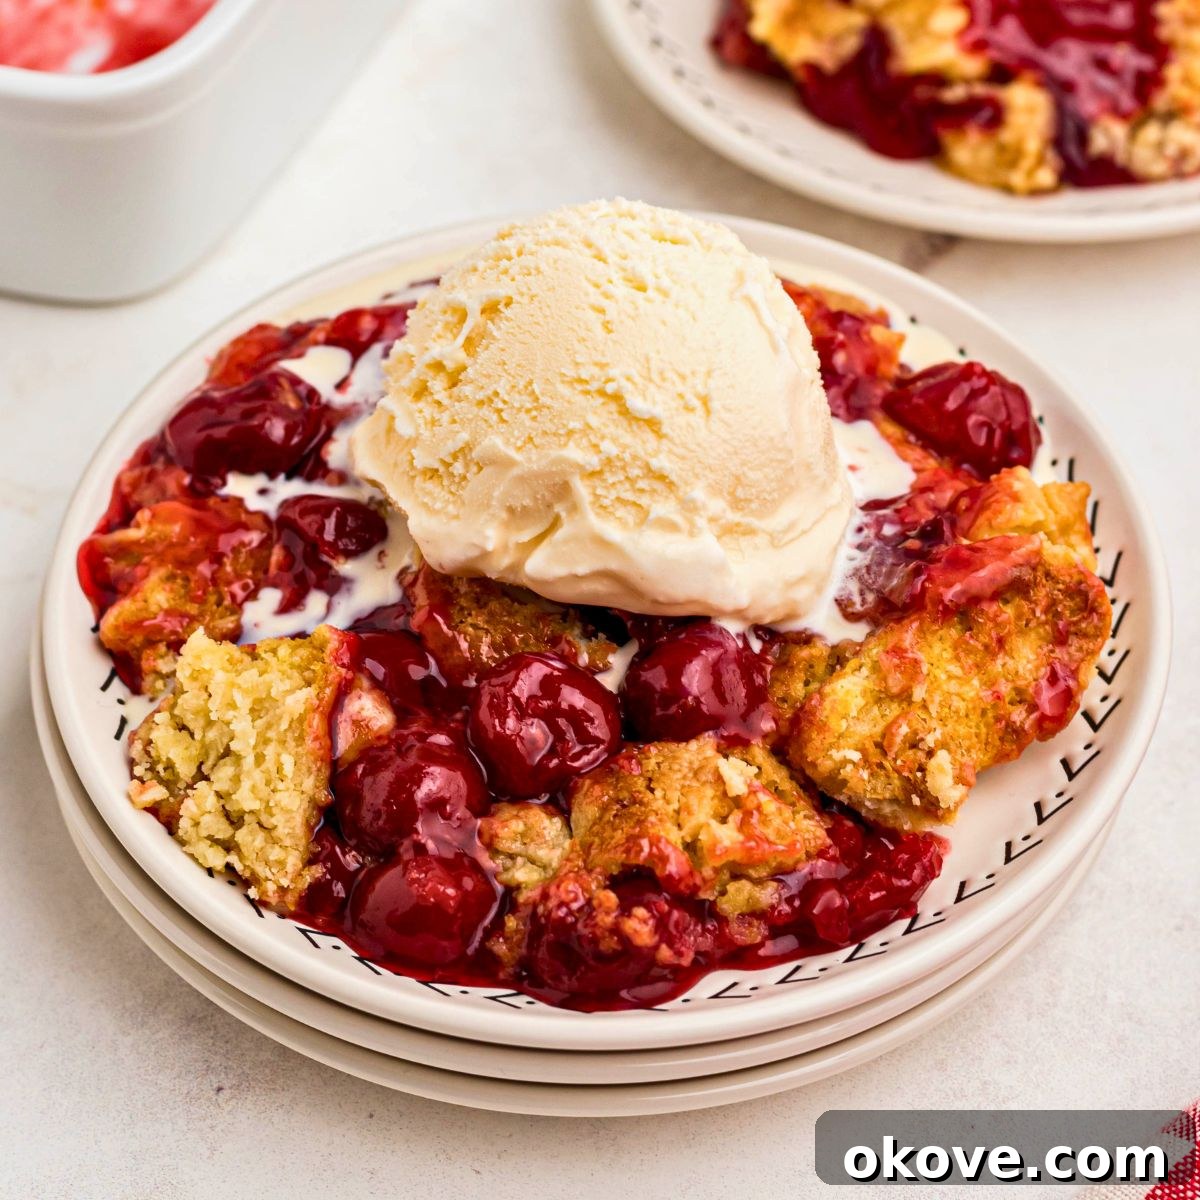
Effortless Cherry Dump Cake: The Ultimate Easy Dessert Recipe
Are you searching for a dessert that’s unbelievably simple, yet impresses every time? Look no further than this fantastic Cherry Dump Cake! It’s the quintessential easy dessert recipe, ideal for those spontaneous gatherings, busy holiday seasons, or simply when a craving for a sweet, comforting treat strikes. With just a handful of staple ingredients and minimal prep time, you can have a luscious, golden-crusted cake baking in your oven in mere minutes. Get ready to enjoy a dessert that tastes like a homemade cherry cobbler, but without any of the fuss!
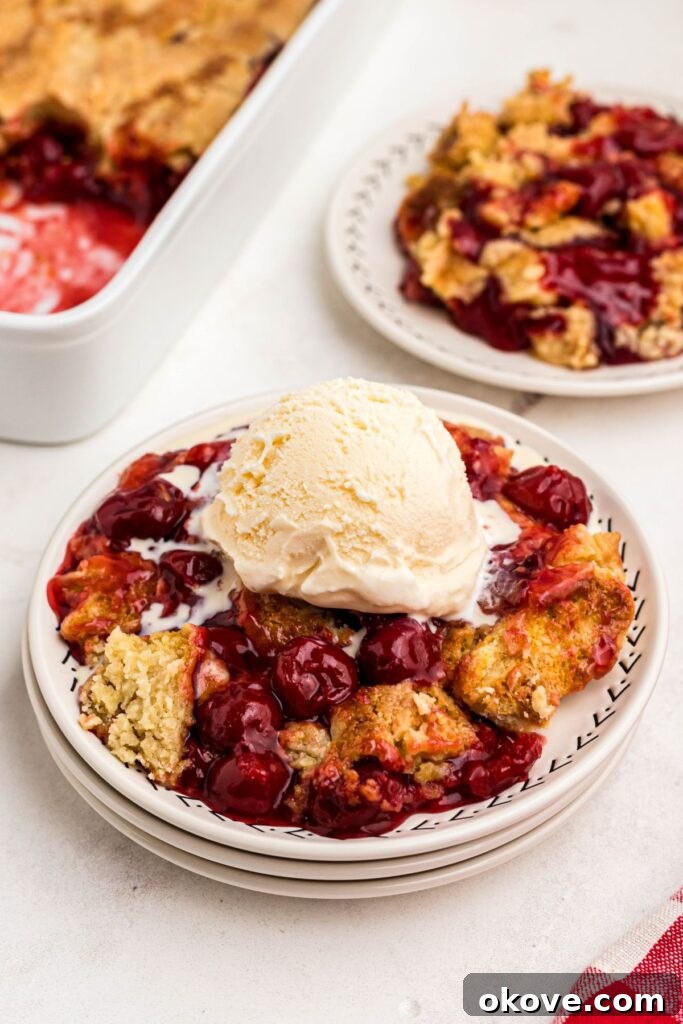
“This cherry dump cake is so incredibly easy to make! It’s my go-to for potlucks or whenever I need a delicious last-minute dessert that everyone adores.”
– Becky
Why This Cherry Dump Cake is a Must-Try
The beauty of a “dump” cake lies in its incredible simplicity. True to its name, this recipe requires no complicated mixing, no extensive stirring, and certainly no elaborate baking skills. You literally “dump” the ingredients in layers into your baking dish, and let the oven do the rest of the magic! The result is a delightful symphony of flavors and textures: sweet, tangy cherries bubbling beneath a moist cake layer, crowned with a crispy, buttery crust that will have everyone asking for seconds.
This cherry dessert is a game-changer for anyone who loves homemade treats but is short on time. I frequently prepare this dump cake in advance for holiday feasts or as a reliable contribution to potlucks. Its quick assembly and universally loved taste make it a consistent crowd-pleaser. Imagine the comforting taste of an old-fashioned cherry cobbler, but without the effort of making a pie crust from scratch – that’s precisely what this easy cherry dump cake delivers!
Perfect for Any Occasion
Whether it’s a casual weeknight dinner, a festive holiday celebration, a backyard BBQ, or a church potluck, this cherry dump cake fits right in. Its rustic charm and irresistible flavor profile make it versatile for all seasons. Serve it warm with a dollop of whipped cream, a scoop of vanilla ice cream, or even a drizzle of caramel sauce for an extra touch of indulgence. Its robust flavor stands up well to various toppings, making it easy to customize to your preference or the occasion.
If you appreciate recipes that are both simple and incredibly satisfying, be sure to explore some of my other minimal-effort, crowd-pleasing favorites:
- No-Bake Grasshopper Pie
- Slow Cooker Grape Jelly Meatballs
- Patriotic S’mores Dip
Key Ingredients for Your Cherry Dump Cake
Creating this spectacular cherry dump cake requires only a few accessible ingredients. The beauty is in how these simple components transform into a rich and flavorful dessert with minimal intervention.
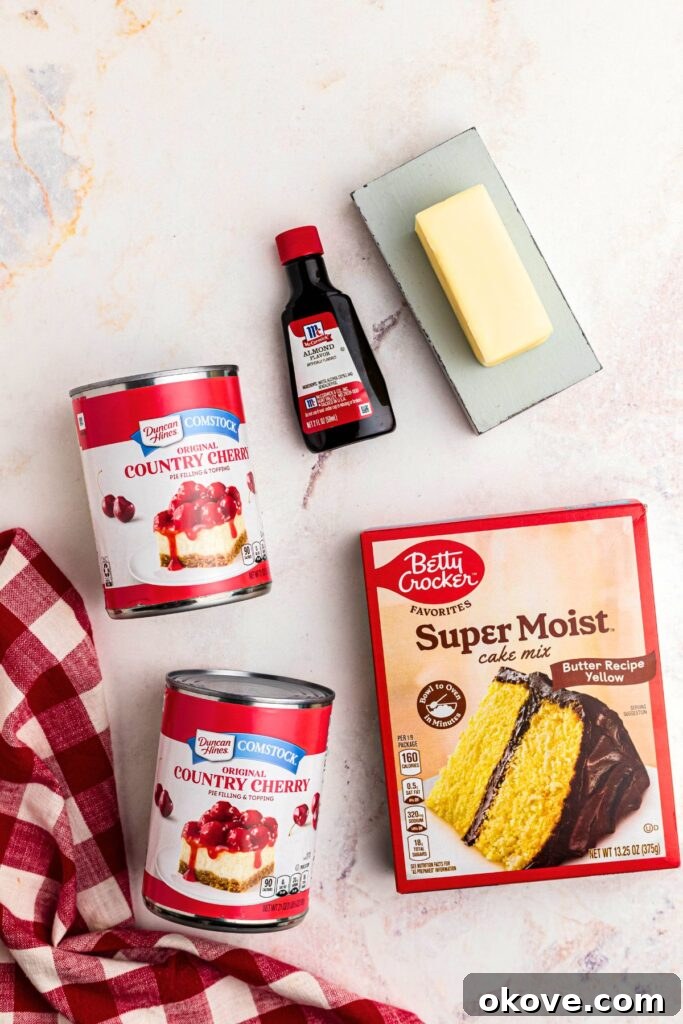
- Cherry Pie Filling: This forms the delicious, fruity base of your cake. Opt for a high-quality canned cherry pie filling for the best results. You’ll love how the sweet, tangy cherries burst with flavor in every bite.
- Yellow Dry Cake Mix: While yellow cake mix creates a wonderfully buttery and golden crust, feel free to experiment with other flavors like vanilla, white, or even butter pecan for a unique twist. The dry mix is key to absorbing the butter and cherry juices, forming the cake-like topping.
- Unsalted Butter: Melted butter is poured over the dry cake mix, creating the irresistible crispy, golden-brown crust. Using unsalted butter allows you to control the overall saltiness of the dessert.
- Almond Extract: This optional but highly recommended ingredient takes your cherry dump cake to the next level. A small amount of almond extract significantly enhances the natural cherry flavor, adding a gourmet touch that truly elevates the taste.
- Optional Servings: Whipped Cream or Vanilla Ice Cream: These classic toppings are perfect for serving, adding a cool, creamy contrast to the warm, fruity cake.
A complete list of specific quantities and detailed instructions is provided in the recipe card below.
Creative Variations to Explore
One of the best aspects of this easy cherry dump cake is its adaptability. Don’t hesitate to get creative and customize it to your taste or what you have on hand. Here are some fantastic variations to try:
- Explore Different Pie Fillings: Switch out the cherry for other fruit pie fillings. Blueberry, strawberry, peach, or apple pie filling all work wonderfully, offering a new flavor experience with the same effortless method. For a tropical twist, try pineapple pie filling!
- Add Crushed Pineapple: For a delightful cherry pineapple dump cake, layer 1–2 cups of well-drained crushed pineapple over the cherry filling before adding the cake mix. This adds extra moisture and a bright, tangy counterpoint.
- Swap the Cake Mix: Don’t limit yourself to yellow cake mix! Try white cake mix for a lighter flavor, red velvet for a festive twist, or even chocolate cake mix for a black forest-inspired treat. Each choice will create a distinctly different flavor profile.
- Introduce Some Crunch: For added texture and flavor, sprinkle chopped walnuts, pecans, or almonds evenly over the dry cake mix before drizzling with butter. The nuts will toast beautifully as the cake bakes.
- Mix in Extra Texture & Flavor: For a fun and flavorful twist, consider adding coconut flakes or mini chocolate chips on top of the dry cake mix before baking. These additions melt slightly and toast to perfection.
- Go Gluten-Free: Making this dessert gluten-free is incredibly simple. Just substitute your favorite gluten-free yellow or white cake mix, and follow the remaining steps as usual.
Mastering Your Cherry Dump Cake: Step-by-Step Guide
Making this dump cake is incredibly straightforward, truly living up to its name. Follow these simple steps for a perfectly baked, delicious dessert every time. Remember, the key is not to stir the layers!
-

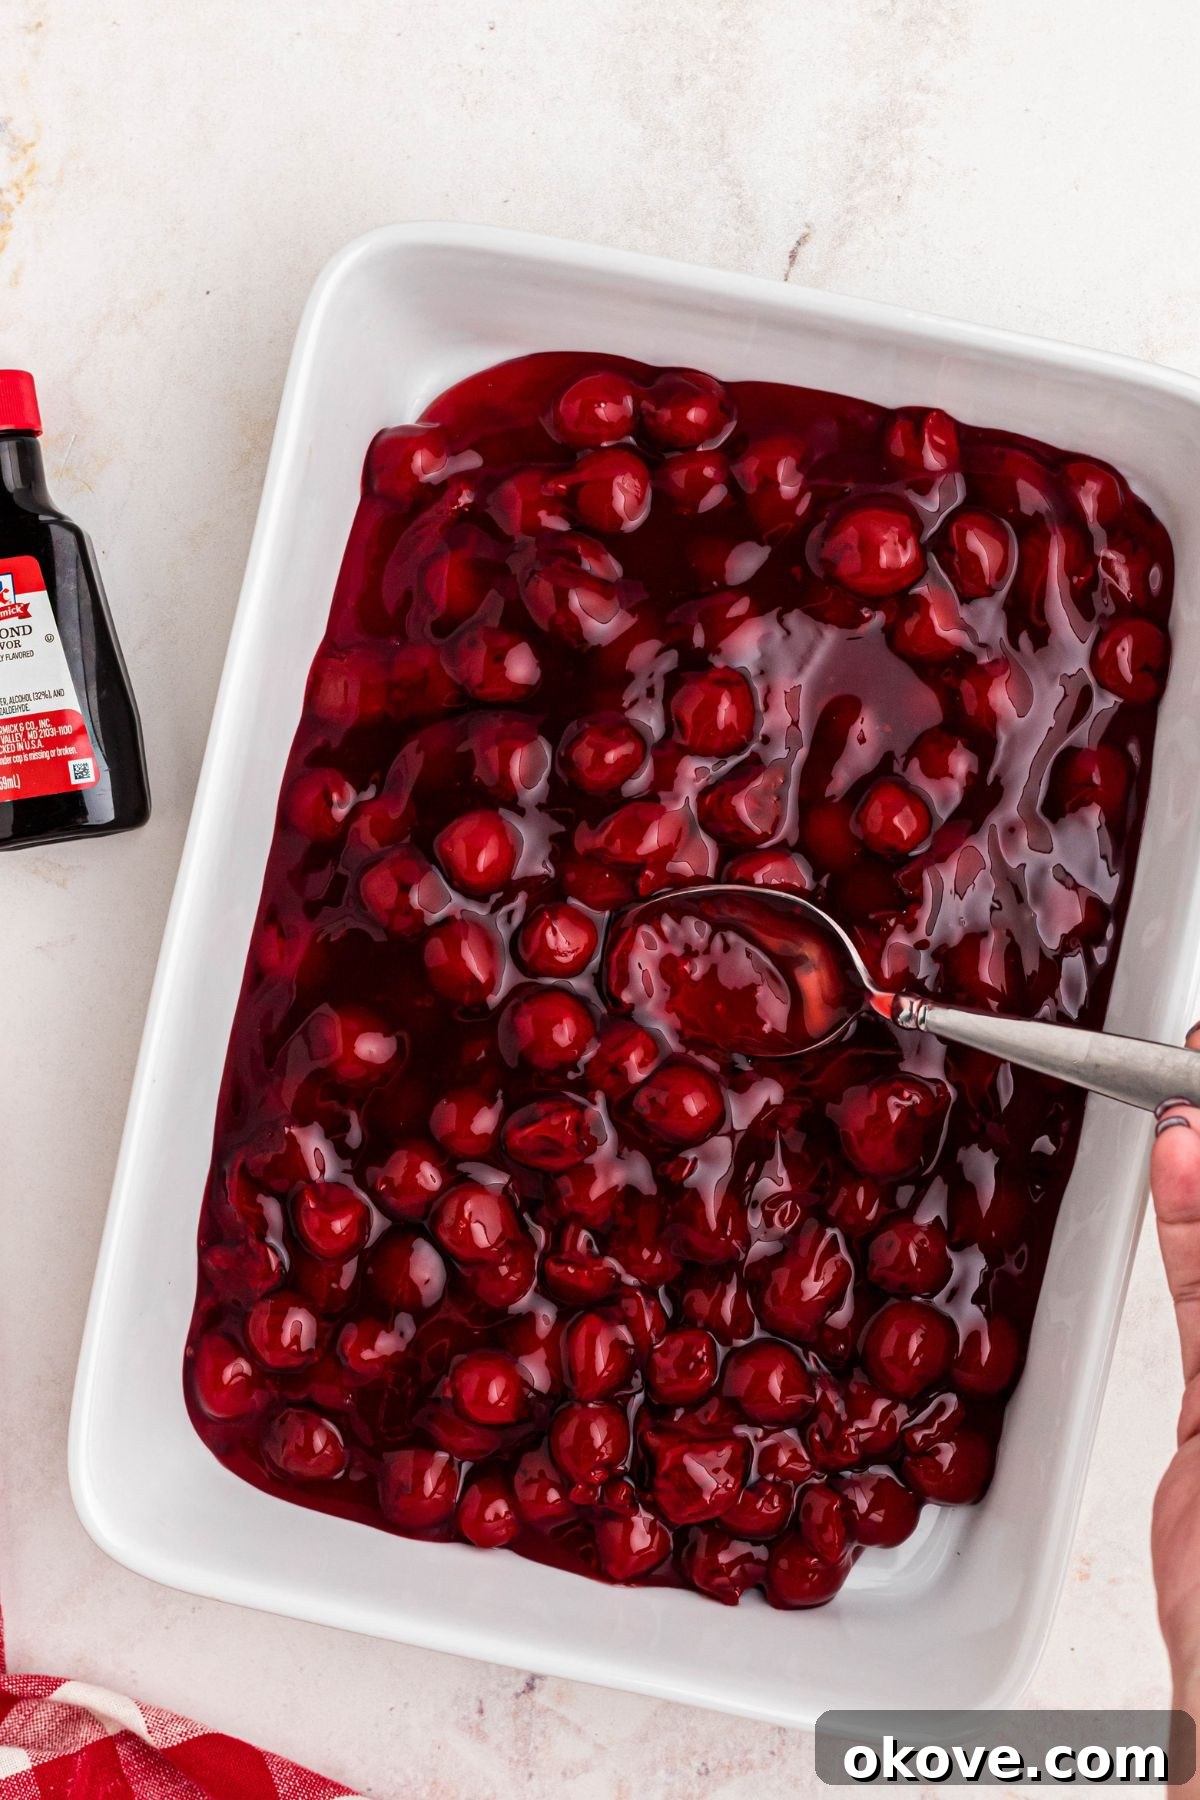
Begin by preheating your oven to 350 degrees F (175°C). While the oven heats up, lightly spray a 9×13 inch baking pan with nonstick cooking spray to prevent sticking and ensure easy cleanup. Next, pour both cans of cherry pie filling into the prepared dish. Add the teaspoon of almond extract, if using, and gently stir it into the cherry filling. Spread the cherry mixture evenly across the bottom of the baking dish to create a uniform layer.
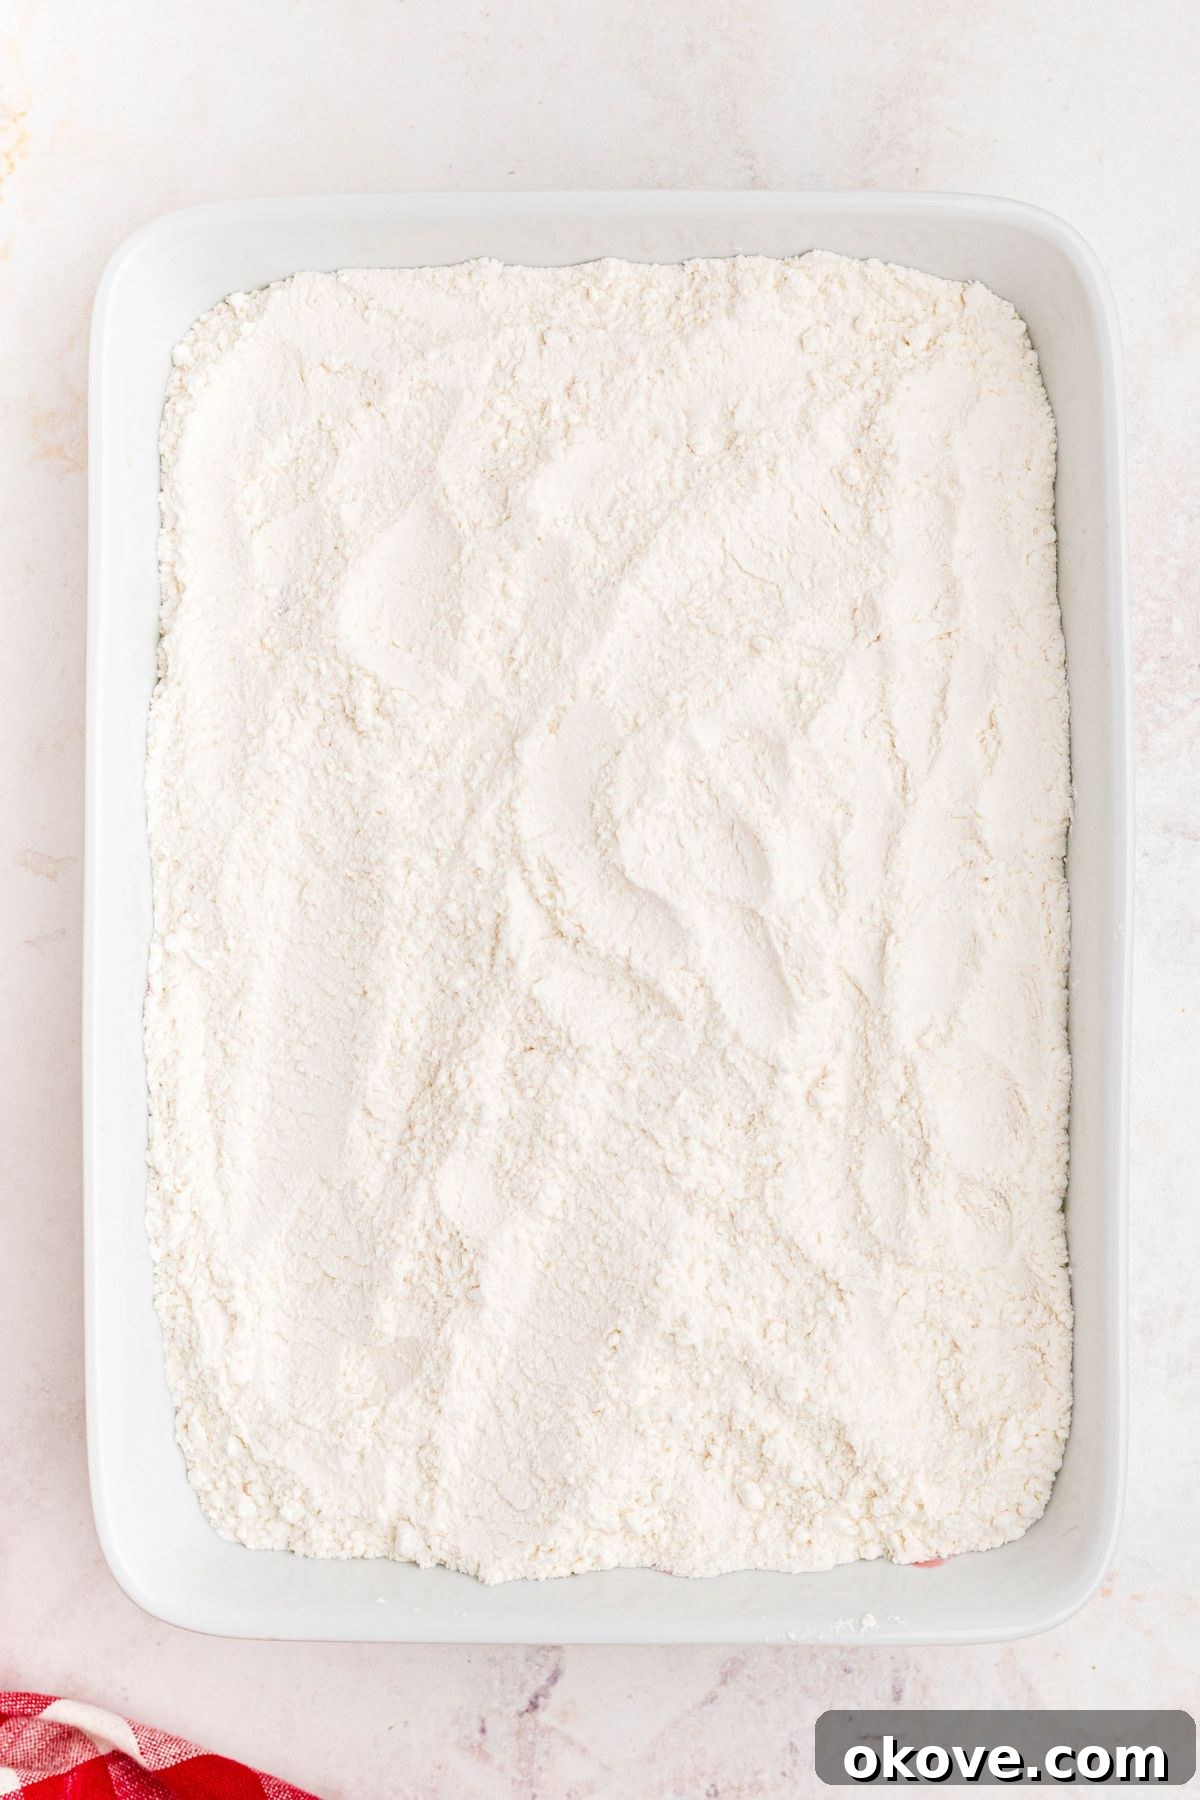
Once the cherry layer is ready, evenly sprinkle the entire box of dry yellow cake mix over the top of the cherries. Use a spoon or your hands to gently spread the cake mix across the top, ensuring all the cherries are completely covered. This dry layer will absorb the fruit juices and melted butter, transforming into a delicious cake-like topping.
-
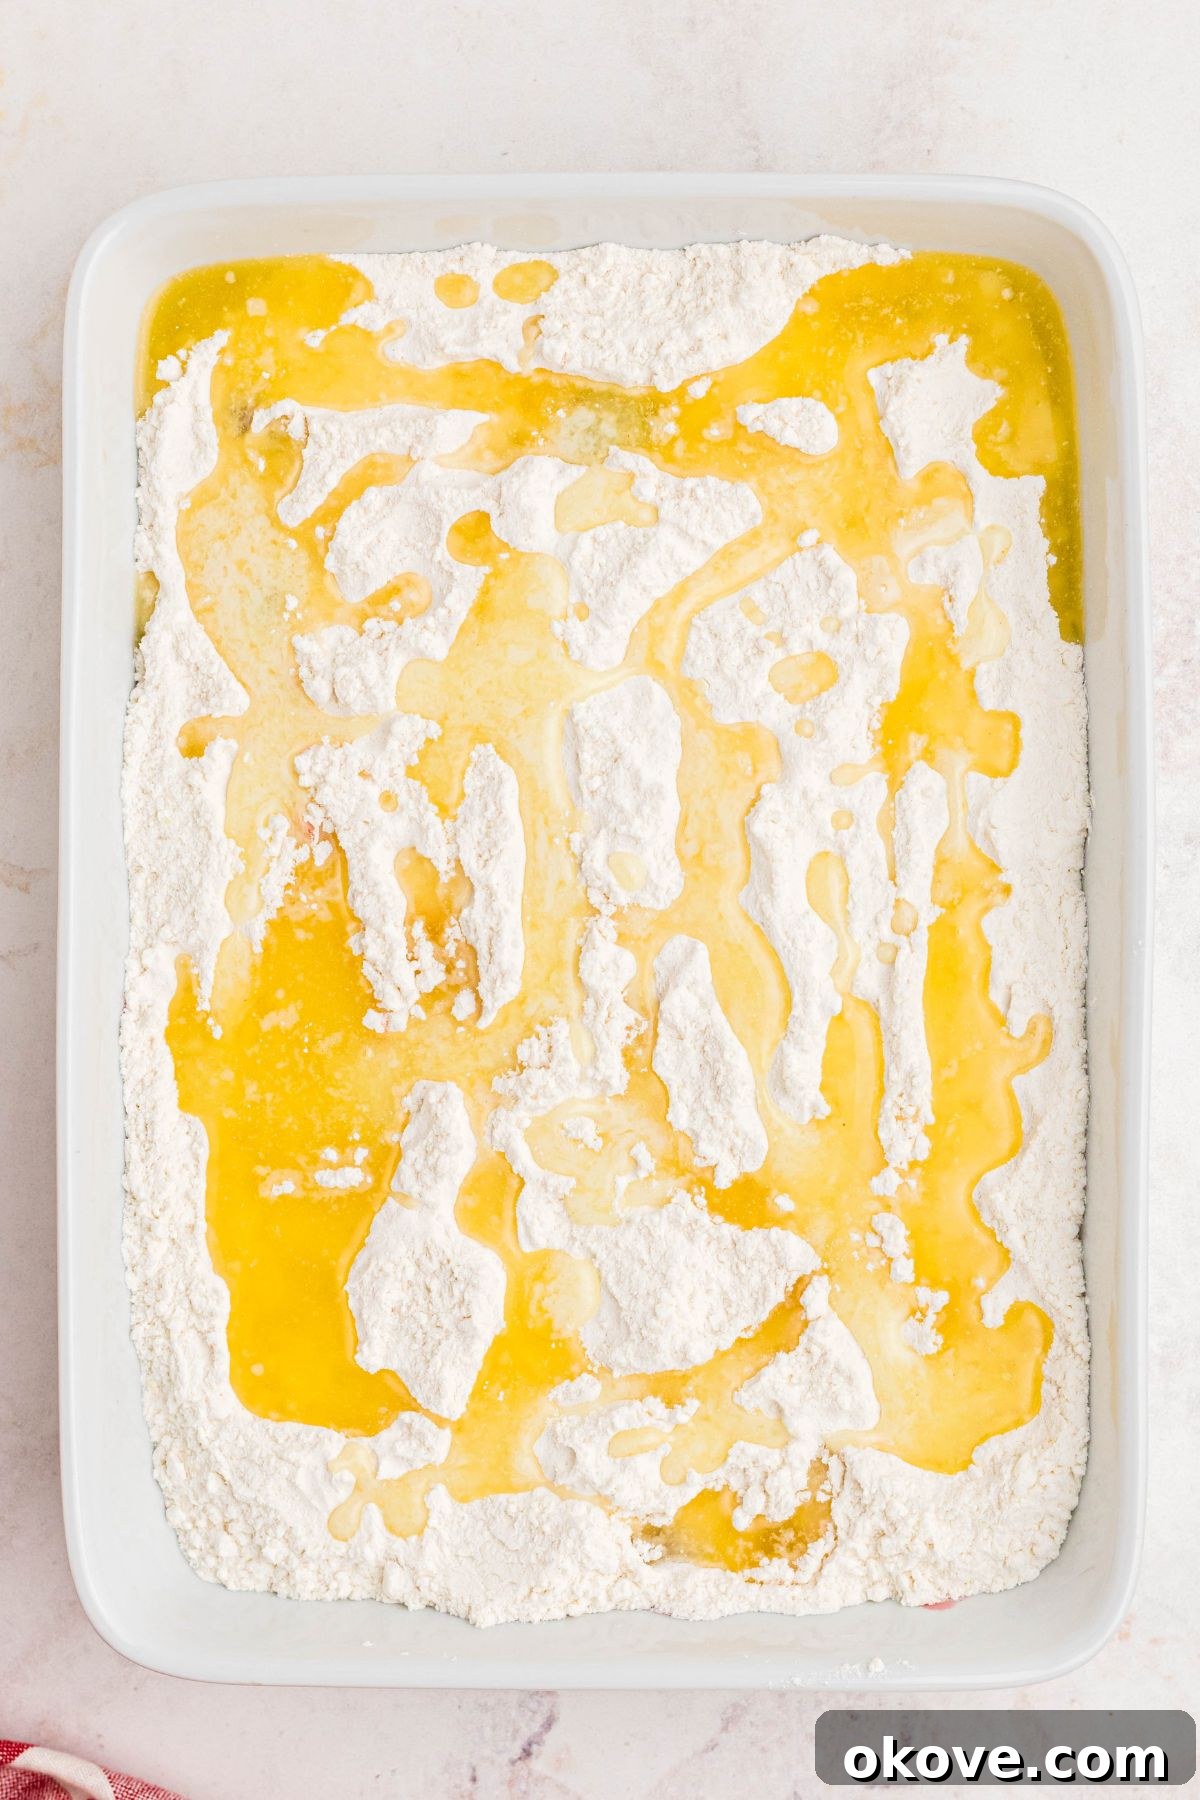
In a microwave-safe dish, melt the unsalted butter until it’s completely liquid. Once melted, carefully drizzle the butter evenly over the top of the dry cake mix layer. Try to cover as much of the cake mix as possible, as this butter is crucial for creating that signature crisp, golden, and buttery crust that defines a perfect dump cake.
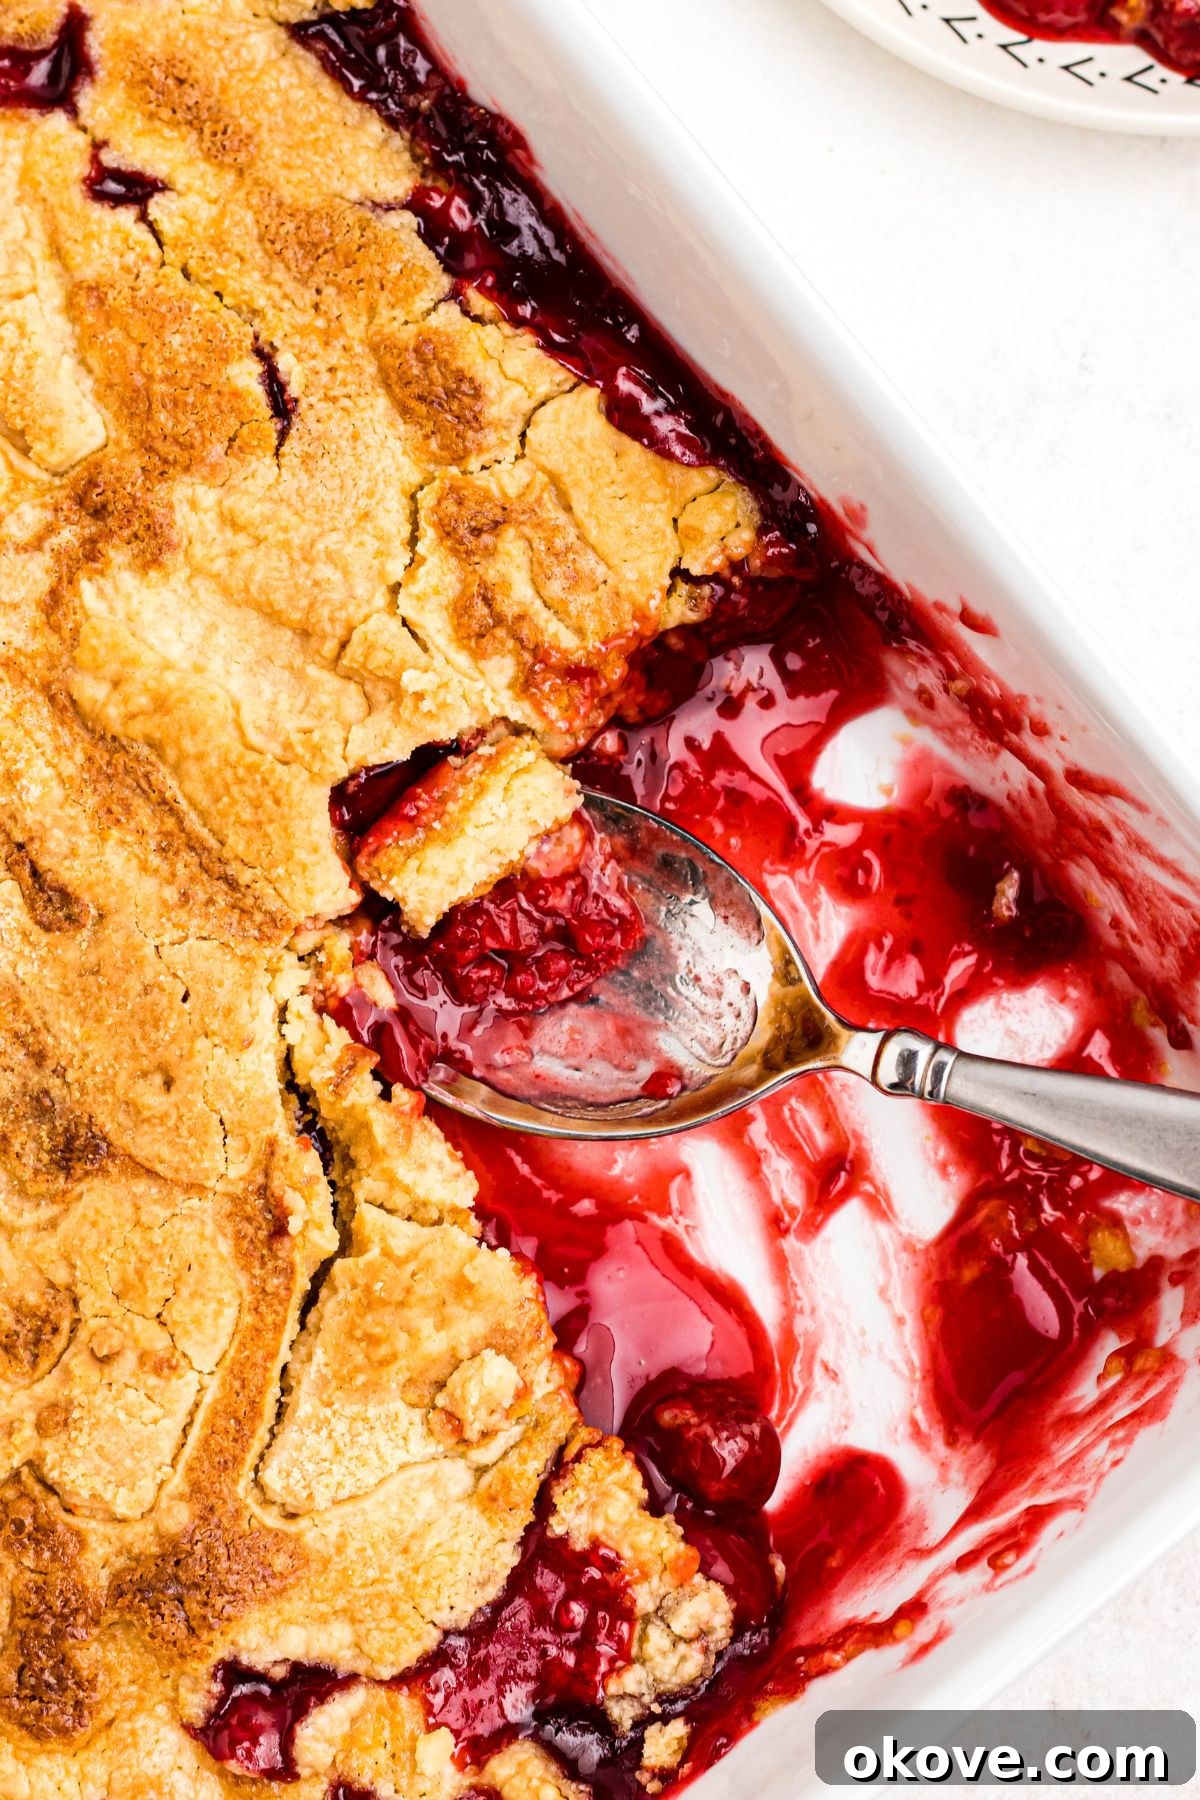
Place the baking dish in the preheated oven on the center rack. Bake for approximately 50-55 minutes, or until the top crust is beautifully golden brown and the cherry filling around the edges is visibly bubbling. The golden color indicates a perfectly cooked and crispy topping. Once baked, remove the cake from the oven and let it cool slightly. This resting period allows the filling to set and the topping to firm up. When ready to serve, cut into individual portions and enjoy! For an extra special touch, top each serving with a generous dollop of whipped cream or a scoop of creamy vanilla ice cream.
Expert Tips for the Perfect Cherry Dump Cake
- Embrace the “Dump” Method: The core of this dessert’s charm is its no-fuss preparation. Absolutely do not stir the layers once they are in the baking dish. Let the magic happen in the oven as the butter melts through the cake mix and combines with the fruit.
- For an Extra Crispy Top: If you love a crunchier crust, consider sprinkling a tablespoon of granulated sugar or a handful of finely crushed nuts (like pecans or walnuts) over the dry cake mix layer before drizzling with butter. This adds another layer of texture and caramelized sweetness.
- Allow for Resting Time: While it’s tempting to dig in immediately, letting the dump cake rest for at least 15-20 minutes after baking is crucial. This helps the cherry filling to set properly and the cake topping to firm up slightly, preventing a runny mess and ensuring cleaner slices.
- Even Butter Distribution: When drizzling the melted butter, try to cover as much of the dry cake mix as possible. The butter is what creates that desirable golden, crispy crust, so even coverage is key for uniform texture.
- Don’t Skimp on the Pie Filling: Using two cans of cherry pie filling ensures a rich, generous fruit layer that perfectly balances the cake topping. This isn’t a dessert where you want a sparse fruit base!
- Check for Doneness: The cake is ready when the top is golden brown and the fruit filling is bubbling vigorously around the edges. If the top starts to brown too quickly, you can loosely tent it with foil for the remaining bake time.
Planning a party or simply looking for more easy crowd-pleasers? Alongside this fantastic cherry dump cake, you can also try fun, party-friendly snacks like these savory Pizza Cupcakes or sweet and refreshing Virgin Piña Colada, and the festive American Flag Fruit Cookie Pizza. Whether you’re hosting a grand event or heading to a casual get-together, these simple recipes are always a hit!
Cherry Dump Cake FAQs
While the recipe suggests melting the butter for easier drizzling, it’s not strictly necessary. You can also slice cold butter thinly into pats and lay them evenly over the dry cake mix. The butter will melt beautifully in the oven, permeating the cake mix and creating that signature golden, crispy crust. Both methods yield excellent results.
Absolutely! Yellow cake mix is a classic choice, but white, chocolate, or even spice cake mix can work wonderfully. Each type of cake mix will impart a unique flavor profile to your dump cake, offering a fun way to experiment. Use whatever you have on hand or what sounds most appealing for a delicious twist.
To store leftover cherry dump cake, ensure it has cooled completely to room temperature. Then, cover it tightly with plastic wrap or transfer it to an airtight container. Store it in the refrigerator for up to 3 days. It tastes delicious cold, or you can gently reheat individual portions in the microwave or oven until warm.
Yes, this cherry dump cake recipe can easily be made gluten-free! Simply swap the regular yellow cake mix for your favorite brand of gluten-free yellow or white cake mix. Follow all the other steps in the recipe as written, and you’ll have a delicious gluten-free dessert.
Discover More Effortless Desserts
Desserts
Homemade Thin Mint Cookies
Desserts
Peanut Butter Balls
Desserts
Homemade Pie Crust
Desserts
Pecan Pie Recipe
If you have tried this amazing Cherry Dump Cake recipe or any other delightful recipes from Celebrating Simply, I would absolutely love to hear from you! Please consider leaving a ⭐ star rating and sharing your thoughts in the ✍️ comments below. Your valuable feedback means the world to me and helps others discover these simple, delicious creations!
Cherry Dump Cake
Servings: 8
Cook: 50 mins
Total: 55 mins

This cherry dump cake is an incredibly easy dessert recipe, perfect for last-minute gatherings or when you just need a simple yet satisfying holiday dessert. Its minimal preparation makes it a go-to for any sweet craving.
Equipment
- 1 9×13 Casserole Dish
Ingredients
- 2 cans cherry pie filling, 21 ounces each
- 1 box yellow cake mix, 15.25 ounces
- 1/2 cup unsalted butter, melted (1 stick)
- 1 teaspoon almond extract (optional, but recommended)
Instructions
- Preheat your oven to 350°F (175°C).
- While the oven is preheating, lightly spray a 9×13 inch baking pan with nonstick cooking spray. Pour the cherry pie filling into the dish, and then stir in the teaspoon of almond extract (if using).
- Once the almond extract is mixed in, evenly spread the cherry pie filling across the bottom of the baking dish. Evenly sprinkle the dry yellow cake mix over the top of the cherries. Use a spoon to spread it across the top of all the cherries, ensuring they are completely covered.
- In a microwave-safe dish, melt the butter. Then, drizzle the melted butter evenly over the top of the cake mix. Try to cover as much of the surface as possible because this butter is essential for creating a crisp, buttery crust on the dump cake.
- Place the dish in the preheated oven on the center rack and bake for 50-55 minutes, or until the top is golden brown and the edges are bubbling with fruit.
- Once the cake has cooled slightly, cut it into individual portions and serve warm. Feel free to top with a dollop of whipped cream or a scoop of vanilla ice cream for an extra treat!
Notes
- Don’t Stir the Layers: The “dump” method is the best part of this dessert. Just layer your ingredients and bake; resist the urge to stir!
- Want Extra Crisp on Top?: For a crunchier crust, add a sprinkle of sugar or crushed nuts (like pecans or walnuts) over the top before baking.
- Let it Rest Before Serving: Allowing the cake to rest for 15-20 minutes after baking helps the filling set and the topping firm up slightly, making it easier to serve.
Nutrition
Nutrition information is automatically calculated and should be used as an approximation.
- Calories: 511 kcal
- Carbohydrates: 95g
- Protein: 3g
- Fat: 13g
- Saturated Fat: 8g
- Polyunsaturated Fat: 1g
- Monounsaturated Fat: 3g
- Trans Fat: 1g
- Cholesterol: 31mg
- Sodium: 499mg
- Potassium: 190mg
- Fiber: 2g
- Sugar: 28g
- Vitamin A: 658 IU
- Vitamin C: 5mg
- Calcium: 156mg
- Iron: 2mg
Additional Info
Course: Dessert
Cuisine: American