
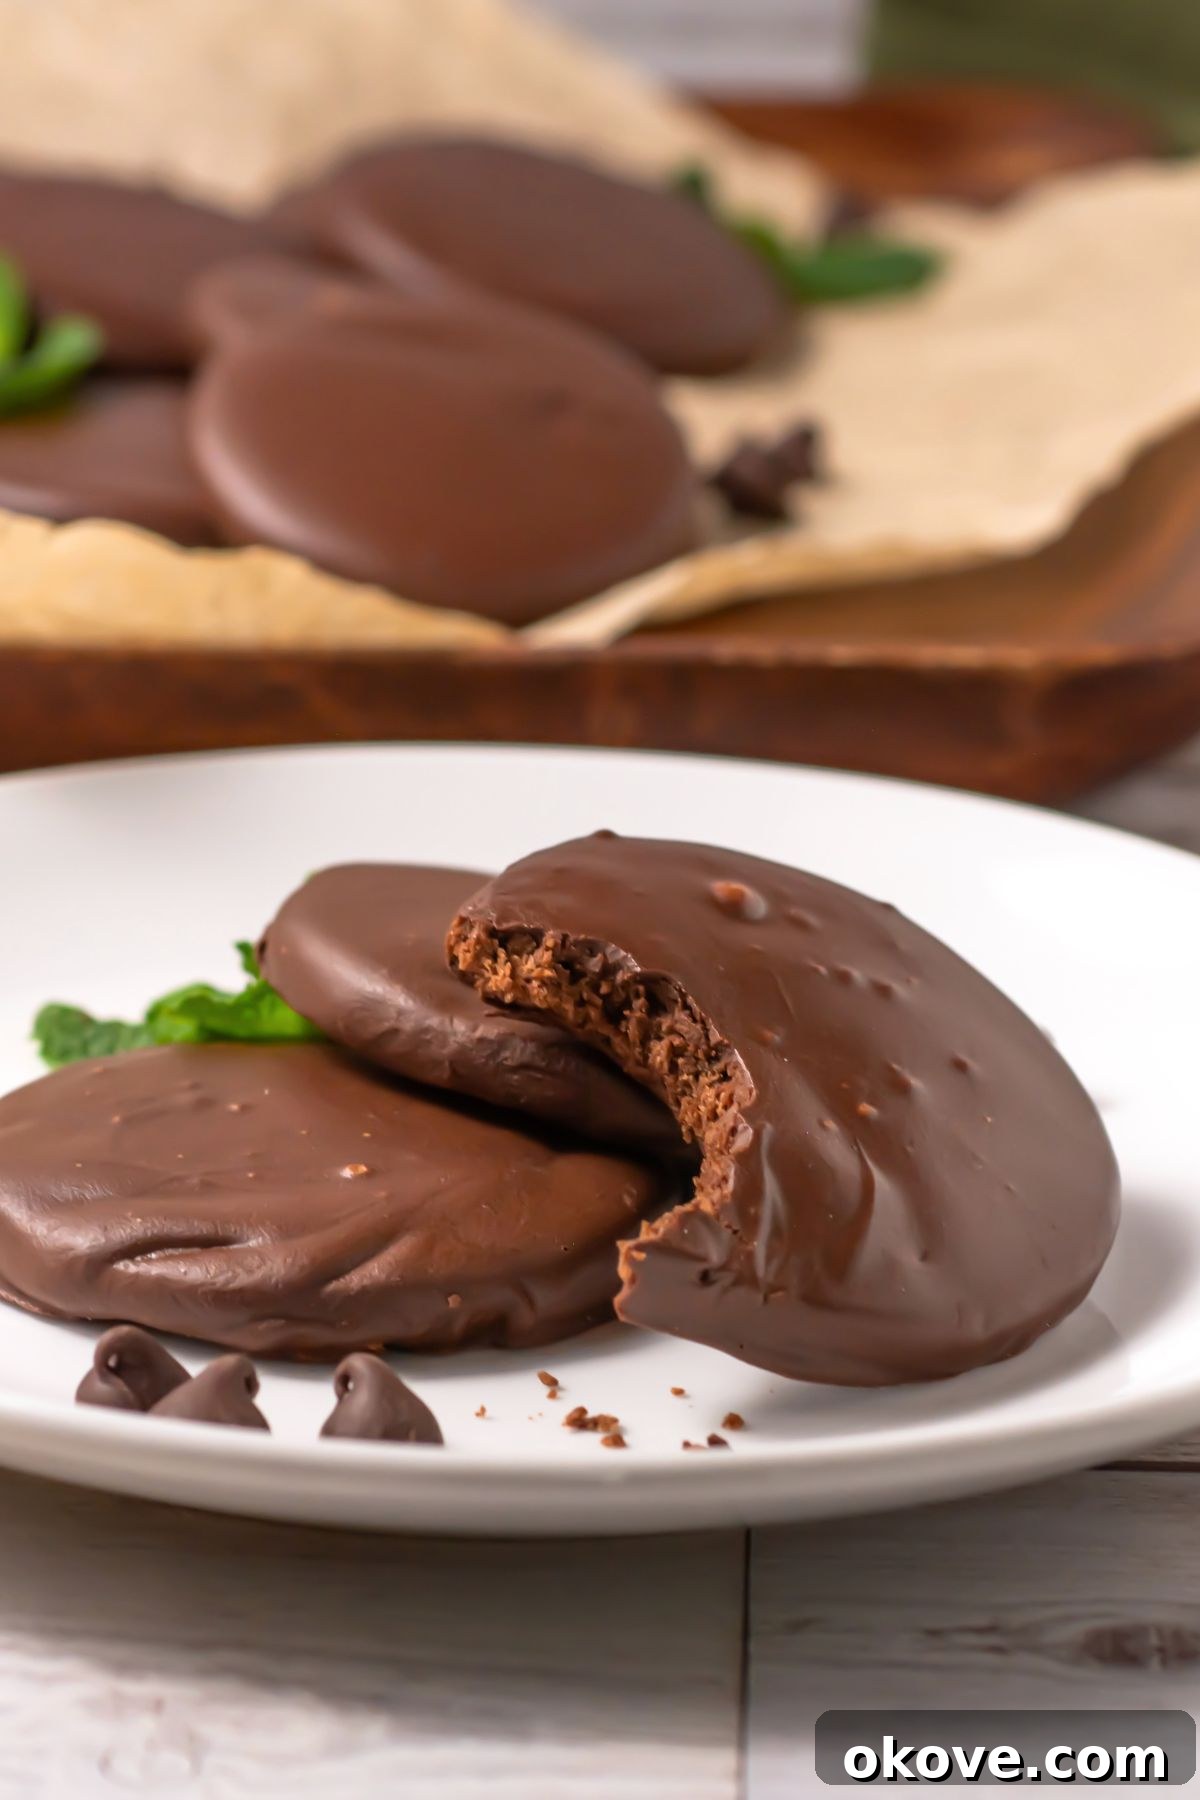
Homemade Thin Mint Cookies offer the beloved taste of the classic Girl Scout treat, available right in your kitchen, any time of year. These delightful cookies feature a rich, crisp chocolate base, generously dipped in a smooth, vibrant mint chocolate coating. This recipe ensures you can indulge in that iconic cool mint and deep chocolate flavor whenever a craving strikes, without waiting for cookie season.
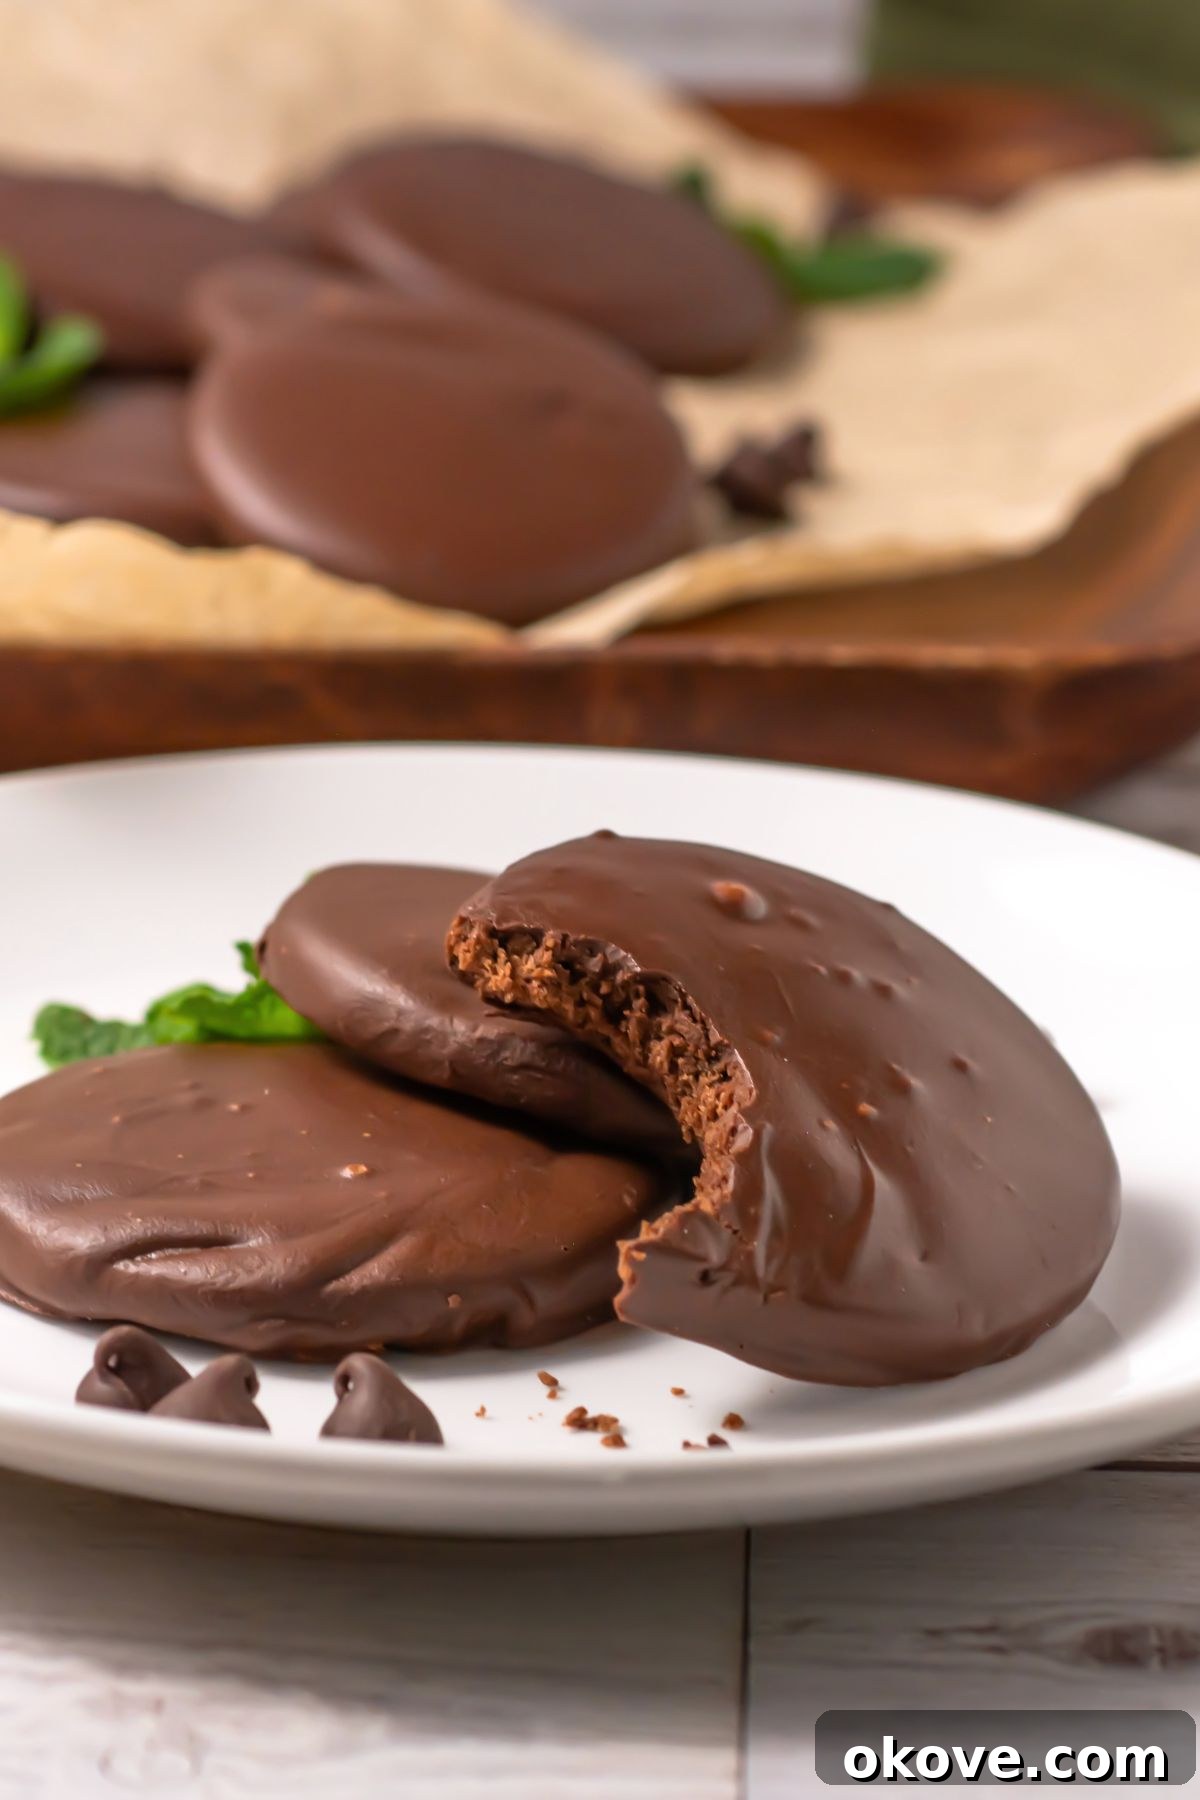
“Cool, minty, chocolate cookies, that are perfect any time of the year!”
-Becky
While nothing can truly replace the nostalgia of the original Girl Scout Thin Mints – especially the fun of cookie season and sneaking a few straight from the freezer – these homemade versions come incredibly close. The best part? You don’t have to wait an entire year to enjoy them. This recipe brings that irresistible combination of crisp chocolate and refreshing mint directly to your home, offering a fresh, delicious alternative that’s always in season.
Looking for more easy cookie recipes to brighten your day? Try these adorable no-bake Mini Hamburger Cookies for a playful treat, or dive into the fun with these Cookie Monster Cookies. As the seasons change, you’ll love these cozy fall and winter delights: fluffy Snowball Cookies or the festive White Chocolate Cranberry Cookies.
Table of Contents
- Why Make Homemade Thin Mints?
- Ingredients You Will Need
- Equipment for Baking Perfection
- Variations to Customize Your Thin Mints
- How to Make Homemade Thin Mints
- Expert Tips for Flawless Thin Mints
- Homemade Thin Mint Cookies FAQs
- Beyond the Cookie Jar: Serving Suggestions
- More Delicious Cookie Recipes
- Homemade Thin Mint Cookies Recipe
Why Make Homemade Thin Mints?
There’s a special joy in baking your favorite treats from scratch, and Thin Mints are no exception. Making them at home offers several advantages:
- Year-Round Availability: No more waiting for Girl Scout cookie season to roll around! Enjoy these iconic cookies whenever the craving hits, whether it’s the middle of summer or the heart of winter.
- Unbeatable Freshness: Store-bought cookies, while delicious, can’t compete with the fresh-baked aroma and taste of a batch made just moments ago. The crispness of the cookie and the vibrancy of the mint flavor are truly enhanced.
- Control Over Ingredients: When you bake at home, you know exactly what goes into your cookies. You can choose high-quality chocolate, natural mint extracts, and adjust sugar levels to your preference.
- Cost-Effective: Baking a batch of homemade Thin Mints can often be more economical than purchasing multiple boxes of the originals, especially if you have common baking ingredients already on hand.
- The Joy of Creation: There’s immense satisfaction in creating something delicious with your own hands. Plus, it’s a fun activity for families or anyone who loves to spend time in the kitchen.
Ingredients You Will Need
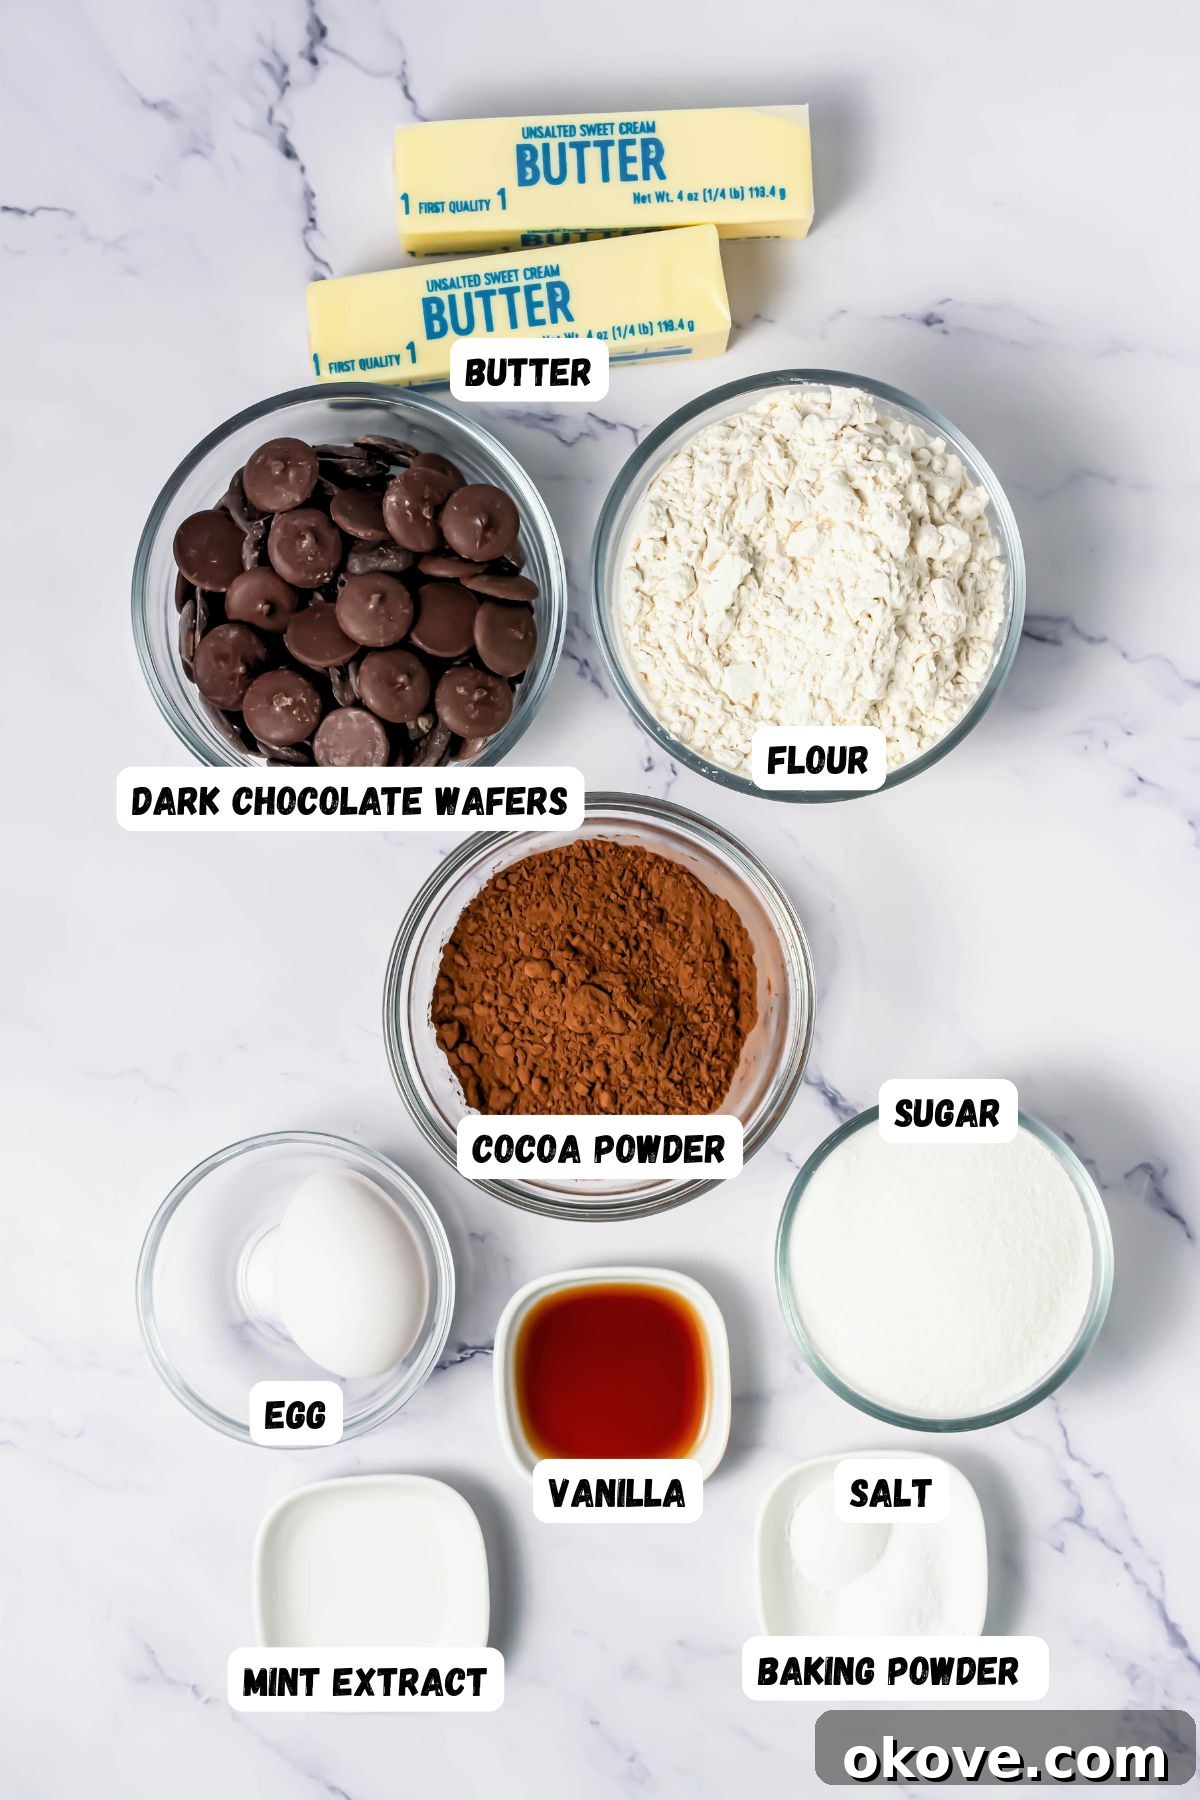
Crafting the perfect homemade Thin Mints requires a careful selection of ingredients for both the rich chocolate cookie base and the silky mint chocolate coating. Here’s a detailed look at what you’ll need:
For the Cookies
- Unsalted Butter, softened: Essential for a tender crumb and rich flavor. Softened butter creams beautifully with sugar, creating air pockets that contribute to the cookie’s texture.
- Sugar: Provides sweetness and helps create that signature crisp texture.
- Egg: Acts as a binder, adding moisture and richness to the dough, ensuring the cookies hold their shape.
- Vanilla Extract: A crucial flavor enhancer that complements the chocolate and mint, adding depth to the overall taste. Consider using this Homemade Vanilla extract recipe for an extra special touch.
- Mint Extract (or Peppermint): This is where the magic happens! Mint extract gives a classic, balanced mint flavor. If you prefer a more intense, cooling sensation reminiscent of traditional Thin Mints, opt for peppermint extract, but use it sparingly as it’s stronger.
- All-Purpose Flour: The structural backbone of your cookies, giving them the right consistency and chew.
- Unsweetened Cocoa Powder: The source of the deep, rich chocolate flavor for the cookie base. Using a high-quality cocoa powder will make a noticeable difference in taste.
- Baking Powder: A leavening agent that helps the cookies rise slightly, contributing to their light, crisp texture.
- Salt: Balances the sweetness and enhances all the other flavors, particularly the chocolate.
For the Coating
- Dark Chocolate Melting Wafers: These are ideal for a smooth, glossy, and easy-to-work-with coating. They melt evenly and set beautifully. If you can’t find melting wafers, high-quality dark chocolate chips with a teaspoon of coconut oil or shortening can be used as a substitute.
- Mint Extract (or Peppermint): This second dose of mint ensures the coating delivers that refreshing burst of flavor. Again, choose between mint and peppermint based on your desired intensity, being careful not to overpower the chocolate.
A full, precise list of ingredients with exact measurements is included in the comprehensive recipe card below.
Equipment for Baking Perfection
Having the right tools can make your Thin Mint baking experience even smoother and more enjoyable. Here’s what you’ll find helpful:
- Stand Mixer or Hand Mixer: While you can mix by hand, a stand mixer or electric hand mixer will make creaming butter and sugar much easier and more efficient, ensuring a perfectly smooth base.
- Mixing Bowls: You’ll need at least two – one for wet ingredients and one for dry, plus another for melting the chocolate.
- Baking Sheets: Lined with parchment paper, these are essential for baking your cookies evenly and preventing sticking.
- Parchment Paper: Crucial for non-stick baking and easy cleanup. It also helps in cooling the dipped cookies without them sticking.
- Rolling Pin: For rolling out your dough to a consistent 1/4 inch thickness.
- Round Cookie Cutter (1.5 – 2 inches): To achieve those perfectly shaped, uniform Thin Mint cookies.
- Wire Cooling Rack: Allows air circulation around the cookies, ensuring they cool completely and evenly before dipping.
- Microwave-Safe Bowl or Double Boiler: For melting the chocolate coating gently and smoothly.
- Fork or Dipping Tools: A simple fork works wonders for dipping cookies, allowing excess chocolate to drip off cleanly.
Variations to Customize Your Thin Mints
While the classic Thin Mint flavor is undeniably delicious, don’t hesitate to experiment with these variations to tailor the cookies to your personal taste:
- Peppermint Punch: For those who love a bold and invigorating mint flavor, use peppermint extract for both the cookie dough and the chocolate coating. Peppermint is generally stronger than regular mint extract, delivering that intense, cool burst often associated with holiday candies. Start with a slightly smaller amount and add more to taste.
- Semisweet Chocolate Delight: If you prefer a slightly sweeter and less intense chocolate flavor, swap the dark chocolate melting wafers for semisweet chocolate. This will result in a coating that is rich but with a milder bitterness, appealing to a broader palate. Milk chocolate can also be used for an even sweeter, creamier coating.
- White Chocolate Mint Swirl: For a visually stunning and equally delicious twist, consider dipping your cookies in melted white chocolate mixed with a touch of mint extract. You can even drizzle some dark chocolate over the white chocolate for an elegant marble effect.
- Double Chocolate Mint Explosion: Enhance the chocolate intensity by adding a handful of mini chocolate chips (dark or semi-sweet) to the cookie dough along with the cocoa powder. This adds an extra layer of chocolatey goodness and a slight textural difference.
- Gourmet Salted Mint: A tiny pinch of flaky sea salt sprinkled over the wet chocolate coating just after dipping can elevate the flavors. The salt provides a delightful contrast to the sweet chocolate and mint, making the flavors pop.
How to Make Homemade Thin Mints
Creating these delightful mint chocolate cookies is a rewarding process. Follow these detailed steps for perfect results every time:
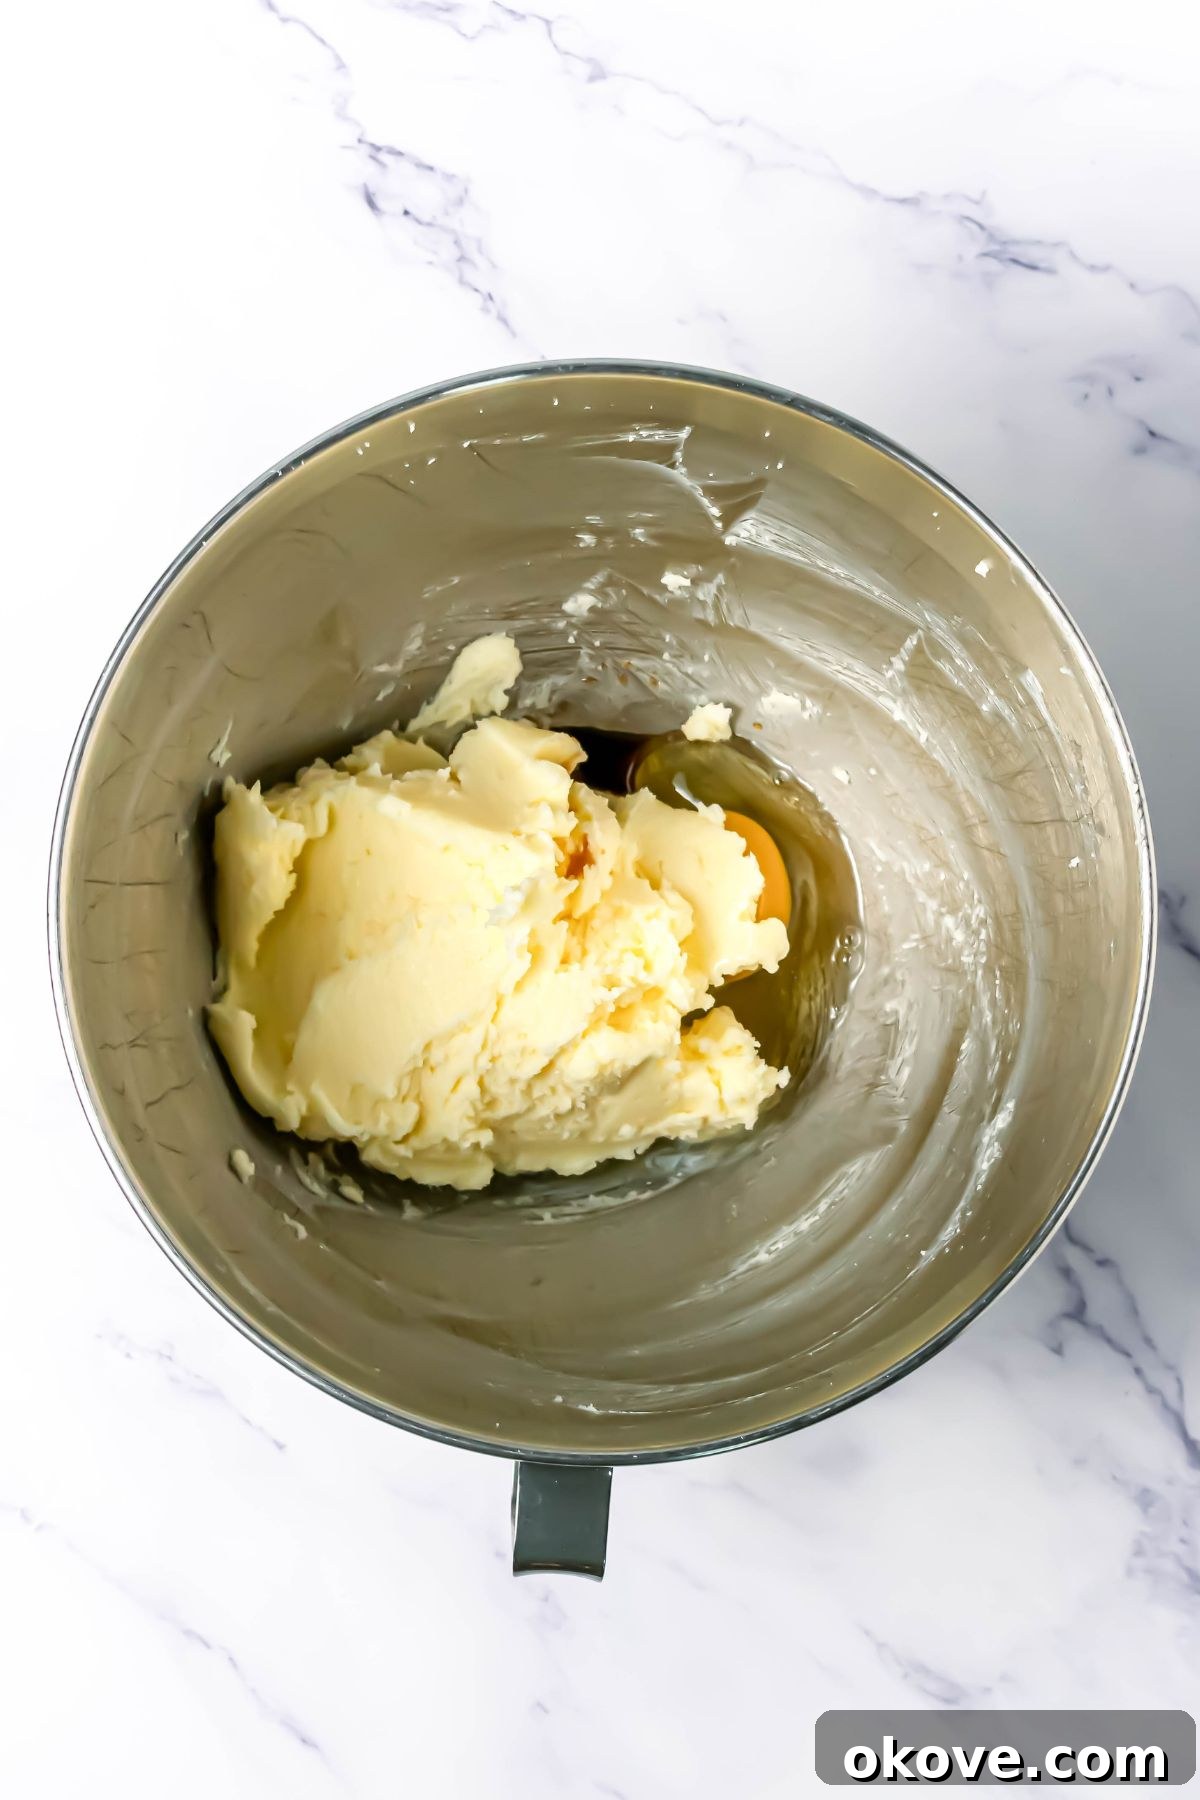
- Prepare for Baking: Begin by preheating your oven to 350°F (175°C). Line several baking sheets with parchment paper to prevent sticking and ensure easy cleanup. In a stand mixer fitted with the paddle attachment (or using a hand mixer), cream together the softened unsalted butter and granulated sugar until the mixture is light, fluffy, and smooth. Remember to scrape down the sides of the bowl periodically to ensure all ingredients are well incorporated. Next, add the egg, vanilla extract, and mint (or peppermint) extract. Continue mixing until these wet ingredients are fully combined and the mixture is uniform.
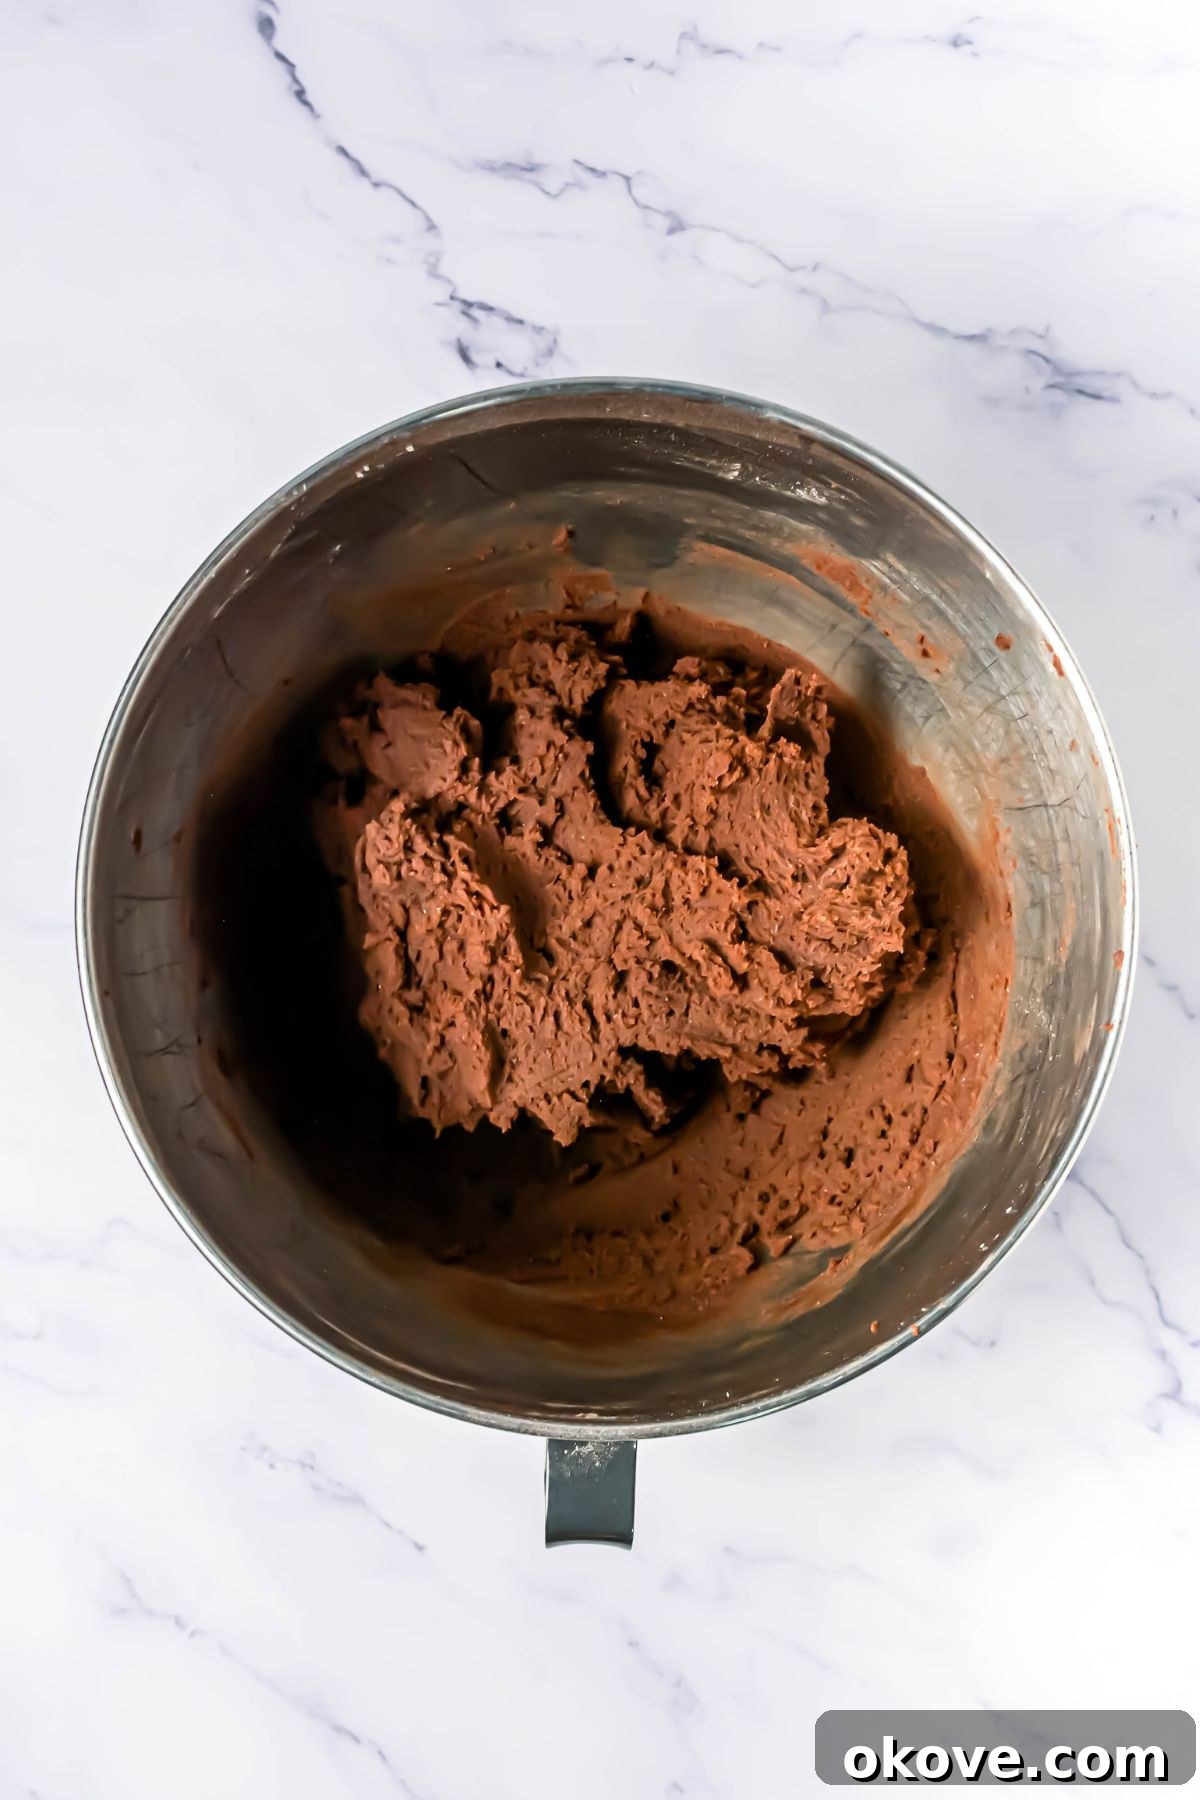
- Form the Dough: In a separate bowl, whisk together the dry ingredients: all-purpose flour, unsweetened cocoa powder, baking powder, and salt. Gradually add these dry ingredients to the wet mixture in the stand mixer. Mix on low speed just until a thick, cohesive cookie dough forms. Be careful not to overmix, as this can lead to tough cookies. Stop mixing as soon as the flour streaks disappear.
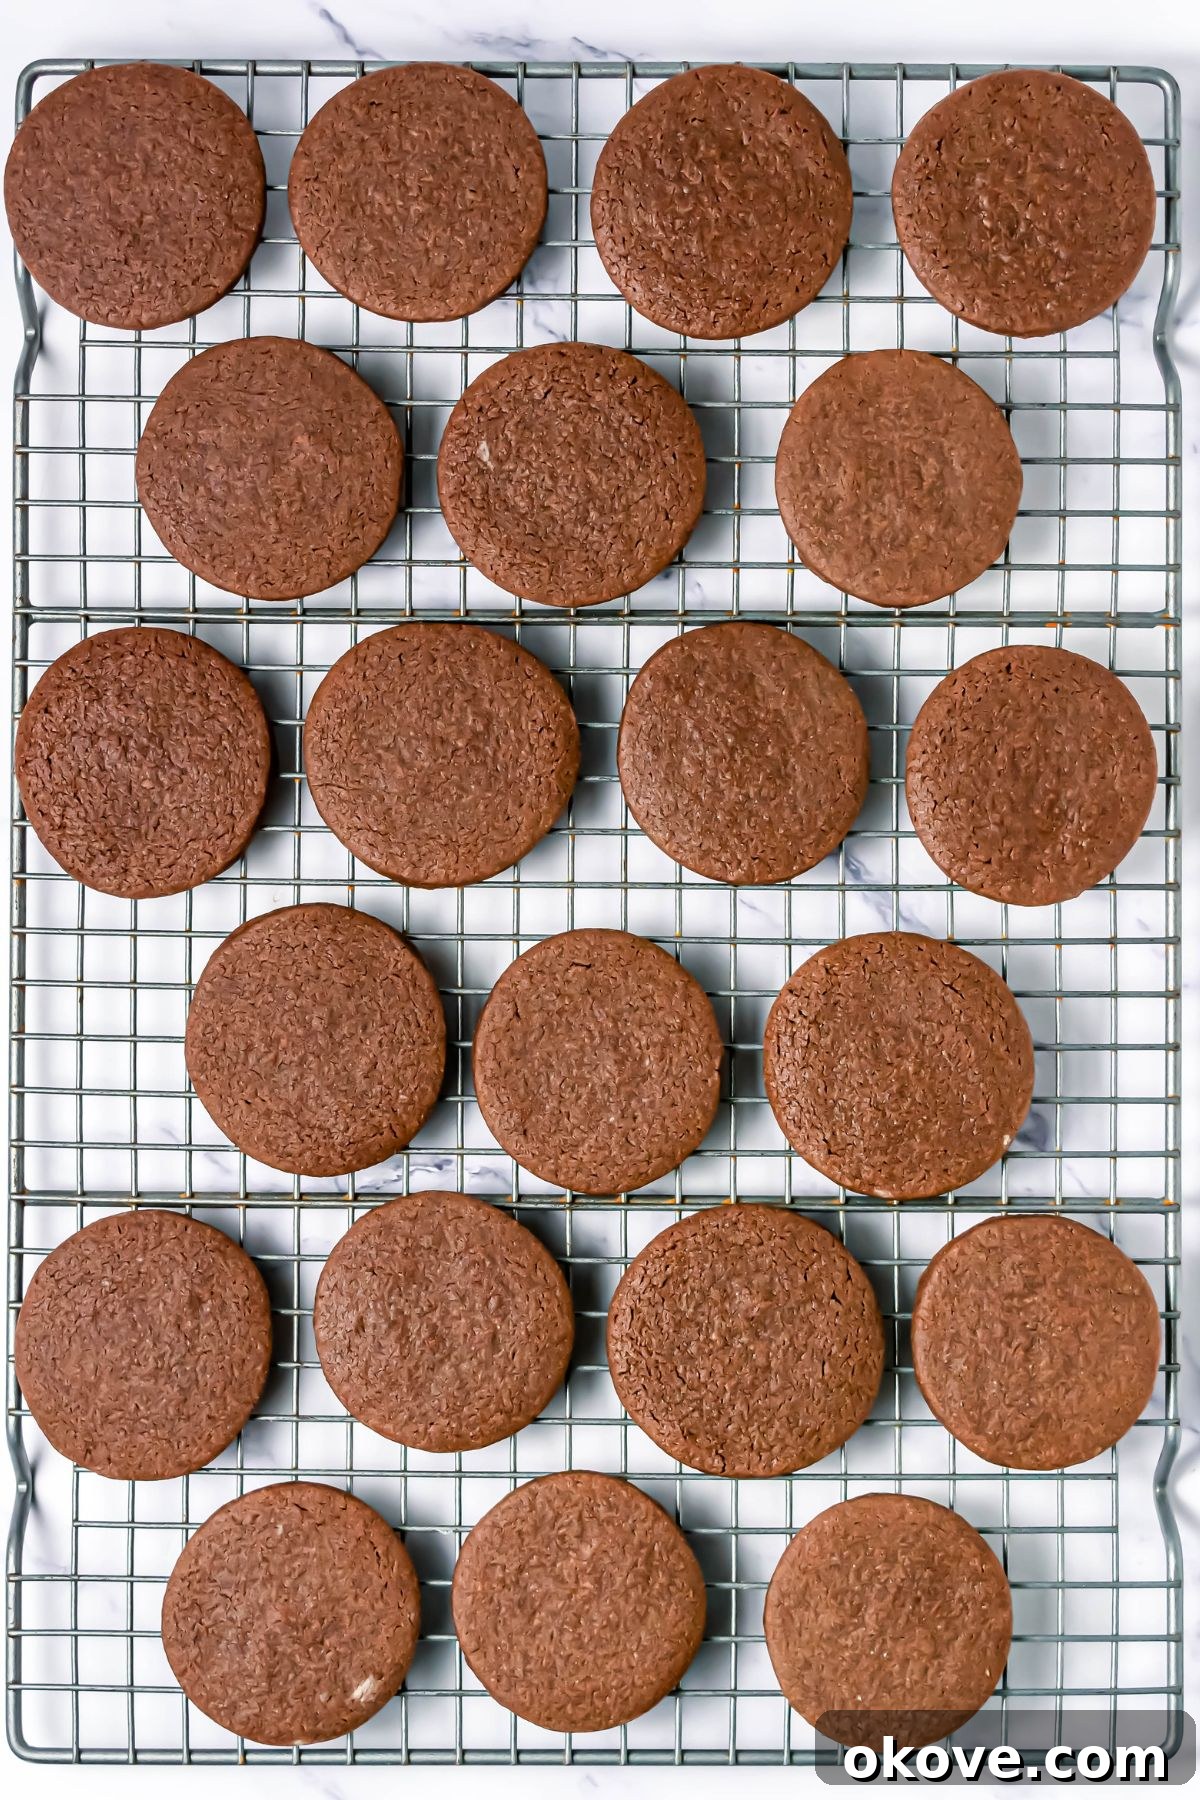
- Roll, Cut, and Chill: Lightly flour a clean work surface and your rolling pin. Roll out the cookie dough to an even thickness of about 1/4 inch. Using a 1 1/2 to 2-inch round cookie cutter, cut out individual circles of dough. Carefully transfer these shaped cookies to your prepared baking sheets. This step is crucial: chill the cut cookies in the refrigerator for about 15-30 minutes. Chilling the dough before baking helps prevent spreading, ensuring your Thin Mints maintain their perfectly round edges and crisp texture.
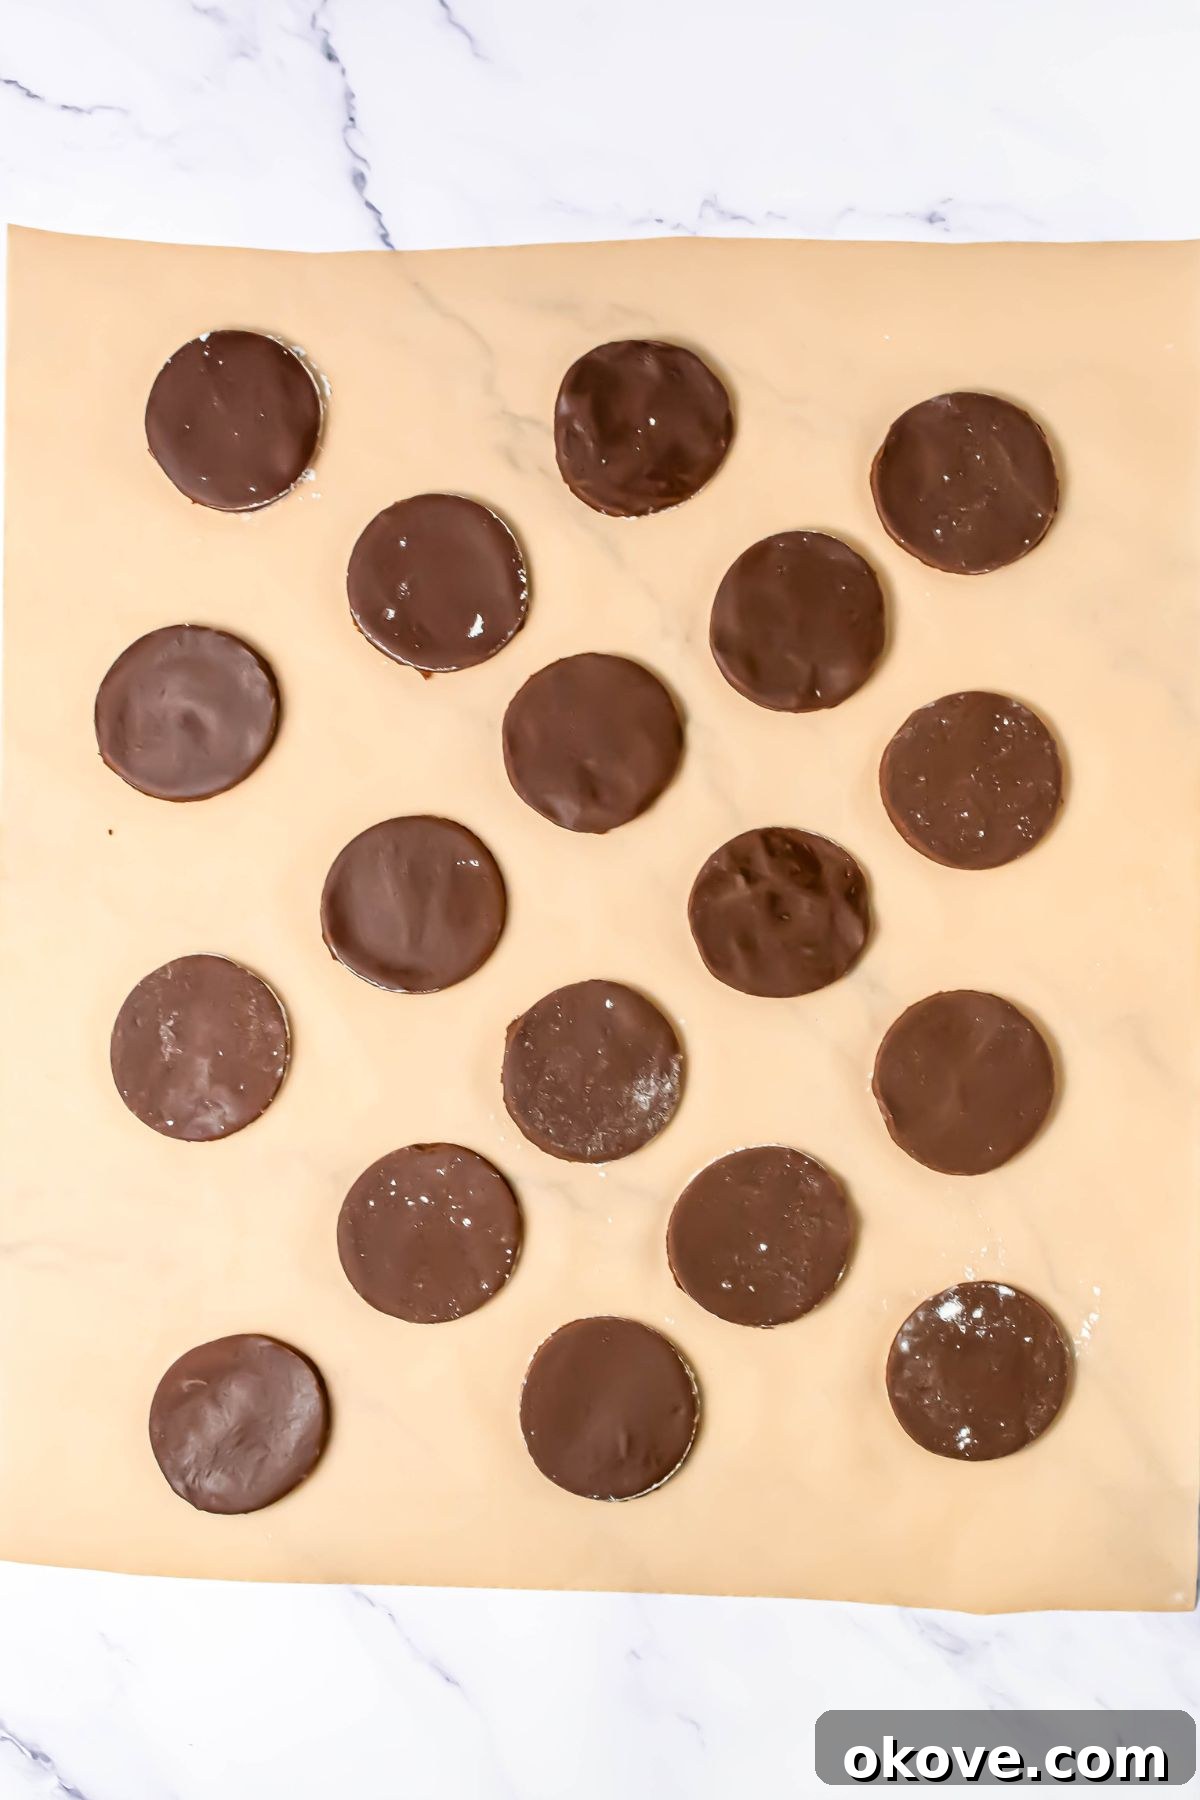
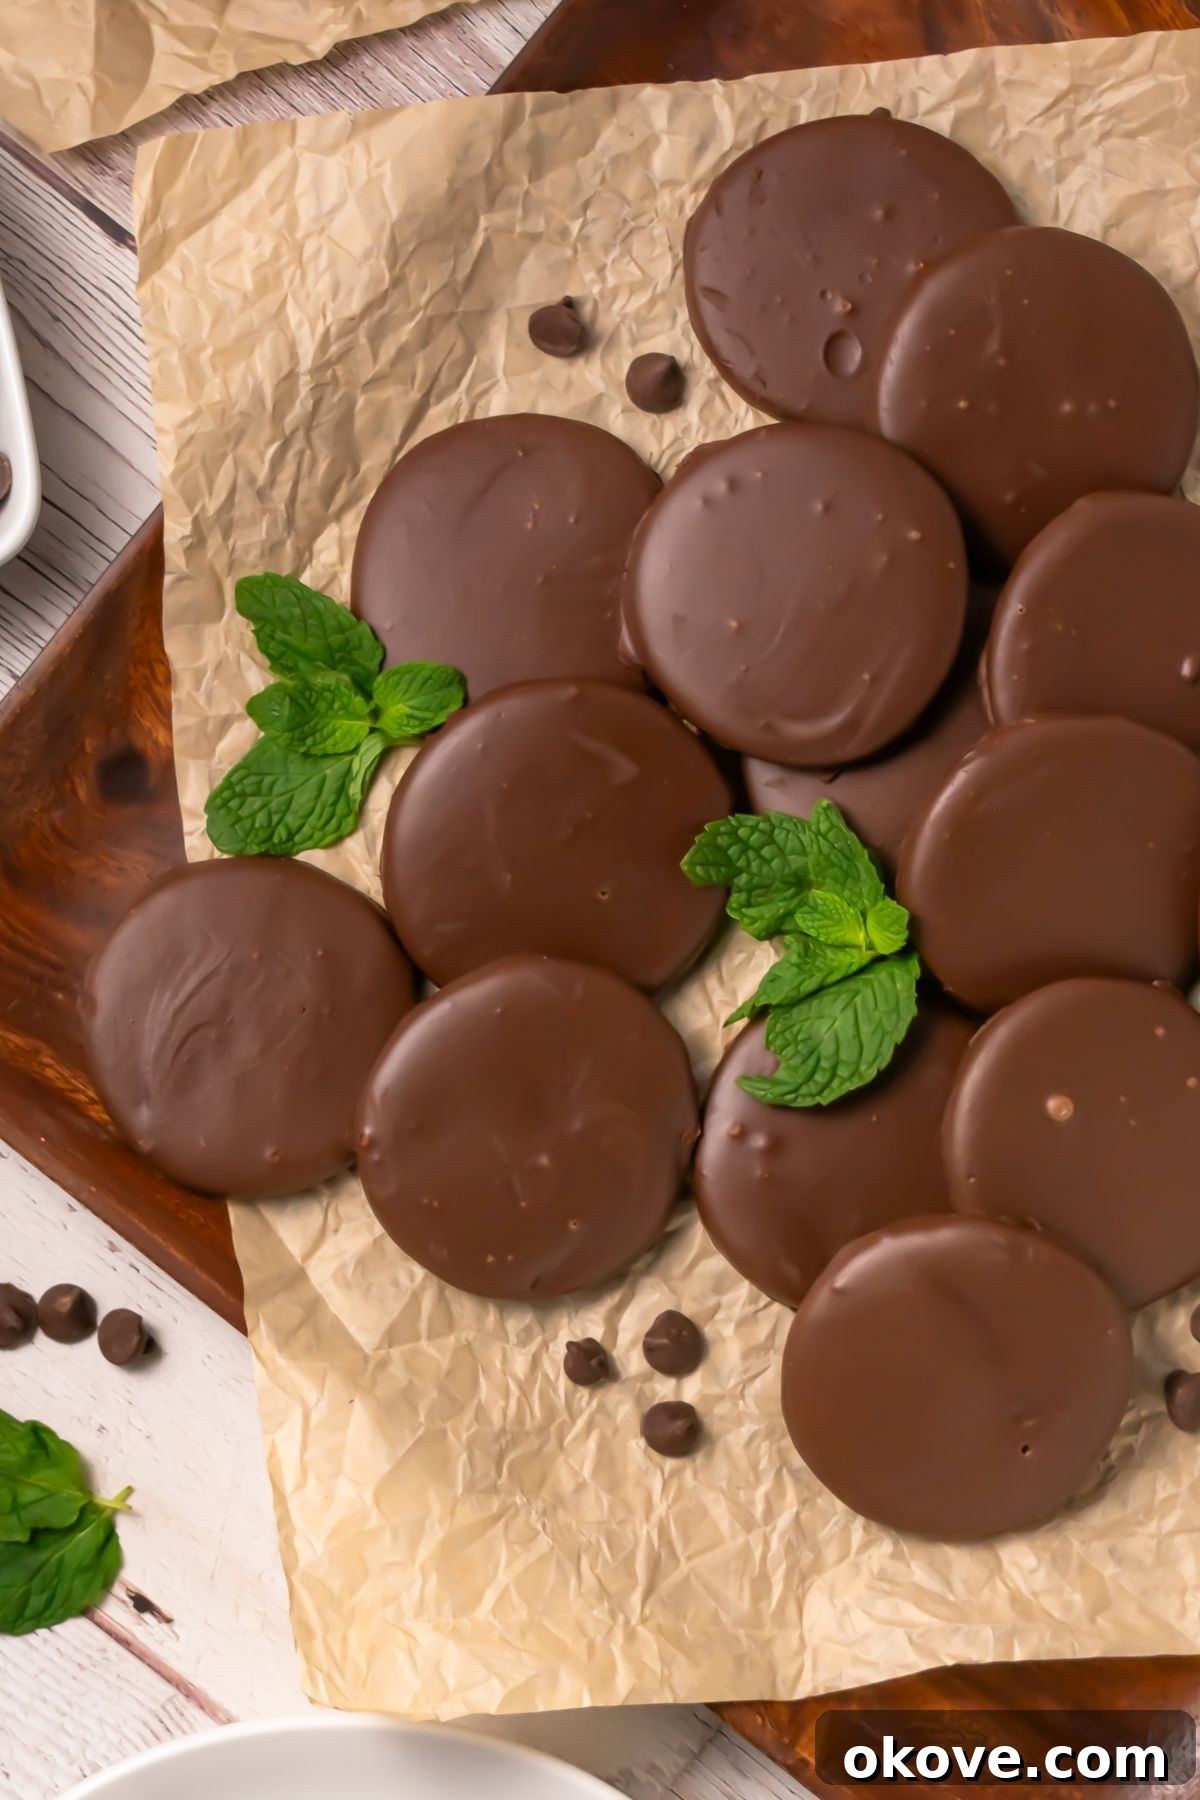
- Bake, Cool, and Dip: Bake the chilled cookies for 10 to 12 minutes, or until the centers appear set and the edges are firm. Watch them closely to avoid overbaking. Once baked, remove the baking sheets from the oven and let the cookies cool on the sheets for a few minutes before transferring them to a wire rack to cool completely to room temperature. This is essential before dipping. While the cookies cool, gently melt the dark chocolate melting wafers (using a microwave in 30-second intervals or a double boiler) and stir in the mint extract until the coating is smooth and glossy. Dip each fully cooled cookie into the melted mint chocolate using a fork, allowing any excess chocolate to drip back into the bowl. Place the dipped cookies onto fresh parchment paper to dry and set. To speed up the setting process, you can transfer them to the refrigerator for 10-15 minutes.
Expert Tips for Flawless Thin Mints
Achieving bakery-quality homemade Thin Mints is easier than you think with these expert tips:
- Chill the Dough: This is a non-negotiable step for perfectly round, crisp cookies. Chilling the dough for at least 15-30 minutes before baking solidifies the butter, which prevents the cookies from spreading excessively in the oven. This results in neat, defined edges and a better overall texture.
- Tap Off Extra Coating: After dipping each cookie, gently tap the fork against the side of the bowl to remove any excess chocolate. This ensures a thin, even, and smooth chocolate coating, preventing thick, clumpy areas and making the cookies truly “thin.”
- Cool Completely Before Dipping: Patience is key! Dipping warm or even slightly warm cookies into melted chocolate will cause the chocolate to melt, streak, or simply not adhere properly. Ensure your cookies are entirely at room temperature before introducing them to the warm chocolate.
- Freeze to Serve: Just like their Girl Scout counterparts, homemade Thin Mints are absolutely phenomenal when served straight from the freezer. The cold temperature enhances their crispness and makes the mint flavor even more refreshing. Store them in an airtight container in the freezer for the ultimate experience.
- Quality Ingredients Matter: Investing in good quality cocoa powder for the cookie and excellent chocolate melting wafers for the coating will significantly impact the final flavor and texture of your Thin Mints. A rich cocoa and smooth chocolate make all the difference.
- Don’t Overmix the Dough: Once you add the flour, mix just until the ingredients are combined. Overmixing develops the gluten in the flour, leading to tougher, chewier cookies rather than the desired crispness.
Homemade Thin Mint Cookies FAQs
These cookies do not strictly need to be chilled for food safety, but I personally believe they become even more delicious when stored in the refrigerator or freezer. The cold temperature enhances their crisp texture and amplifies the refreshing mint flavor, making them a truly delightful chilled treat.
Yes, for the most authentic and balanced Thin Mint flavor, I recommend using mint extract in both the cookie dough and the chocolate coating. This layered approach ensures a consistent and prominent minty fresh taste throughout the entire cookie, closely mimicking the traditional versions. However, be cautious with the amount of extract, especially if using peppermint, as it can easily overpower the chocolate flavor if too much is added.
Absolutely! Homemade Thin Mint Cookies freeze beautifully. In fact, many people (myself included!) find them even more enjoyable straight from the freezer. Freezing enhances their crispness and provides a wonderful, cooling sensation. Store them in an airtight container or freezer-safe bag to prevent freezer burn, and they’ll keep for several weeks.
To maintain their freshness and crisp texture, store your homemade Thin Mint Cookies in an airtight container. They will keep well at room temperature for up to a week, in the refrigerator for up to two weeks, or in the freezer for up to one month. For the best flavor and a firmer texture, chilling or freezing them is highly recommended.
Chocolate seizing (becoming thick, grainy, and unworkable) usually happens if even a tiny drop of water or steam gets into the melting chocolate. Ensure all your bowls and utensils are perfectly dry, and if using a double boiler, make sure the water is simmering gently and not touching the bottom of the chocolate bowl.
Yes, you can! The cookie dough can be made up to 2-3 days in advance. Wrap it tightly in plastic wrap and store it in the refrigerator. When you’re ready to bake, let it sit at room temperature for about 15-20 minutes to soften slightly before rolling and cutting.
Beyond the Cookie Jar: Serving Suggestions
While Homemade Thin Mints are perfect on their own, especially when enjoyed chilled or frozen, their versatile flavor makes them excellent in a variety of other ways:
- Crumble over Ice Cream: Crush a few cookies and sprinkle them over a scoop of vanilla, chocolate, or mint chocolate chip ice cream for an instant upgrade to any dessert.
- Milkshake Magic: Blend a few Thin Mints into your favorite chocolate or vanilla milkshake for a refreshing minty twist.
- Coffee or Hot Cocoa Companion: Enjoy these cookies alongside a warm cup of coffee, espresso, or rich hot cocoa. The mint complements the bitterness of coffee and the sweetness of cocoa beautifully.
- Dessert Platter Addition: Arrange them on a dessert platter with other treats for a party or gathering. Their dark color and classic appeal make them a welcome addition.
- Cheesecake Base: Crush them finely and mix with melted butter to create a unique and flavorful crust for cheesecakes or pies.
More Delicious Cookie Recipes
Desserts
Homemade Thin Mint Cookies
Christmas Recipes
Meringue Christmas Trees
Desserts
Snowball Cookies
Desserts
Pumpkin Spice Cookies
If you have tried this recipe or any others from Celebrating Simply, I’d love it if you would leave a ⭐ star rating and share your thoughts in the ✍️ comments below. Your feedback means a lot!
Homemade Thin Mint Cookies
Rebecca
24
15 minutes
10 minutes
15 minutes
40 minutes

Equipment
-
Baking Sheet
-
Mixing Bowls
-
Rolling Pin
-
Round Cookie Cutter (1.5 – 2 inches)
-
Wire Cooling Rack
Ingredients
Cookie Ingredients
-
1
cup
unsalted butter,
softened -
1
cup
sugar -
1
large egg -
1
teaspoon
vanilla extract -
1/2
teaspoon
mint extract,
or 1/4 tsp peppermint extract -
2
cups
all purpose flour -
1/2
cup
unsweetened cocoa powder -
1
teaspoon
baking powder -
1/2
teaspoon
salt
Coating Ingredients
-
10
ounces
dark chocolate melting wafers -
1/2
teaspoon
mint extract,
or 1/4 teaspoon peppermint extract
Instructions
-
Preheat the oven to 350 degrees F (175 degrees C). Line baking sheets with parchment paper.
-
In a stand mixer, cream the butter and sugar until smooth, scraping the sides of the bowl as needed. Add the egg, vanilla, and mint extract. Mix until fully combined.
-
Add flour, cocoa powder, baking powder, and salt. Mix just until a thick cookie dough forms.
-
Roll dough on a lightly floured surface to about 1/4 inch thickness. Use a 1 1/2-2 inch round cutter to cut circles. Place cookies on the prepared baking sheets.
-
Chill the shaped cookies for about 15-30 minutes before baking. (This helps keep the edges neat.) Bake for 10 to 12 minutes or until the centers are set. Cool completely on a wire rack until room temperature.
-
Melt the chocolate wafers with mint extract until smooth and glossy. Dip each cookie in the chocolate coating using a fork, allowing excess chocolate to drip off. Set the cookies on parchment to dry, or place them in the refrigerator to speed up the process.
Notes
Chill the dough: Chilled dough helps create perfectly round cookie edges.
Tap off extra coating: Removing excess chocolate keeps the finish smooth and even.
Cool before dipping: Cookies should be at room temperature before coating.
Freeze to serve: Just like the originals, they are amazing straight from the freezer.
Nutrition
Serving:
1
g
Calories:
169
kcal
Carbohydrates:
21
g
Protein:
2
g
Fat:
9
g
Saturated Fat:
6
g
Polyunsaturated Fat:
0.3
g
Monounsaturated Fat:
2
g
Trans Fat:
0.3
g
Cholesterol:
20
mg
Sodium:
73
mg
Potassium:
41
mg
Fiber:
1
g
Sugar:
12
g
Vitamin A:
236
IU
Calcium:
16
mg
Iron:
1
mg
Nutrition information is automatically calculated, so should only be used as an approximation.
Additional Info
Cookies, Dessert
American