
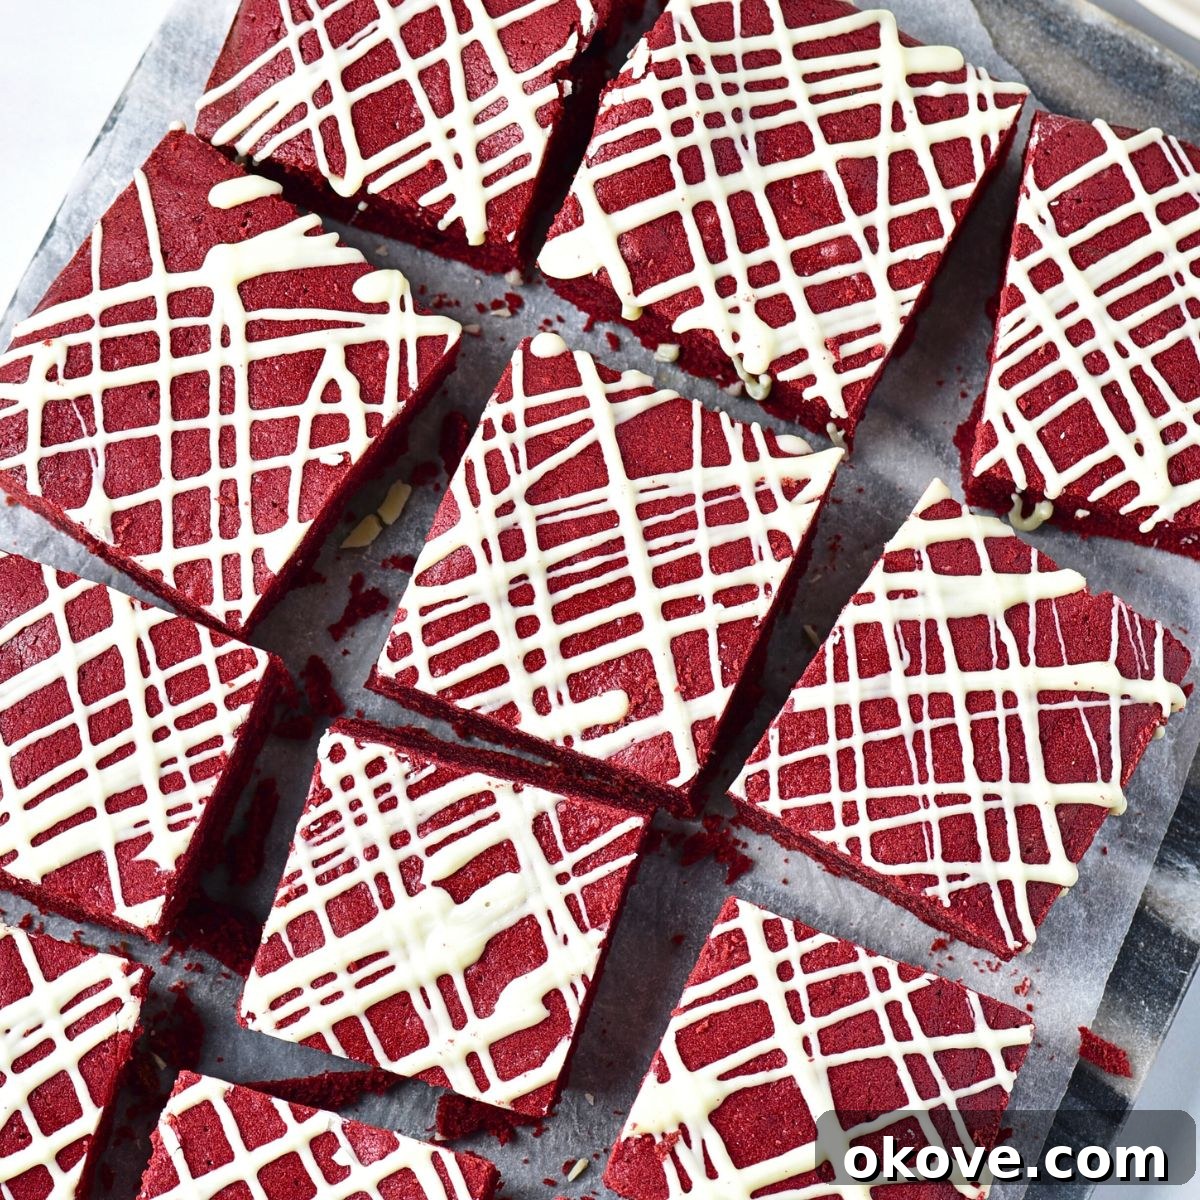
Every time I bake a batch of these glorious red velvet brownies, they vanish almost instantly. With their irresistibly rich, fudgy texture and striking vibrant red color, they are undeniably a crowd favorite, perfect for any gathering, celebration, or simply as a luxurious treat to brighten your day. This recipe promises not just a dessert, but an experience that delights both the eyes and the palate.
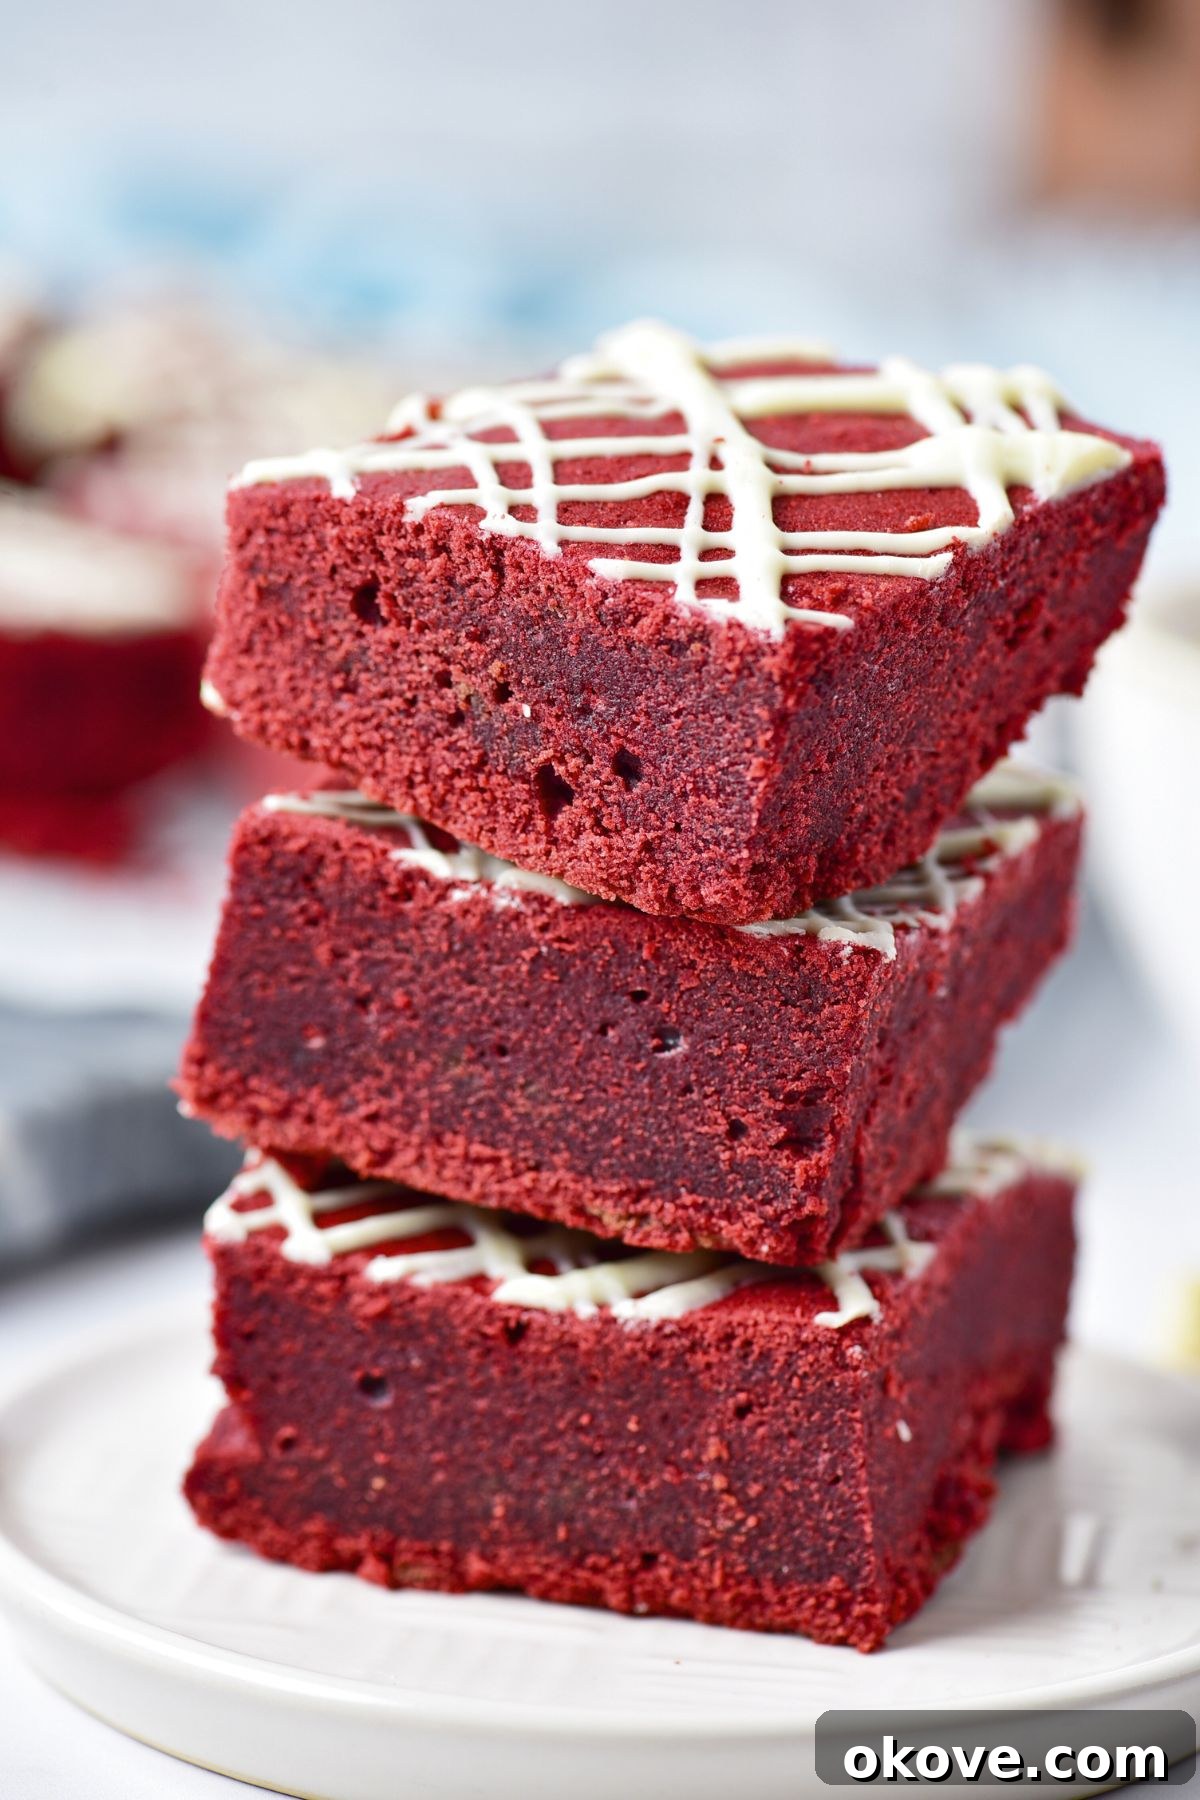
The Ultimate Fudgy Red Velvet Brownies Recipe
Step into the world of decadent desserts with these incredibly easy Red Velvet Brownies. This recipe perfectly marries the distinctive, subtle cocoa flavor and beautiful scarlet hue of classic red velvet cake with the dense, fudgy chewiness that defines a perfect brownie. What elevates these delights even further is a generous drizzle of smooth, melted white chocolate, creating a stunning visual contrast and an extra layer of sweetness. The result is a dessert that is as breathtakingly vibrant as it is profoundly delicious.
Despite their sophisticated appearance, these brownies are surprisingly simple to prepare, making them an ideal choice for bakers of all skill levels. They are wonderfully versatile for various occasions—from casual potlucks and intimate family dinners to festive holiday gatherings like Valentine’s Day and Christmas. Imagine serving them as a show-stopping dessert, perhaps topped with a scoop of creamy vanilla bean ice cream for an extra touch of indulgence. But even served plain, their rich flavor and delightful texture are guaranteed to win hearts. Trust me, once you try this recipe, you’ll understand why these fudgy red velvet brownies become an instant classic in your kitchen.
The Allure of Red Velvet: A Classic Reimagined
Red velvet has a storied history, often associated with luxurious desserts from the Southern United States. Traditionally, the reddish-brown color was a result of the non-Dutched cocoa powder reacting with acidic ingredients like buttermilk and vinegar. Today, a touch of red food coloring enhances this natural tint, creating the iconic vibrant red that makes red velvet so recognizable and appealing. This recipe captures that essence, transforming it into a brownie format that’s quicker to make and equally satisfying.
The magic of red velvet lies in its unique flavor profile: a subtle blend of cocoa with a tanginess from buttermilk or vinegar, often complemented by a rich cream cheese frosting. In these brownies, we capture that signature flavor, allowing the fudgy chocolate base to shine through with its characteristic hint of tang, all leading to a wonderfully complex and balanced taste. It’s a dessert that feels special, evoking a sense of nostalgia and elegance with every bite.
Essential Ingredients for Perfect Red Velvet Brownies
Crafting these delectable brownies requires a handful of common pantry staples, each playing a crucial role in achieving that perfect fudgy texture and signature red velvet flavor. Gathering your ingredients before you begin ensures a smooth and enjoyable baking process.
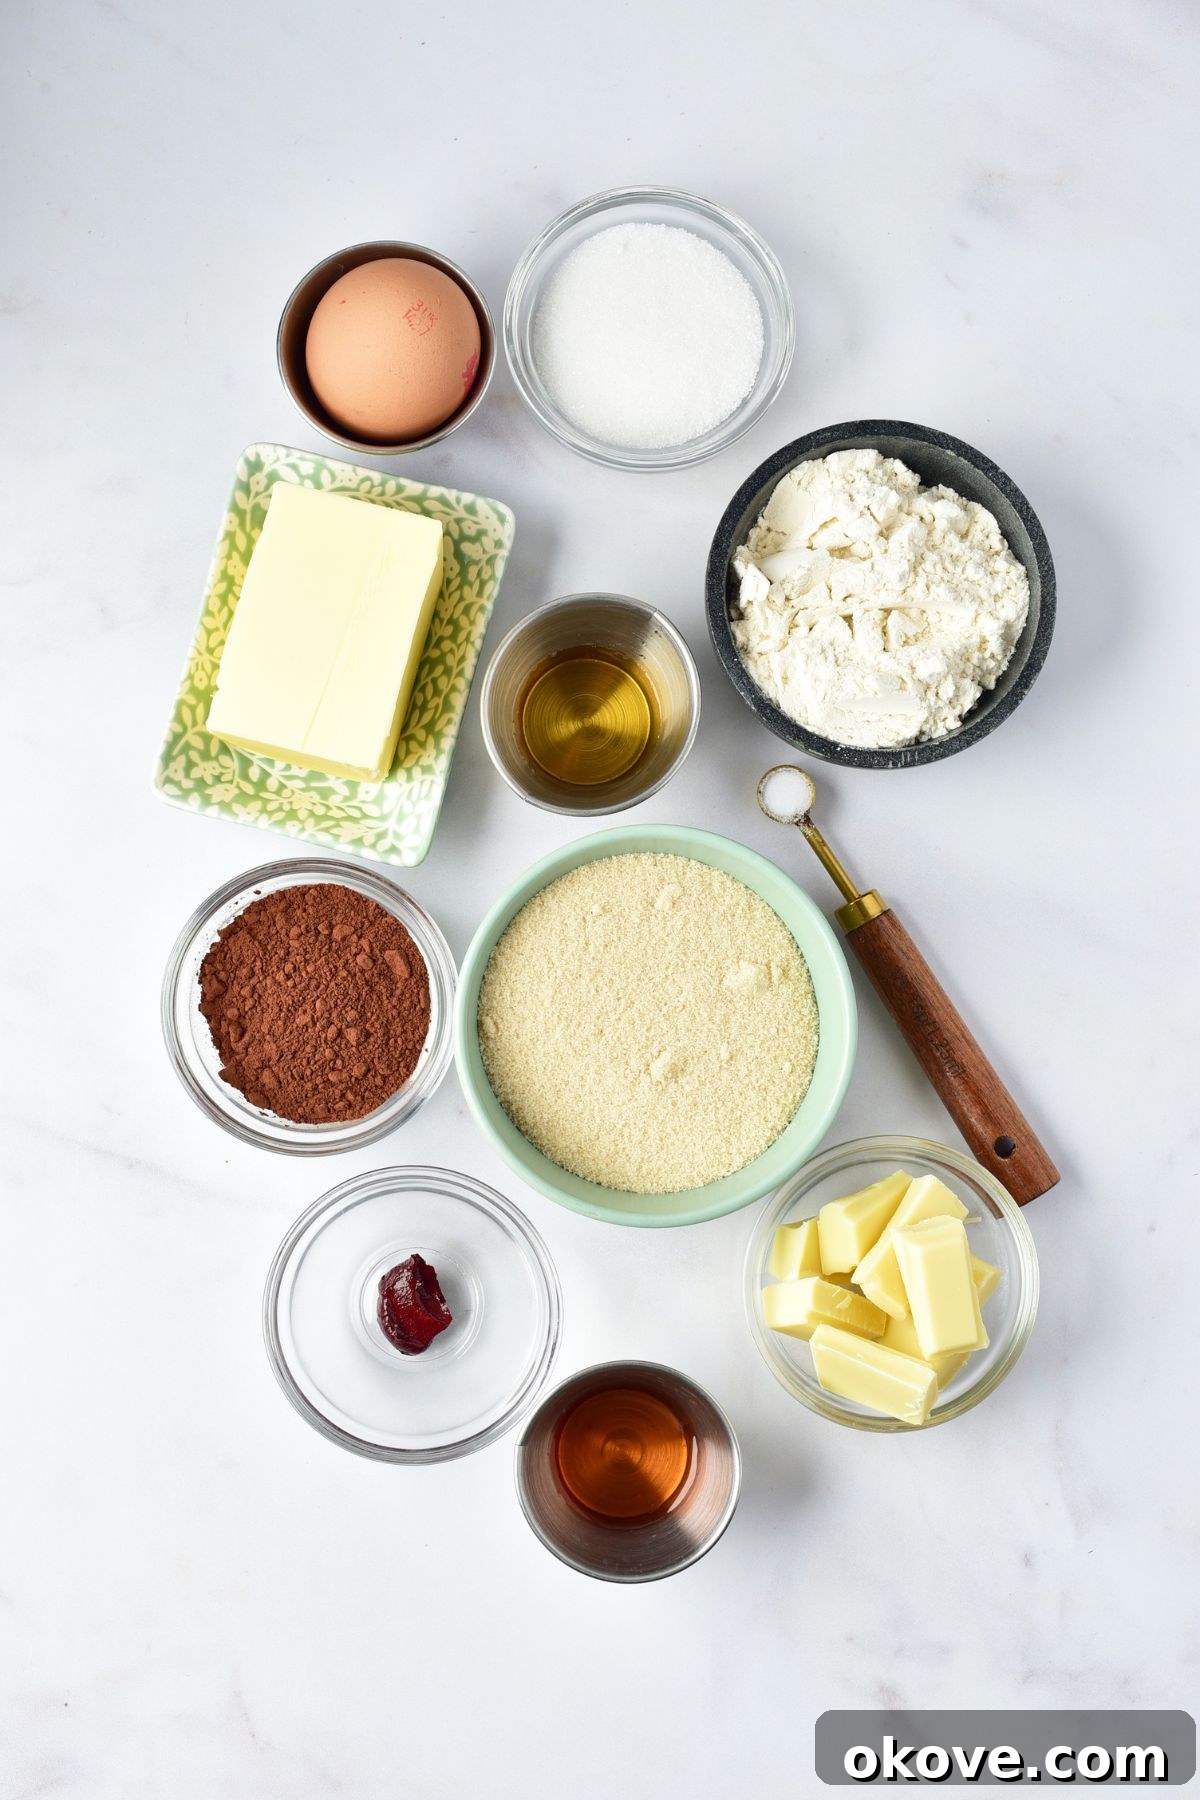
- Melted Unsalted Butter: This is key for richness and ensures the brownies remain incredibly moist and tender. Using unsalted butter allows you to control the overall salt content of the recipe.
- Light Brown Sugar: Contributes a deeper, caramel-like sweetness and adds to the fudgy texture, thanks to its molasses content. It provides a nuanced sweetness that granulated sugar alone cannot.
- Granulated Sugar: The primary sweetener, balancing the rich flavors and ensuring a tender crumb.
- Cocoa Powder: Provides the distinct chocolate flavor that is a hallmark of red velvet. Use a good quality unsweetened cocoa powder for the best results. It’s the “chocolate” in red velvet’s “chocolate cake” base.
- Large Eggs: Act as a binder, adding structure, richness, and helping to achieve that desired fudgy chewiness. Eggs also contribute to the glossy top of the brownies.
- Vanilla Extract: A crucial flavor enhancer that complements both the chocolate and the red velvet notes. Pure vanilla extract offers the best aroma and taste.
- Red Gel Food Coloring: This is what gives the brownies their stunning, vibrant red color. Gel food coloring is preferred over liquid as it’s more concentrated, delivers a richer hue, and won’t thin out the batter.
- All-Purpose Flour: Provides just enough structure to hold everything together without making the brownies cakey. We aim for a dense, fudgy brownie, not a light cake.
- Kosher Salt: A small amount of salt is vital for balancing the sweetness and enhancing all the other flavors, making the chocolate taste even richer.
- White Vinegar: A classic ingredient in red velvet recipes. It reacts with the cocoa powder to deepen its red color and contributes to the characteristic subtle tang and tender crumb. Don’t skip it!
- White Chocolate: For drizzling over the cooled brownies. This adds a beautiful aesthetic touch and a lovely sweet contrast to the red velvet base. Quality white chocolate melts smoothly and sets nicely.
Delicious Variations and Toppings
While these red velvet brownies are perfect as is, they also lend themselves beautifully to customization. Feel free to experiment with these variations to make them uniquely yours:
- Include Chocolate Chips: For an extra burst of chocolate in every bite, fold in 1/2 to 1 cup of white chocolate chips, dark chocolate chips, or semi-sweet chocolate chips into the batter before baking. This adds a delightful textural element and intensified flavor.
- Skip the Food Coloring: If you prefer a classic, rich cocoa brownie without the vibrant red hue, simply omit the red food coloring. You’ll still get a delicious, fudgy chocolate brownie with a subtle tang.
- Frost with Cream Cheese Frosting: For an even richer, more dessert-like experience reminiscent of traditional red velvet cake, completely frost the cooled brownies with a classic cream cheese frosting. This combination is absolutely heavenly and makes them truly decadent.
- Drizzle with Dark or Milk Chocolate: Instead of white chocolate, melt dark or milk chocolate (or even almond bark) and drizzle it over the cooled brownies. This offers a different depth of chocolate flavor and a stunning visual alternative.
- Top with Sprinkles: After drizzling with white chocolate (or any other chocolate), immediately scatter festive sprinkles over the top before the chocolate sets. This is fantastic for holiday themes, birthdays, or just adding a fun, whimsical touch.
- Add Nuts for Crunch: Fold in 1/2 cup of chopped pecans or walnuts into the batter for a delightful nutty flavor and a satisfying crunchy texture that contrasts beautifully with the fudgy brownie.
- Espresso Powder Boost: A teaspoon of instant espresso powder or coffee granules can deepen the chocolate flavor without adding a coffee taste. It’s a secret ingredient many bakers use to enhance chocolate.
- Swirls of Cream Cheese: For a truly unique twist, prepare a small batch of cream cheese filling (like you would for red velvet bars) and swirl it into the brownie batter before baking. This creates beautiful marbled brownies.
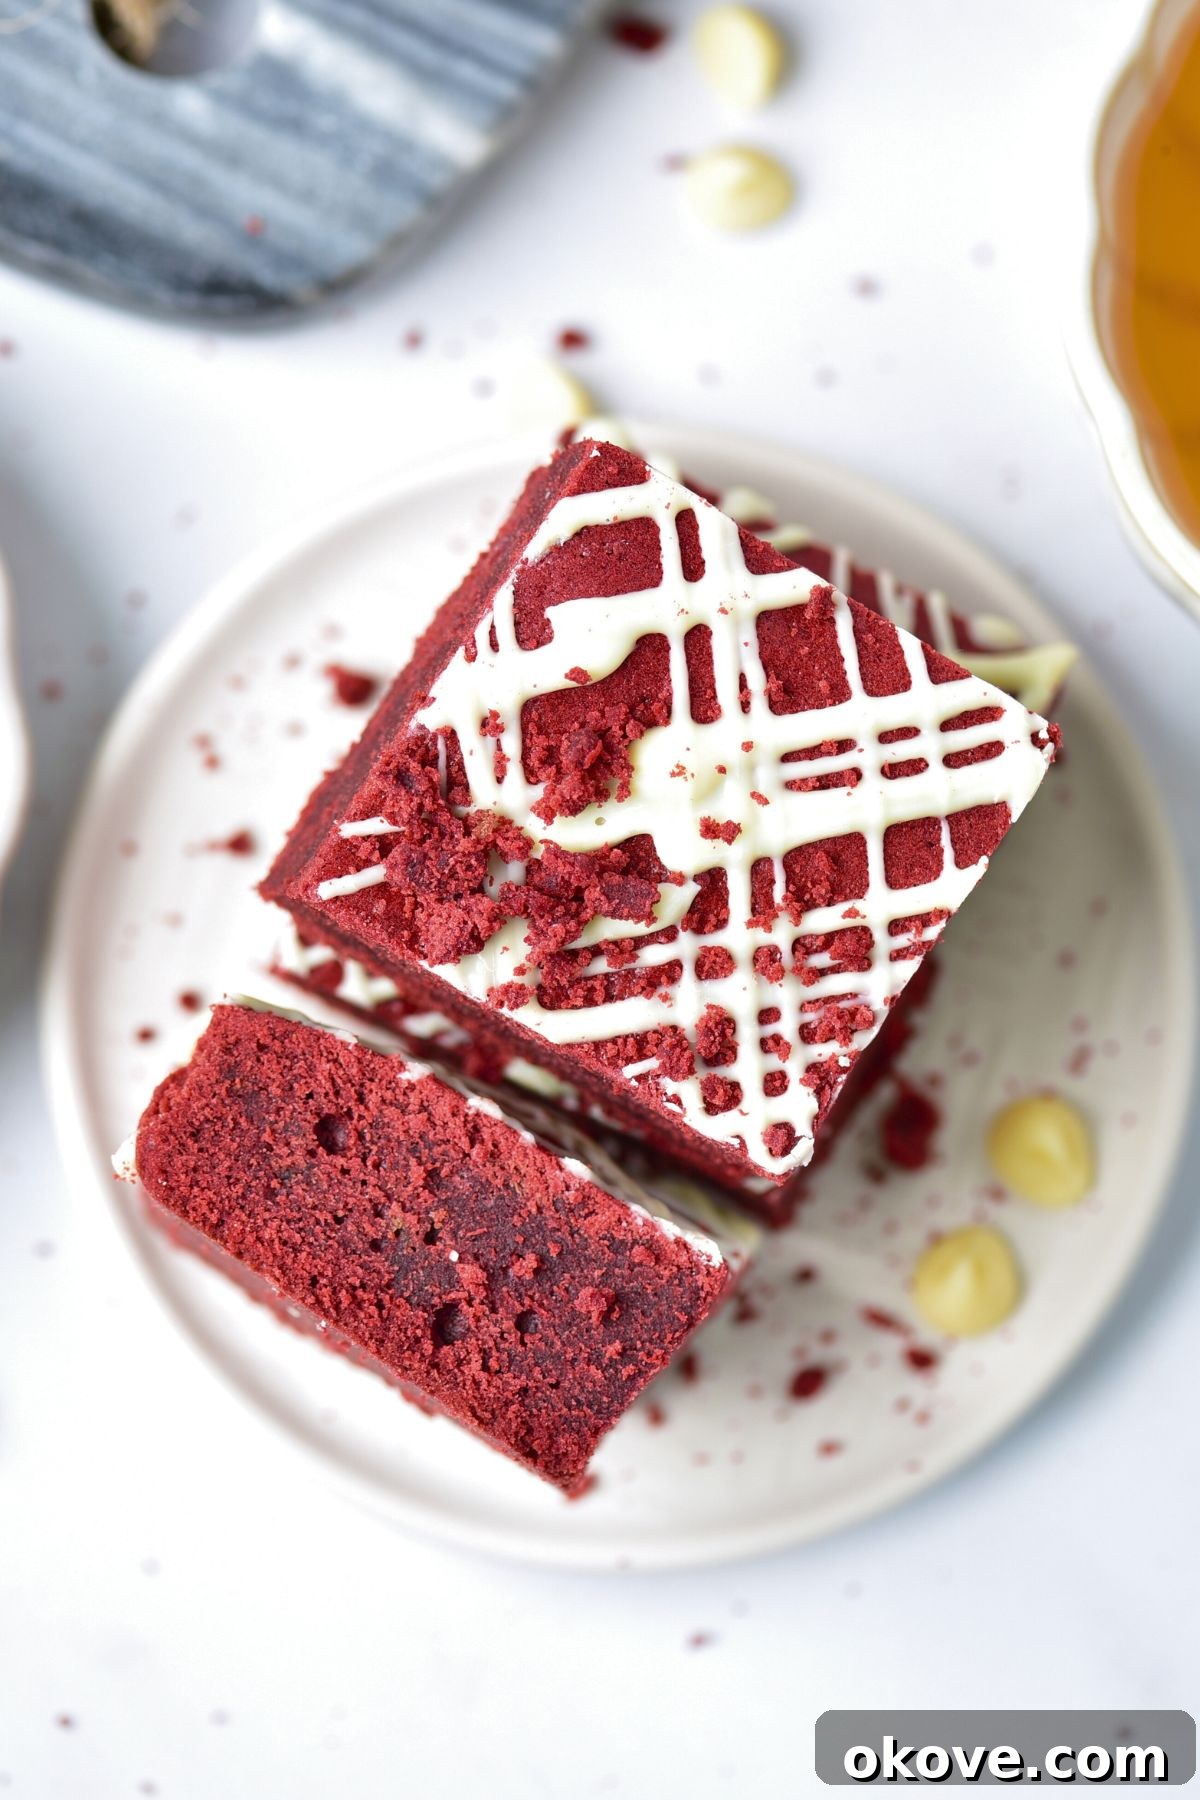
How to Make Red Velvet Brownies: Step-by-Step Guide
Follow these straightforward steps to create a batch of perfect fudgy red velvet brownies that will impress everyone:
- Prepare Your Baking Dish: Begin by preheating your oven to 350°F (175°C). Lightly grease a 9×13 inch baking dish with butter or non-stick spray, or line it with parchment paper, leaving an overhang on the sides for easy lifting later. Set it aside.
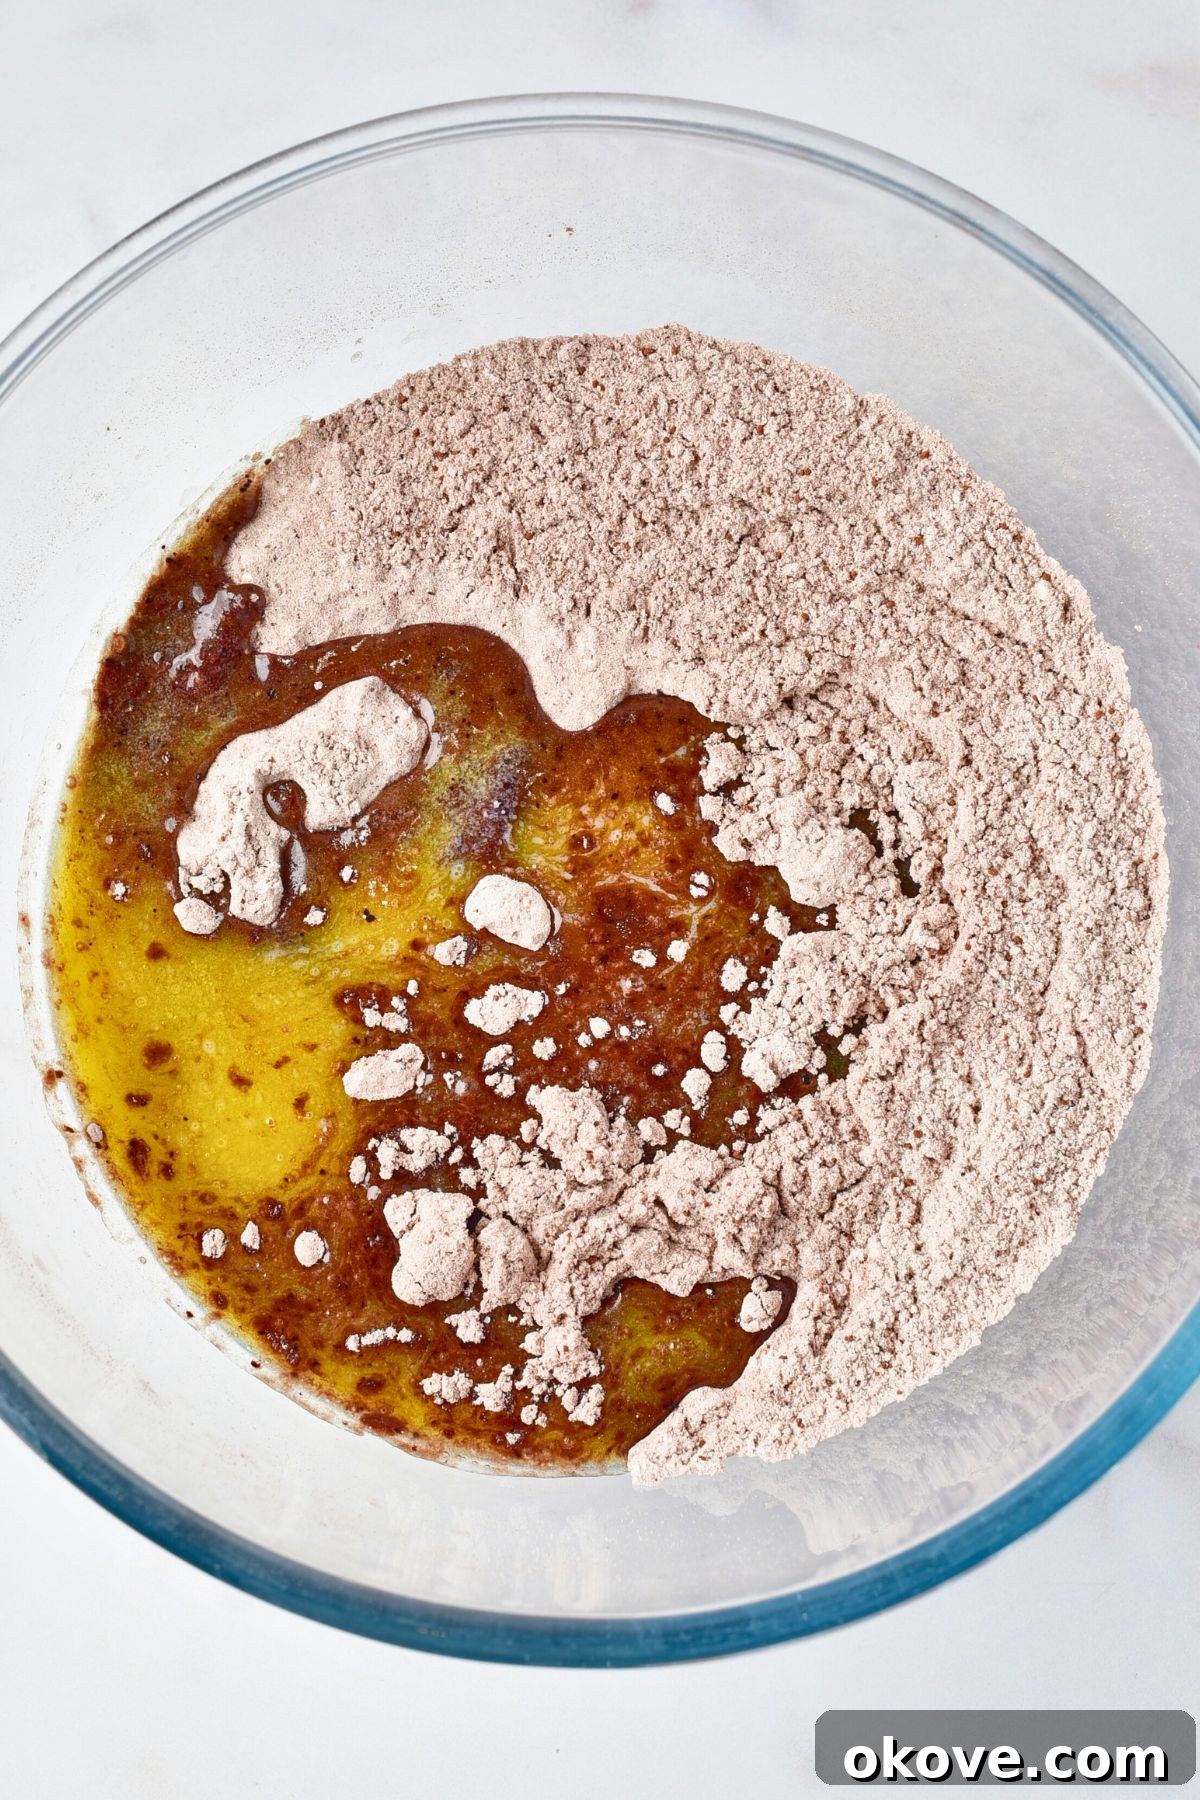
- Combine Wet Ingredients (Part 1): In a large mixing bowl, combine the melted unsalted butter, light brown sugar, granulated sugar, and cocoa powder. Whisk them together until the mixture is smooth, well-combined, and free of lumps. This creates the rich base for your brownies.
- Incorporate Eggs and Flavorings: Stir in the vanilla extract, white vinegar, and large eggs. Continue mixing until the batter is thoroughly blended and glossy. The mixture should appear smooth and slightly thickened.
- Add Dry Ingredients: Gradually add the all-purpose flour and kosher salt to the wet ingredients. Mix until *just* combined. Be careful not to overmix, as this can lead to tough brownies. A few streaks of flour are acceptable at this stage.
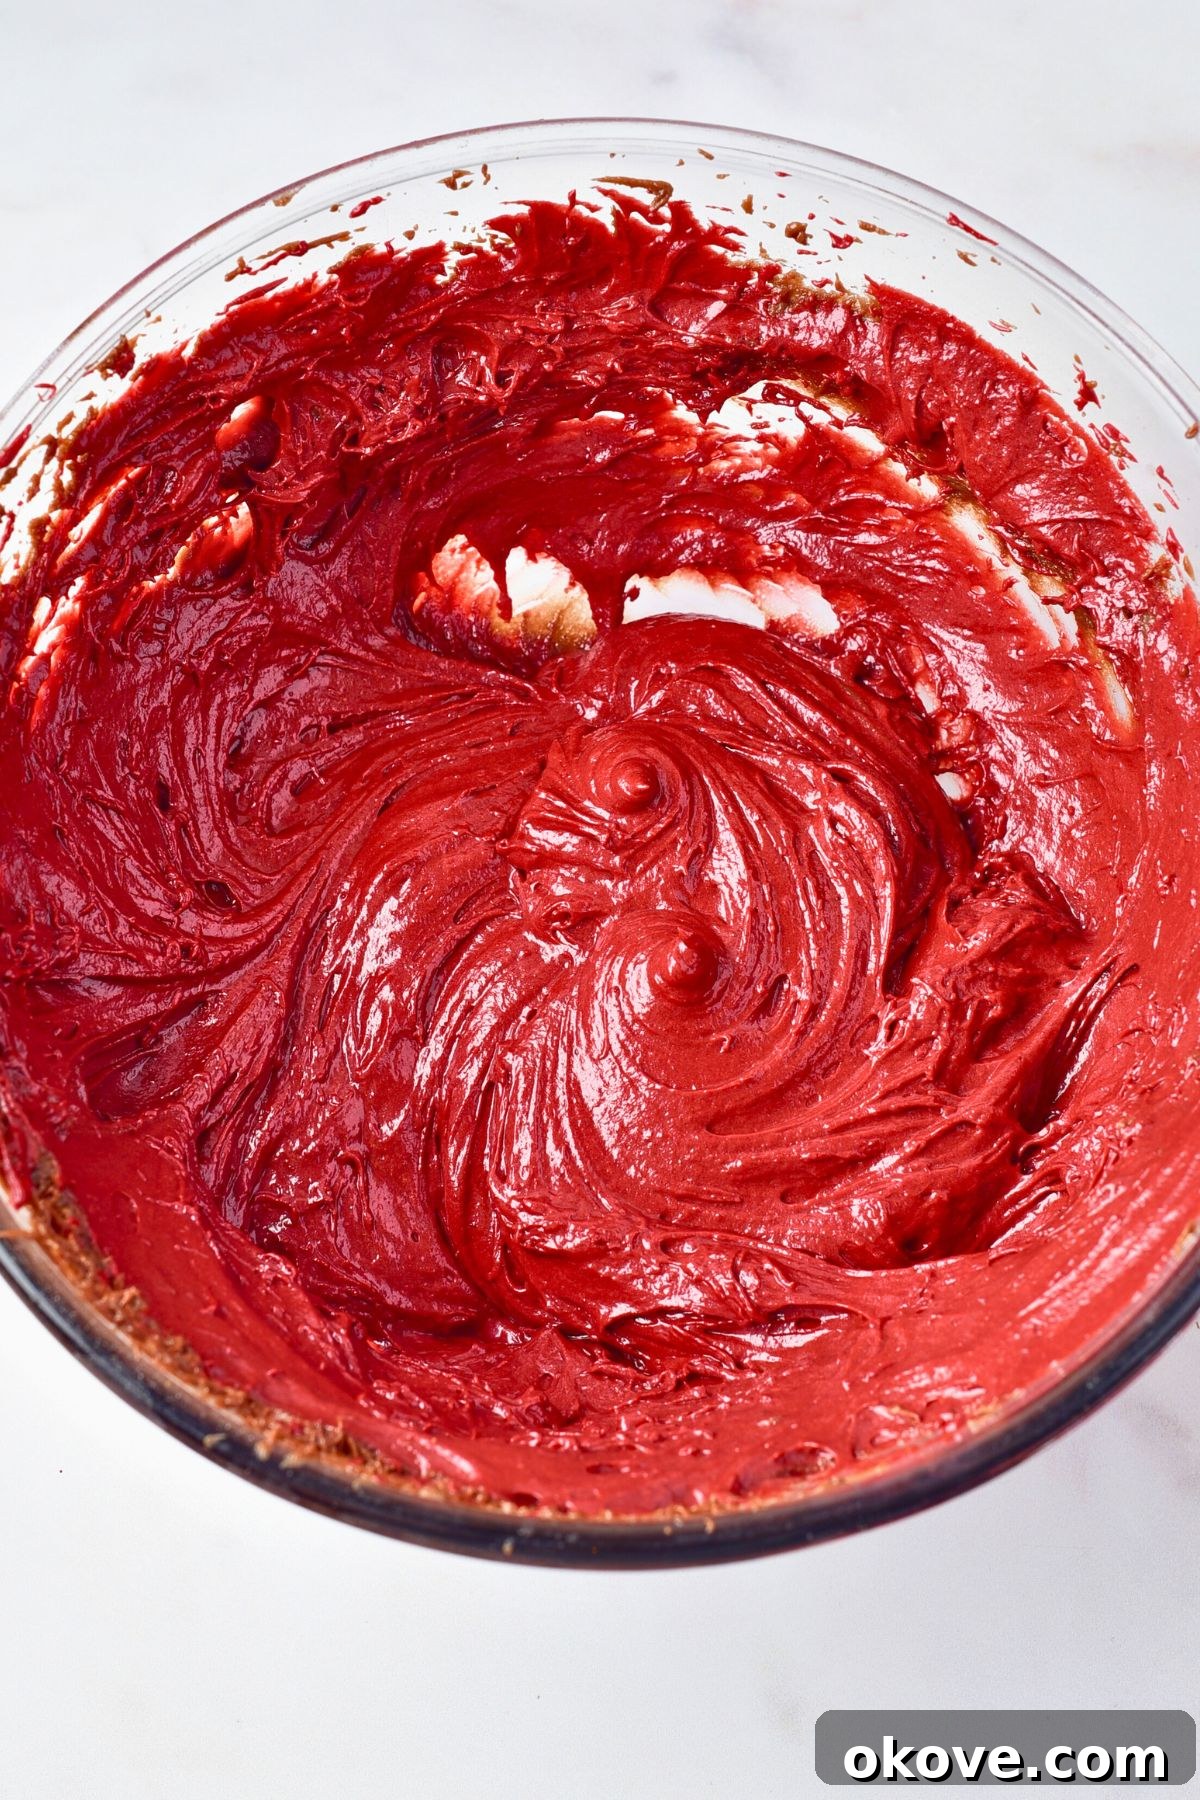
- Achieve the Signature Red Color: Now for the star of the show! Add the red gel food coloring to the batter. Stir gently but thoroughly until the color is fully incorporated and the batter transforms into a rich, vibrant red hue. Continue to be mindful not to overmix.
- Bake to Perfection: Pour the beautifully colored brownie batter into your prepared baking dish. Spread it evenly with a spatula to ensure a consistent thickness. Bake for approximately 20-23 minutes. The brownies are done when a toothpick inserted into the center comes out with moist crumbs attached, but not wet batter. Avoid overbaking to maintain their fudgy texture. Let the brownies cool in the baking dish for at least 20 minutes before proceeding.
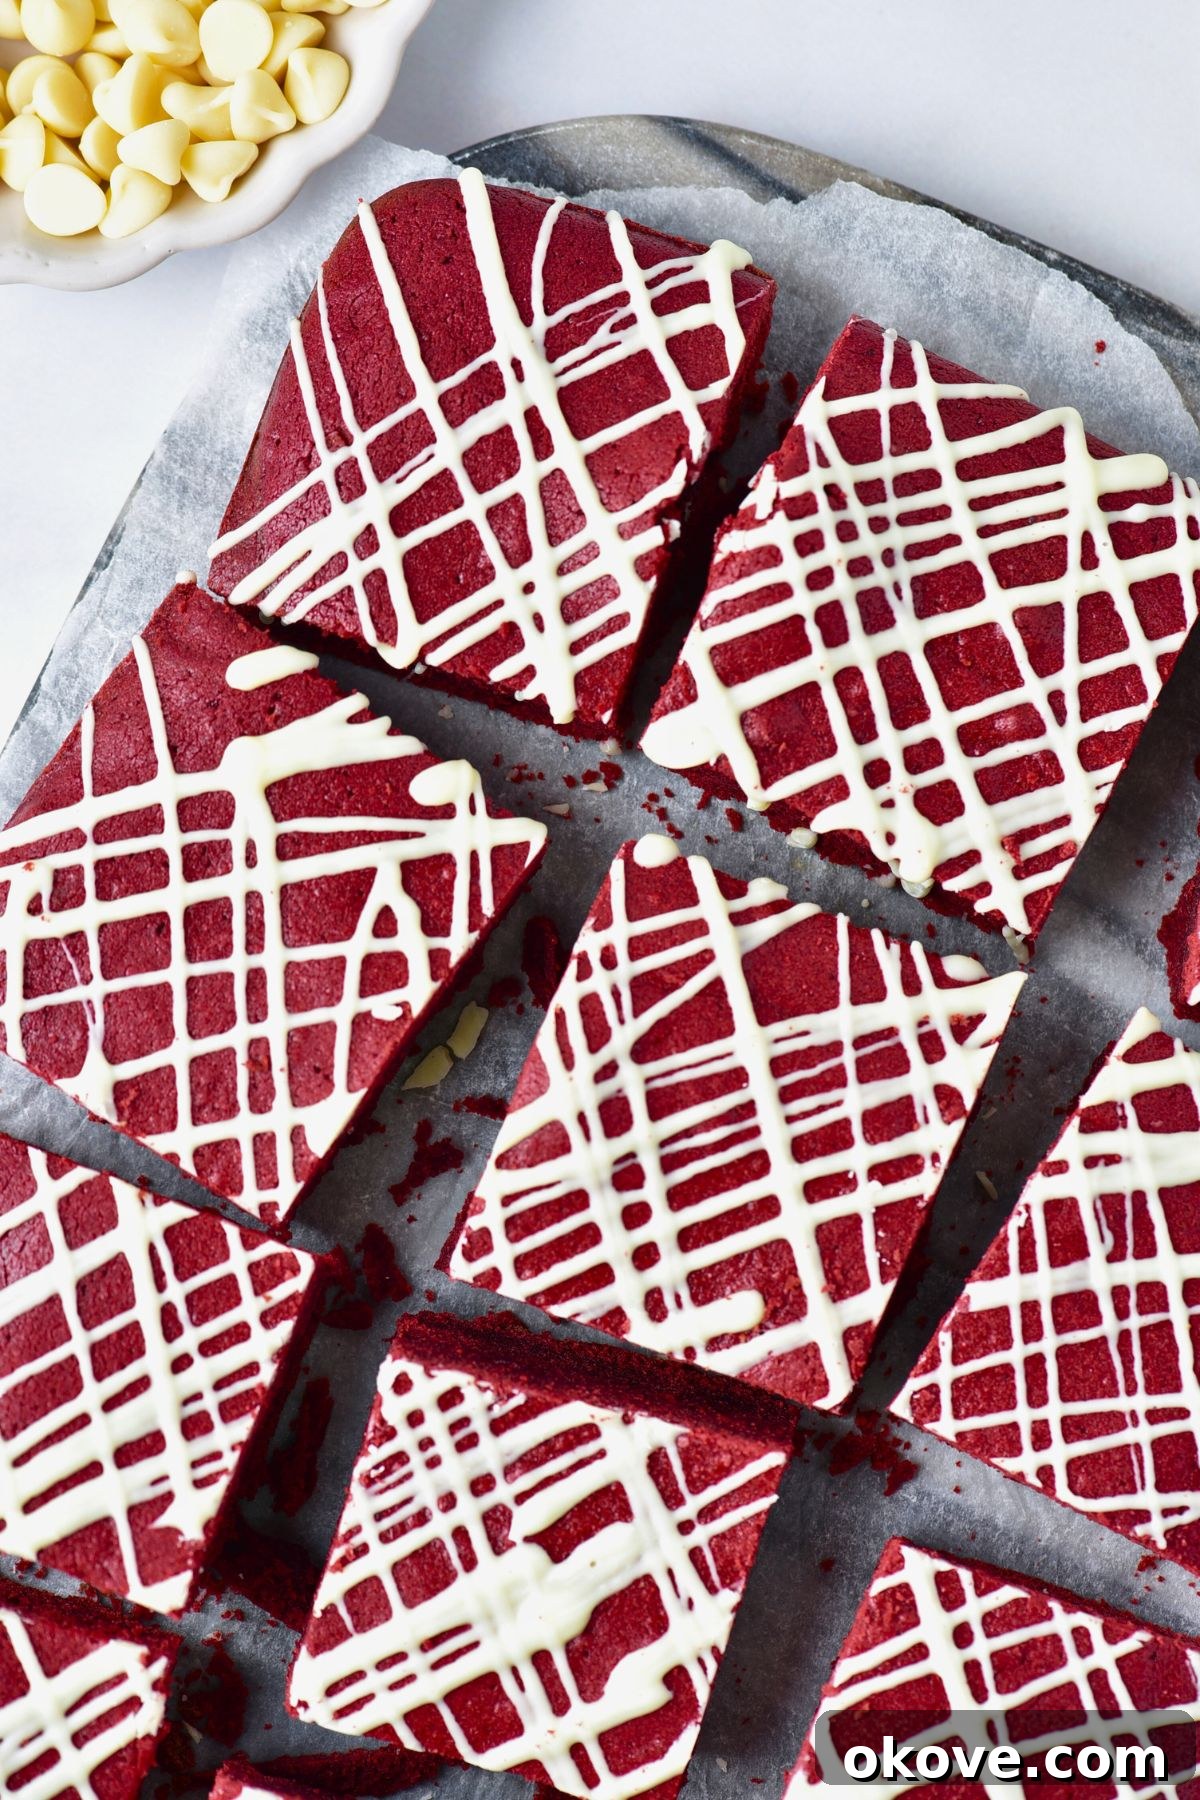
- Drizzle with White Chocolate: Once the brownies have cooled significantly (ideally to room temperature for the cleanest drizzle), melt the white chocolate. You can do this in the microwave in 30-second intervals, stirring well between each, until smooth and fluid. Alternatively, use a double boiler. Drizzle the melted white chocolate generously over the cooled brownies. Let it set for 10-15 minutes, or until it hardens. You can place them in the refrigerator for a few minutes to speed this up.
- Slice and Serve: Use a sharp knife (a plastic knife or one dipped in hot water works wonders for clean cuts) to slice the brownies into neat squares. Serve immediately and enjoy!
Tips for Making the Best Red Velvet Brownies
Achieving bakery-quality brownies at home is easier than you think with a few simple tricks:
- Do Not Overbake: This is the golden rule for fudgy brownies! Brownies continue to cook slightly even after being removed from the oven. Check them a couple of minutes before the suggested baking time. When a toothpick inserted into the center comes out with moist crumbs but no wet batter, they are done. Overbaking leads to dry, cakey brownies.
- Cool Completely Before Slicing: Patience is a virtue here. If the brownies are still warm when you drizzle the melted chocolate, it won’t harden properly and will simply melt into the brownies. More importantly, warm brownies are much harder to cut into clean, even squares. Letting them cool completely (even chilling them in the fridge for 30 minutes) will give you perfect, neat slices.
- Adjust Food Coloring to Your Preference: The intensity of red can vary with different brands of food coloring. If your red isn’t as dark or vibrant as you’d like, add a tiny drop of gel food coloring at a time and stir until you achieve your desired bright red appearance. It’s easier to add more than to take away.
- Opt for Gel Food Coloring: Gel food coloring is highly concentrated and delivers the best, most vibrant red color without altering the taste or consistency of your brownie batter. Liquid food coloring can sometimes have an aftertaste if used in large quantities and may thin out your batter, so it’s best avoided for this recipe.
- Use Room Temperature Eggs: Room temperature eggs emulsify better with the other ingredients, creating a smoother, more uniform batter and a better overall texture in your finished brownies.
- Line with Parchment Paper: For incredibly easy removal and cleanup, line your baking dish with parchment paper, leaving an overhang on two sides. Once cooled, you can simply lift the entire batch of brownies out of the pan and onto a cutting board.
- Salt is Essential: Don’t skip the salt! It’s not just for seasoning; it dramatically enhances the chocolate flavor and balances the sweetness, preventing the brownies from tasting overly sugary.
- Don’t Overmix the Flour: Once the flour is added, mix only until just combined. Overmixing develops the gluten in the flour, which can lead to tough, chewy, rather than fudgy, brownies.
FAQ’s: Your Red Velvet Brownie Questions Answered
To maintain their freshness and fudgy texture, store your red velvet brownies in an airtight container at room temperature for up to 3 days. For extended freshness, you can store them in the refrigerator for up to a week. Be sure they are tightly sealed to prevent them from drying out.
Absolutely! Red velvet brownies freeze beautifully. Once completely cooled, wrap individual brownies or a whole slab tightly in plastic wrap, then an additional layer of aluminum foil to prevent freezer burn. You can separate layers with parchment paper if stacking. Freeze for up to 3 months. To serve, simply thaw them at room temperature. The texture will remain wonderfully fudgy.
Yes, these brownies are an excellent make-ahead dessert! You can bake them a day or two in advance. Once cooled, apply the white chocolate drizzle and store them covered at room temperature. Their flavor often deepens slightly overnight, making them even more delicious on the second day.
An 9×13 inch baking dish is ideal for this recipe, yielding brownies of a medium thickness. If you prefer thicker brownies, you could use an 8×8 or 9×9 inch pan, but you will need to increase the baking time. Conversely, for thinner brownies, a larger pan (like a jelly roll pan) could work, requiring a shorter baking time. Always keep an eye on doneness with a toothpick.
White vinegar is a traditional ingredient in red velvet recipes. It reacts with the cocoa powder, which can naturally have reddish pigments, helping to enhance and stabilize the red color. More importantly, it reacts with the baking soda (if present, though less common in fudgy brownies) to create a tender crumb and contributes to the subtle tangy flavor that distinguishes red velvet from regular chocolate. In this recipe, it ensures a vibrant color and balanced flavor.
Serving Suggestions for Your Red Velvet Brownies
While these brownies are incredible on their own, a few simple additions can elevate them to an even more spectacular dessert:
- A Scoop of Vanilla Ice Cream: The classic pairing! The cold, creamy vanilla provides a perfect contrast to the warm, fudgy brownie.
- Dollop of Whipped Cream: A light and airy accompaniment that adds a delicate touch without being too heavy.
- Fresh Berries: Raspberries or strawberries offer a tart freshness that cuts through the richness of the chocolate and sugar, adding beautiful color and flavor.
- Coffee or Hot Chocolate: A warm beverage pairs wonderfully with the sweet indulgence of red velvet brownies.
- Dusting of Powdered Sugar: For a simple, elegant finish, a light dusting of powdered sugar adds a delicate sweetness and a sophisticated look, especially against the vibrant red.
Red Velvet Brownies
Rebecca
12
10 mins
20 mins
30 mins
1 hr
Share by Email
Print Recipe
Equipment
-
Large Mixing Bowl
-
9×13 Inch Baking Dish
-
Whisk or Electric Mixer
-
Rubber Spatula
-
Microwave-safe Bowl (for melting chocolate)
Ingredients
-
1
cup
unsalted butter,
melted -
1
cup
light brown sugar -
1/2
cup
granulated sugar -
3
tablespoons
cocoa powder (unsweetened) -
2
large
eggs (room temperature) -
2
teaspoons
vanilla extract (pure) -
1
teaspoon
red gel food coloring (or more for desired vibrancy) -
1 1/2
cups
all-purpose flour -
1/4
teaspoon
kosher salt -
1
tablespoon
white vinegar -
2
ounces
white chocolate,
for drizzling on top
Instructions
-
Preheat the oven to 350°F (175°C). Grease a 9×13 inch baking dish, or line with parchment paper for easy removal, then set aside.
-
In a large bowl, combine the melted butter, light brown sugar, granulated sugar, and cocoa powder. Whisk until smooth.
-
Stir in the vanilla extract, white vinegar, and eggs until the mixture is smooth, well blended, and glossy.
-
Gradually add the all-purpose flour and kosher salt, mixing until just combined. Be careful not to overmix.
-
Add the red gel food coloring and stir until fully incorporated and the batter has a rich, vibrant red color. Mix gently to avoid overworking the batter.
-
Pour the brownie batter into the prepared baking dish and spread it evenly. Bake for 20-23 minutes, or until a toothpick inserted into the center comes out with moist crumbs (not wet batter). Let the brownies cool in the baking dish for about 20 minutes.
-
Once the brownies have cooled significantly (ideally to room temperature), melt the white chocolate in the microwave in 30-second intervals, stirring between each interval until smooth. Drizzle the melted chocolate over the cooled brownies and let it set for 10-15 minutes, until it hardens.
-
Use a sharp knife to cut the brownies into squares and serve.
Notes
- For clean, even squares, allow the brownies to cool completely before cutting. Chilling them in the refrigerator for 20-30 minutes can also help achieve perfect cuts.
- Using gel food coloring will give the best, most vibrant color and will not affect the taste or texture of the brownies. Adjust with a few drops as needed to get your desired rich red color.
- Do not overbake your brownies! They should be slightly underdone in the center for that ultimate fudgy texture.
Nutrition
Carbohydrates: 42g
Protein: 3g
Fat: 18g
Saturated Fat: 11g
Polyunsaturated Fat: 1g
Monounsaturated Fat: 5g
Trans Fat: 1g
Cholesterol: 73mg
Sodium: 72mg
Potassium: 91mg
Fiber: 1g
Sugar: 29g
Vitamin A: 519IU
Vitamin C: 0.02mg
Calcium: 38mg
Iron: 1mg
Nutrition information is automatically calculated, so should only be used as an approximation.
Additional Info
Dessert
American
More Easy Dessert Recipes to Love
If you enjoyed these fudgy red velvet brownies, you’re sure to find delight in these other simple and delicious dessert recipes:
Explore More Delights
Desserts
Apple Roses
Desserts
Red Velvet Bars
Desserts
Red Velvet Cake Mix Cookies
Desserts
Pistachio Bundt Cake