
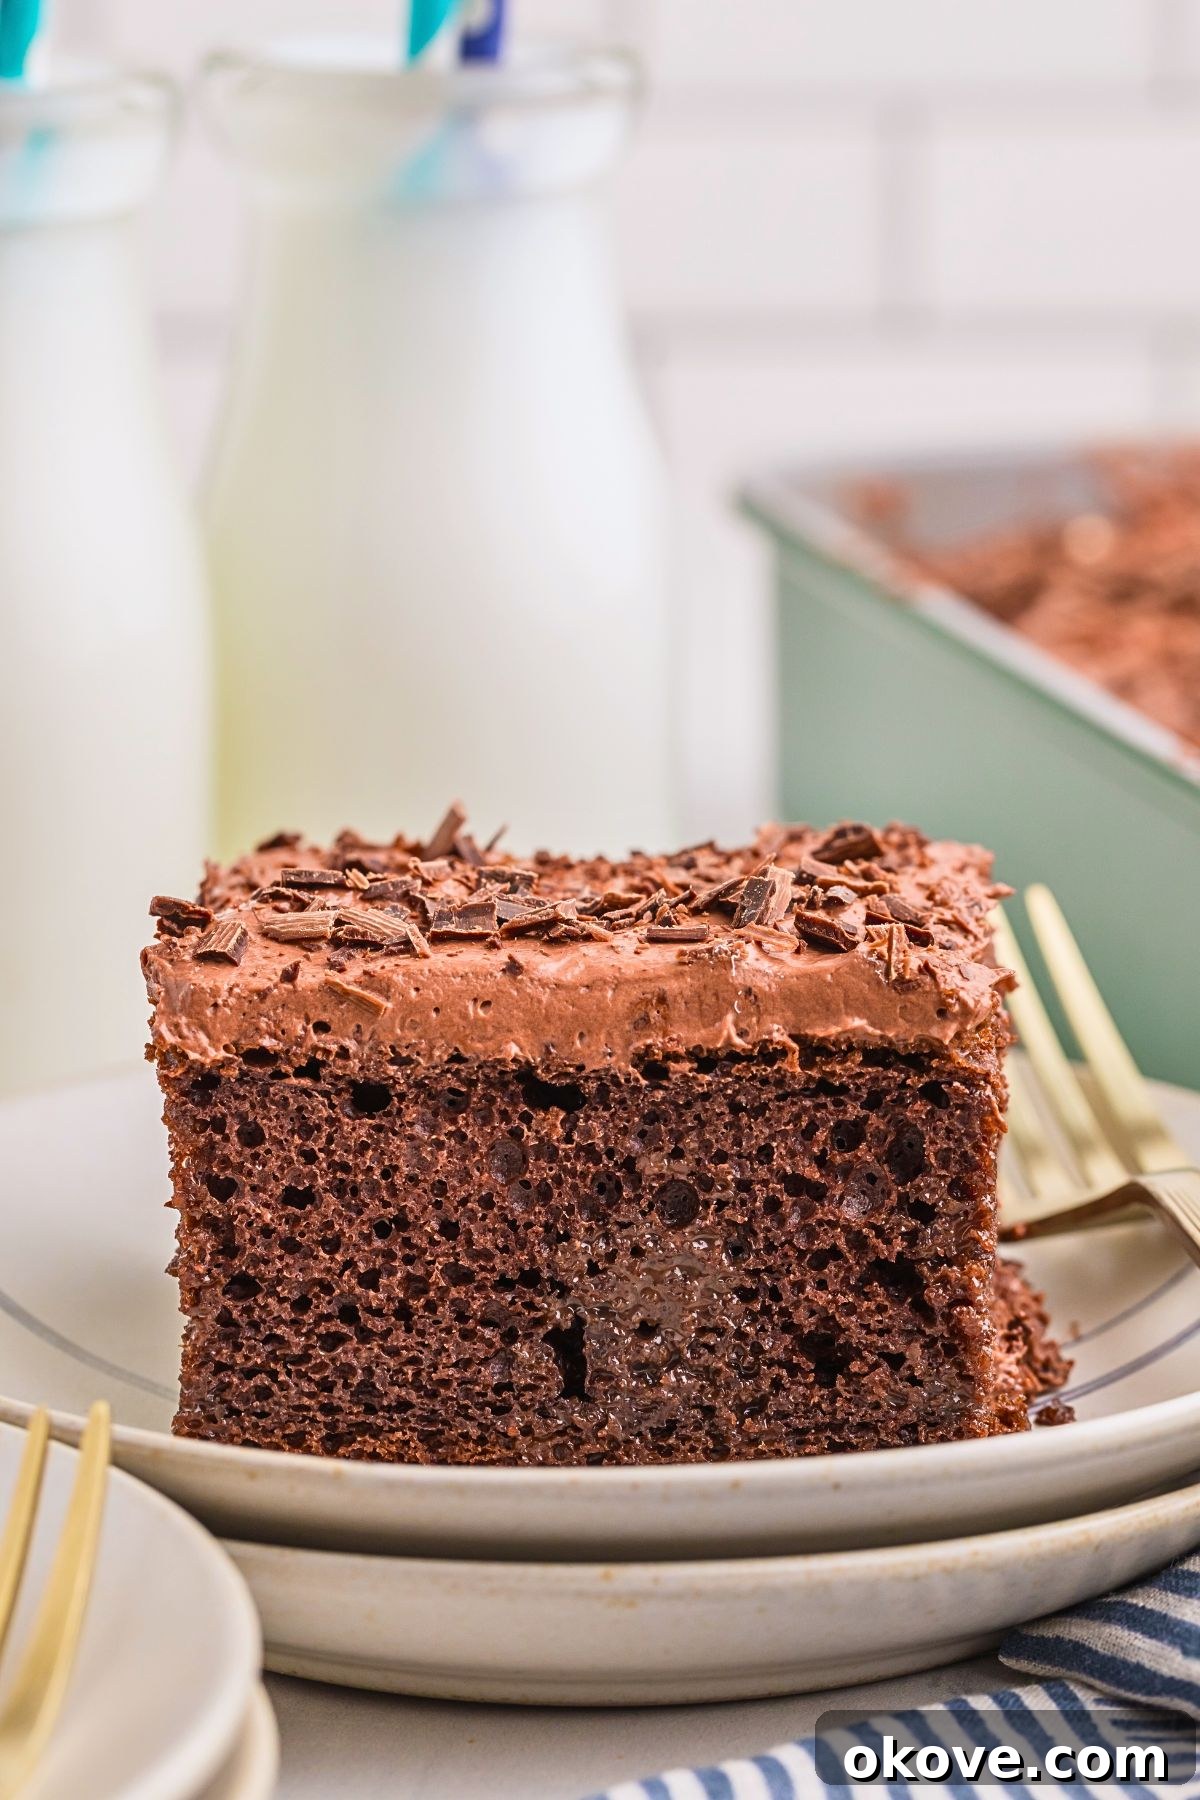
Prepare to fall in love with this incredibly easy chocolate poke cake! It’s truly the ultimate chocolate lover’s dream, offering rich, deeply moist, and wonderfully creamy layers that come together to create an unforgettable dessert experience. The absolute best part? Its simplicity ensures even beginner bakers can achieve spectacular results, making it a go-to for any occasion.
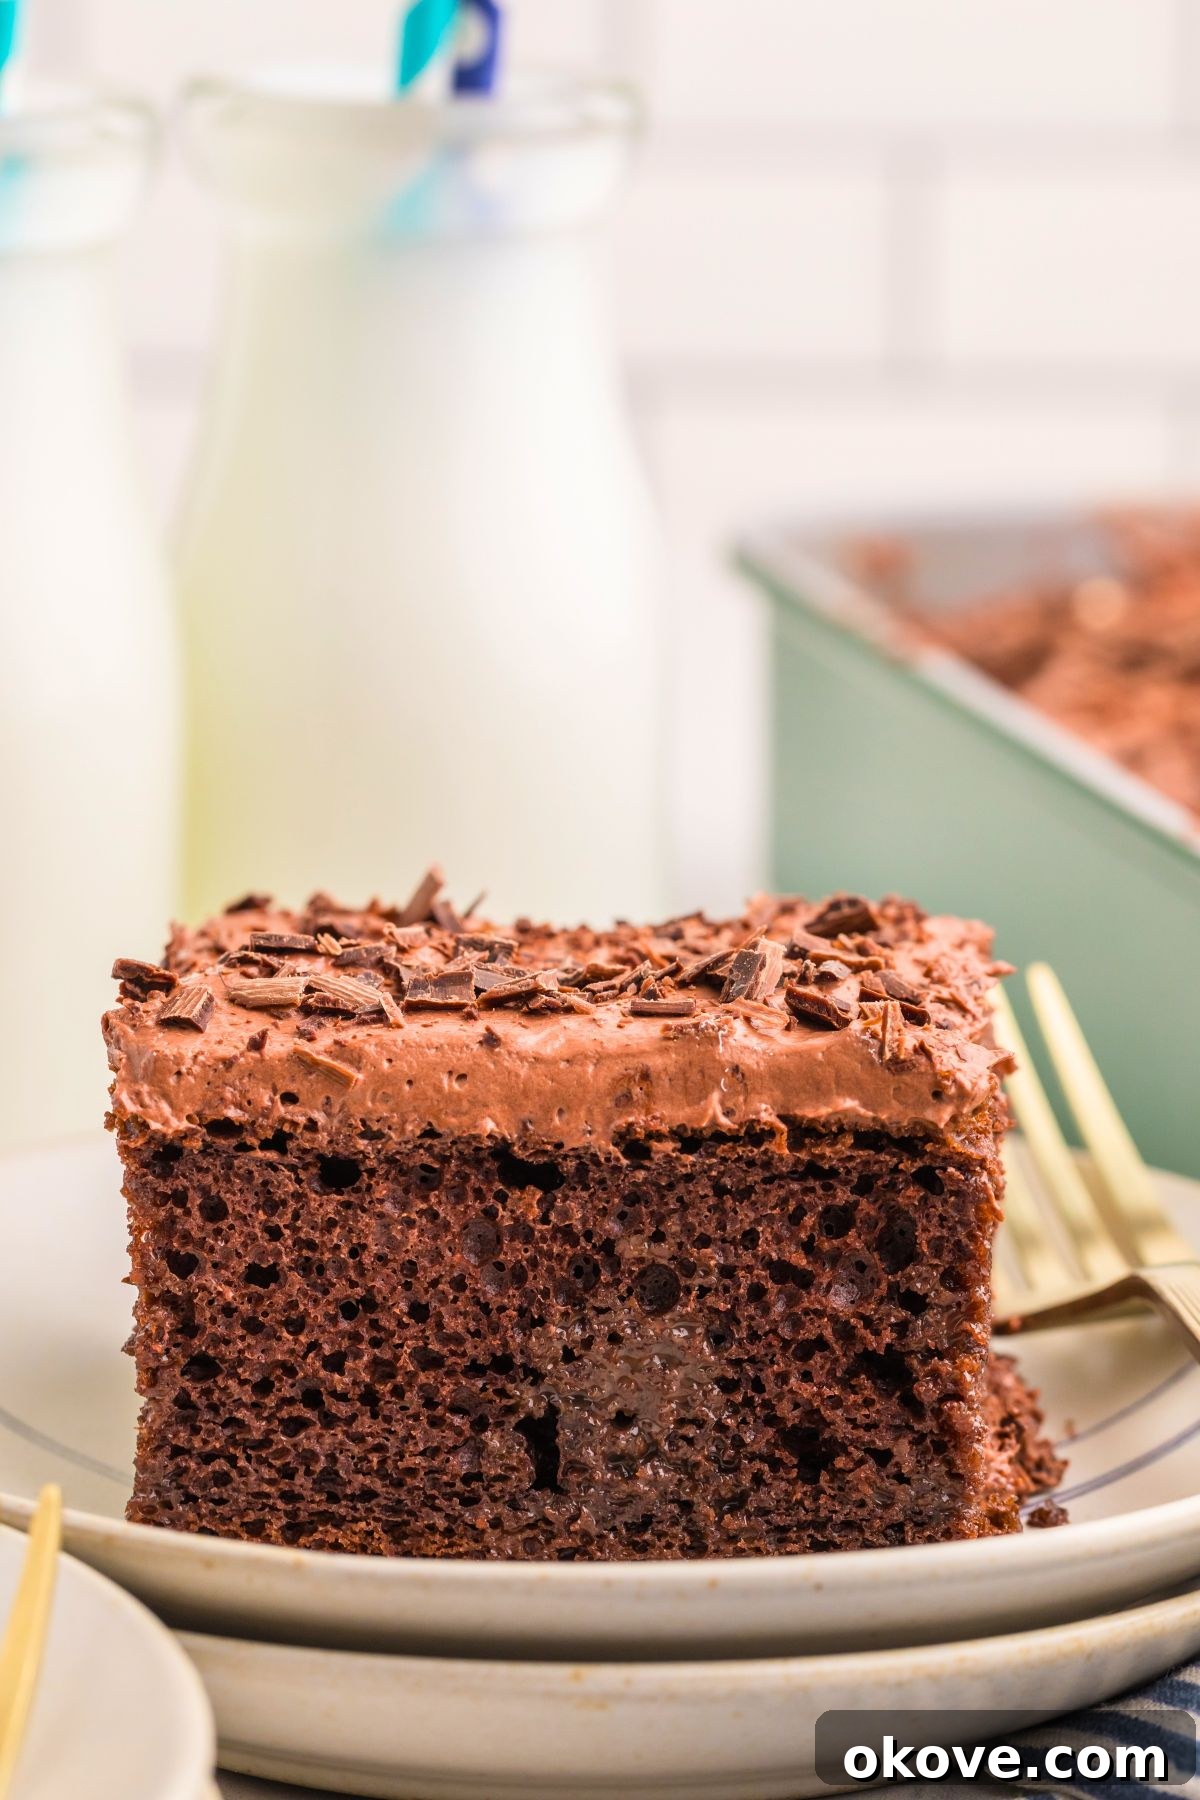
The Ultimate Easy Chocolate Poke Cake Recipe for Decadent Dessert Lovers
This chocolate poke cake isn’t just a dessert; it’s a celebration of all things chocolate. Combining a tender chocolate cake base with a luscious sweetened condensed milk and melted chocolate filling, topped with a cloud-like chocolate pudding and whipped topping, it delivers an explosion of flavors and textures in every bite. It’s a simple yet incredibly rich and decadent treat that’s perfect for family dinners, holiday gatherings, or simply satisfying that intense chocolate craving. One of its standout features is how wonderfully it can be prepared ahead of time, as the flavors deepen and the cake becomes even more moist after chilling overnight. This makes it an ideal choice for busy hosts or anyone looking to enjoy a stress-free dessert.
If your heart beats for chocolate as much as ours does, you absolutely must explore other delightful recipes like our creamy peanut butter chocolate cake or these irresistible double chocolate chip cookies for even more indulgence.
Why You’ll Adore This Chocolate Poke Cake
There are countless reasons why this chocolate poke cake will quickly become a cherished recipe in your collection. It’s more than just a dessert; it’s a delightful culinary experience that promises satisfaction with every forkful.
- Effortlessly Simple: Starting with a boxed cake mix significantly cuts down on prep time, making this an accessible recipe for bakers of all skill levels. Minimal fuss, maximum flavor!
- Unrivaled Moisture and Richness: The magic of the poke cake lies in its ability to absorb the sweetened condensed milk and chocolate filling, infusing every crumb with unparalleled moisture and a deep, luxurious chocolate flavor.
- Decadent Layers: Each layer—from the tender cake to the rich chocolate filling, the creamy pudding, and the light whipped topping—contributes to a symphony of textures and tastes that tantalize the palate.
- Make-Ahead Perfection: This cake actually improves with time! Preparing it a day in advance allows the flavors to meld beautifully and the cake to fully absorb its delicious fillings, making it perfect for entertaining.
- Customization Friendly: Whether you want to swap pudding flavors, add different toppings, or experiment with various chocolate types, this recipe provides a fantastic base for endless creativity.
- Guaranteed Crowd-Pleaser: From casual weeknight desserts to festive holiday tables, this chocolate poke cake consistently receives rave reviews and disappears quickly. It’s truly a dessert that everyone loves.
Essential Ingredients for Your Decadent Chocolate Poke Cake
Crafting this incredible dessert begins with selecting the right ingredients. Each component plays a vital role in achieving the cake’s signature rich flavor and irresistible texture.
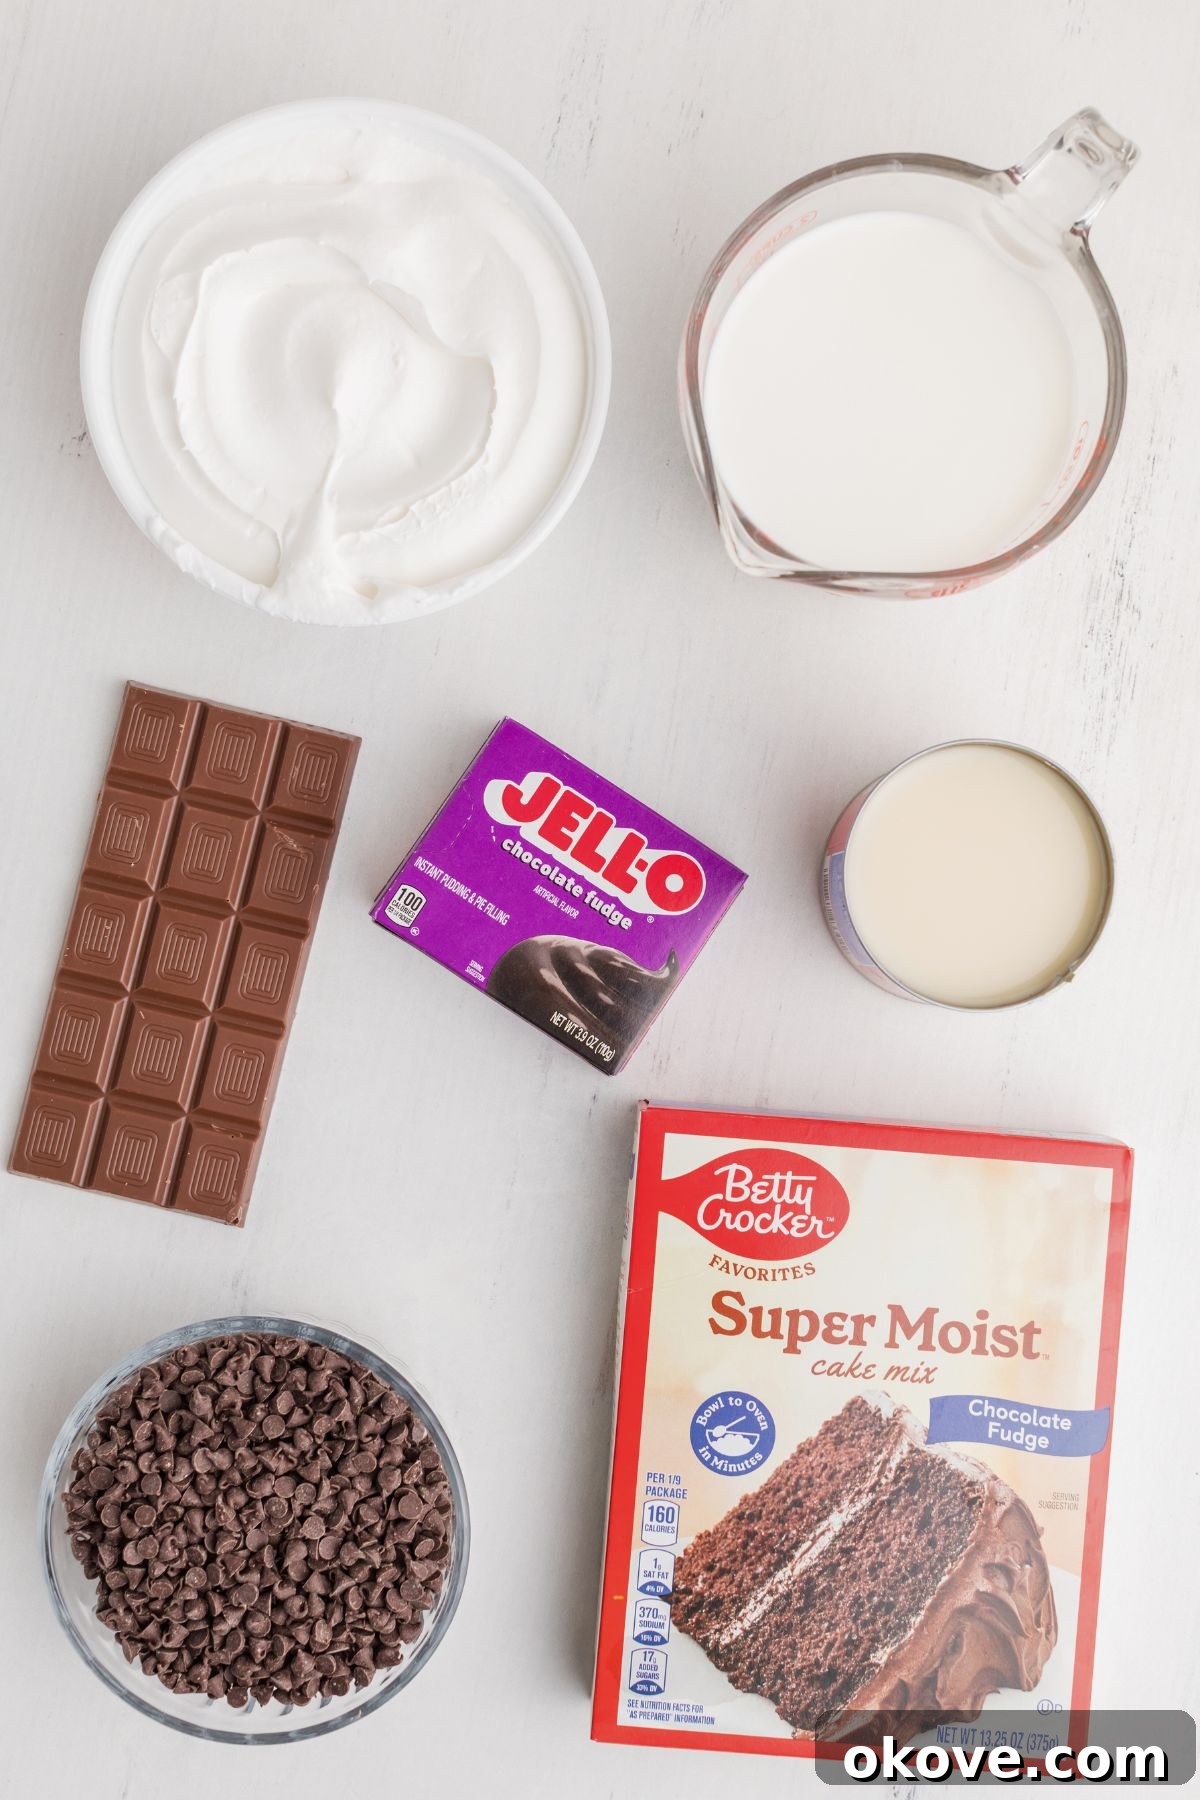
- Chocolate Cake Mix: The foundation of our cake. We recommend a quality chocolate fudge or devil’s food cake mix for a rich base. Remember to also have the additional ingredients listed on the package ready (for example, many mixes require 3 eggs, 1/2 cup vegetable oil, and 1 cup water).
- Sweetened Condensed Milk: This magical ingredient is key to the poke cake’s incredible moisture and sweet, creamy texture. It seeps into the cake, making it truly decadent.
- Semi-Sweet Chocolate Chips: When melted and mixed with condensed milk, these form a luscious chocolate filling that further enhances the cake’s flavor and moisture.
- Whipped Topping, Thawed: A light and airy topping, such as Cool Whip, provides a perfect contrast to the rich cake and pudding layers. Ensure it’s fully thawed before use for the best consistency.
- Instant Chocolate Pudding Mix: Opt for a high-quality instant chocolate fudge pudding mix for intense flavor and quick setting. JELL-O Chocolate Fudge is a popular and reliable choice.
- Whole Milk, Cold: Essential for preparing the instant pudding. Using cold milk helps the pudding set quickly and properly, creating a smooth and creamy texture.
- Milk Chocolate Candy Bar: Primarily for decorative chocolate shavings or curls, adding an elegant finish and an extra touch of chocolate. You can also get creative and make these stunning chocolate curls.
Simple Steps to Your Perfect Chocolate Poke Cake
Creating this irresistible chocolate poke cake is a straightforward process. Follow these easy steps to bake a dessert that will impress everyone.
STEP 1: Prepare Your Baking Environment
Begin by preheating your oven to 350 degrees F (175 degrees C). Once the oven is heating, prepare a 9×13 inch baking pan by coating it thoroughly with non-stick cooking spray. This ensures your cake will release easily after baking.
STEP 2: Bake the Chocolate Cake Base
Following the package instructions for a 9×13 inch pan, prepare your chocolate cake batter. Mix it until smooth, then pour it evenly into your prepared pan. Bake according to the recommended time, and once a toothpick inserted into the center comes out clean, remove it from the oven. Allow the cake to cool completely on a wire rack before proceeding. This step is crucial for the cake’s structure when you poke holes.
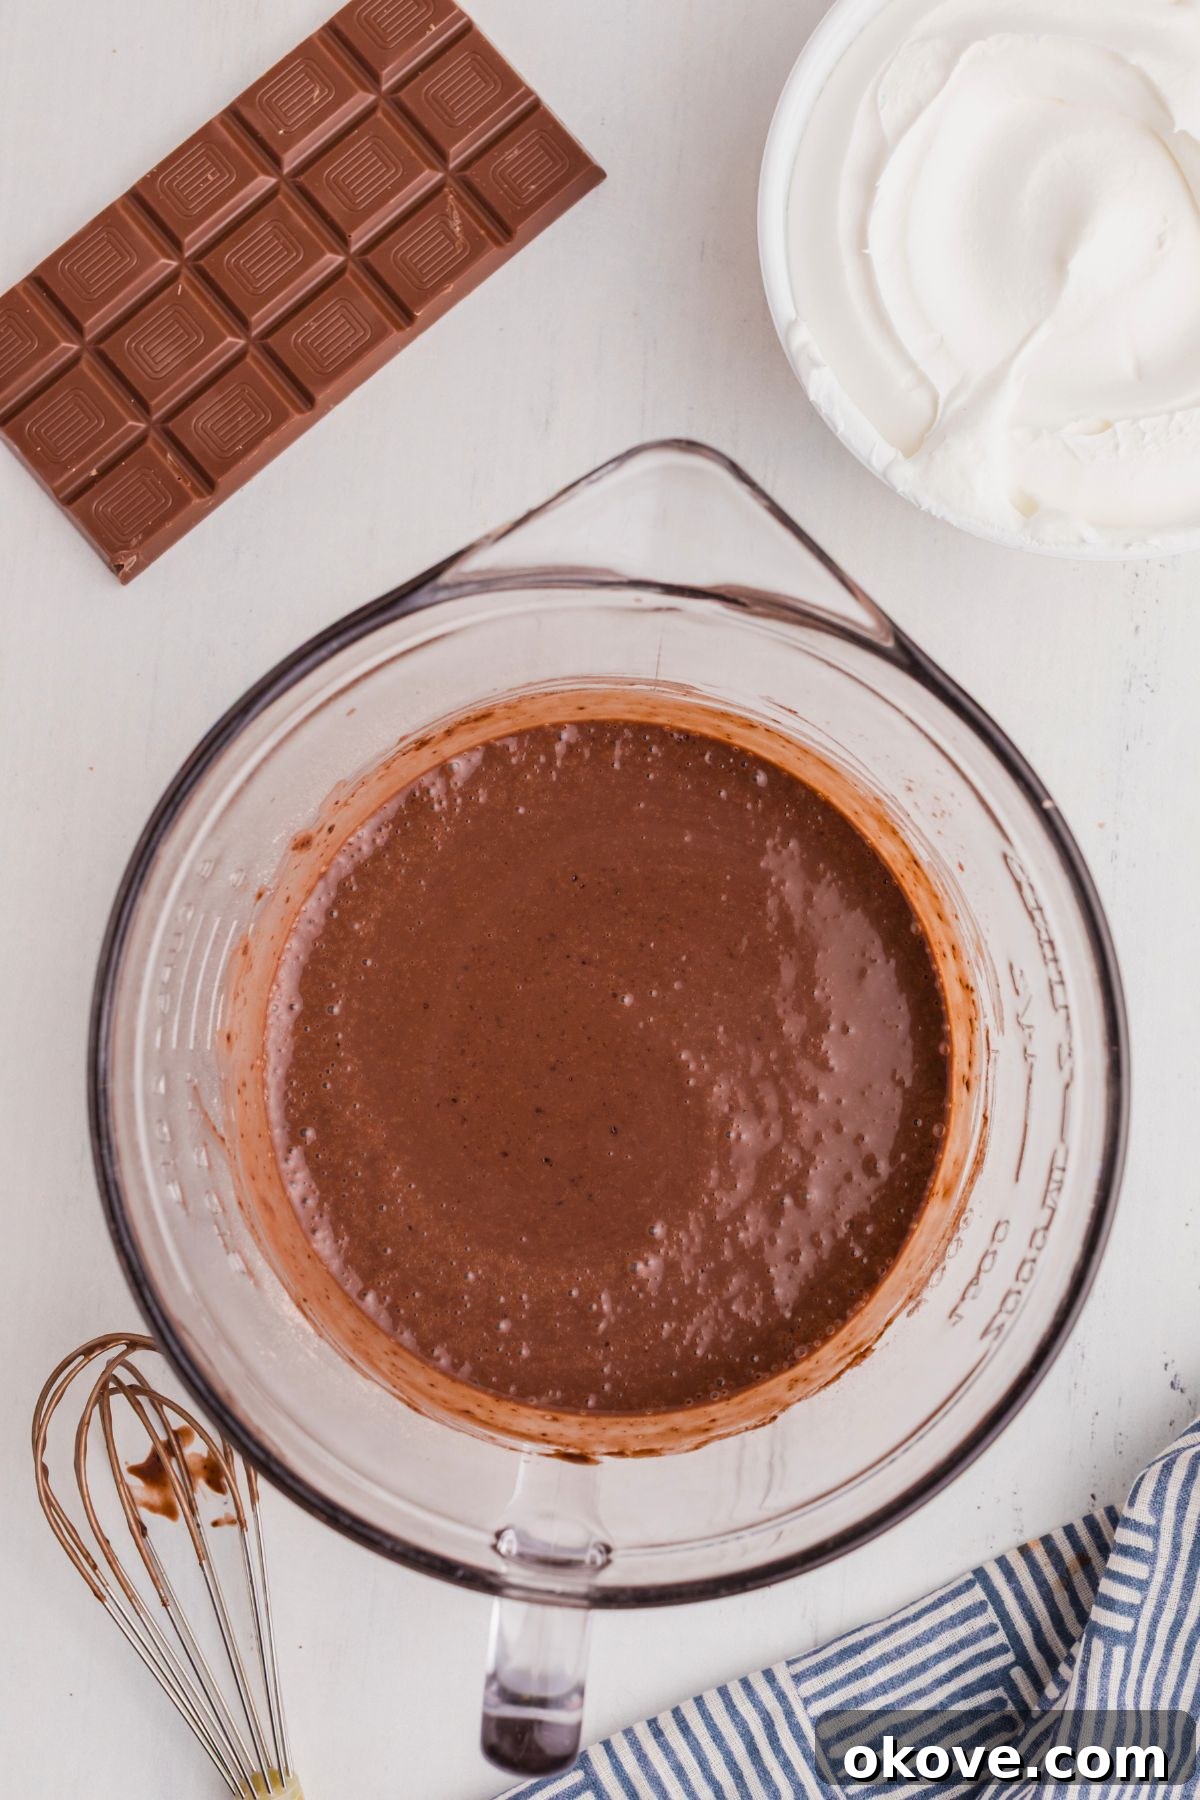
STEP 3: Create the Signature “Pokes”
Once the cake is completely cooled, take the end of a wooden spoon (or a similar round-ended utensil) and carefully poke holes into the cake. Aim for holes that go about three-quarters of the way through the cake’s depth. Space them evenly in rows, aiming for approximately 18-24 holes in total. This methodical poking is essential for the chocolate filling to properly infuse the cake.
STEP 4: Melt the Chocolate Chips
Place your semi-sweet chocolate chips into a small, heat-safe mixing bowl. Microwave them for 30 seconds, then stir. Continue heating in 15-second increments, stirring after each, until the chocolate is fully melted and completely smooth. Be careful not to overheat the chocolate, as it can seize.
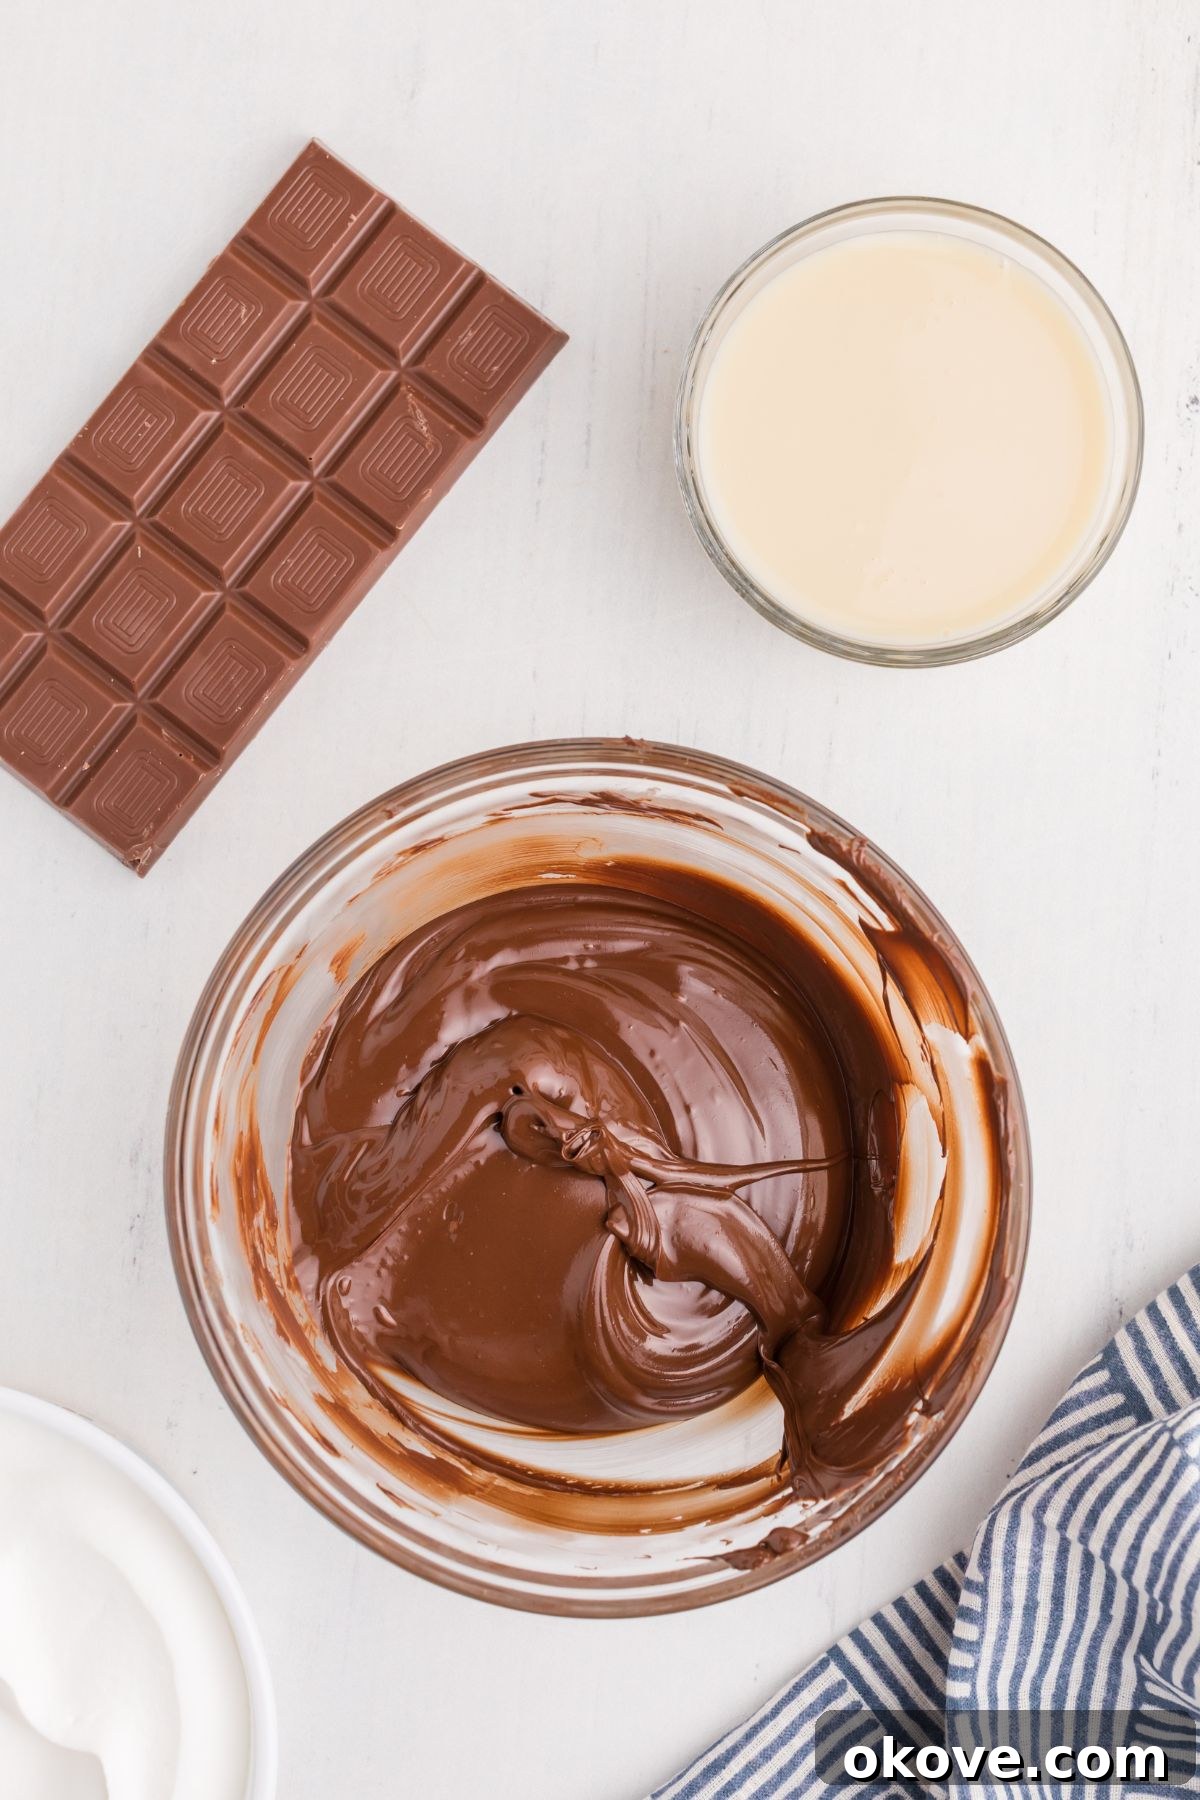
STEP 5: Prepare and Pour the Chocolate Filling
Combine the warm, melted chocolate with the sweetened condensed milk in a bowl. Whisk or stir them together until they are thoroughly combined and create a uniform, rich chocolate sauce. Carefully pour this luscious chocolate sauce over the cooled, poked cake, ensuring that the sauce generously fills each hole. Let the cake absorb this delightful filling by setting it aside while you prepare the pudding topping.
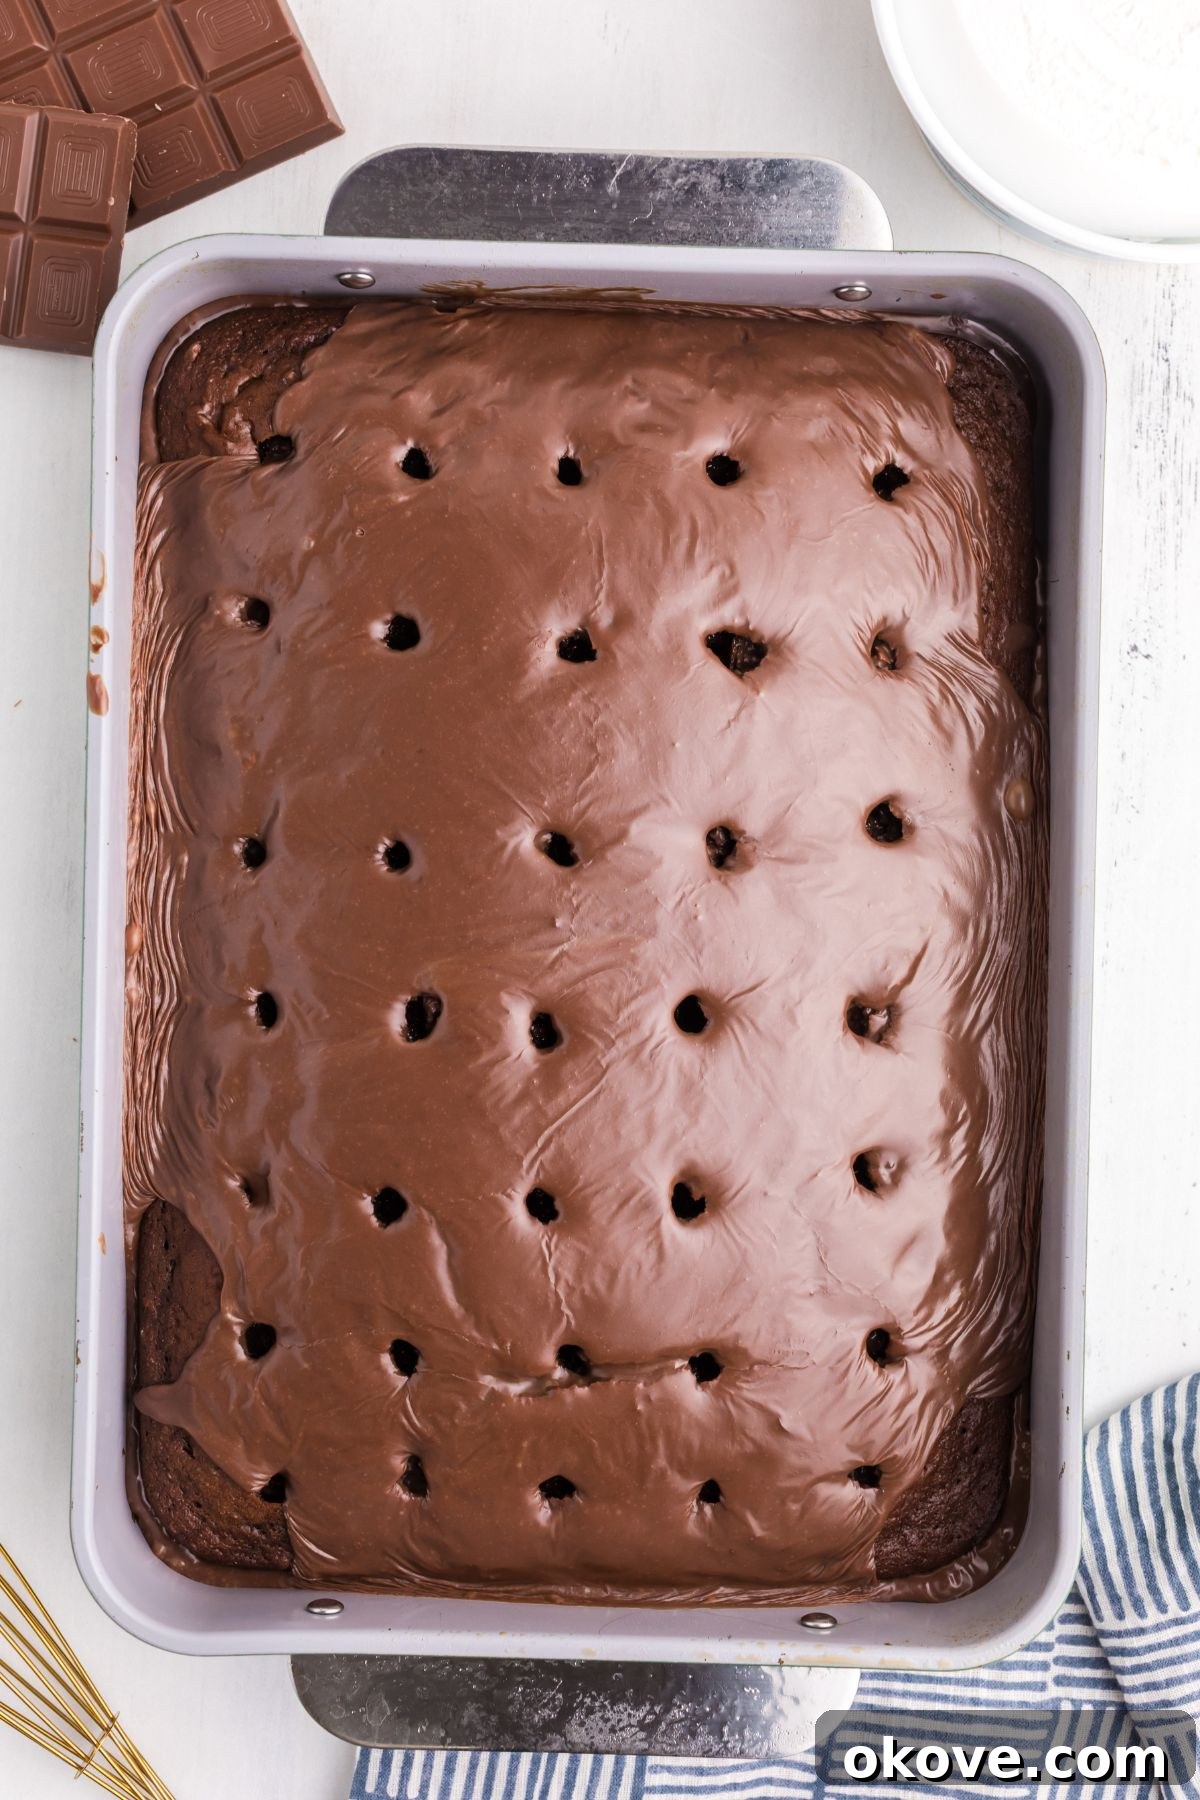
STEP 6: Prepare the Chocolate Pudding Layer
In a separate large mixing bowl, whisk together the instant chocolate pudding mix and the cold whole milk. Continue whisking vigorously until the mixture is well combined and begins to thicken. Allow it to sit for approximately 3-4 minutes to fully set. The cold milk is crucial here for proper setting.
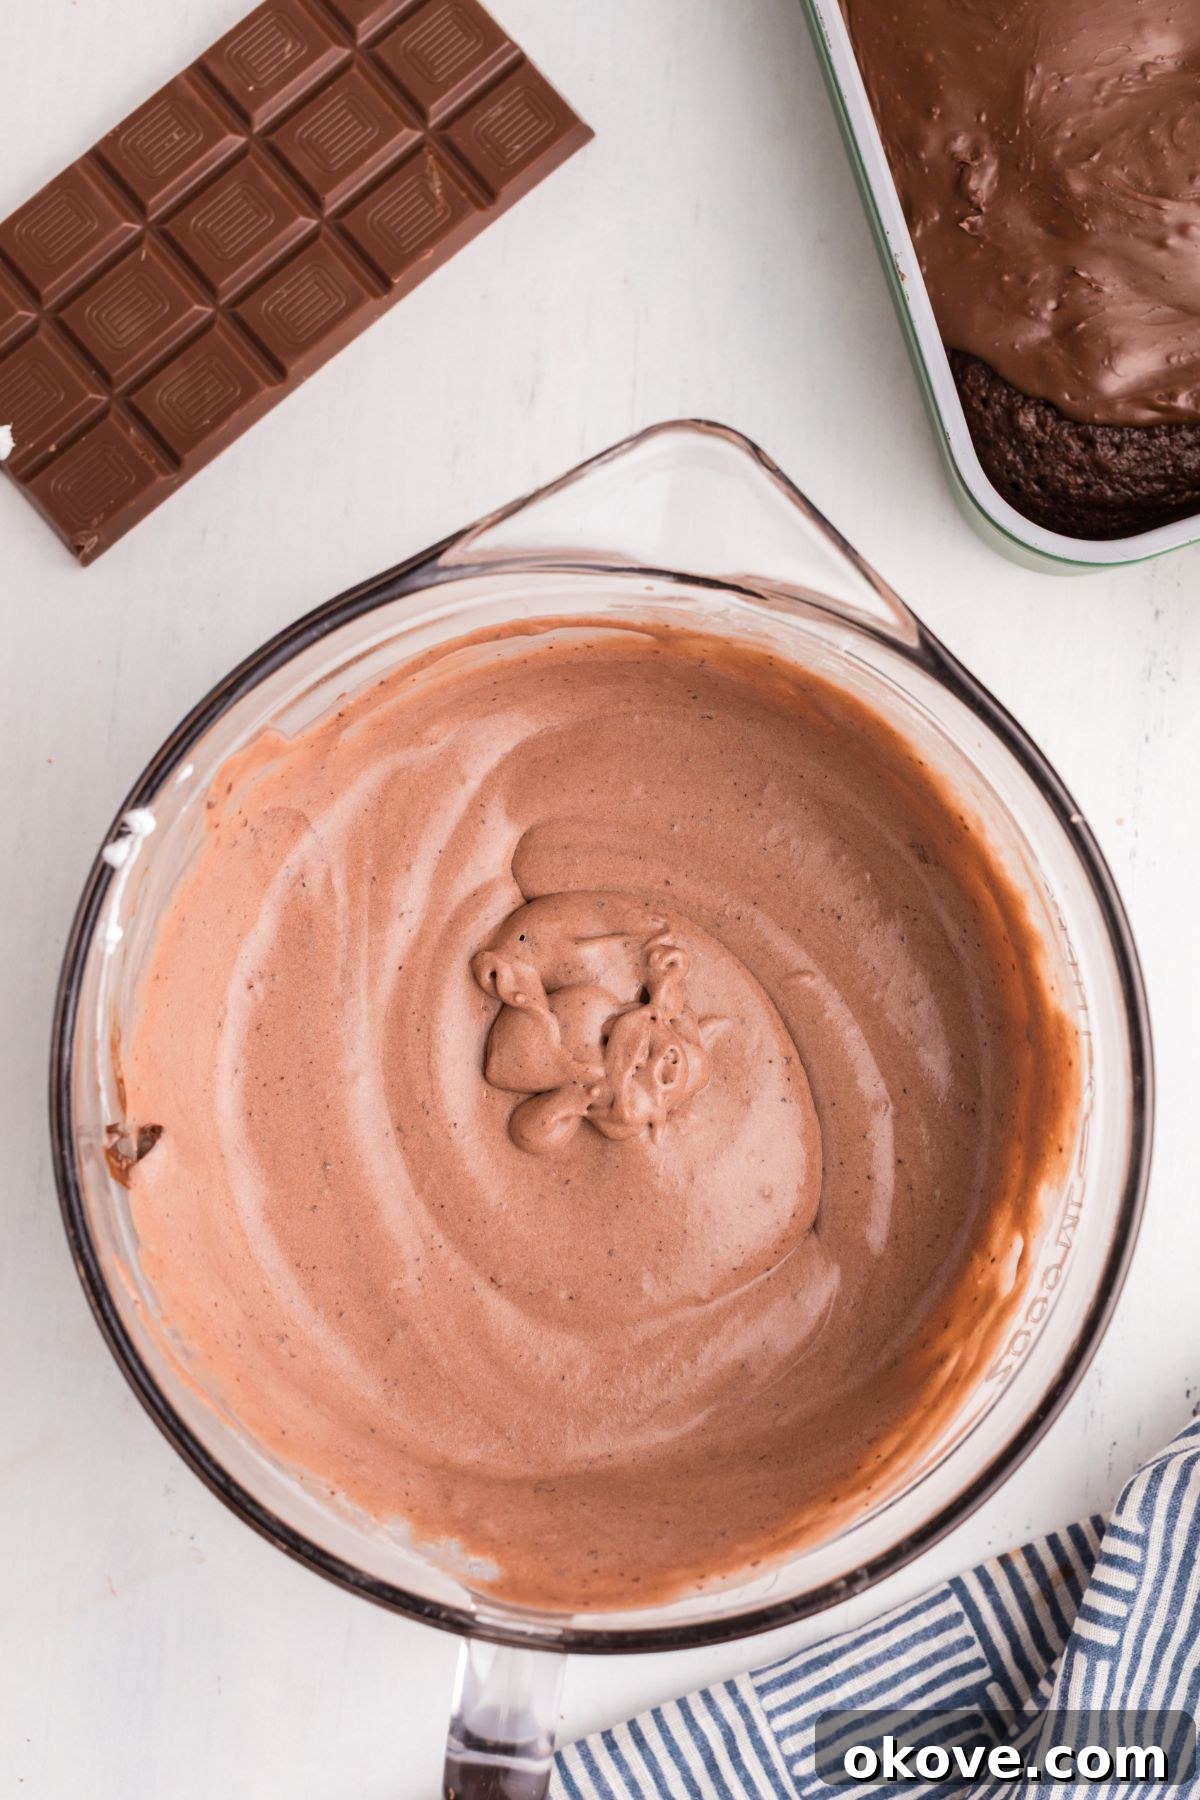
STEP 7: Fold in Whipped Topping and Spread
Gently fold the thawed whipped topping into the prepared chocolate pudding mixture until it’s smooth, light, and airy. Once combined, carefully spread this creamy pudding mixture evenly over the entire top surface of the cake, creating a beautiful, fluffy layer.
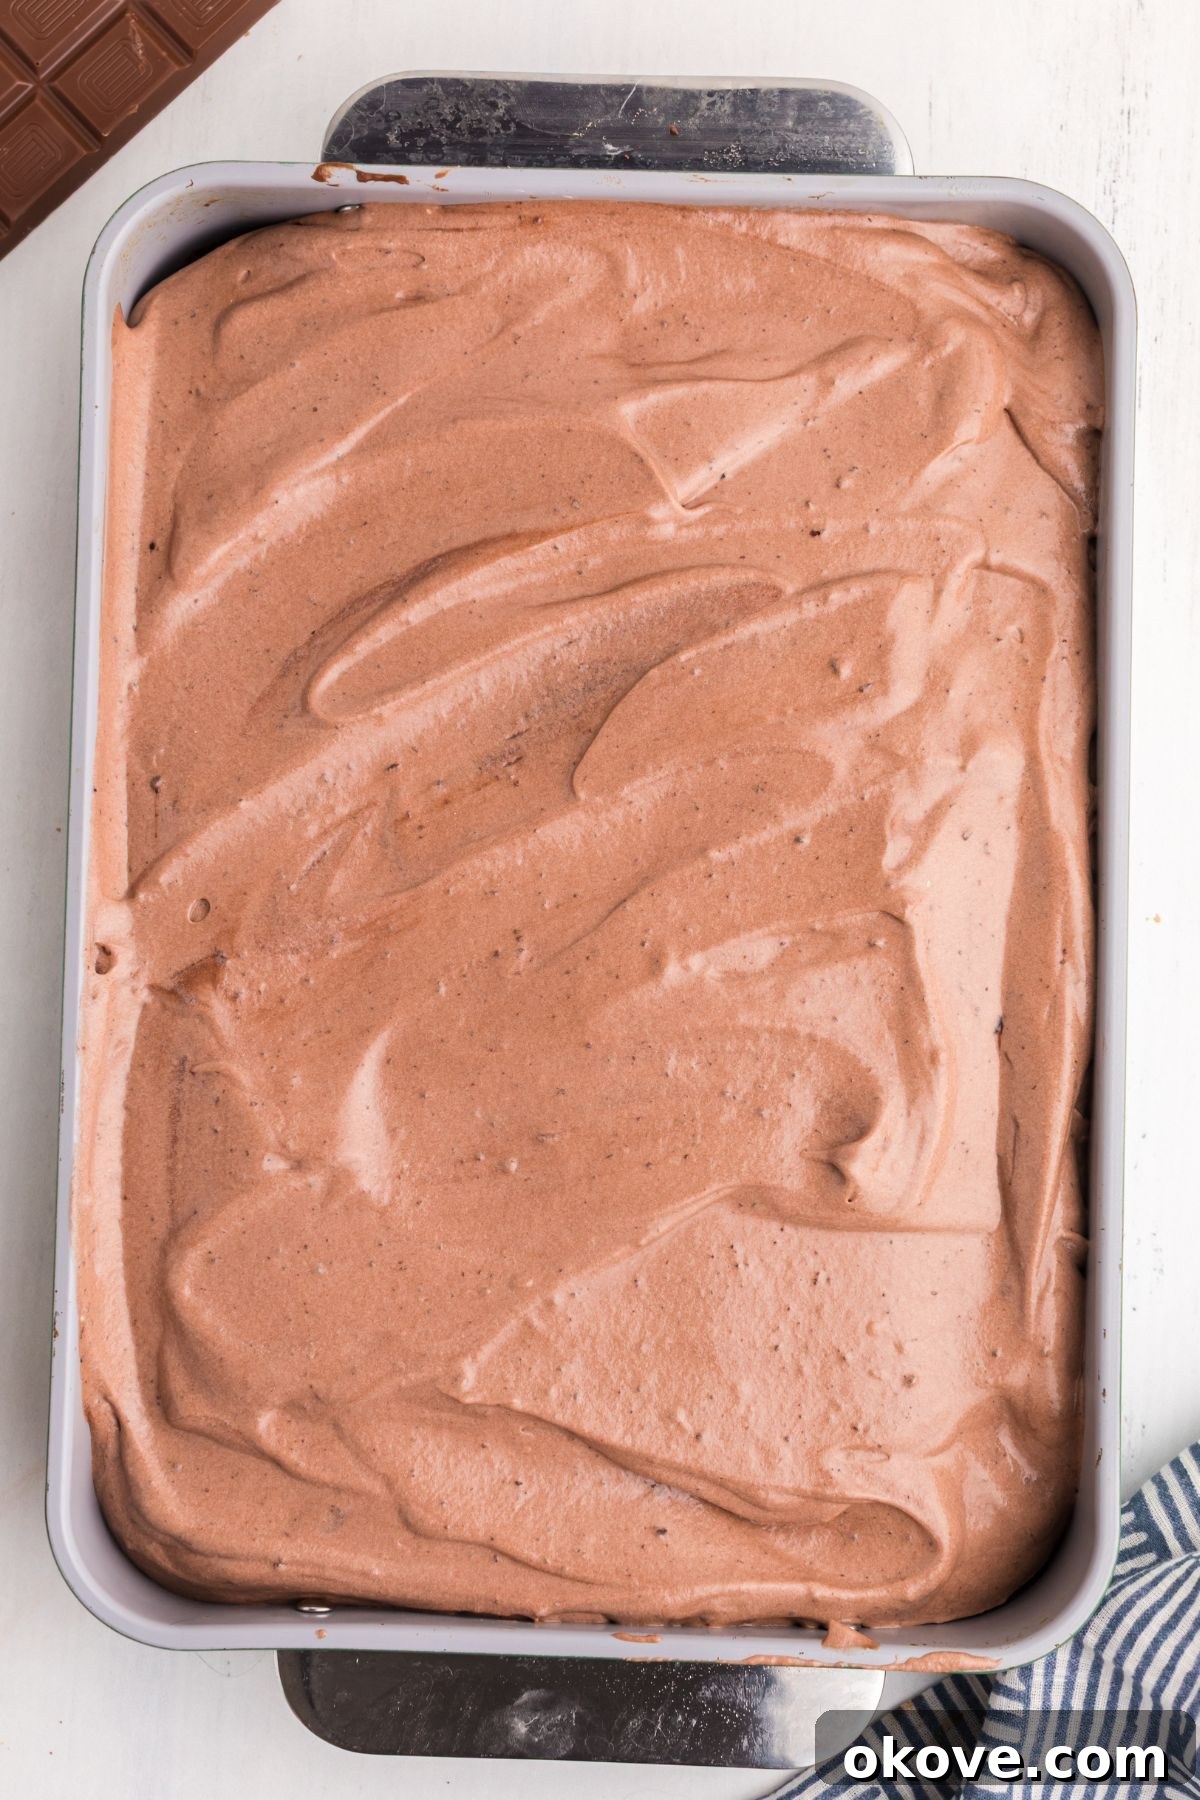
STEP 8: Garnish with Chocolate Shavings
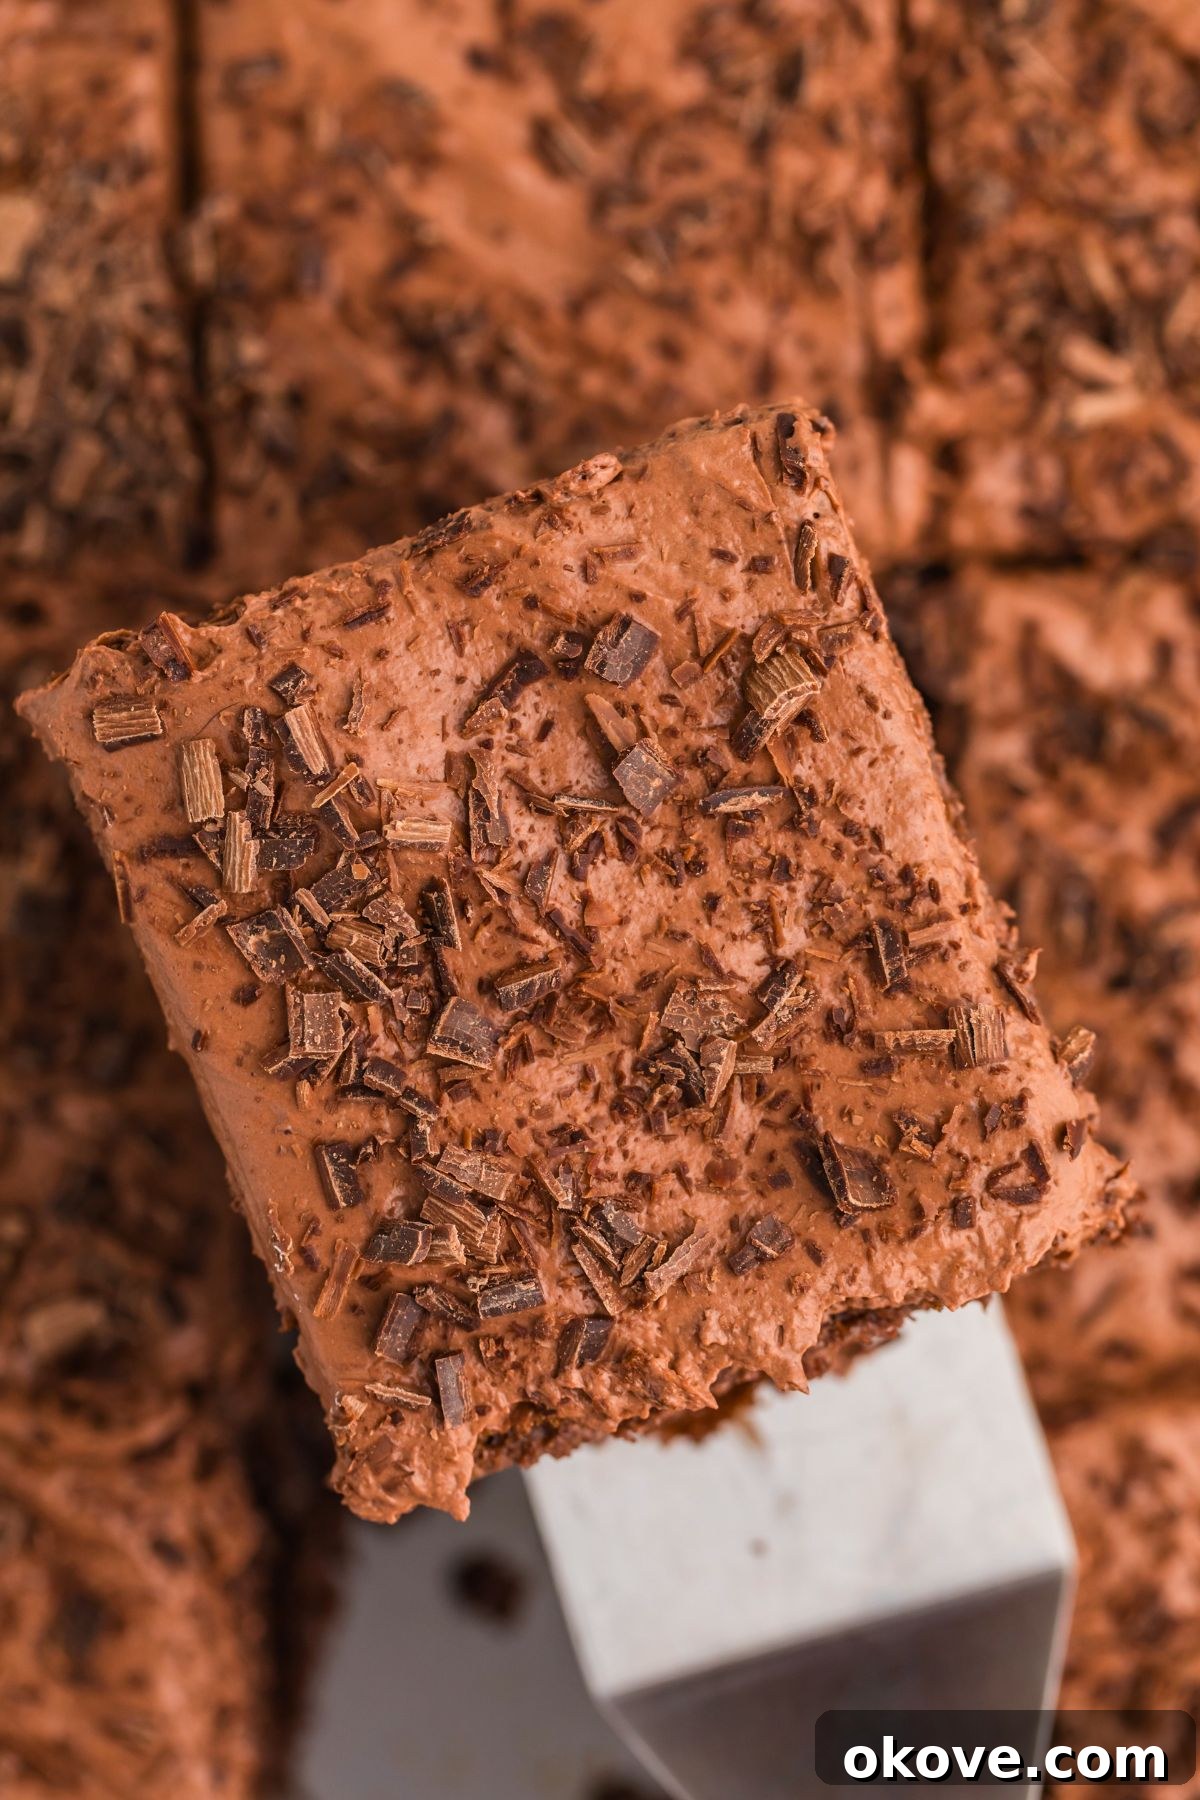
To add an elegant touch, use a vegetable peeler or a cheese grater to create delicate chocolate shavings or curls from a milk chocolate candy bar. Sprinkle these shavings generously over the top of the cake. This not only enhances the visual appeal but also adds an extra burst of chocolate flavor.
STEP 9: Chill and Serve
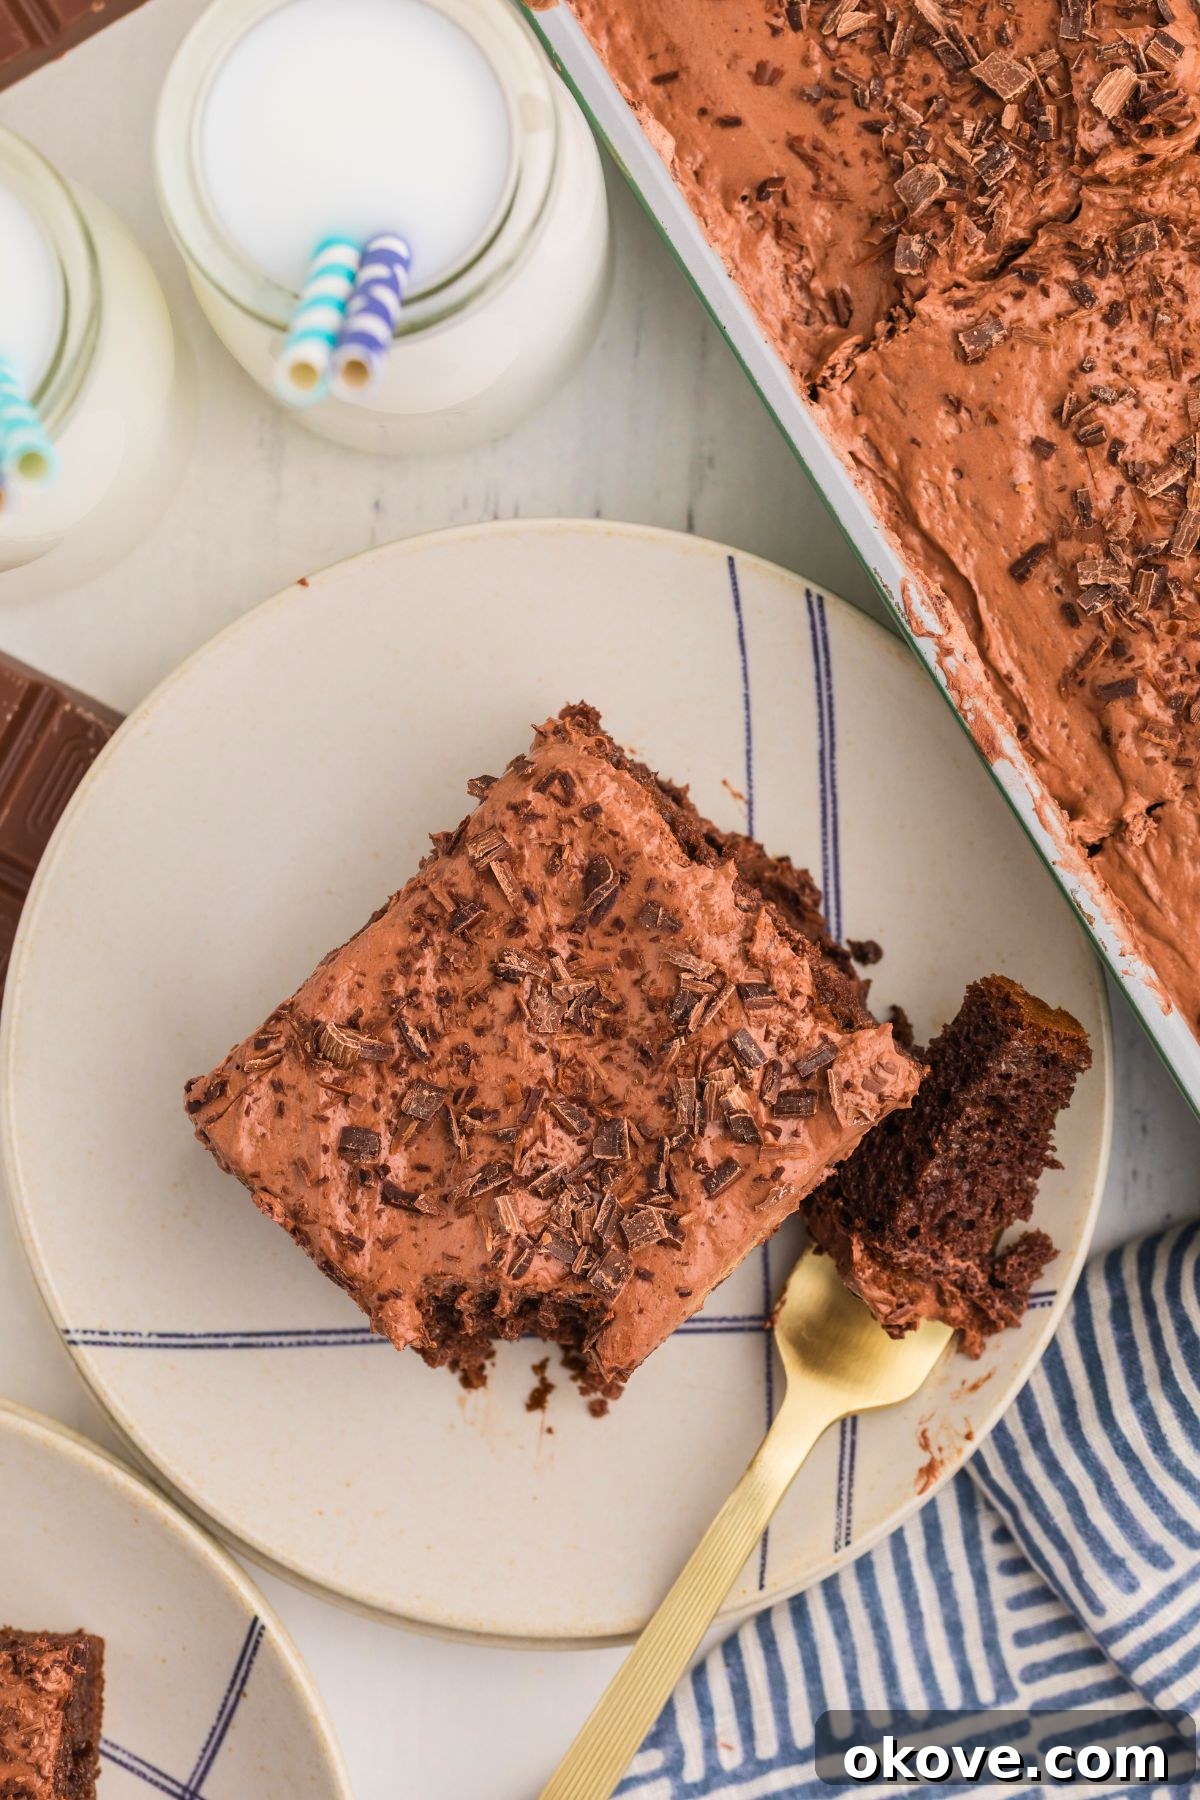
For the best texture and flavor, refrigerate the cake for at least 2 hours. Chilling allows the pudding and filling to set completely and for the flavors to fully meld. This also makes the cake much easier to slice neatly. Once thoroughly chilled, slice into generous portions and serve!
Expert Tips for a Flawless Chocolate Poke Cake
Achieving poke cake perfection is easier with a few insider tricks. These tips will help ensure your chocolate poke cake is always a showstopper.
- Poke Holes While the Cake is Warm: While the cake should be fully cooled *before* adding the filling, poking the initial holes while it’s still slightly warm can make it easier to create consistent, clean holes without tearing the cake. If completely cooled, it might be a bit more crumbly.
- Choose the Right Tool for Poking: The handle of a wooden spoon is ideal for creating uniformly sized holes. Its blunt, round end ensures you make substantial pockets for the filling without causing the cake to crumble or fall apart.
- Allow Ample Time for Absorption: Patience is key! Give the cake at least an hour in the refrigerator (or even better, overnight) after adding the chocolate filling. This crucial chilling period allows the cake to fully soak up all the rich flavors and moisture, resulting in an exceptionally tender and decadent dessert.
- Chill Thoroughly Before Serving: A well-chilled poke cake has the best firm yet moist texture and is significantly easier to slice cleanly. Rushing this step can lead to a messy presentation.
- Don’t Overmix the Pudding: Whisk the instant pudding and milk until just combined and thickened. Overmixing can lead to a grainy texture.
- Even Distribution of Filling: When pouring the chocolate-condensed milk mixture, make sure it reaches all the poked holes. Gently tilting the pan can help distribute it evenly.
- Room Temperature for Box Mix Ingredients: If using a box mix, ensure eggs and water (if applicable) are at room temperature. This helps create a smoother batter and a more even bake.
Creative Variations & Customizations for Your Poke Cake
While the classic chocolate poke cake is undeniably delicious, it also serves as a fantastic canvas for your culinary creativity. Here are some ideas to customize your next poke cake:
- Swap Pudding Flavors: Experiment with different instant pudding flavors! Vanilla, caramel, butterscotch, or even cheesecake pudding can offer a delightful twist and new flavor profiles.
- Homemade Cake Base: For a truly from-scratch experience, substitute the boxed cake mix with your favorite homemade chocolate cake recipe. Just ensure it’s baked in a 9×13 inch pan.
- Add Crunch & Texture: Sprinkle crushed cookies (like Oreos or graham crackers), chopped nuts (pecans, almonds, walnuts), or toasted coconut flakes over the whipped topping for an exciting textural contrast.
- Different Fillings: Instead of the chocolate-condensed milk mixture, try filling the holes with dulce de leche, caramel sauce, fruit purees, or even a different type of condensed milk (like coconut condensed milk for a tropical twist).
- Boozy Bliss: For an adult version, add a tablespoon of coffee liqueur, rum, or Kahlúa to your chocolate condensed milk filling for an extra layer of flavor.
- Fruity Twist: Garnish with fresh berries like raspberries or strawberries, which pair beautifully with chocolate and add a touch of freshness and color.
- White Chocolate Dream: Use a white cake mix, fill with melted white chocolate and condensed milk, and top with vanilla pudding and whipped cream for a “reverse” poke cake.
Make-Ahead & Storage Guide
One of the many joys of this chocolate poke cake is its adaptability for advance preparation and easy storage. This makes it a perfect dessert for parties, holidays, or simply having a delicious treat readily available.
Make-Ahead: This cake is truly best when allowed to chill for several hours, or even overnight, after assembly. This extended chilling time allows the rich chocolate-condensed milk filling to fully permeate the cake, creating an incredibly moist and flavorful experience. Plan to prepare it at least 4-6 hours before serving, or ideally, the day before.
Storage: If you find yourself with delightful leftovers (a rare occurrence!), cover the cake tightly with plastic wrap or transfer slices to an airtight container. Store the cake in the refrigerator for up to 4 days to maintain its freshness, moisture, and delicious flavor.
Freezing: Yes, you absolutely can freeze this cake! For best results, ensure the cake is completely chilled. Wrap the entire cake or individual slices tightly in plastic wrap, then wrap again in aluminum foil. This double layer of protection helps prevent freezer burn. It can be frozen for up to 2 months. To serve, thaw the cake overnight in the refrigerator before enjoying.
Frequently Asked Questions (Chocolate Poke Cake FAQs)
Absolutely! While a box mix offers convenience, using your favorite homemade chocolate cake recipe will yield an even more personalized and potentially richer flavor. Just ensure your homemade cake is baked in a 9×13 inch pan and cooled completely before poking holes.
The cake is wonderfully sweet and decadent. If you prefer it slightly less sweet, you can use a dark chocolate cake mix, opt for extra dark chocolate chips in the filling, or reduce the amount of sweetened condensed milk slightly (e.g., use 12 ounces instead of 14). Alternatively, a less sweet whipped topping can also balance the flavors.
Ensure you are using instant pudding mix (not cook-and-serve) and very cold whole milk. Whisk vigorously for at least 2 minutes. If it’s still too thin, try chilling it for a few extra minutes before folding in the whipped topping. Sometimes, warm environments can affect setting.
Yes, this cake is actually best when refrigerated for a few hours, or even overnight, which makes it an excellent make-ahead dessert for parties and gatherings. The flavors deepen and the cake becomes even more moist over time.
You have many options! Top the cake with crushed Oreos, miniature chocolate chips, colorful sprinkles, a drizzle of chocolate syrup or caramel syrup, fresh berries, or even a dusting of cocoa powder for a sophisticated finish.
If you have leftover cake, cover it tightly with plastic wrap or place it in an airtight container. Keep it refrigerated for up to 4 days to maintain its freshness and delightful texture.
Yes, you can freeze it for up to 2 months. Wrap it tightly in plastic wrap and then wrap it again in aluminum foil before freezing. Thaw the cake in the refrigerator for several hours or overnight before slicing and serving.
Final Thoughts: Your Indulgent Chocolate Escape
This chocolate poke cake is more than just a dessert; it’s a guaranteed crowd-pleaser and a truly indulgent escape for anyone who loves chocolate. With its rich, deeply moist, and incredibly creamy layers, it offers a symphony of textures and flavors that captivates from the first bite. Whether you’re baking for a special occasion or simply to treat yourself and the chocolate lovers in your life, this recipe delivers on its promise of decadent satisfaction. Give it a try, follow our expert tips, and let us know how wonderfully it turns out! Happy baking!
More Irresistible Dessert Recipes to Explore
Desserts
Homemade Thin Mint Cookies
Desserts
Peanut Butter Balls
Desserts
Homemade Pie Crust
Desserts
Pecan Pie Recipe
Chocolate Poke Cake Recipe
By: Rebecca
Servings: 13
Prep Time: 25 mins
Cook Time: 26 mins
Total Time: 51 mins
Share by Email |
Print Recipe
This easy chocolate poke cake is the ultimate chocolate lover’s dream, with rich, moist, and creamy layers of chocolate. It’s incredibly easy to make and perfect for any occasion!
Equipment
- 9×13 inch baking pan
- Large Mixing Bowl
- Small Heat-Safe Mixing Bowl
- Whisk
- Wooden Spoon (for poking holes)
- Vegetable Peeler or Cheese Grater (for chocolate shavings)
Ingredients
- 1 box chocolate cake mix (plus ingredients listed on the package, e.g., eggs, oil, water)
- 14 ounces sweetened condensed milk
- 1/2 cup semi-sweet chocolate chips
- 8 ounces whipped topping, thawed (like Cool Whip)
- 3.9 ounce package instant chocolate pudding mix (chocolate or chocolate fudge flavor)
- 1 3/4 cup cold whole milk
- 3 ounce milk chocolate candy bar, for decorative shavings (or chocolate sprinkles)
Instructions
- Preheat the oven to 350 degrees F (175 C) and prepare a 9×13 inch cake pan with non-stick cooking spray.
- Prepare the cake batter according to the instructions on the box for a 9×13 pan. Bake the cake, then allow it to cool completely on a wire rack.
- Use the end of a wooden spoon to poke holes into the cooled cake, about ¾ of the way through. Space them evenly in rows (about 18-24 holes total).
- Add chocolate chips to a small heat-safe mixing bowl and microwave for 30 seconds. Stir, then continue heating in 15-second increments until smooth and fully melted.
- Mix the melted chocolate with the sweetened condensed milk until fully combined, creating a chocolate sauce. Pour this sauce into the holes of the cake, ensuring it fills each one. Set the cake aside while you prepare the pudding topping.
- In a large mixing bowl, whisk together the instant pudding mix and the cold milk until well combined and thickened. Let it set for about 3-4 minutes.
- Gently fold the thawed whipped topping into the pudding mixture until it’s smooth and fully incorporated. Spread the pudding mixture evenly over the top of the cake.
- Use a vegetable peeler or cheese grater to create chocolate shavings or curls from the milk chocolate candy bar. Sprinkle these decorative shavings over the cake.
- Refrigerate the cake for at least 2 hours before slicing and serving. This allows the cake to absorb the filling and for all layers to set properly.
Notes
- Poke holes while the cake is warm: It’s often easier to make consistent holes without crumbling the cake if it’s still slightly warm from the oven (though let it cool before adding the filling).
- Use the handle of a wooden spoon: This creates perfect-sized holes, deep enough to absorb the delicious filling without damaging the cake structure.
- Let the filling fully absorb: Give the cake at least an hour (or preferably overnight) in the fridge after adding the filling so it can soak up all the moisture and flavor.
- Chill before serving: A cold poke cake has the best texture, holds its shape, and is much easier to slice cleanly.
Nutrition Information
Calories: 410kcal | Carbohydrates: 61g | Protein: 7g | Fat: 17g | Saturated Fat: 9g | Polyunsaturated Fat: 2g | Monounsaturated Fat: 5g | Trans Fat: 0.01g | Cholesterol: 15mg | Sodium: 462mg | Potassium: 396mg | Fiber: 2g | Sugar: 45g | Vitamin A: 155IU | Vitamin C: 1mg | Calcium: 199mg | Iron: 3mg
Nutrition information is automatically calculated and should only be used as an approximation.
Additional Info
Course: Cakes, Dessert
Cuisine: American
Tried this recipe? Mention @celebratingsimplyrecipes or tag #celebratingsimplyrecipes on Instagram!