
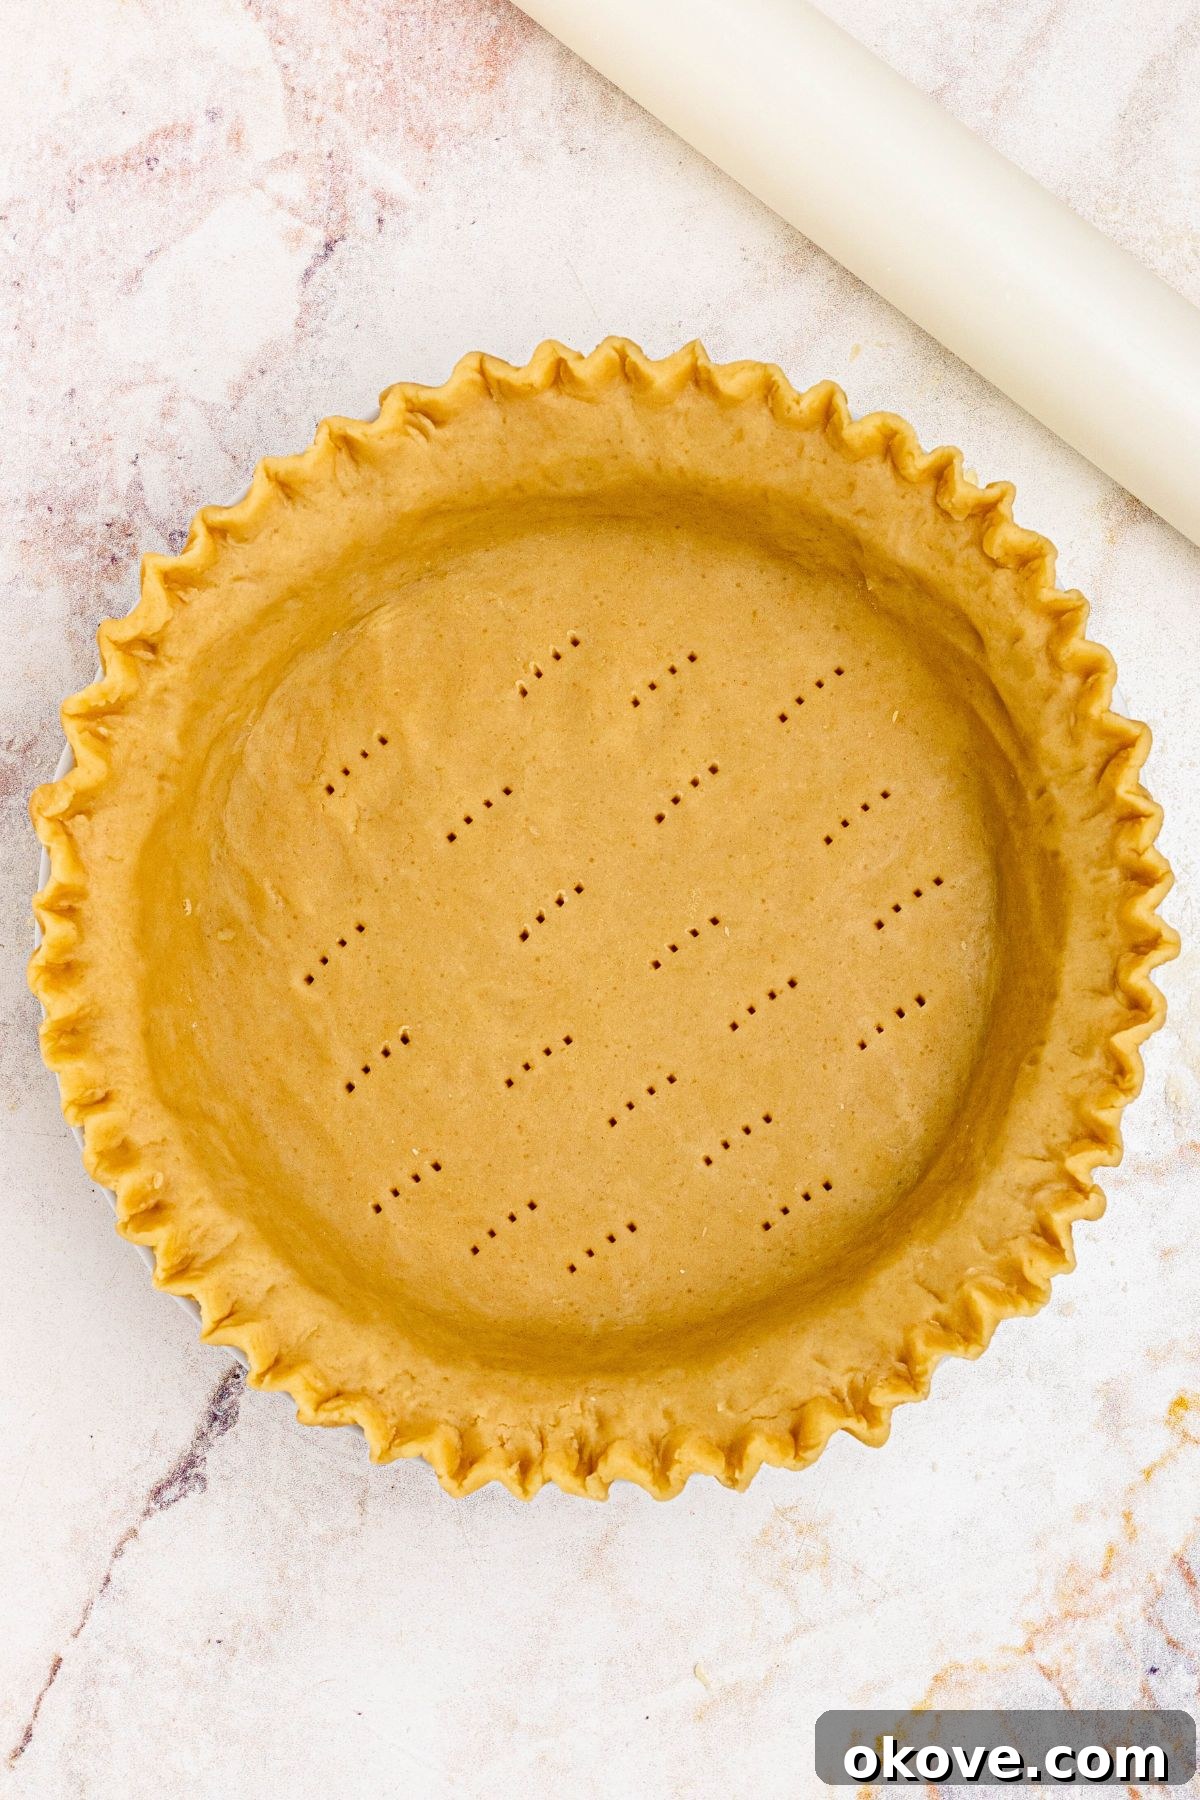
There’s an undeniable charm and depth of flavor that only a truly homemade pie can deliver, and it all starts with the perfect crust. I absolutely adore crafting this all-butter Homemade Pie Crust recipe! It consistently yields an exquisite texture with wonderfully tender and distinct flaky layers that elevate any pie, making it feel like it just came from a high-end bakery. Forget store-bought shortcuts; once you master this simple method, you’ll never look back.
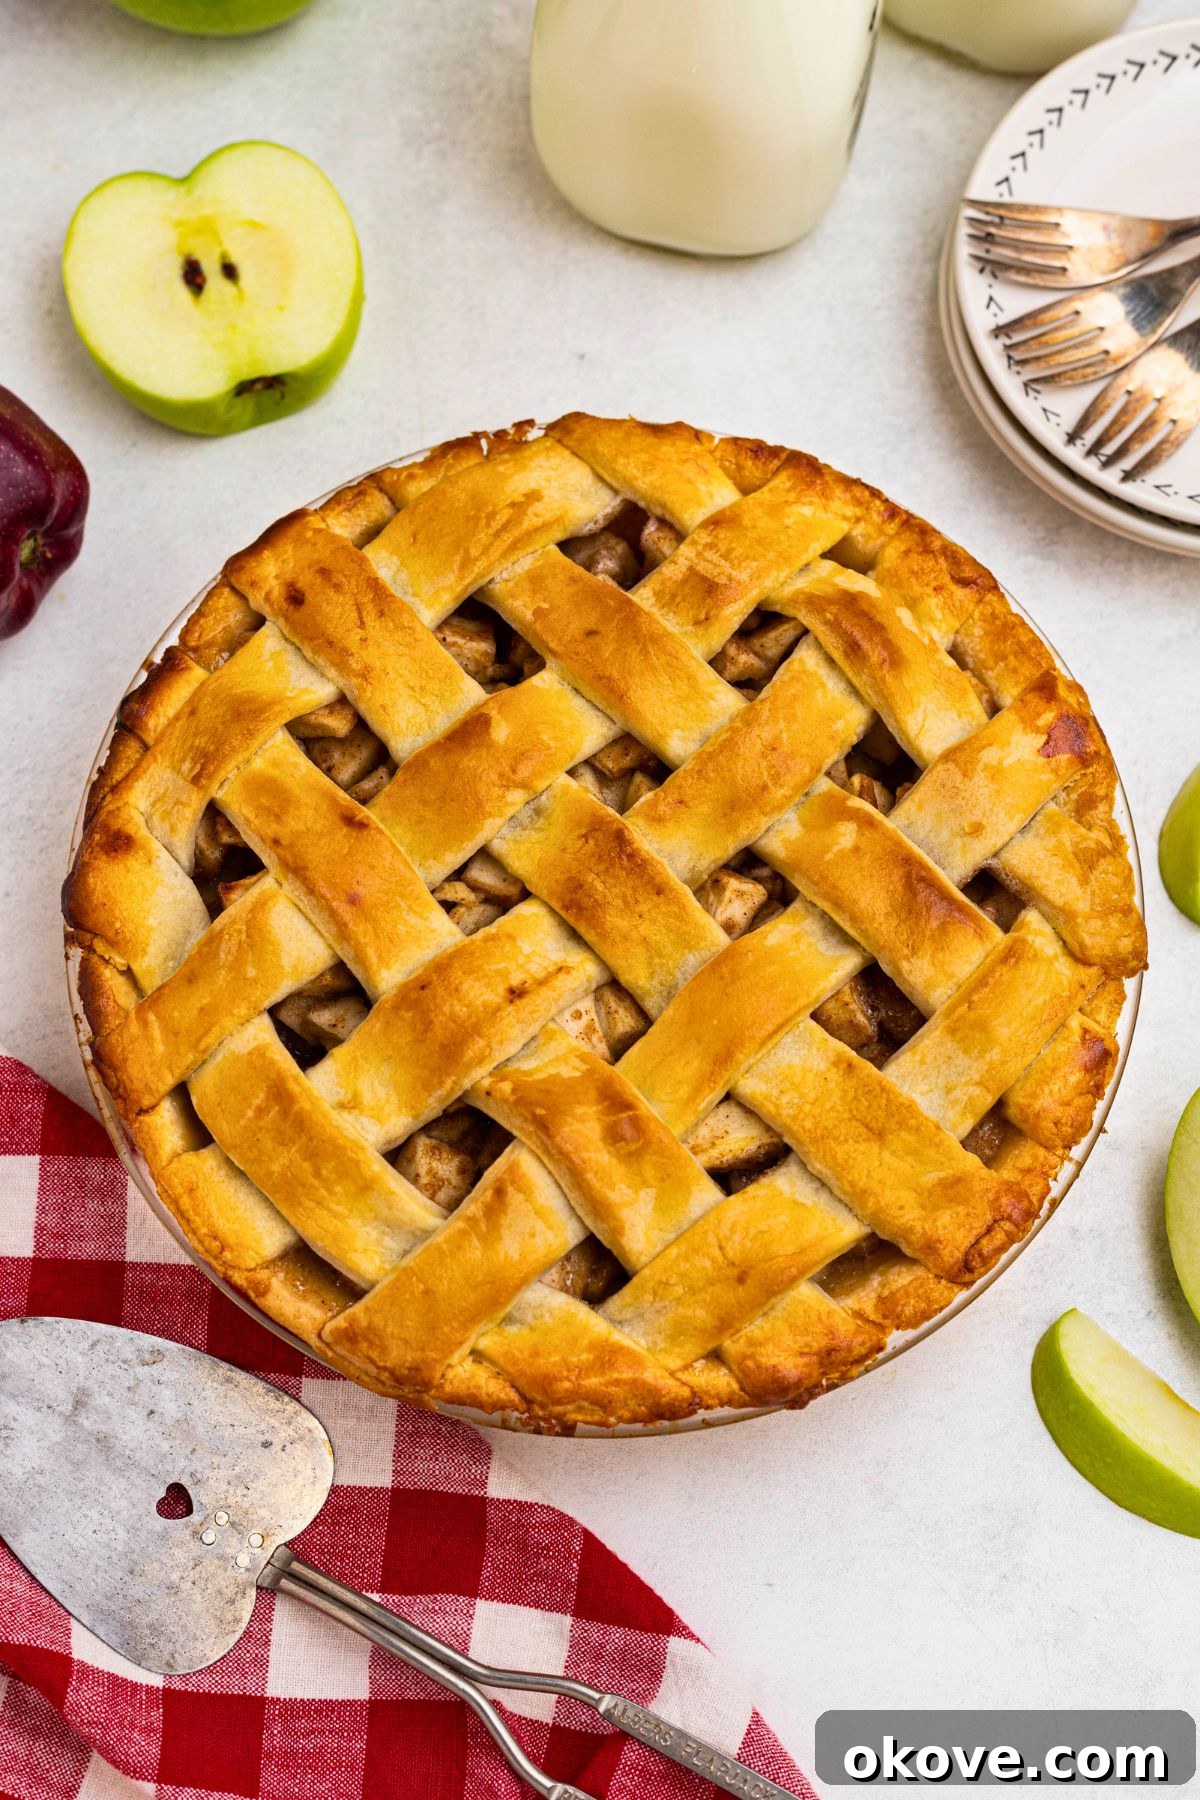
“The secret lies in cold butter and just enough ice water. This recipe promises a perfect, irresistible pie crust every single time.”
Many home bakers find the idea of making pie crust from scratch daunting, but I’m here to tell you it’s much simpler than you think. This straightforward recipe demystifies the process, showing you exactly how to transform basic, cold ingredients into the kind of rich, buttery, and exceptionally flaky pie crust that will have everyone raving. It’s a foundational skill for any baker, opening the door to countless delicious creations.
Once you’ve perfected this classic crust, you’ll be eager to fill it with your favorite ingredients. For more delightful homemade pie recipes, be sure to try this classicApple Pie, this satisfyingly crunchy Pecan Pie, or this comforting Sweet Potato Pie. If you have dietary considerations, I also offer a fantastic Gluten-Free Pie Crust recipe that doesn’t compromise on texture or flavor!
Table of Contents
- The Magic of Simple Ingredients
- Pie Crust Variations to Explore
- Step-by-Step: How to Make All-Butter Homemade Pie Crust
- Mastering the Blind Bake Technique
- Expert Tips for a Flawless Pie Crust
- Frequently Asked Questions About Pie Crust
- More Easy Dessert Recipes
- Homemade Pie Crust Recipe Card
The Magic of Simple Ingredients
Crafting the perfect pie crust doesn’t require a long list of exotic items. In fact, it’s the quality and temperature of a few core ingredients that truly make all the difference. Here’s what you’ll need to create a tender, flaky, and golden crust every time:
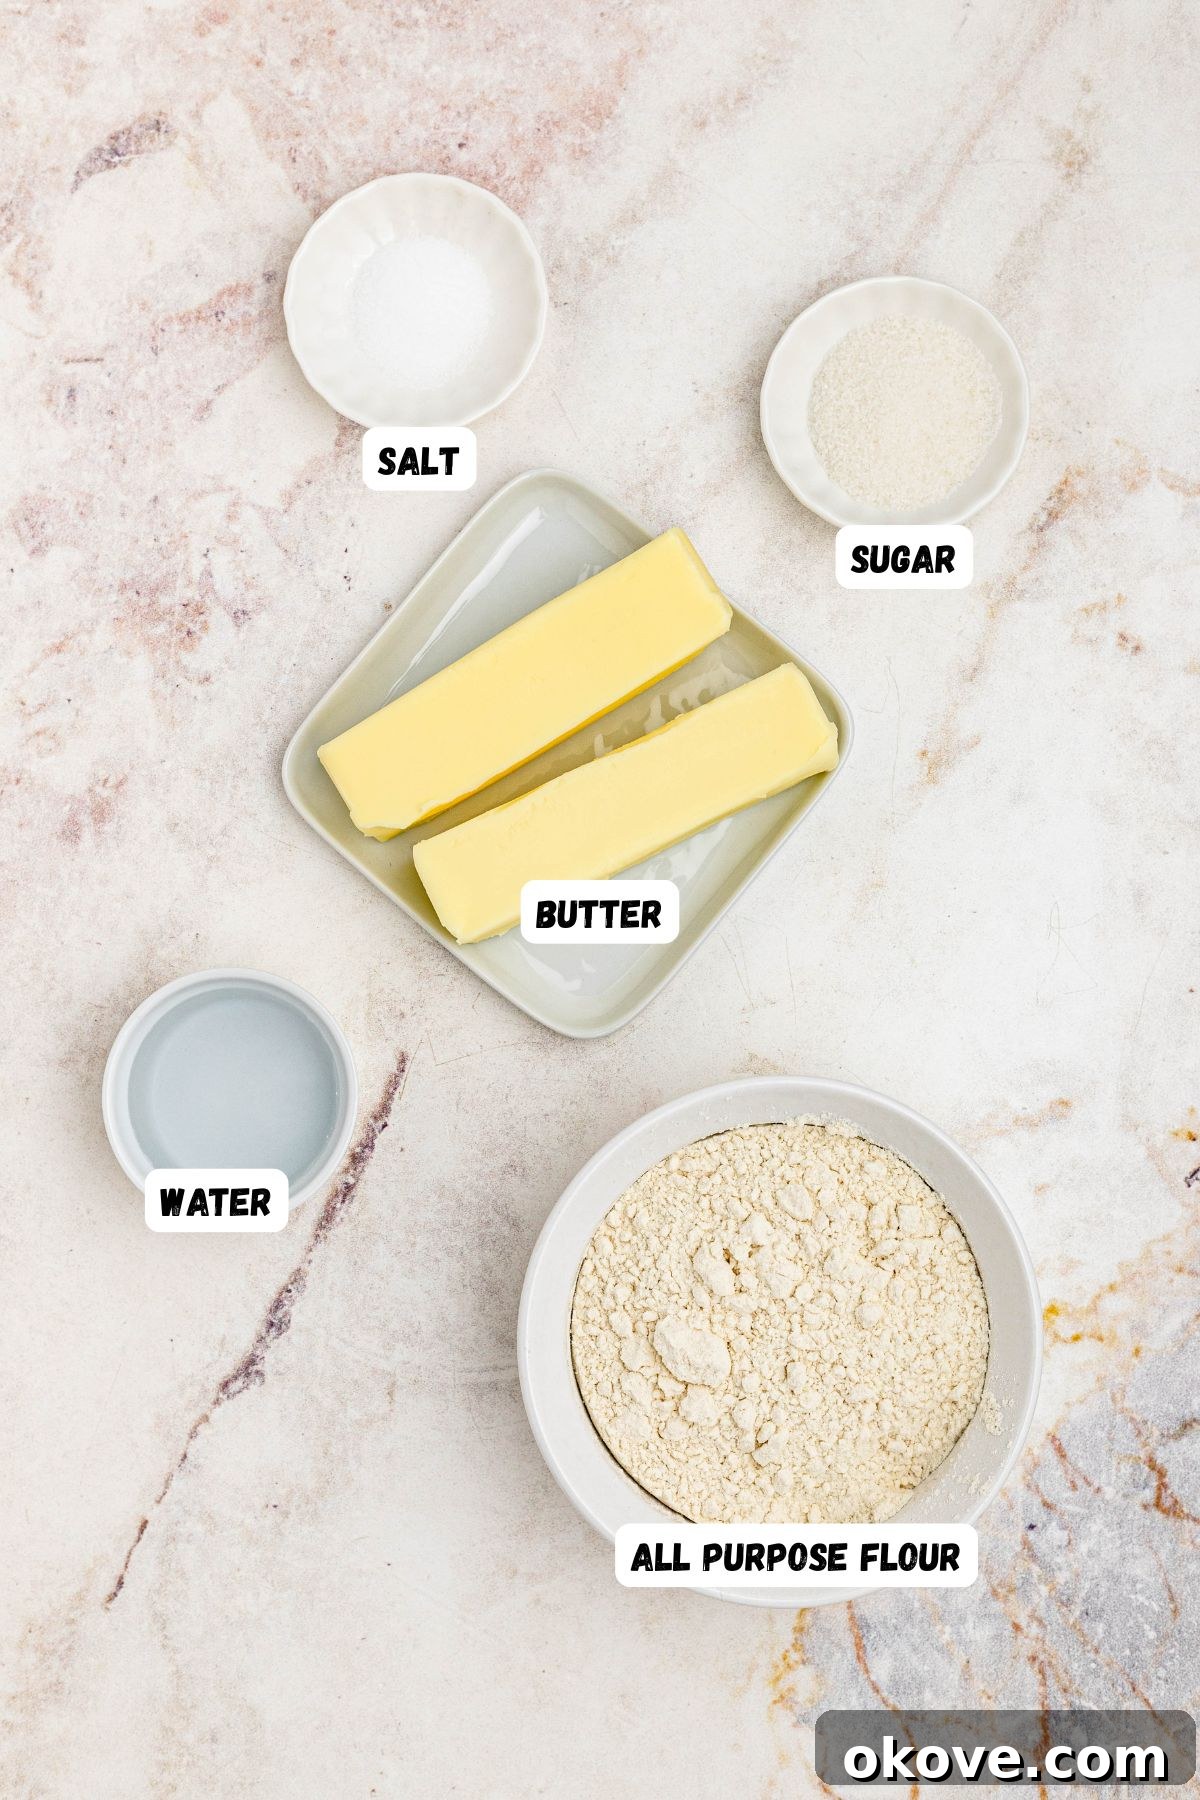
- All-Purpose Flour: The foundation of our crust, providing structure. While bread flour can make a tougher crust due to higher protein, and cake flour might be too delicate, all-purpose flour strikes the perfect balance for tenderness and stability.
- Granulated Sugar: A small amount adds a subtle hint of sweetness, enhances browning, and contributes to the crust’s tender texture.
- Salt: Crucial for balancing flavors and making the butter’s richness truly shine. Don’t skip it, even in sweet pies!
- Unsalted Butter (very cold and cubed): This is the star ingredient for flakiness. Cold butter pieces, when baked, release steam, creating distinct, airy layers. Using unsalted butter gives you control over the overall saltiness of your crust.
- Ice Water: Essential for bringing the dough together without overworking it or melting the butter. The colder the water, the better it helps maintain the butter’s solid state, which is key for flakiness.
Using very cold ingredients is not just a suggestion; it’s a fundamental technique for achieving that coveted flaky texture. Warm butter melts too quickly and incorporates too evenly with the flour, leading to a tough, crumbly crust rather than a light, layered one.
Pie Crust Variations to Explore
While this classic all-butter recipe is incredibly versatile and consistently delicious, there are several ways you can adapt it to suit your preferences or specific needs. Experimenting with these variations can help you discover your favorite pie crust style.
- Food Processor Crust: For a quick and easy approach, a food processor can be your best friend. Simply pulse your flour, sugar, and salt together first. Then, add the very cold, cubed butter and pulse in short bursts until the butter is cut into a coarse meal with some pea-sized pieces remaining. Slowly drizzle in the ice water, pulsing just until the mixture forms moist clumps. Be careful not to overmix, as the food processor can quickly overwork the dough and develop too much gluten, leading to a tough crust.
- Butter and Shortening Crust: If you’re looking for a crust that’s slightly softer, more tender, and perhaps a bit easier to handle, consider a butter and shortening blend. Replace ¼ cup of the butter with an equal amount of cold shortening. Shortening, being 100% fat and having a higher melting point, helps create an incredibly tender dough that’s less prone to shrinking and can be more forgiving for beginners. You’ll still get wonderful flavor from the butter, combined with the tenderness from the shortening.
- Extra Flaky Crust: To achieve an even more dramatic flaky texture, try freezing your butter solid and then grating it into the flour mixture using a box grater. This creates very fine, evenly distributed butter pieces. Combine this with the standard cold ingredients and minimal handling. The smaller butter pieces create more pockets of steam during baking, resulting in an exceptionally light and airy crust. Ensure everything, including your mixing bowl and hands (if using them), remains as cold as possible throughout the process.
Each of these variations offers a slightly different profile in terms of texture and ease of handling, allowing you to tailor your pie crust to your specific desires and the pie you’re baking.
Step-by-Step: How to Make All-Butter Homemade Pie Crust
Making a truly exceptional pie crust is an art, but one that is easily mastered with a few key techniques and a bit of patience. Follow these detailed steps to create a show-stopping, flaky crust that will be the highlight of any dessert or savory dish.
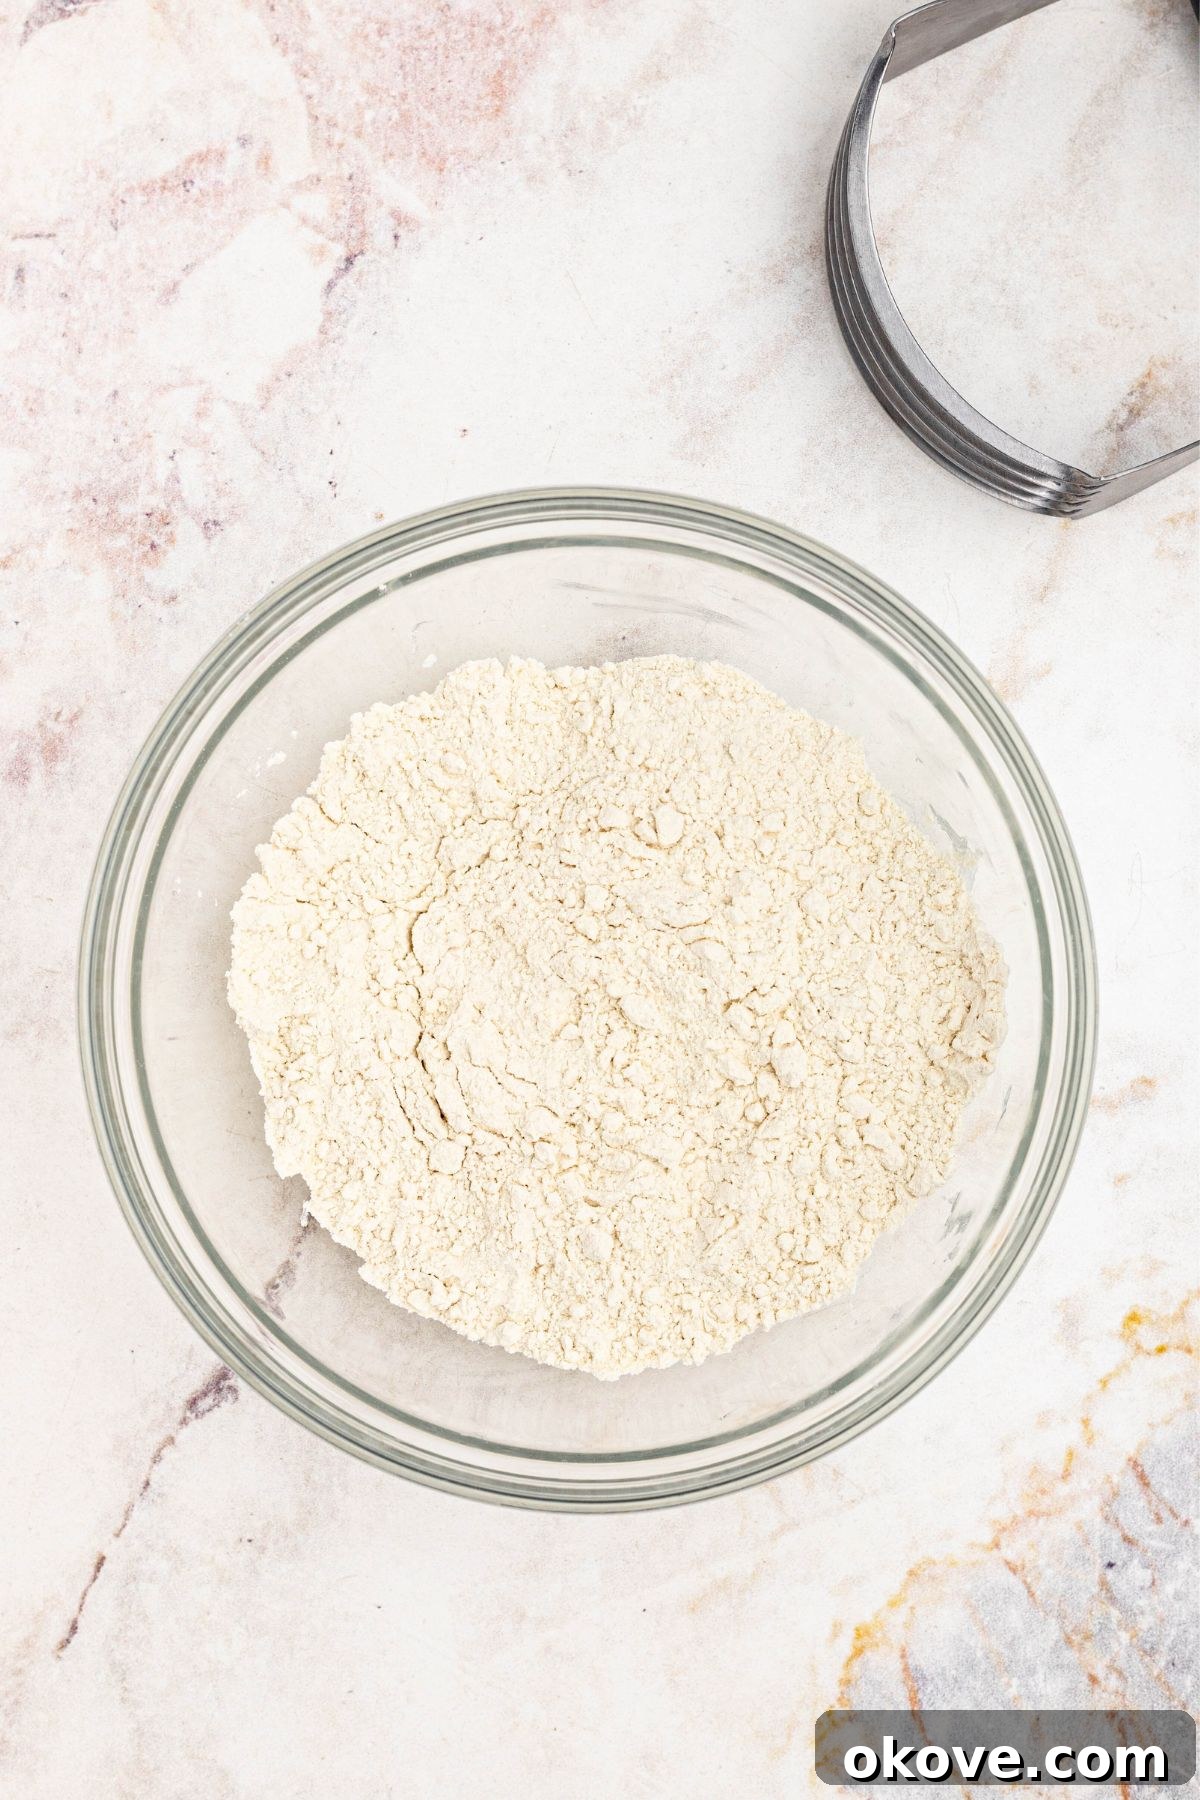
- Begin by combining your dry ingredients. In a large mixing bowl, thoroughly whisk together the all-purpose flour, granulated sugar, and salt. Whisking ensures that these ingredients are evenly distributed, so you don’t end up with pockets of plain flour or overly salty spots in your finished crust. This also helps to aerate the flour slightly.
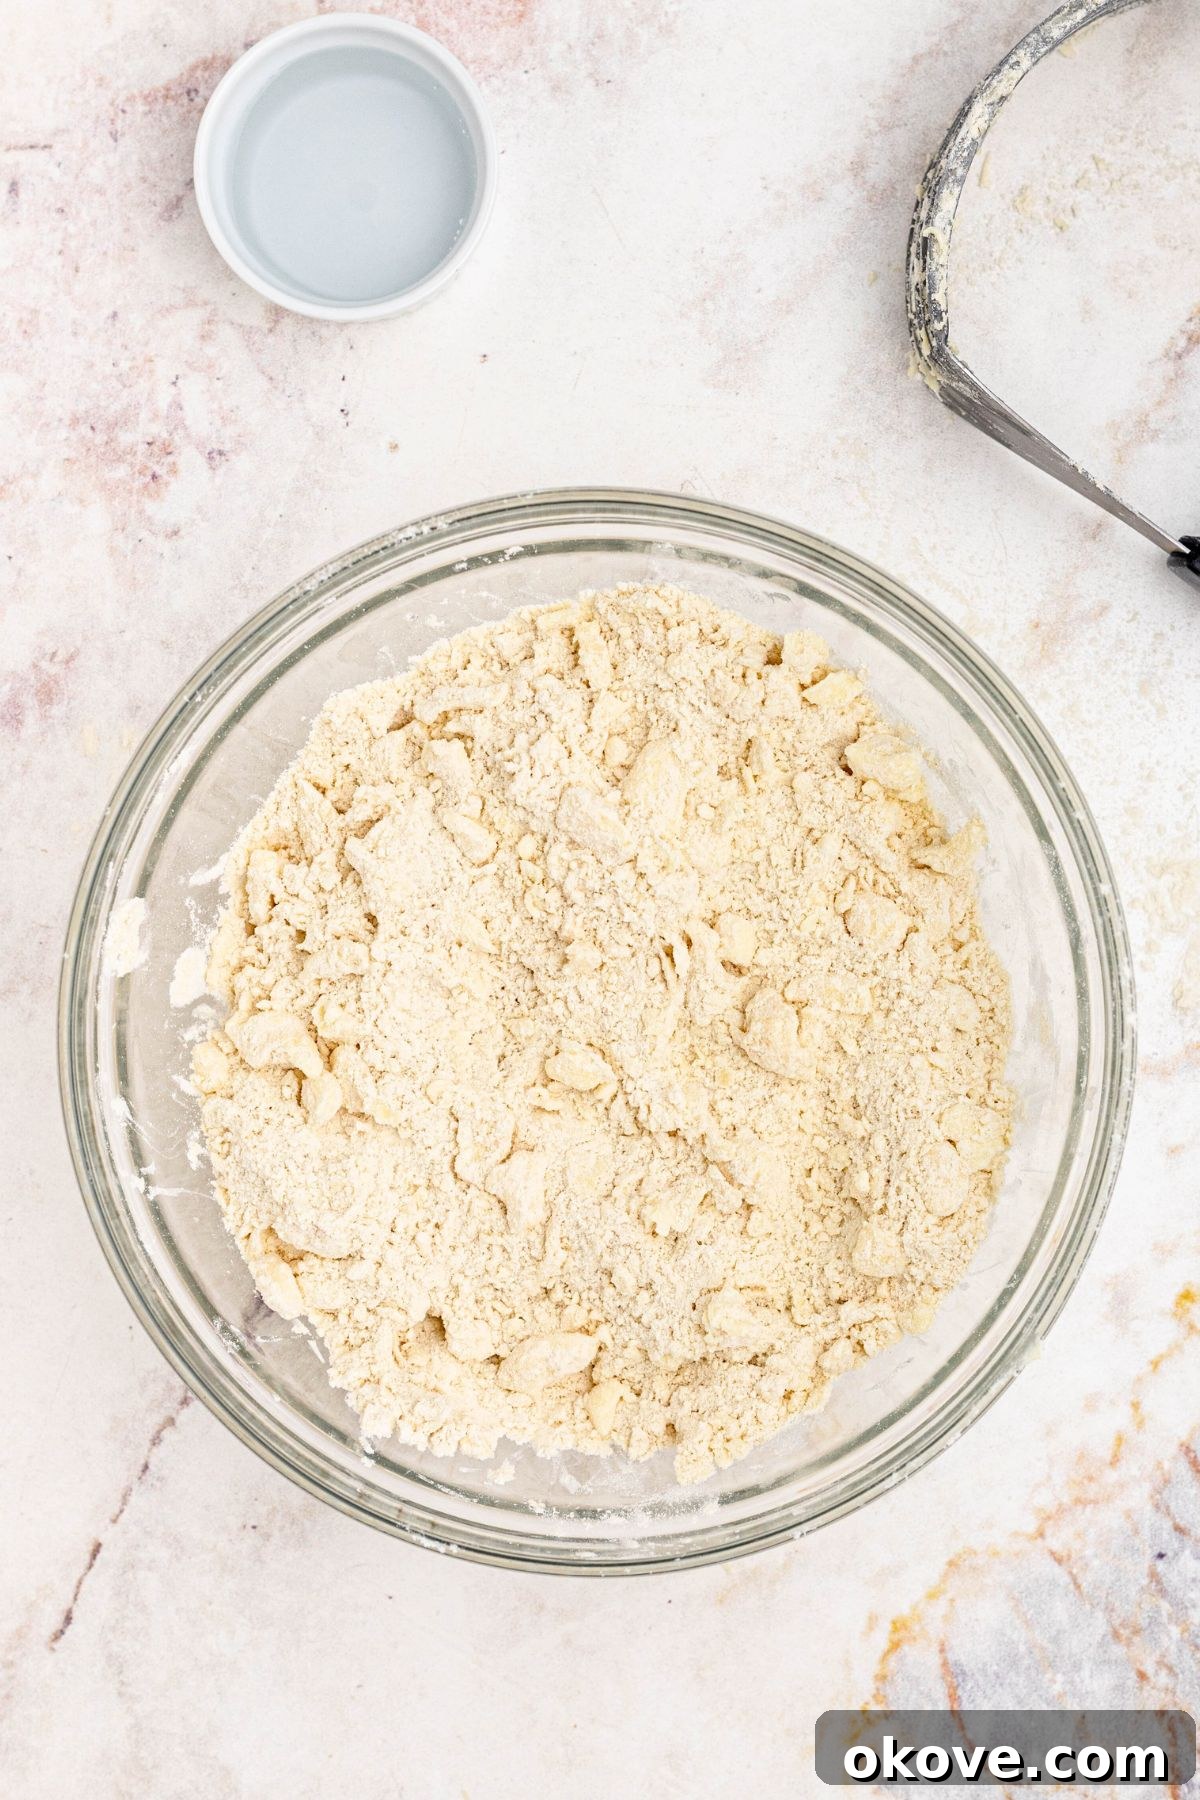
- Now for the crucial step of adding the cold butter. Add the very cold, cubed unsalted butter to your dry ingredients. Using a pastry cutter, two forks, or even your fingertips (working quickly to avoid melting the butter with your body heat), cut the butter into the flour mixture. Continue until you see pea-sized pieces of butter, with a few slightly larger chunks still visible. These varying sizes of butter are essential for creating those beautiful, tender, and flaky layers in your baked crust.
- Gradually introduce the ice water to the mixture. Slowly drizzle the ice water over the flour and butter, adding one tablespoon at a time. After each addition, gently toss the mixture with a fork until the dough just begins to come together. The key is to add only enough water for the dough to form a cohesive ball without being sticky or overly wet. If the dough still appears dry and crumbly, add a tiny splash more, testing by pressing a small amount between your fingers—it should hold its shape. Too much water will make the crust tough.
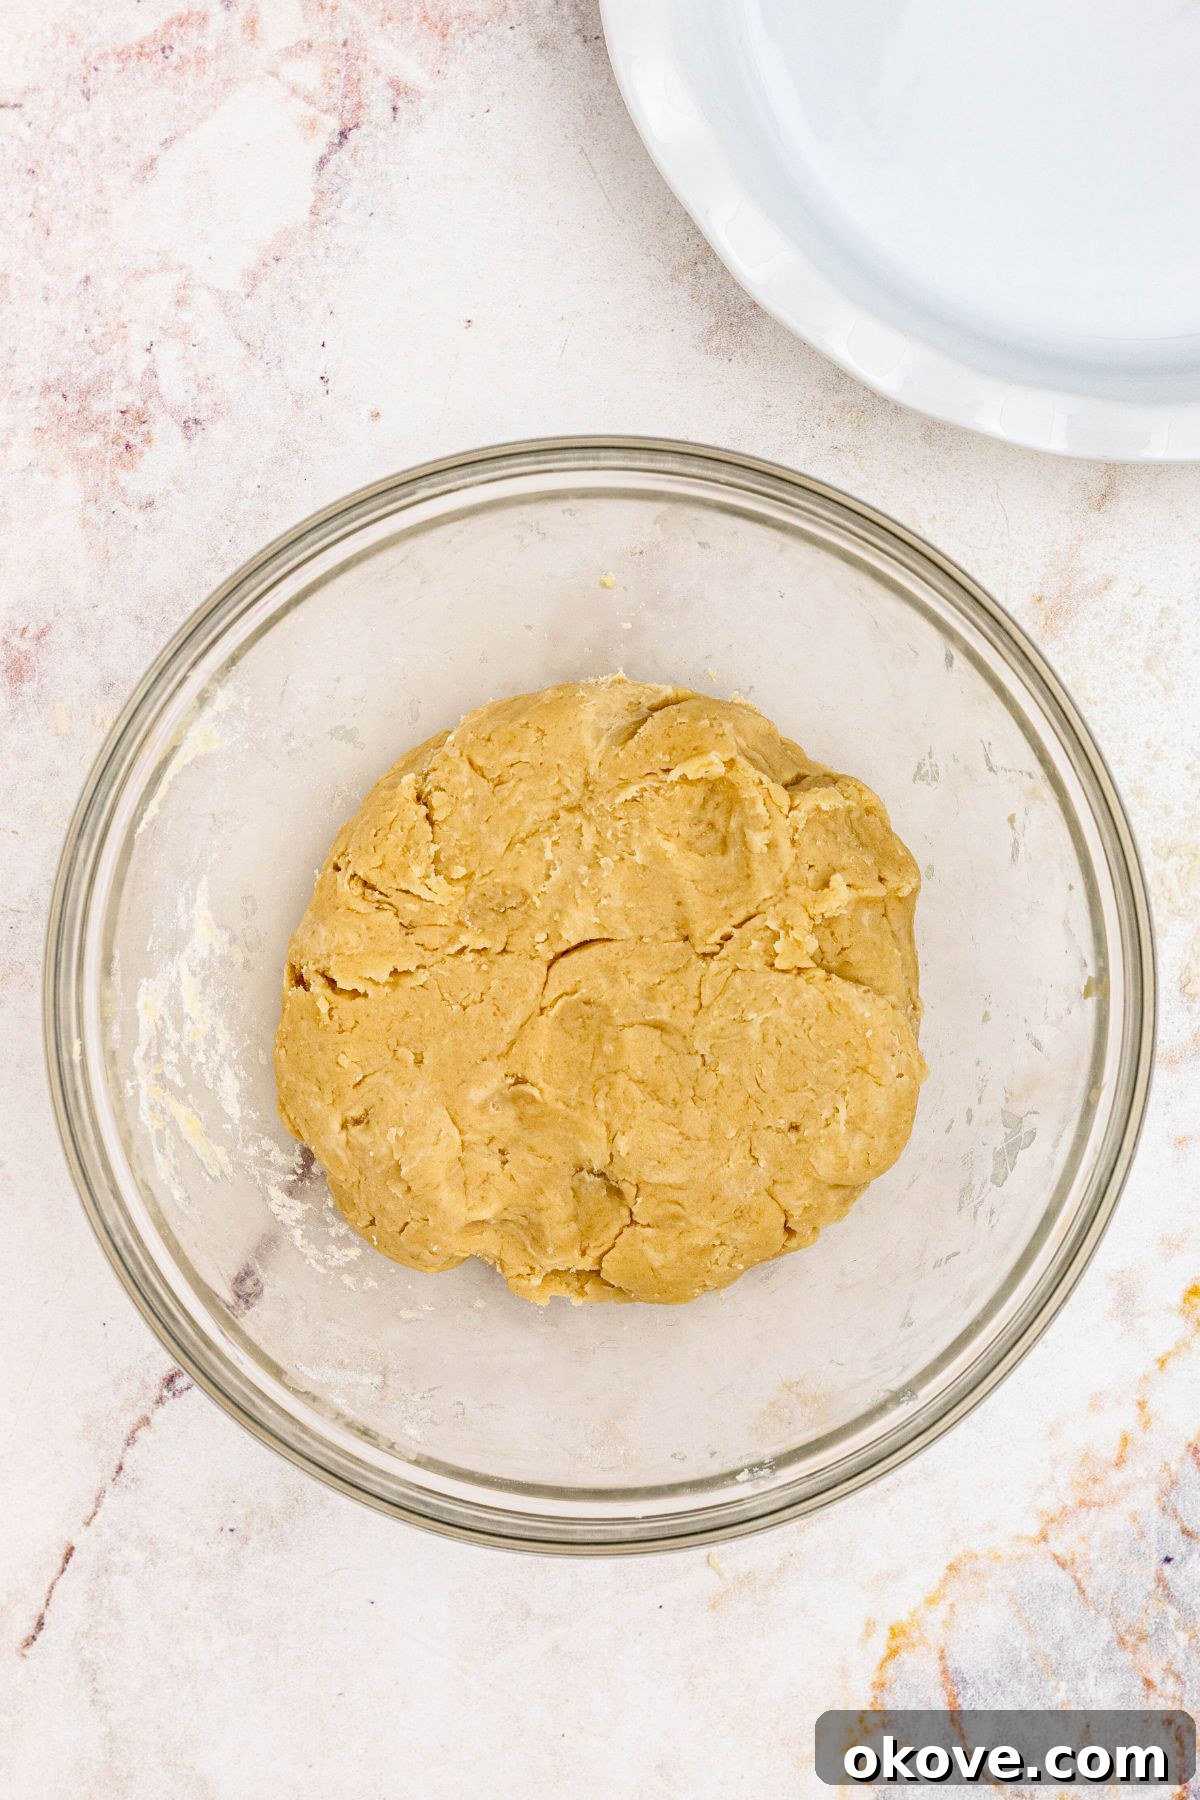
- Turn the shaggy dough out onto a clean, lightly floured work surface. With clean hands, gently bring the dough together, pressing it into a cohesive mass. Avoid kneading, as this will overdevelop the gluten. Divide the dough into two equal disks (for a double-crust pie, or one for a single crust), wrap each disk tightly in plastic wrap, and refrigerate for at least one hour, or preferably two. Chilling is vital as it allows the gluten to relax, which prevents the crust from shrinking during baking, and it also solidifies the butter, making the dough much easier to roll and ensuring optimal flakiness.
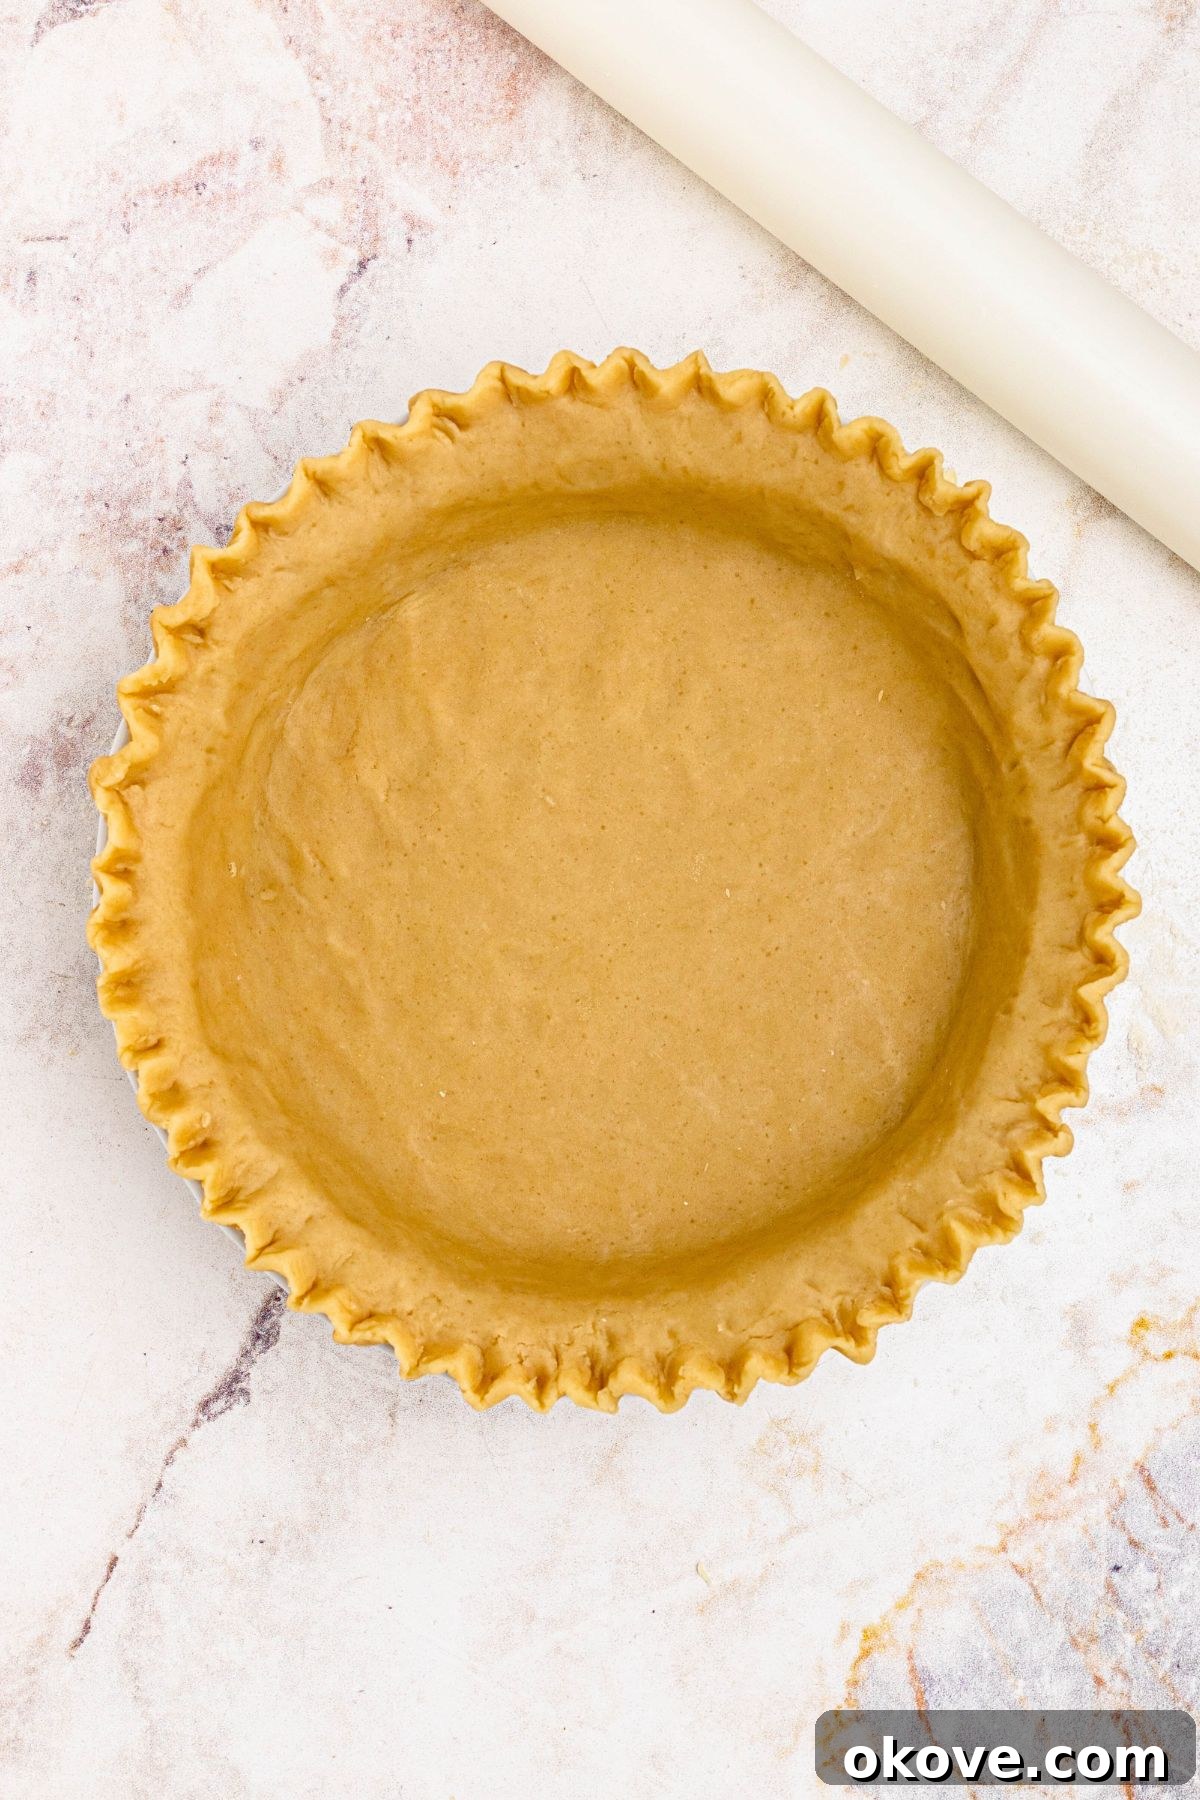
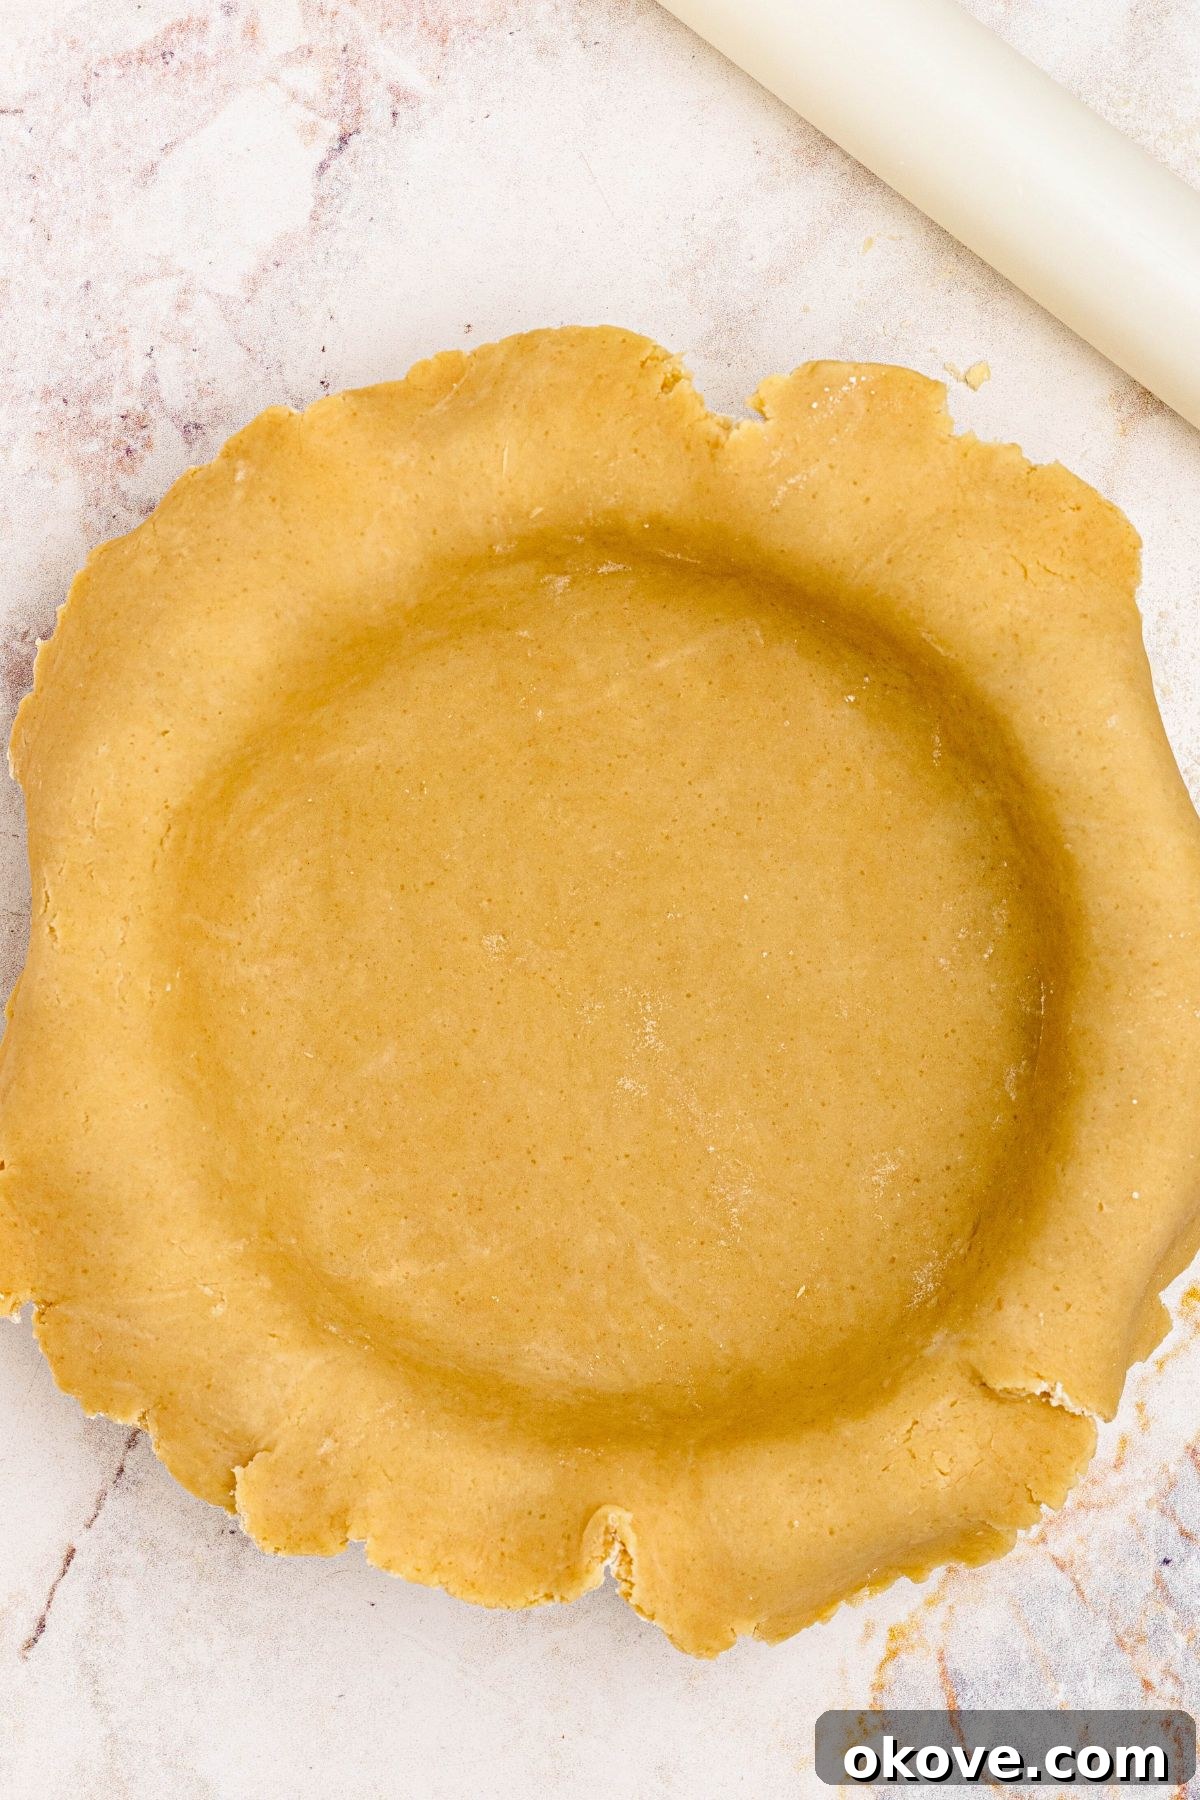
- Once chilled, remove one disk of dough from the refrigerator and place it on a lightly floured surface. Using a rolling pin, roll the dough from the center outwards, rotating it frequently to maintain an even circle about one-eighth inch thick and large enough to fit your pie dish. Carefully transfer the rolled dough to your 9-inch pie dish or pie plate. Trim the edges to a slight overhang (about ½ to ¾ inch) if you plan to add a top crust, or crimp and flute the rim as desired for a beautiful decorative edge.
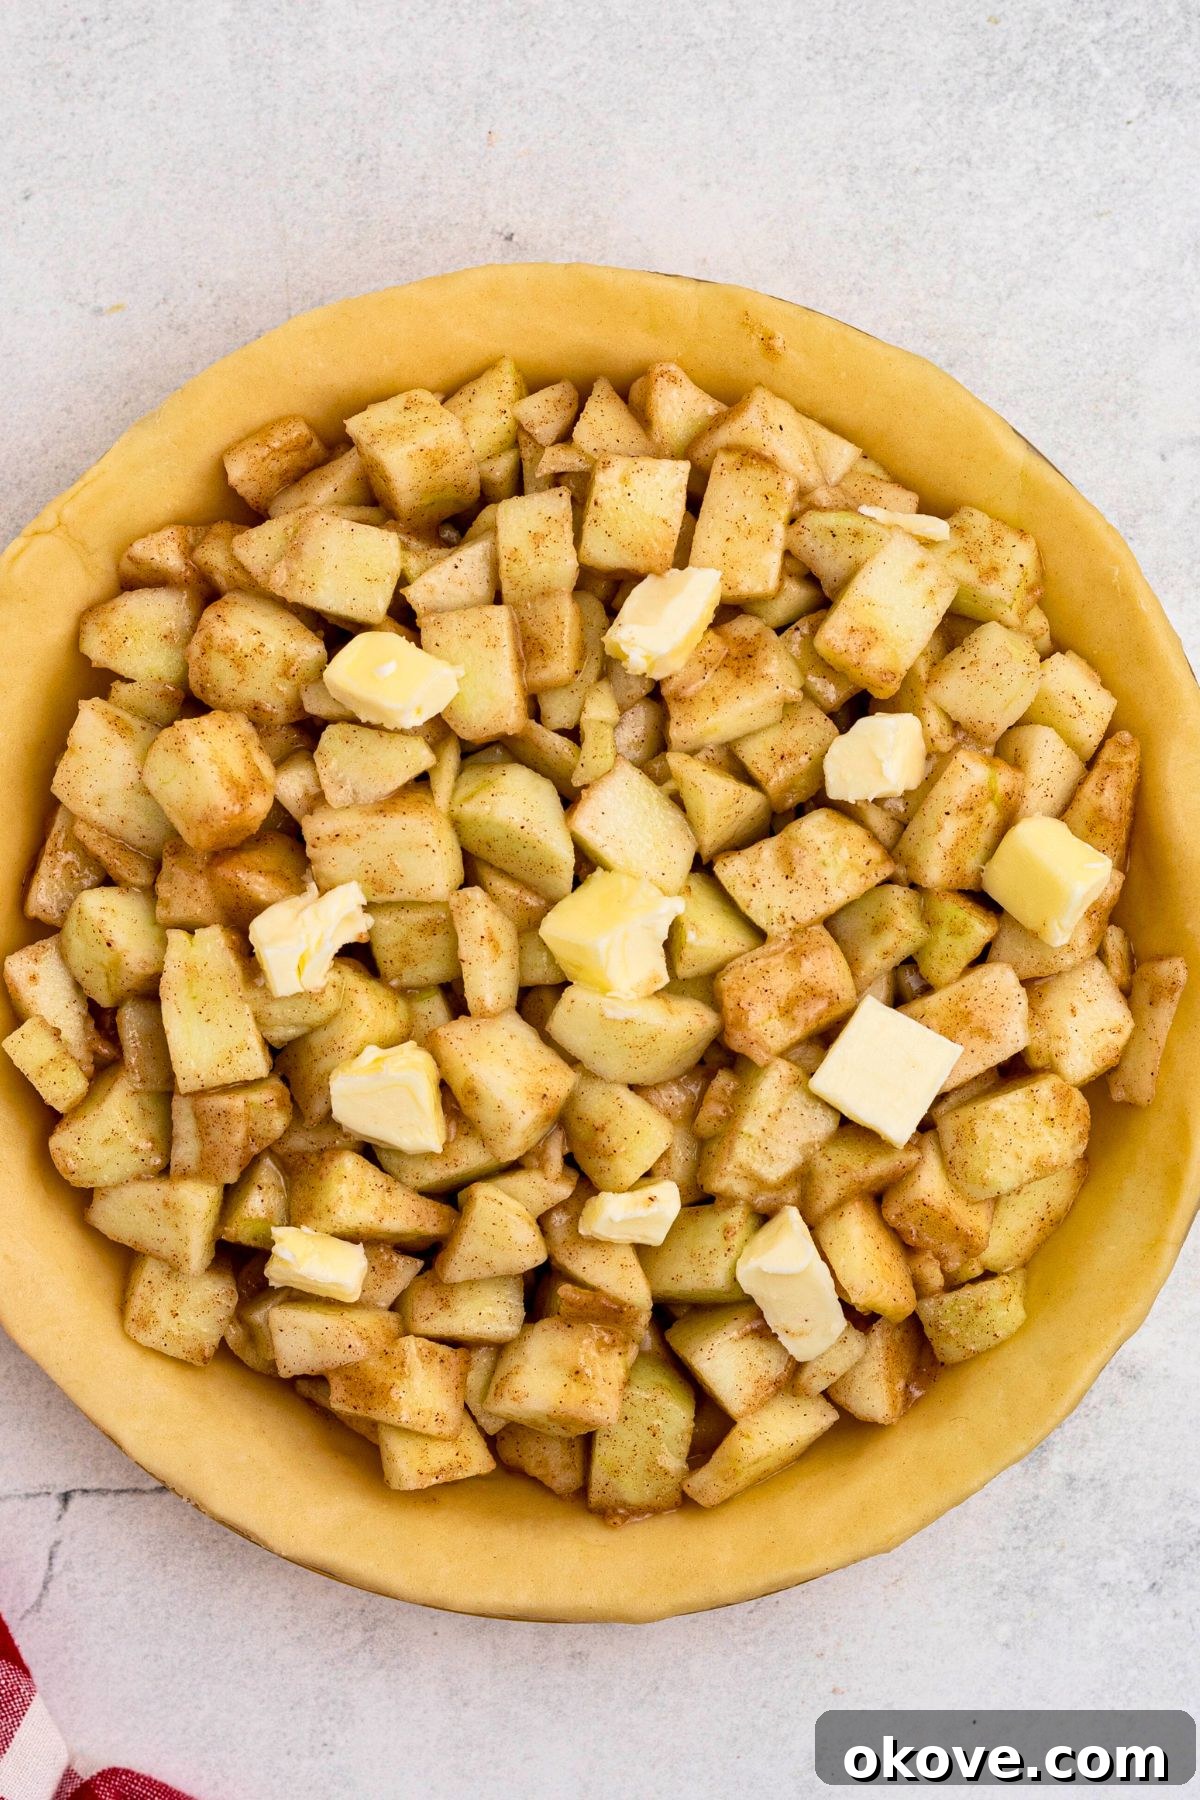
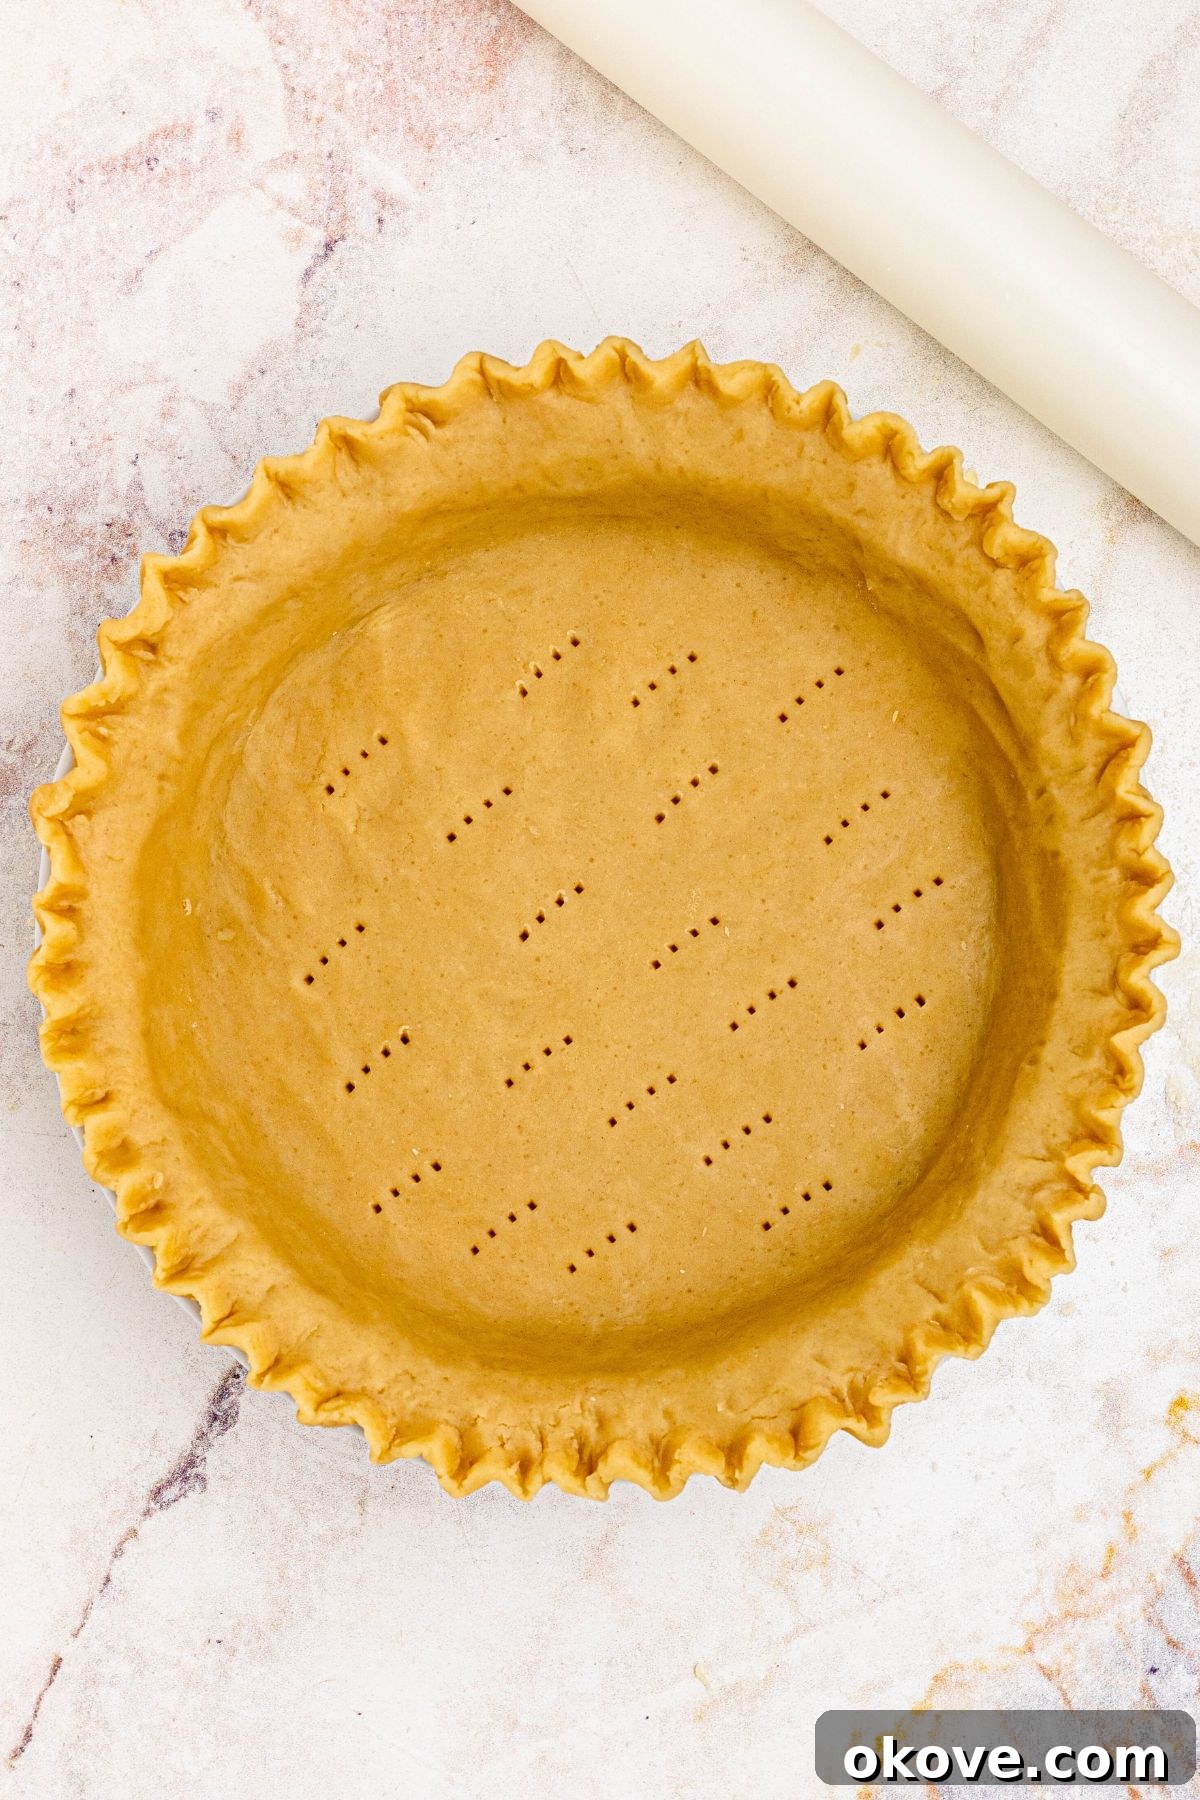
- Your beautiful homemade pie crust is now ready for your chosen filling! Whether it’s a luscious pumpkin pie, a creamy coconut cream pie, a juicy peach pie, or any of your other favorite recipes, this crust provides the perfect foundation. Depending on your specific recipe, you may need to blind bake or par-bake the bottom crust before adding the filling to prevent a soggy bottom. If so, vent the crust with fork holes to allow steam to escape during baking.
Mastering the Blind Bake Technique
Blind baking, also known as par-baking, is a critical step for many pie recipes, especially those with wet fillings like custards, quiches, or fresh fruit that don’t get fully cooked in the oven. It pre-bakes the crust, ensuring it’s crisp, sturdy, and free from a soggy bottom. Here’s how to do it effectively:
- Preheat Oven: Begin by preheating your oven to a robust 400°F (204°C). A hot oven helps set the crust quickly and ensures crispness.
- Prepare the Crust: Once your pie dough is rolled and fitted into the pie plate, gently line it with parchment paper or aluminum foil. Make sure the paper extends over the rim to prevent the edges from burning.
- Add Weights: Fill the parchment-lined crust with pie weights. These can be ceramic pie weights, dried beans, uncooked rice, or even pennies. The weights prevent the crust from puffing up and shrinking during baking, keeping its shape.
- First Bake: Bake the weighted crust for 15 minutes. This initial bake sets the dough and begins the cooking process.
- Remove Weights: Carefully remove the pie weights and the parchment paper. The crust should be partially set but not yet golden brown.
- Second Bake: Return the crust to the oven for an additional 8 to 12 minutes, or until it is lightly golden brown and fully set. Keep a close eye on it during this stage to prevent over-browning.
Blind baking is your secret weapon against a dreaded soggy bottom, providing a robust and perfectly cooked base, particularly for delicate cream and custard pies where the filling doesn’t require extensive baking time in the crust.
Expert Tips for a Flawless Pie Crust
Achieving a consistently perfect pie crust is within reach with these tried-and-true techniques and considerations. Even seasoned bakers can benefit from a refresher on these essential tips:
- Keep Ingredients Cold, Colder, Coldest: This cannot be stressed enough. Cold butter and ice water are paramount. The colder your butter, the longer it will take to melt in the oven, creating more steam pockets and thus more flaky layers. Some even chill their flour and mixing bowl! If your kitchen is warm, work quickly.
- Chill Before Rolling and After Shaping: Allow the dough to rest in the refrigerator for at least one hour (or two!) before rolling. This gives the gluten a chance to relax, which prevents shrinkage during baking. Once you’ve rolled the dough and placed it in the pie plate, consider another short chill (20-30 minutes) to firm up the butter and further reduce shrinkage before filling or blind baking.
- Handle Lightly: Overworking the dough is the enemy of a tender crust. The more you handle the dough, the more gluten develops, resulting in a tough, chewy texture. Mix just until combined, and roll with gentle, even pressure.
- Use a Light Dusting of Flour: When rolling out your dough, use just enough flour on your work surface and rolling pin to prevent sticking. Too much added flour will dry out your dough, making it crumbly and difficult to roll, and can make the final crust tough. Wipe off excess flour from the dough before transferring to the pie plate.
- Don’t Stretch the Dough: When transferring the rolled dough to the pie plate, avoid stretching it to fit. Stretching can cause the dough to snap back or shrink significantly during baking. Gently ease it into the plate, ensuring it sits loosely.
- Freeze for Later: This dough freezes exceptionally well. Wrap individual disks tightly in plastic wrap, then place in a freezer-safe bag. It can be stored in the freezer for up to three months. Thaw in the refrigerator overnight when you’re ready to bake. This makes pie baking convenient and accessible on demand.
Frequently Asked Questions About Pie Crust
How long can all-butter homemade pie crust stay in the refrigerator?
When wrapped tightly in plastic wrap to prevent it from drying out, your homemade pie dough can safely rest in the refrigerator for up to three days. For longer storage, you can freeze the pie dough for up to three months. Just be sure to thaw it in the refrigerator overnight before you plan to roll it out.
Why is my homemade pie crust cracking when I roll it?
Cracking usually indicates that the dough is either too cold, too dry, or hasn’t had enough time to rest. If it’s too cold, let it sit at room temperature for 5-10 minutes. If it’s too dry and crumbly, it might need one more tablespoon of ice water. Add a tiny splash, gently fold it in, and test its pliability again. Remember, dough that hasn’t adequately chilled and rested can also be stubborn and crack.
Can I make this all-butter homemade pie crust gluten-free?
Absolutely! To make a gluten-free version, simply use a high-quality gluten-free one-to-one all-purpose flour blend. These blends are specifically formulated to mimic regular flour. You might find that gluten-free dough requires an extra tablespoon or two of cold water to come together properly, as different flours absorb liquids differently. The texture might be slightly different, but it will still be delicious and flaky.
Do I need to blind bake for every pie?
No, blind baking is not always necessary. You typically only need to blind bake a pie crust when you are making a single-crust pie with a custard or cream filling, or a filling that doesn’t require much baking (like fresh fruit tarts). For pies with fillings that bake for a long time (like apple or pumpkin pie), the crust often bakes fully alongside the filling, and blind baking could lead to an overcooked, dry crust.
How do I crimp the edges for a perfect pie crust?
Crimping the edges of your pie crust adds a beautiful, professional finish and also helps to seal the top crust (if you’re adding one) to the bottom. You can use your fingers to pinch and shape the rim, creating a classic fluted edge. Alternatively, press the tines of a fork around the rim for a simpler, rustic look. For more intricate designs, specialized crimping tools are available. Practice makes perfect, so don’t be afraid to experiment!
Can I use salted butter for pie crust?
While unsalted butter is generally preferred for baking as it gives you control over the salt content, you can use salted butter. If you do, omit or significantly reduce the amount of salt added to the dry ingredients, depending on your preference. Keep in mind that the salt content in salted butter can vary between brands.
How do I prevent my pie crust from shrinking?
Shrinkage is a common issue, often caused by overworking the dough or not chilling it long enough. Ensure you handle the dough minimally to prevent excessive gluten development. Most importantly, give the dough ample time to chill (at least 1-2 hours) to allow the gluten to relax. You can also lightly dock the bottom of the crust with a fork before blind baking, which helps release steam and reduces puffing and shrinkage.
More Easy Dessert Recipes
Drinks
Orange Creamsicle Jello Shots
Desserts
Homemade Thin Mint Cookies
Appetizers
Spinach Artichoke Dip
Desserts
Peanut Butter Balls
If you have tried this recipe or any others from Celebrating Simply, I’d love it if you would leave a ⭐ star rating and share your thoughts in the ✍️ comments below. Your feedback means a lot to me and helps other home bakers!
Homemade Pie Crust
Rebecca
2 Pie Crusts
15 mins
1 hr
1 hr 15 mins
Share by Email
Print Recipe
Equipment
- Rolling Pin
- Mixing Bowl
- Pie Plate
- Pastry Cutter (optional, but recommended)
Ingredients
- 2 1/2 cups all-purpose flour
- 1 tablespoon granulated sugar
- 1 teaspoon salt
- 1 cup unsalted butter, very cold and cut into 1/2-inch cubes
- 6 tablespoons ice water, plus up to 4 more tablespoons if needed
Instructions
- Whisk the flour, sugar, and salt together in a large bowl until well combined.
- Add the cold butter cubes to the dry ingredients. Using a pastry cutter or two forks, cut the butter into the flour until the mixture resembles coarse meal with some pea-sized pieces and a few slightly larger chunks of butter remaining.
- Slowly drizzle in the ice water, one tablespoon at a time, gently tossing with a fork after each addition. Continue adding water until the dough just starts to come together and forms moist clumps. The dough should hold its shape when squeezed.
- Turn the dough out onto a clean, lightly floured work surface. Gently bring it together with your hands, forming it into a cohesive ball. Divide the dough into two equal disks, wrap each disk tightly in plastic wrap, and refrigerate for at least one hour (or up to three days). Chilling is crucial for relaxing the gluten and firming the butter.
- Once chilled, remove one dough disk from the refrigerator. On a lightly floured surface, use a rolling pin to roll the dough into a circle approximately one-eighth inch thick, large enough to fit your 9-inch pie dish. Gently transfer the rolled dough to your pie dish. Trim the edges, leaving about a 1/2-inch overhang, and crimp or flute the rim as desired.
- Fill the crust with your favorite pie filling. Depending on your recipe, you may need to blind bake the crust before filling. If blind baking, remember to vent the bottom of the crust with fork holes.
Notes
This recipe yields two pie crusts (sufficient for a double-crust 9-inch pie or two single-crust pies) or one deep-dish 9-inch crust.
- Keep ingredients cold: Emphasizing this again because cold butter and cold water are truly the most important factors for creating that desirable flaky texture with clean layers.
- Chill before rolling: Allowing the dough to rest in the refrigerator is vital. It relaxes the gluten developed during mixing, making the dough easier to roll out without shrinking, and solidifies the butter, enhancing flakiness.
- Handle lightly: Minimize handling the dough. Overworking it will develop too much gluten, resulting in a tough, rather than tender, crust.
- Use a light dusting of flour: When rolling, use only enough flour on your work surface and rolling pin to prevent sticking. Excessive flour can dry out the dough, making it crumbly and difficult to work with.
- Freeze for later: This homemade pie dough is excellent for making ahead. Wrap tightly in plastic wrap and then in aluminum foil, and it will keep well in the freezer for up to 3 months. Thaw in the refrigerator overnight before use.
Nutrition
Carbohydrates: 125 g
Protein: 17 g
Fat: 94 g
Saturated Fat: 59 g
Polyunsaturated Fat: 4 g
Monounsaturated Fat: 24 g
Trans Fat: 4 g
Cholesterol: 244 mg
Sodium: 1181 mg
Potassium: 195 mg
Fiber: 4 g
Sugar: 6 g
Vitamin A: 2836 IU
Calcium: 53 mg
Iron: 7 mg
Nutrition information is automatically calculated and should be used as an approximation only.
Additional Info
Dessert, Pie
American
Mention @celebratingsimplyrecipes or tag #celebratingsimplyrecipes!