
No-Bake Lego Brownies: The Ultimate Easy & Fun Party Treat
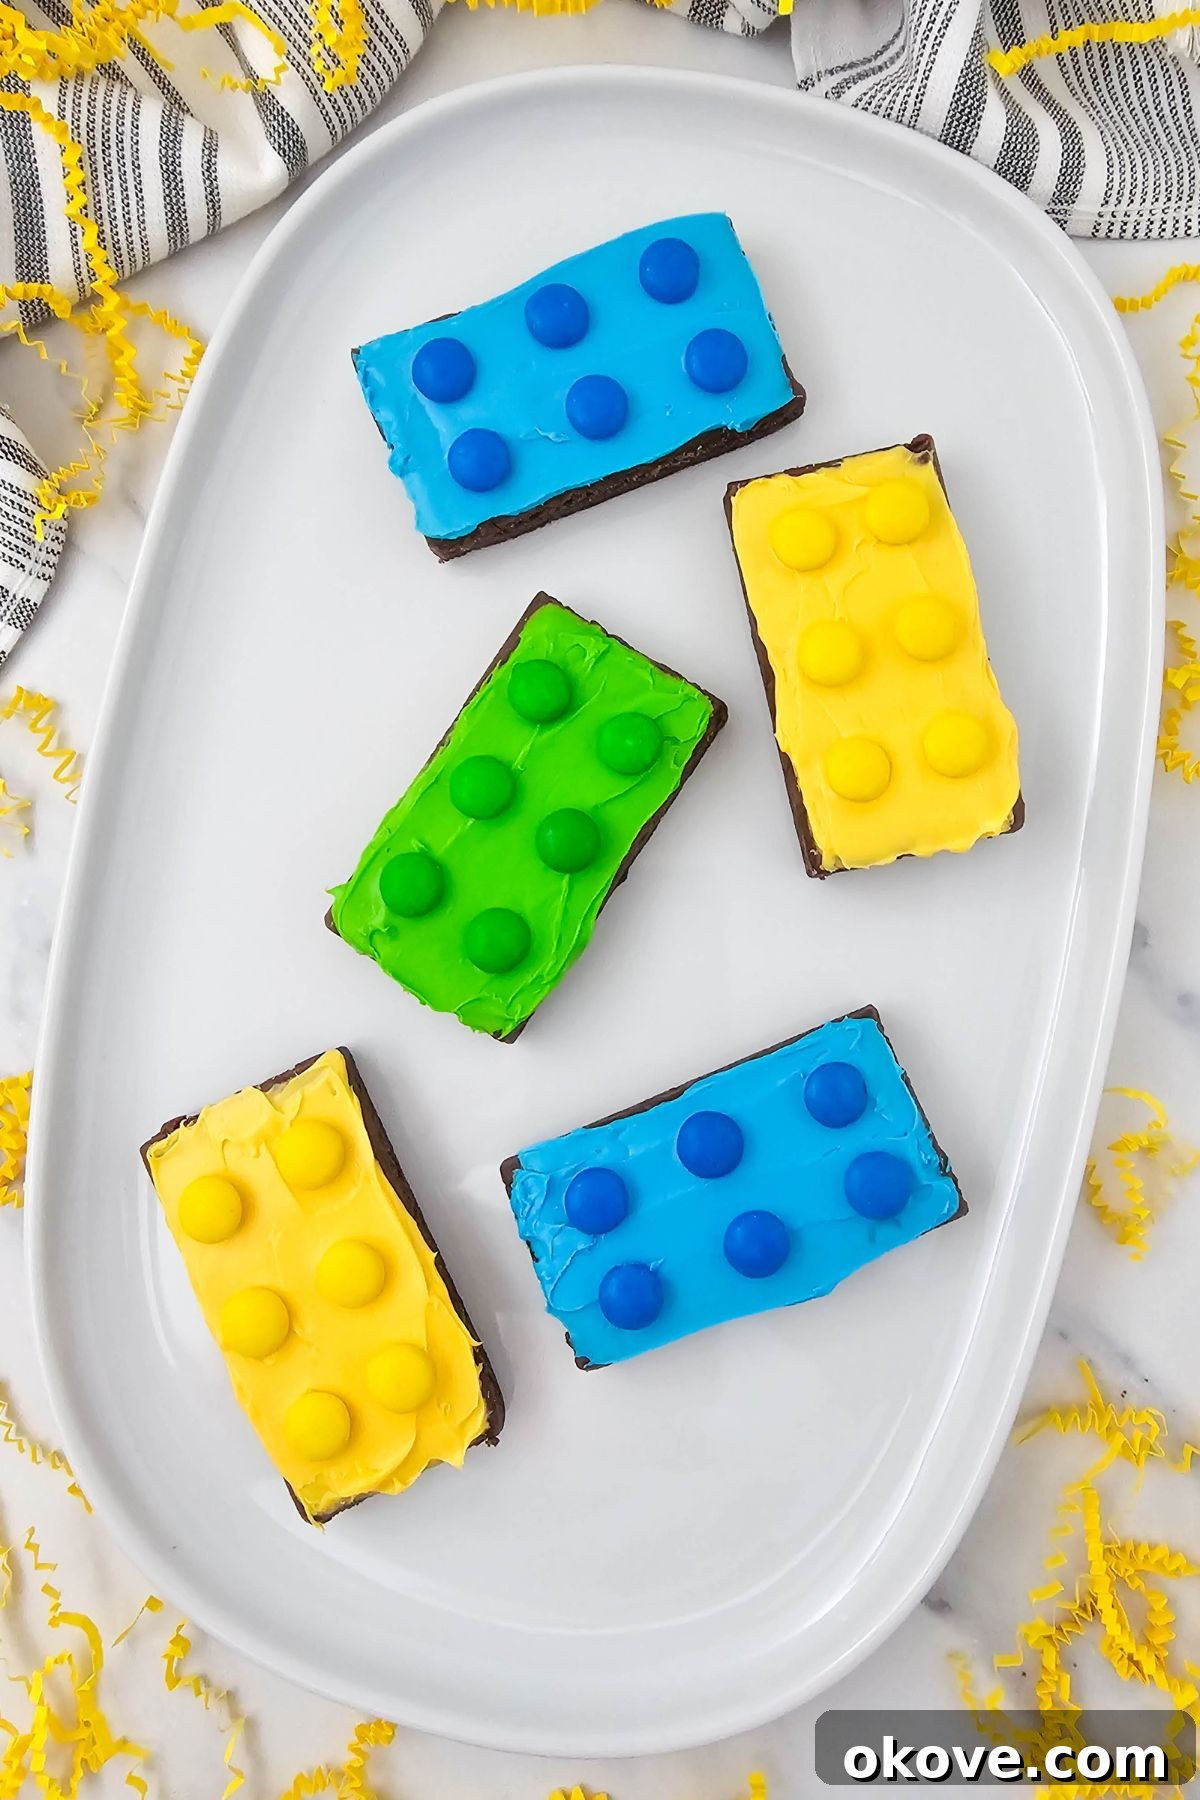
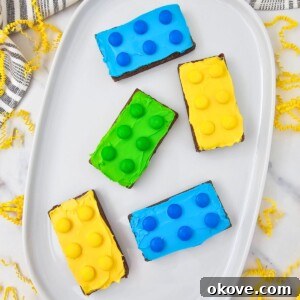
Get ready to build some serious fun with these adorable and incredibly easy Lego brownies! These vibrant treats are an absolute sensation, guaranteed to be a huge hit at any kids’ birthday party, school event, or even just a casual playdate. Imagine biting into a soft, rich, fudgy brownie, perfectly complemented by a sweet, brightly colored frosting and crunchy candies that mimic iconic Lego bricks. They don’t just look like actual Lego bricks; they taste like pure joy!
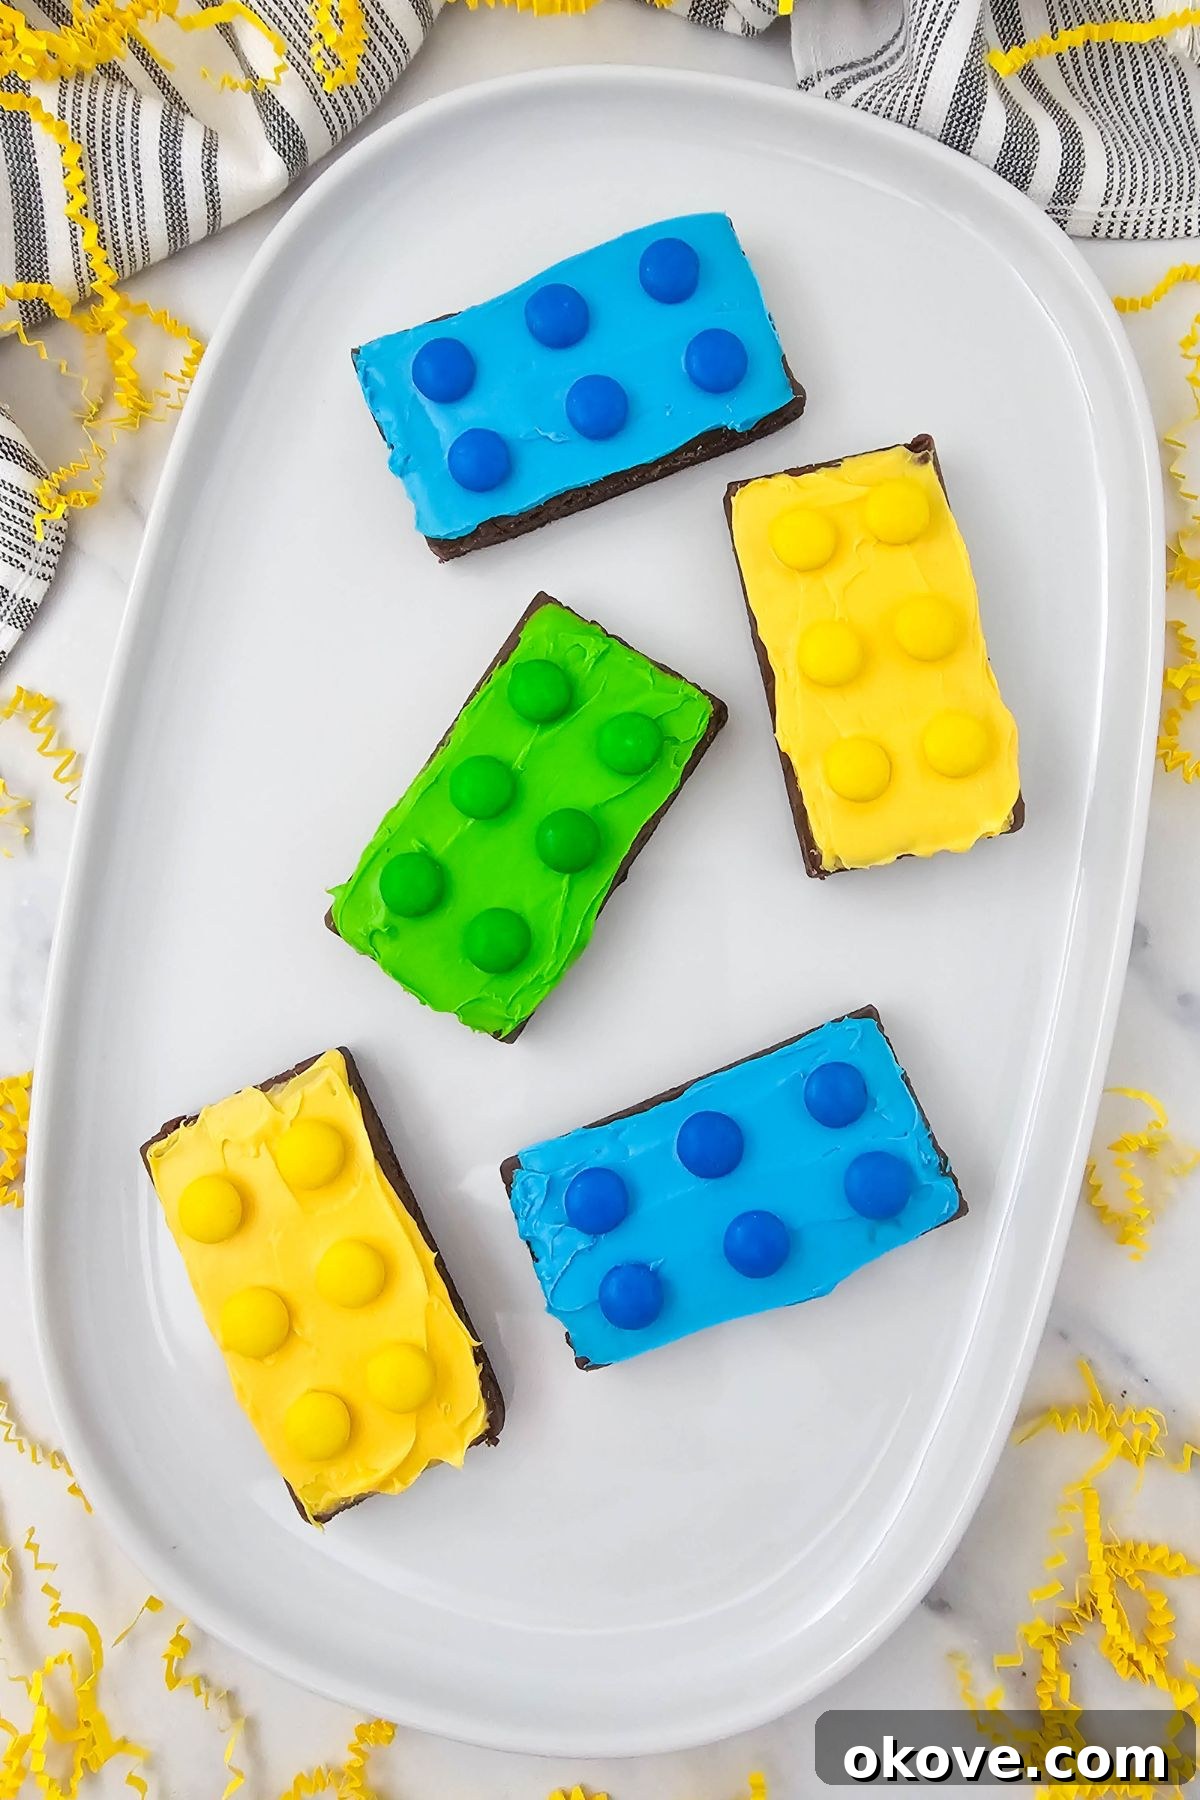
Crafting these bright and playful brownies couldn’t be simpler. With just a few readily available store-bought ingredients and a dash of creativity, you can whip up a batch in no time. They are the ideal solution for busy parents looking for spectacular yet stress-free party food or a delightful after-school surprise. The best part? There’s no baking required, making this a fantastic kid-friendly activity that mom and dad can enjoy alongside their little chefs. It’s a sweet project that promises delicious results and lasting memories.
Looking for more easy and exciting kid-friendly recipes to delight your family and friends? Don’t miss out on these fan favorites: try our irresistibly cute Cookie Monster Cookies, classic Chocolate Chip Cookie Bars, the clever no-bake Mini Hamburger Cookies, festive Firecracker Hot Dogs, or these healthy and fun Fruit Skewers. Quench their thirst with refreshing Watermelon Lemonade or a crowd-pleasing Puppy Chow Recipe to complete any snack time or party spread.
Table of Contents
- Why These Lego Brownies Are a Must-Try
- Ingredients You Will Need
- Recipe Variations and Customization Ideas
- How to Make Lego Inspired Brownies
- Expert Tips for Perfect Lego Brownies
- Lego Brownie FAQs
- More Easy Party Desserts
- Lego Brownies Recipe Card
Why These Lego Brownies Are a Must-Try
These Lego-inspired brownies aren’t just a dessert; they’re an experience! Here’s why they’ll become your go-to recipe for any children’s gathering:
- Effortlessly Easy: With store-bought brownies and frosting, you skip the baking and go straight to the fun part – decorating! This saves valuable time and makes it accessible for even the busiest schedules.
- No-Bake Wonder: Perfect for summer parties or when you simply don’t want to turn on the oven. Quick chilling is all that’s needed to set the frosting.
- Kid-Friendly Activity: The simple steps make it an excellent project for kids of all ages. They can help unwrap, frost, and arrange the candies, fostering creativity and fine motor skills.
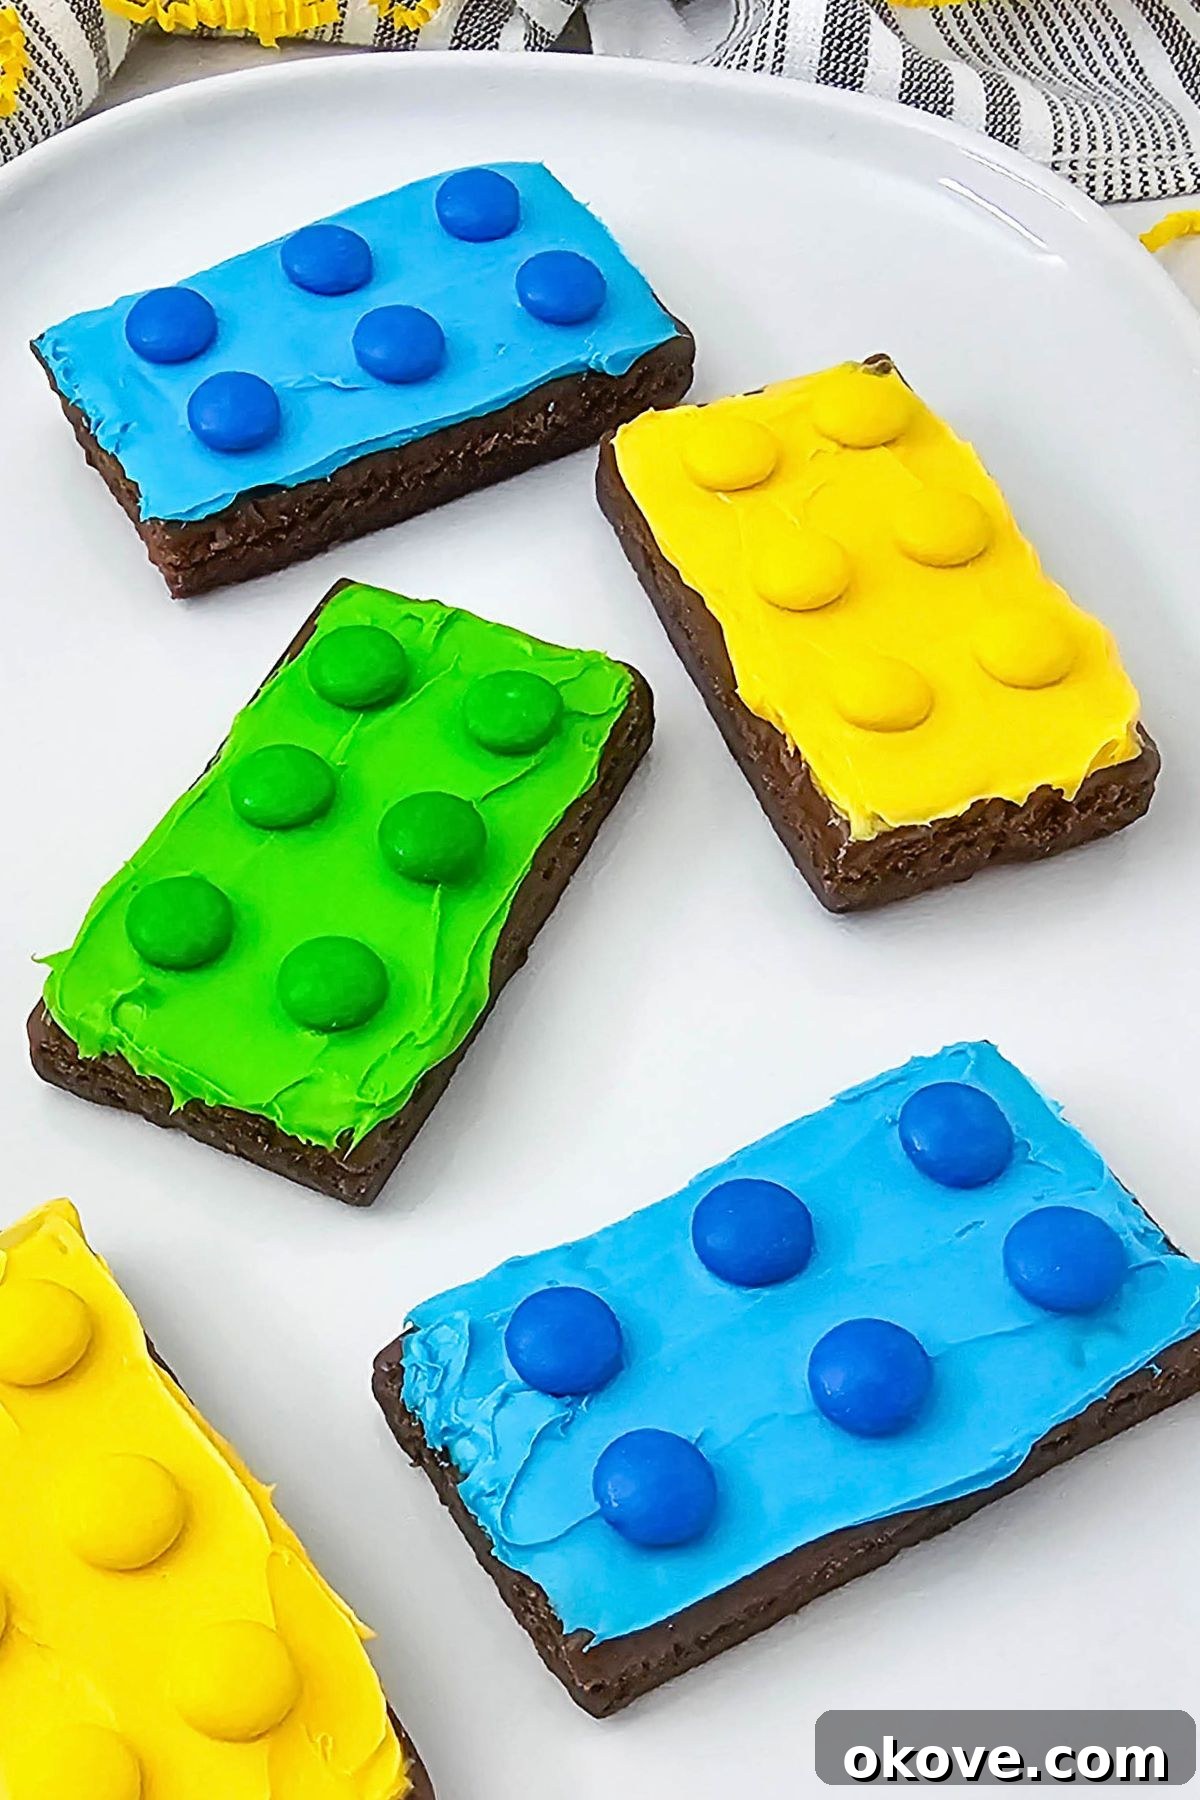
- Visually Stunning: The bright colors and distinct Lego brick shape are incredibly eye-catching and instantly recognizable, making them a standout on any dessert table.
- Deliciously Fudgy: Pre-made brownies often boast a wonderfully dense and moist texture, providing the perfect base for the sweet frosting and candy toppings.
- Customizable Fun: Easily change the colors and types of candies to match any party theme or your child’s favorite Lego sets.
Ingredients You Will Need for Your Lego Brownies
Gathering your ingredients for these no-bake Lego brownies is straightforward. You’ll only need a handful of items, most of which can be found at any local grocery store. The beauty of this recipe lies in its simplicity and accessibility, ensuring you can create these delightful treats with minimal fuss.
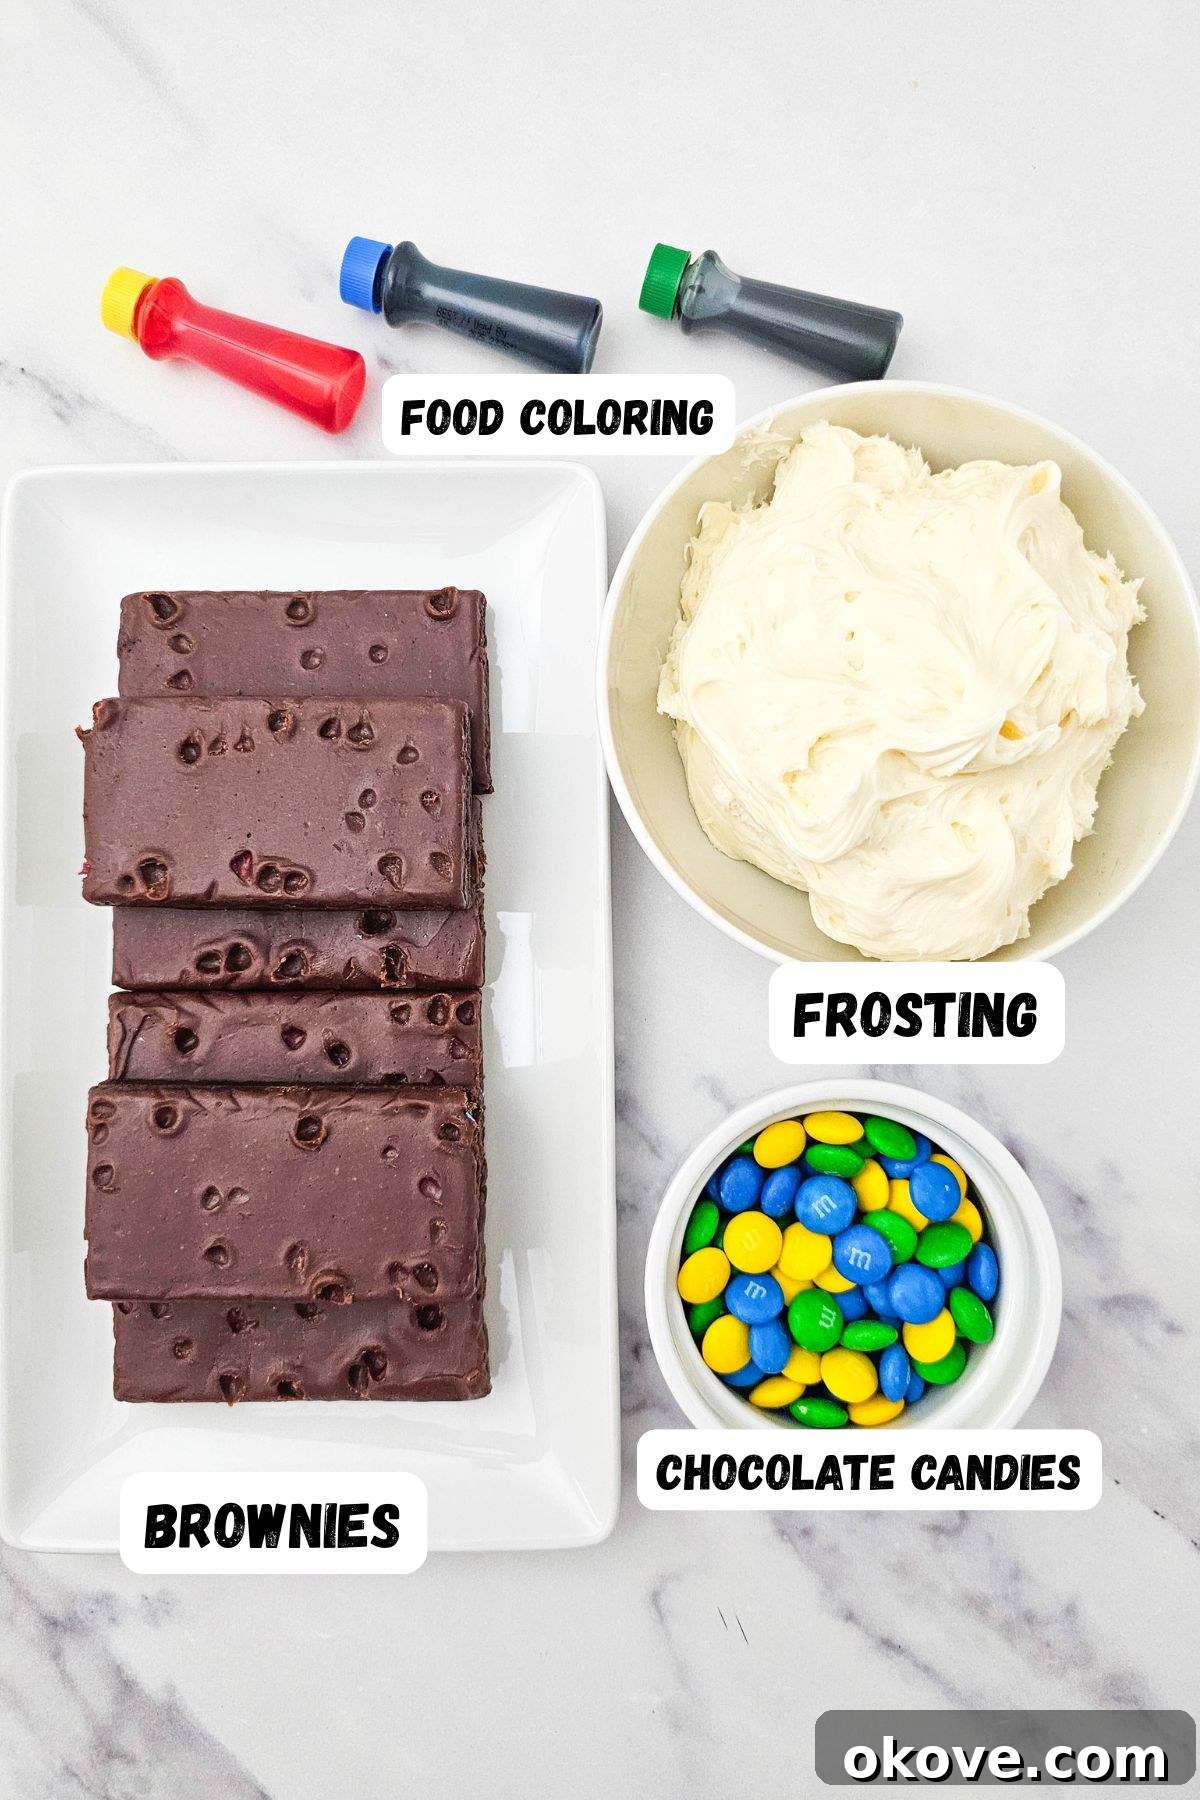
- Pre-made Fudgy Brownies (e.g., Little Debbie Brownies): The star of the show! Using pre-made brownies is your secret weapon for saving time and ensuring a consistently fudgy, delicious base. Look for individually wrapped brownies that are easy to handle and about the size of a Lego brick. If your brownies come with sprinkles or candy bits, you can gently remove them for a cleaner “brick” surface.
- White or Vanilla Frosting: Any store-bought tub of white or vanilla frosting will work beautifully. Its neutral color is perfect for tinting with food coloring, and its thick consistency will hold the M&M “studs” in place. If you prefer, a simple homemade vanilla buttercream also works wonderfully.
- Blue, Green, and Yellow Food Coloring: These three colors are classic Lego shades and create a vibrant, authentic look. Opt for gel food coloring if possible, as it produces more intense, vivid colors with fewer drops, avoiding excess liquid in your frosting.
- Matching Blue, Green, and Yellow M&M Candies: These chocolate candies are essential for creating the iconic Lego “studs.” You’ll need approximately 6 M&Ms per brownie, so plan accordingly. If you’re making 12 brownies (4 of each color), you’ll need 24 M&Ms of each chosen color. Feel free to explore other M&M colors to expand your Lego palette!
A detailed list of all ingredients, along with precise measurements for the full recipe, is conveniently included in the printable recipe card further down this page.
Recipe Variations and Customization Ideas
One of the joys of these Lego brownies is how easily they can be customized to suit your preferences or party theme. Here are some exciting ways to switch things up:
- Expand Your Color Palette: Don’t limit yourself to just blue, green, and yellow! Experiment with red, orange, purple, or even black food coloring and corresponding M&M colors to create a full spectrum of Lego bricks. Think about specific Lego themes your child loves!
- Go Homemade: If you have extra time and prefer a from-scratch dessert, feel free to bake your favorite fudgy brownie recipe. Just remember to cool them completely and slice them into uniform rectangles before frosting to maintain the Lego brick shape. You can also whip up your own homemade buttercream for a richer flavor.
- Add Flavor Extracts to Frosting: Elevate the taste of your frosting by mixing in a few drops of flavor extract. Vanilla or almond extract are classic choices, but you could also try mint, lemon, or even a fun birthday cake flavor to complement the brownies.
- Alternative Toppings: While M&Ms are perfect for Lego studs, you could also use other small, round candies like Skittles, Smarties (in the US), or even small gumdrops if you’re feeling adventurous. Just ensure they are uniform in size for the best Lego effect.
- Gluten-Free or Dairy-Free Options: With the increasing availability of specialized ingredients, you can adapt this recipe for dietary needs. Look for gluten-free pre-made brownies and frosting, or use your favorite allergy-friendly homemade versions.
How to Make Lego Inspired Brownies
Creating these delightful Lego brownies is a fun and straightforward process. Follow these simple steps to bring your colorful brick treats to life:
- Prepare Your Space: Begin by lining a baking tray or a large serving platter with parchment paper. This prevents sticking and makes cleanup a breeze. Carefully unwrap each brownie. If your pre-made brownies happen to have any candy bits or sprinkles on top, gently remove them to create a smooth surface for your frosting and M&Ms.
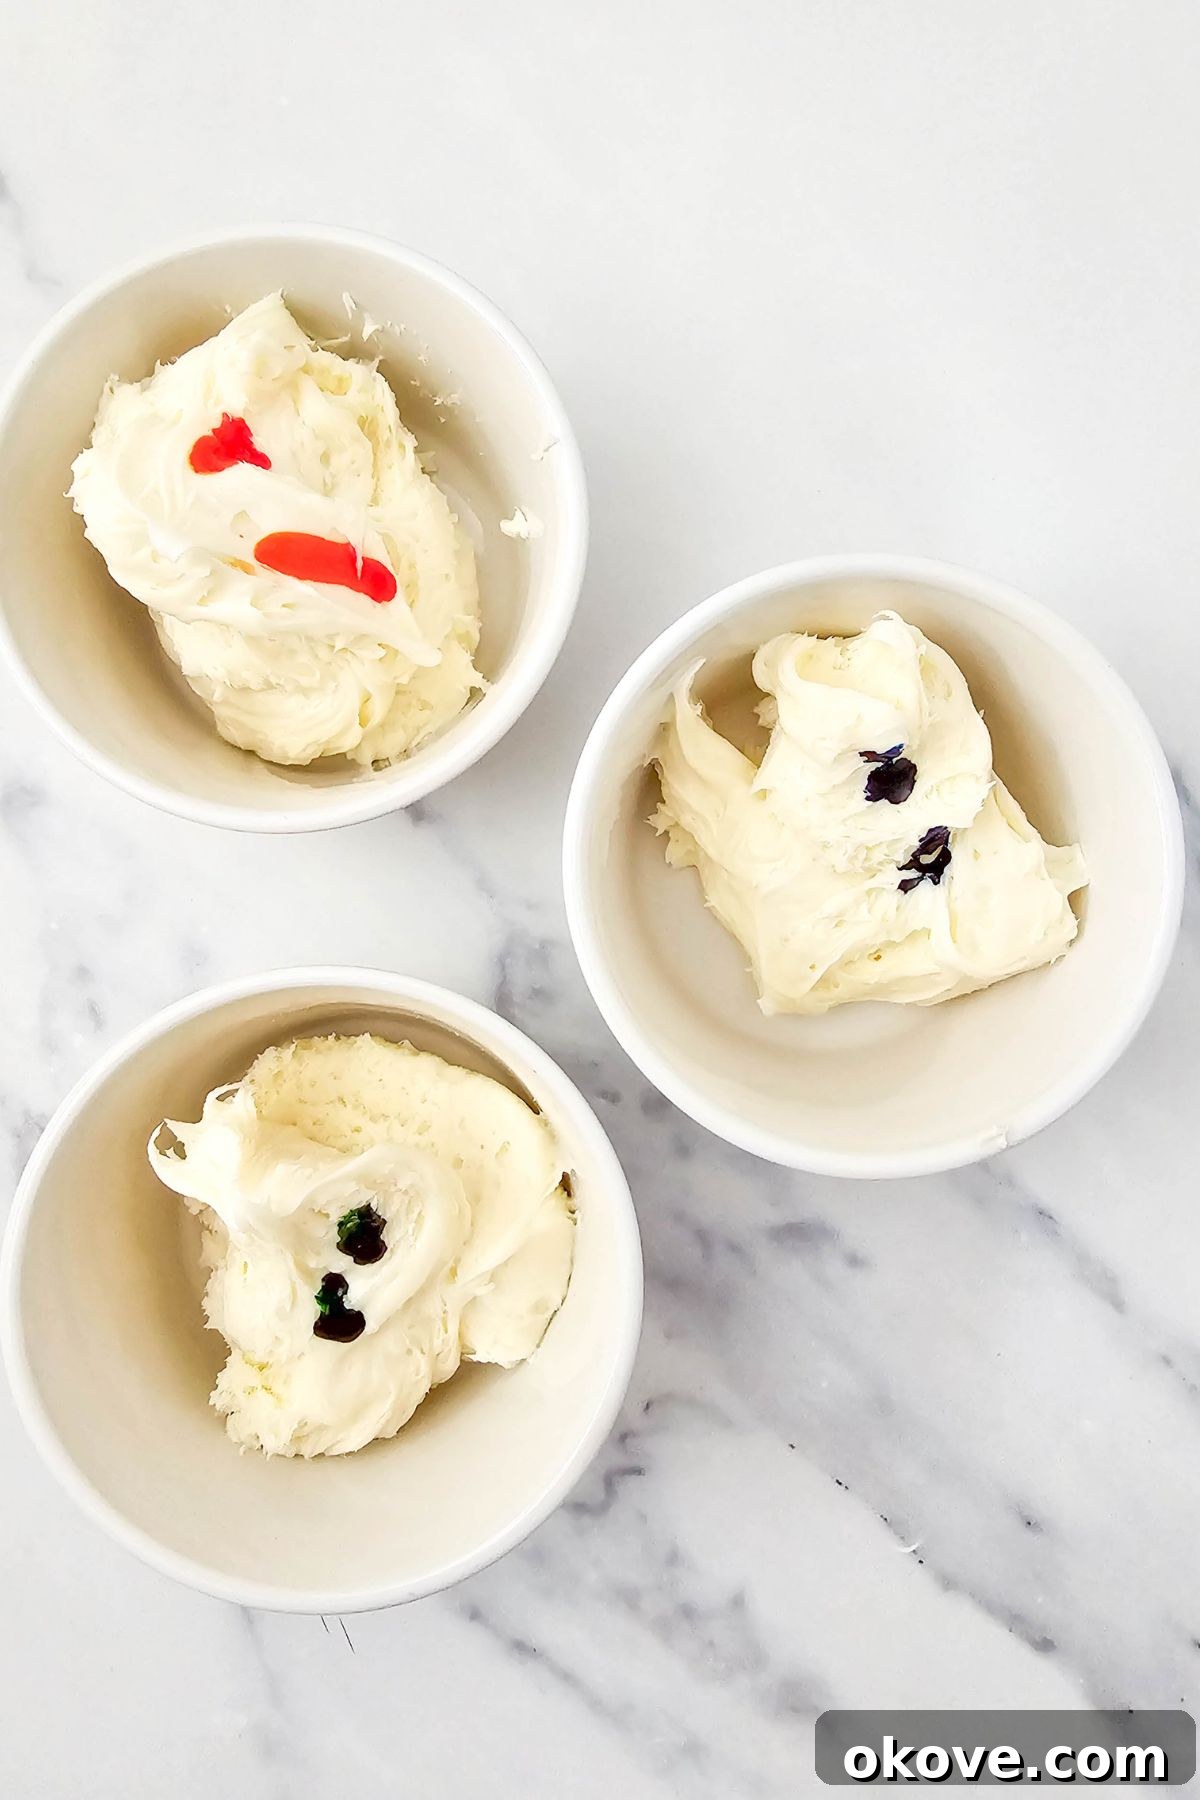
- Color the Frosting: Take your tub of white or vanilla frosting and divide it evenly into three separate small bowls. Add a few drops of blue food coloring to one bowl, green to another, and yellow to the third. Using a spoon or spatula, thoroughly mix each bowl until the color is consistent and vibrant. For deeper, more saturated colors, add a little more gel food coloring as needed.
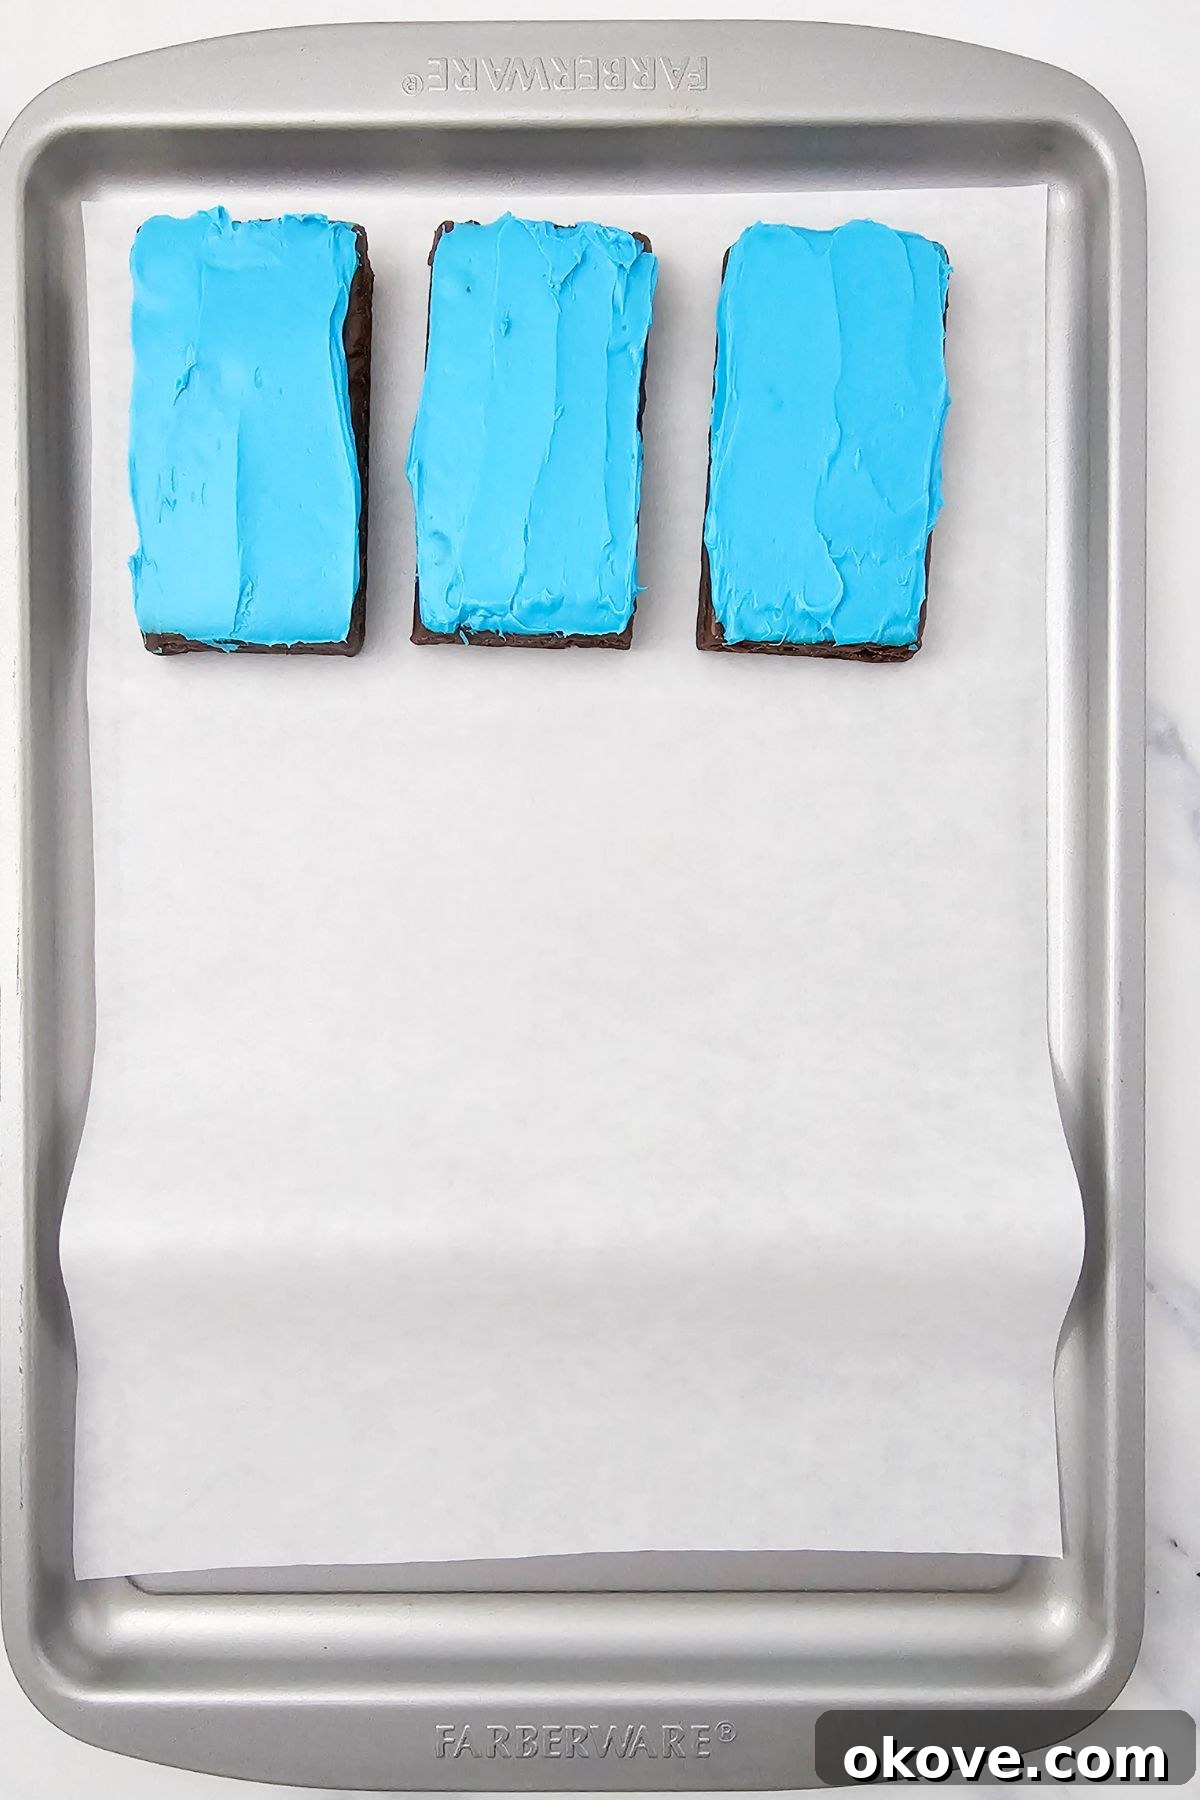
- Frost the Brownies: Using a butter knife or a small offset spatula, carefully spread one color of frosting over the top of four brownies. Aim for a smooth, even layer that completely covers the brownie surface. Repeat this process for the remaining brownies, using a different color for each set of four, ensuring each brownie is coated with a single, distinct color.
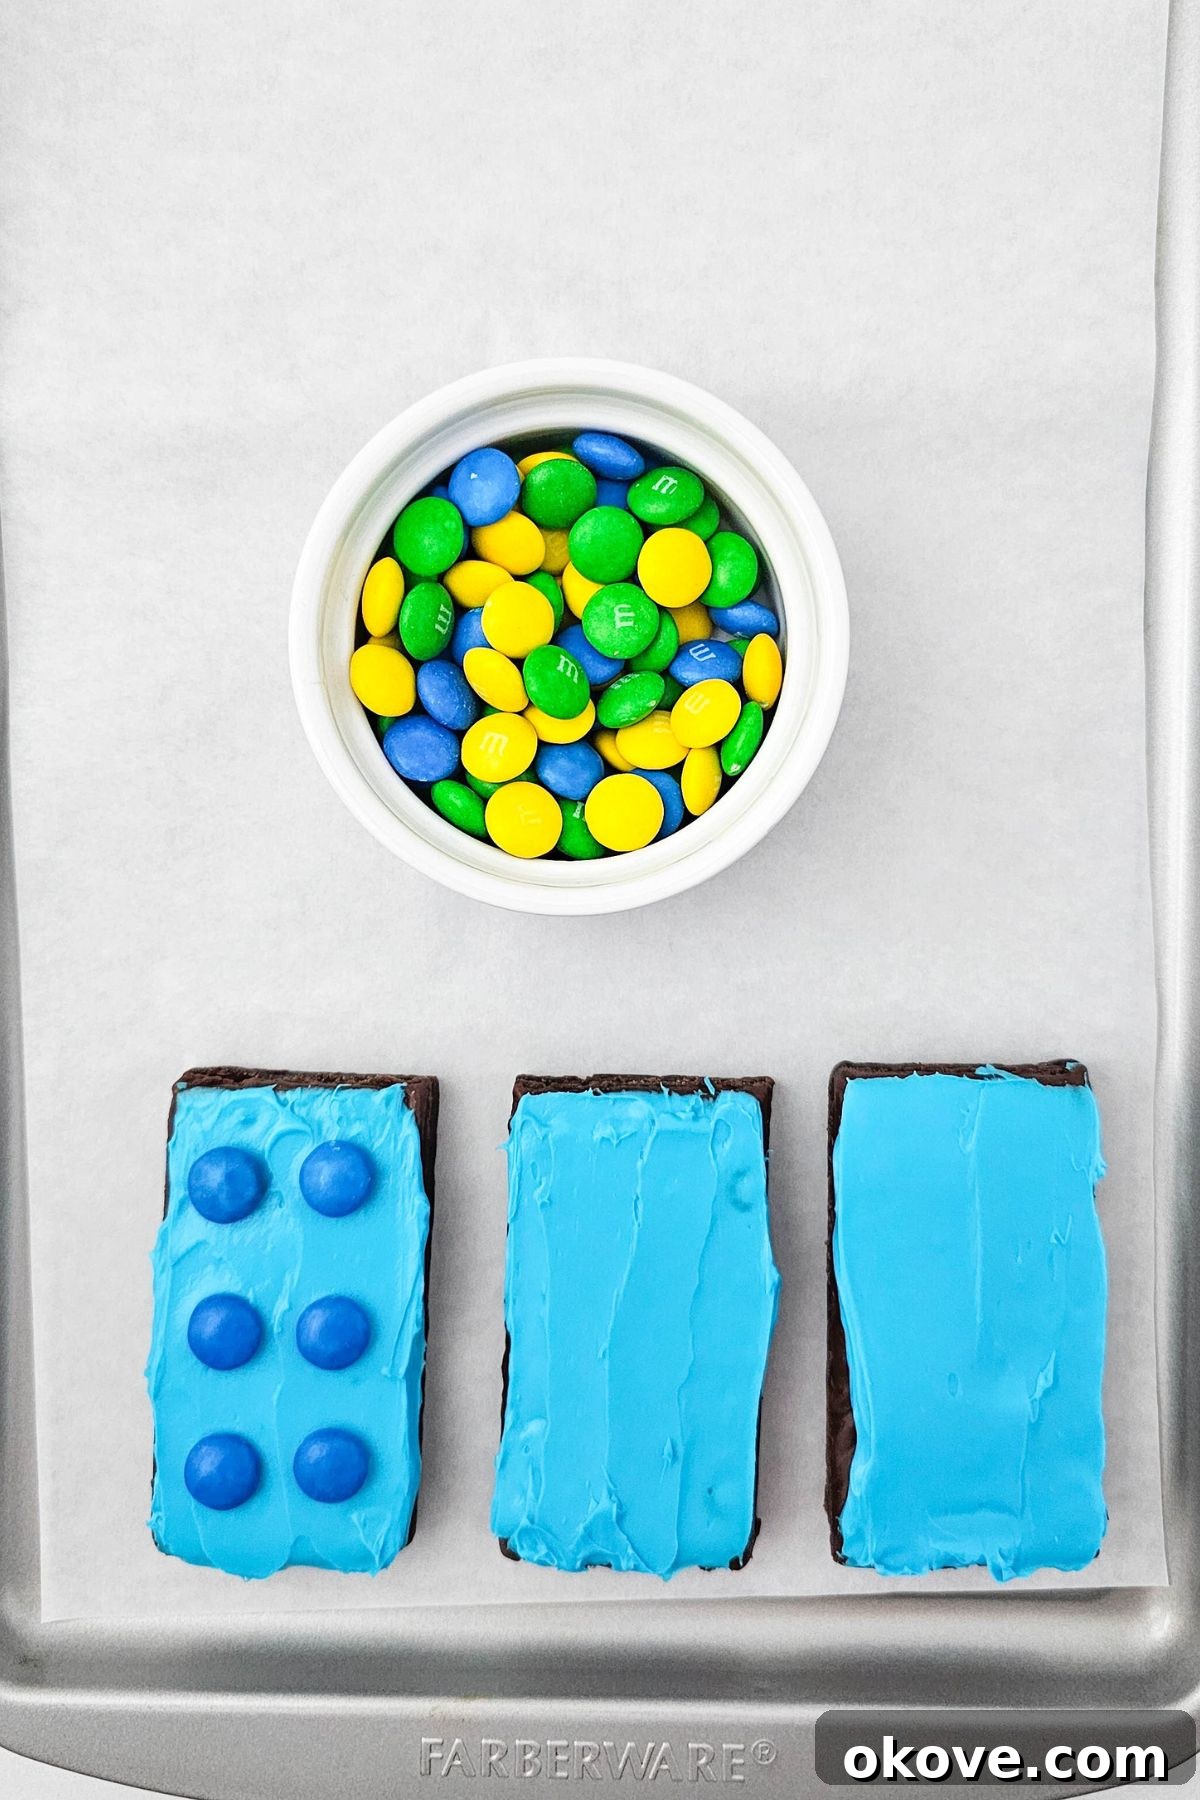
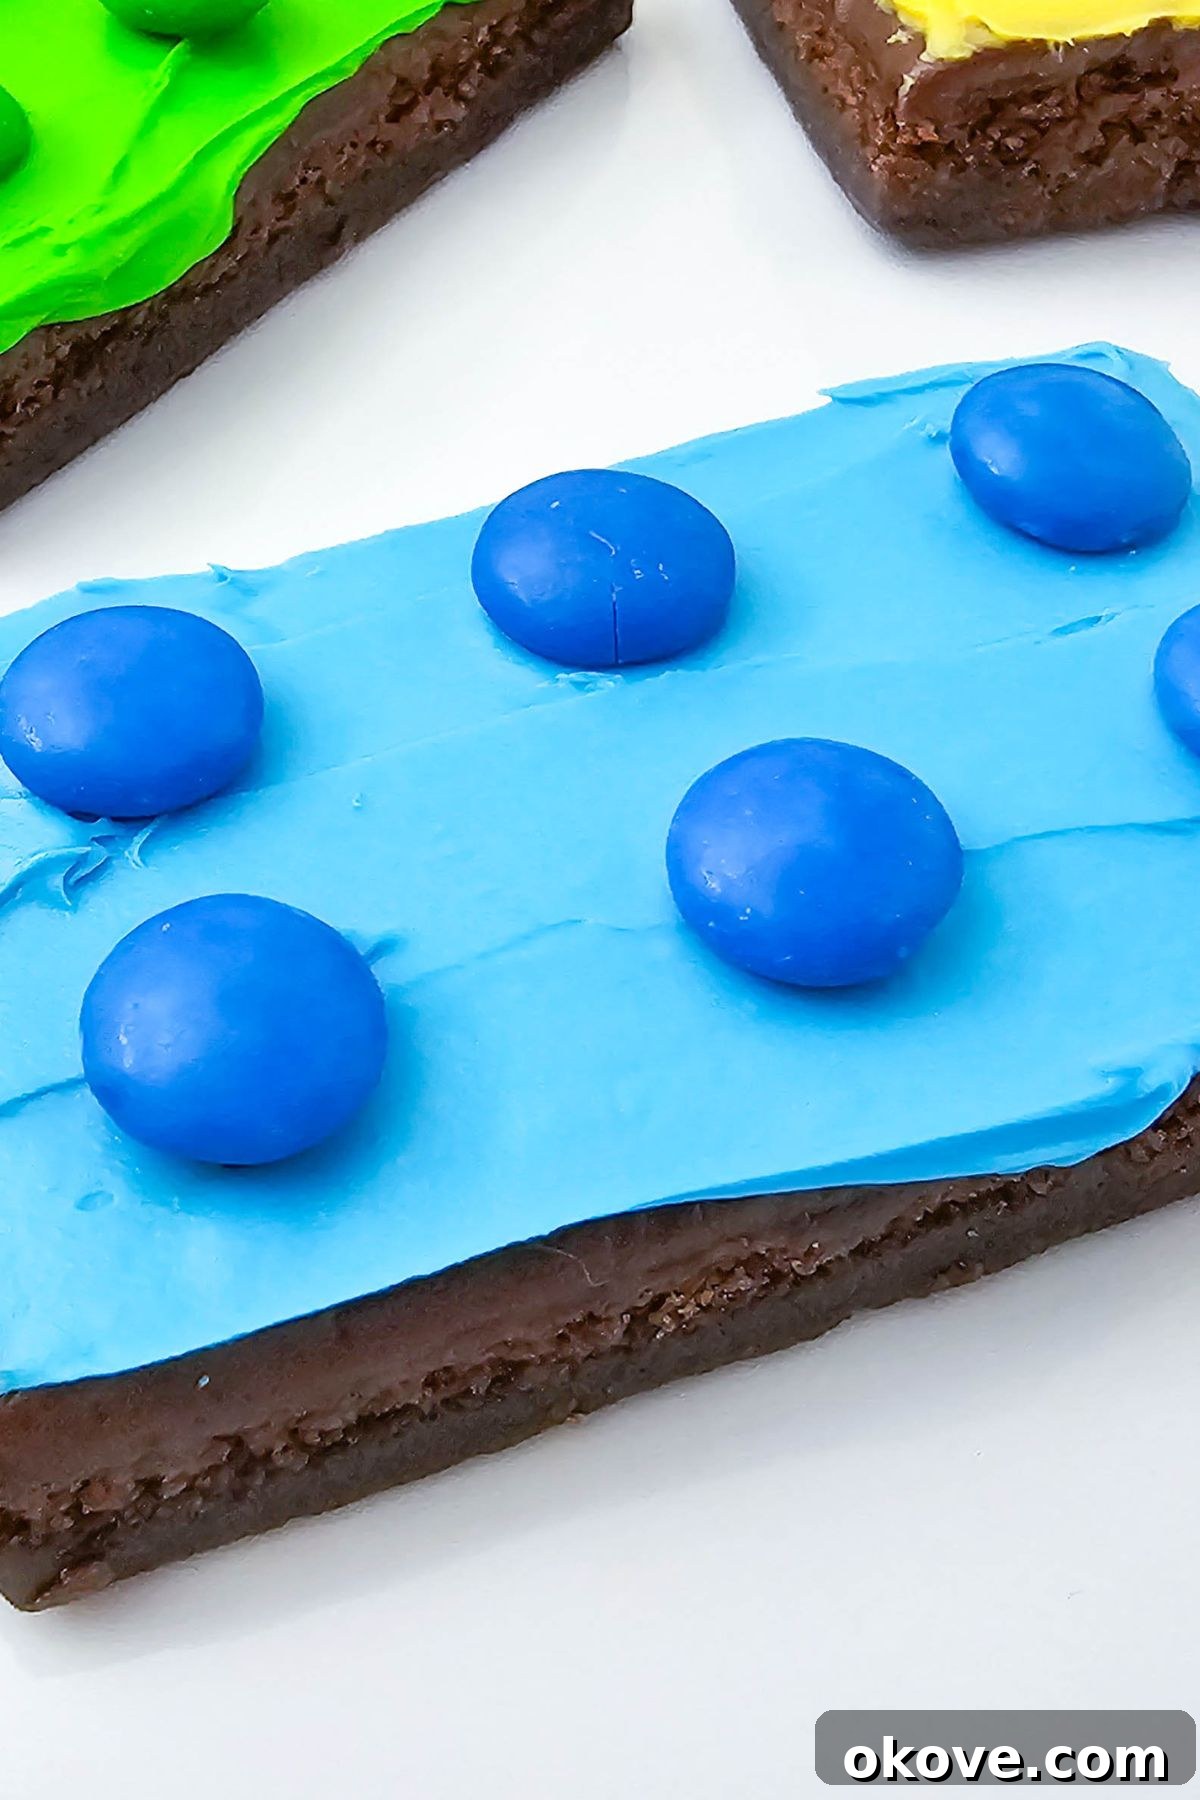
- Add the Lego Studs: While the frosting is still soft, gently press six M&M candies of the same color onto each frosted brownie. Arrange them in a 2×3 grid pattern to mimic the iconic studs on a Lego brick. Starting by placing an M&M in the center of the brownie can help you space out the remaining candies evenly for a neat, professional look.
- Chill to Set: Once all the brownies are frosted and decorated, carefully place them back onto your prepared parchment-lined tray. Transfer the tray to the refrigerator and chill for approximately 30 minutes. This crucial step allows the frosting to firm up, ensuring the M&Ms stay securely in place and making the brownies easier to handle and serve.
- Serve and Enjoy: Once chilled, your vibrant Lego brownies are ready to be shared! Arrange them on a platter for an impressive display, and watch as smiles light up faces. These treats are sure to be a conversation starter and a memorable addition to any event.
Expert Tips for Perfect Lego Brownies
To ensure your Lego brownies turn out perfectly every time, keep these expert tips in mind. They’ll help you achieve vibrant colors, sturdy “studs,” and a delightful experience for everyone involved:
- Use Gel Food Coloring for Best Results: For truly bold and vibrant colors that closely match authentic Lego blocks, opt for gel food coloring instead of liquid drops. Gel colors are highly concentrated, meaning you need less to achieve a strong hue, which helps prevent thinning out your frosting.
- Maintain One Color Per Brownie: To achieve the most realistic and striking Lego brick appearance, it’s best to stick with a single, solid color of frosting and matching M&Ms for each individual brownie. Mixing colors on one brownie can detract from the distinct Lego look.
- Chill Thoroughly Before Serving: Don’t skip the chilling step! Refrigerating the brownies for at least 30 minutes is crucial. This helps the frosting firm up, which in turn secures the M&M candies firmly in place, preventing them from sliding off when handled or transported.
- Make it a Family Activity: These brownies are incredibly fun to decorate, making them an ideal hands-on activity for kids. Let them help with unwrapping, spreading the frosting (with supervision!), and especially pressing the M&Ms onto the brownies. It’s a wonderful way to involve them in the kitchen and unleash their creativity.
- Smooth Frosting for a Clean Finish: When spreading the frosting, use a small offset spatula or a butter knife to create as smooth and even a surface as possible. A clean, flat top resembles a Lego brick more accurately.
- Prepare M&Ms in Advance: To make the decorating process smoother, sort your M&M candies by color before you start. This way, you can easily grab the matching colors without fumbling, especially if little hands are helping!
- Storage: Store leftover Lego brownies in an airtight container in the refrigerator for up to 3-4 days. This keeps the frosting firm and the brownies fresh.
Lego Brownie FAQs
Here are some commonly asked questions about making these fun Lego brownies, along with helpful answers:
Absolutely! While pre-made brownies offer ultimate convenience, you can certainly use your favorite homemade fudgy brownie recipe. Just ensure that once cooled, you slice them into uniform rectangles that are roughly the size of standard Lego bricks (about 2×3 inches is ideal) before you begin frosting and decorating.
Any thick, white or vanilla-flavored frosting will work well. Store-bought vanilla buttercream or cream cheese frosting typically has the perfect consistency for holding the M&Ms firmly in place and is easy to tint with food coloring. Avoid very thin or glaze-like frostings.
Yes, these Lego brownies are excellent for making ahead! You can prepare them a day or even two days in advance. Simply store the finished brownies in a single layer on a tray, loosely covered with foil or plastic wrap, in the refrigerator. This allows the frosting to fully set and keeps them fresh for your event.
Many store-bought brownies come with sprinkles or other toppings. If you can’t find plain ones, simply choose the variety with the least amount of extra toppings. You can usually gently scrape or pick off any unwanted bits before frosting to create a smooth surface for your Lego design.
The trick to even M&M placement is to start in the middle. Place one M&M in the center of the brownie, then arrange the others around it in a 2×3 grid. Press them down gently but firmly into the soft frosting. Working quickly after frosting each brownie also helps, as the frosting will still be pliable.
More Easy Party Desserts You’ll Love
Desserts
Homemade Thin Mint Cookies
Desserts
Peanut Butter Balls
Desserts
Homemade Pie Crust
Desserts
Pecan Pie Recipe
We truly hope you enjoy making these delightful Lego brownies! If you’ve tried this recipe or any other fantastic creations from Celebrating Simply, we’d absolutely love to hear from you. Please consider leaving a ⭐ star rating and sharing your wonderful thoughts and experiences in the ✍️ comments section below. Your feedback brightens our day and helps others discover these amazing treats!
Lego Brownies
Rebecca
12 Servings
30
30
1
Share by Email
Print Recipe
Equipment
-
Small Mixing Bowls
-
Parchment Paper
-
Butter Knife or Small Offset Spatula
-
Baking Sheet or Serving Tray
Ingredients
For the Brownies:
- 1 package pre-made brownies (approx. 12 count, such as Little Debbie Fudge Brownies)
- 1 tub white or vanilla frosting (12-16 oz)
For the Lego Toppings:
- Blue, green, and yellow food coloring (gel food coloring recommended for vibrant colors)
- Blue, green, and yellow M&M chocolate candies (approximately 6 candies per brownie; total 24 of each color for 12 brownies)
Instructions
-
Line a baking sheet or large tray with parchment paper. Carefully unwrap each brownie. If your brownies have any pre-existing candy bits or sprinkles, gently remove them to ensure a smooth surface for decorating.
-
Divide the white or vanilla frosting evenly into three small bowls. Add a different color food coloring (blue, green, yellow) to each bowl. Stir each bowl thoroughly until the frosting is uniformly colored and vibrant.
-
Spread one color of frosting onto 4 of the brownies, creating a smooth, even layer across the top. Immediately press 6 M&M candies of the same color onto the frosted brownie in a 2×3 grid pattern, mimicking Lego studs. Starting in the center can help with even spacing.
-
Repeat the frosting and decorating process for the remaining brownies, using a different color combination for each set of four. Once all brownies are decorated, arrange them on the parchment-lined tray.
-
Place the tray of finished Lego brownies into the refrigerator and chill for at least 30 minutes. This step helps the frosting to set firmly and ensures the M&Ms stay in place.
-
Once chilled, your vibrant and delicious Lego brownies are ready to be served and enjoyed!
Notes
- For truly bold and vibrant colors that mimic Lego blocks, use gel food coloring. It provides concentrated color without thinning the frosting.
- To achieve the most realistic Lego look, stick with one distinct color of frosting and matching M&Ms per brownie.
- Chilling the brownies for at least 30 minutes before serving is essential. This allows the frosting to firm up and ensures the M&Ms stay securely in place.
- These brownies are a fantastic hands-on activity for kids! Let them assist with frosting and carefully placing the M&Ms for a fun and engaging kitchen experience.
- Store any leftover Lego brownies in an airtight container in the refrigerator for up to 3-4 days to maintain freshness and frosting integrity.
Nutrition Information (per serving)
Carbohydrates: 40g
Protein: 2g
Fat: 7g
Saturated Fat: 1g
Polyunsaturated Fat: 1g
Monounsaturated Fat: 3g
Sodium: 143mg
Potassium: 3mg
Sugar: 27g
Calcium: 0.3mg
Iron: 1mg
Nutrition information is automatically calculated and should only be used as an approximation. Values may vary based on specific brands and ingredients used.
Additional Recipe Information
Brownies, Dessert, No-Bake Dessert, Party Food
American
Vegetarian
Birthday, Kids Party, Playdate, Snack
Tried this recipe?Mention @celebratingsimplyrecipes or tag #celebratingsimplyrecipes!