
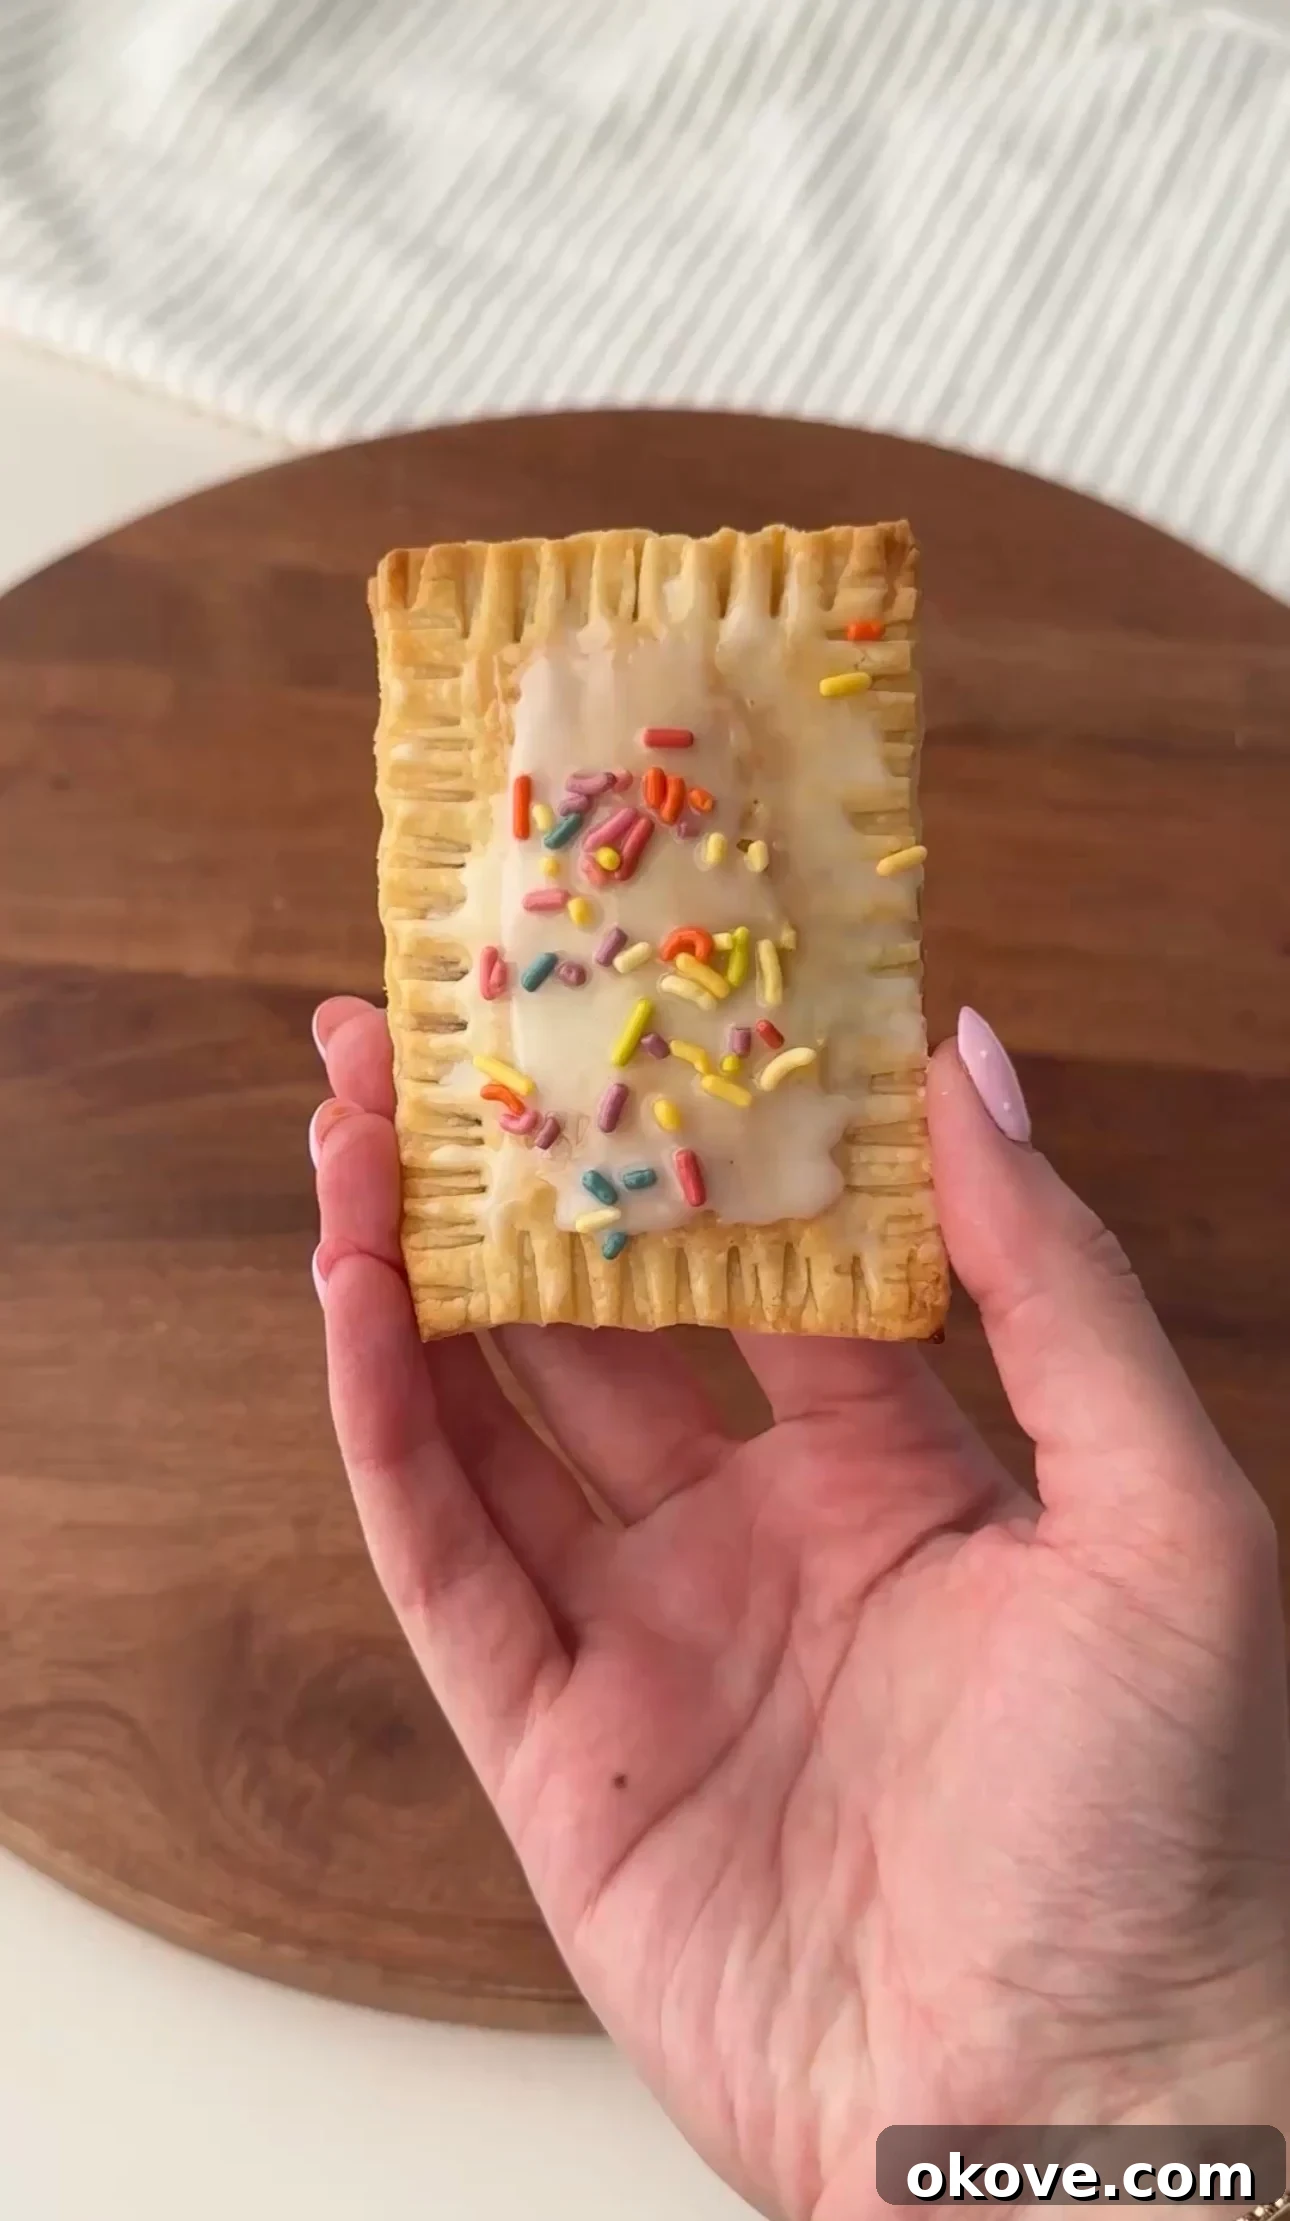
Welcome to a delightful twist on a childhood favorite – homemade pop tarts that are not only irresistibly delicious but also wonderfully toddler-friendly and a joy for the entire family! Forget the overly sweet, preservative-laden store-bought versions; these DIY treats are crafted with love, wholesome ingredients, and can be customized with your favorite fruit jams, making them a healthier and much more satisfying option. Whether you’re seeking a fun weekend baking project, a special breakfast surprise, or a wholesome snack that everyone will adore, this easy recipe for homemade pop tarts is an absolute winner. They offer a perfect blend of a flaky, tender crust, a burst of fruity filling, and a sweet glaze, all made with ingredients you can recognize and feel good about serving to your little ones and grown-ups alike. Get ready to create cherished kitchen memories and enjoy a fresh, soft, and incomparably delicious treat.
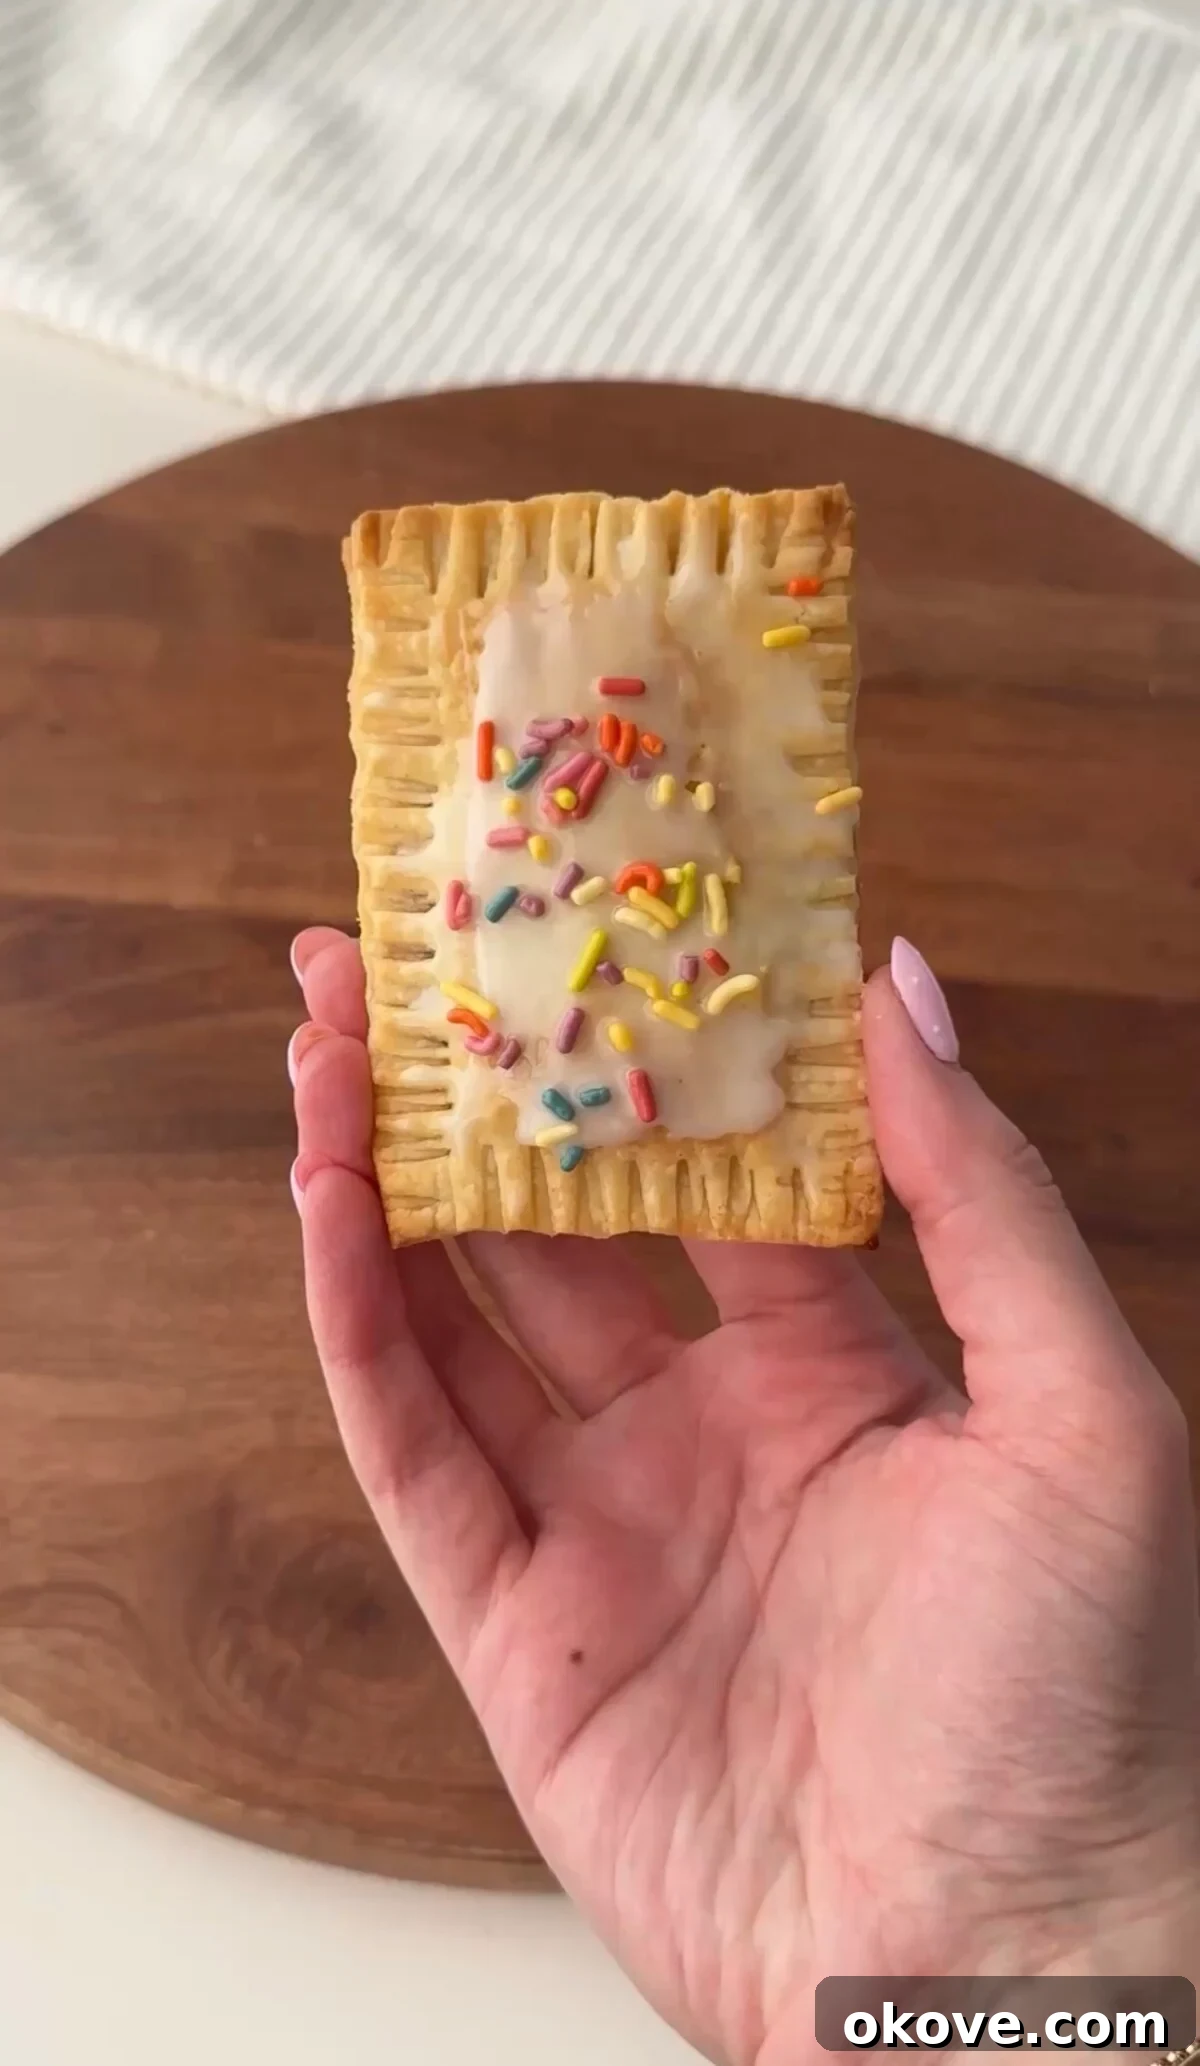
Why Homemade Pop Tarts Are a Must-Try for Toddlers and Families
Making pop tarts from scratch offers a plethora of benefits, especially when catering to the palates and needs of toddlers and busy families. This recipe is designed with simplicity and satisfaction in mind, transforming a classic treat into a homemade delight that stands miles apart from its commercial counterparts. Here’s why these homemade pop tarts will become a staple in your kitchen:
Perfectly Sized and Textured for Little Eaters
One of the primary advantages of these homemade pop tarts is their toddler-friendly design. Unlike store-bought versions that can be hard or overly crumbly, our recipe yields a soft, tender dough that’s incredibly easy for little hands to hold and little mouths to chew. The gentle texture minimizes choking hazards and makes mealtime or snack time a breeze for parents. The pop tarts can be cut into various sizes, ensuring each piece is perfectly proportioned for small servings, making them ideal for tiny fingers learning to self-feed.
Naturally Sweet and Simple Fillings
Using jam as the primary filling keeps these treats naturally sweet and free from artificial flavors or excessive sugars often found in packaged options. You have complete control over the quality and type of jam, allowing you to choose fruit-forward, lower-sugar varieties or even homemade jams. This simplicity ensures a clean flavor profile that’s appealing to children without overwhelming their developing taste buds. The natural fruit sugars provide a pleasant sweetness without the need for additional processed ingredients.
An Engaging Kitchen Activity for Kids
Beyond being a delicious treat, this recipe offers a fantastic opportunity for family bonding and fostering a love for cooking in children. Toddlers and older kids alike can actively participate in various steps of the preparation. They can help spread the jam onto the dough, use a fork to press and seal the edges (a great fine motor skill exercise!), or joyfully add colorful sprinkles to the top. This involvement makes them feel proud of their contribution, more likely to try the finished product, and creates cherished memories in the kitchen. It’s an educational and fun experience rolled into one delicious project.
Versatile for Any Time of Day
These easy homemade pop tarts are incredibly versatile. They are perfect for a special breakfast to kickstart the day, a wholesome and energizing snack between meals, or even a delightful dessert after dinner. Their convenient size and portability also make them an excellent addition to lunchboxes or a fun treat for picnics and playdates. The ability to customize fillings means they can cater to different preferences, ensuring they are always a welcome sight on the table, enjoyed by every member of the family.
Essential Ingredients for Your Homemade Pop Tarts
One of the beauties of this recipe lies in its simplicity and the minimal number of ingredients required. You’ll be amazed at how easily these pantry staples transform into such a delightful treat. We offer options for making the dough from scratch with just two ingredients, or for an even quicker preparation, using store-bought pie crusts.
For the Dough: Your Choice of Homemade or Convenient
- Homemade Dough Option (2-Ingredient Magic):
- 1 3/4 cups self-rising flour: This flour is key as it already contains a leavening agent and salt, making the dough incredibly easy to work with and ensuring a tender, flaky texture.
- 1 cup plain Greek yogurt: The yogurt acts as both the liquid and the fat in the dough, contributing to its softness, slight tang, and beautiful elasticity. Opt for full-fat Greek yogurt for the richest texture.
- Or for Ultimate Convenience:
- 1 box refrigerated pie crust: If you’re short on time or prefer a no-fuss approach, pre-made refrigerated pie crusts are an excellent shortcut. They provide a perfectly flaky base with minimal effort. Look for brands that offer two crusts per box.
For the Flavorful Filling and Sweet Topping
- Jam of choice: This is where the fun truly begins! Select your family’s favorite jam. Strawberry, blueberry, raspberry, and apricot are always popular choices, especially with toddlers. Ensure it’s a smooth jam for easier spreading and a consistent texture, or finely chop any larger fruit pieces.
- 4 tablespoons powdered sugar (confectioners’ sugar): This finely milled sugar forms the base of our simple, sweet glaze, dissolving easily to create a smooth, pourable consistency.
- 2 teaspoons milk: Any type of milk (dairy or non-dairy) will work to thin the powdered sugar into a glaze. Start with a small amount and add more gradually to reach your desired consistency.
- Sprinkles: The ultimate fun factor! Colorful sprinkles add a festive touch and are a big hit with kids. Feel free to use any variety you have on hand or match them to a holiday or celebration.
Step-by-Step Instructions: Crafting Your Delicious Homemade Pop Tarts
Follow these simple steps to create batches of warm, tender, and perfectly personalized homemade pop tarts. This recipe is designed to be straightforward, making it an enjoyable activity for bakers of all skill levels, even with little helpers in the kitchen!
Part 1: Preparing the Dough
If you’re using store-bought pie crust, skip to Part 2. For the homemade two-ingredient dough:
- Combine Ingredients: In a large mixing bowl, add the self-rising flour and plain Greek yogurt.
- Form the Dough: Use a sturdy spoon or your hands to mix the ingredients thoroughly. Continue mixing until a shaggy dough begins to form. It will look a bit crumbly at first, but keep working it.
- Knead Until Smooth: Lightly flour a clean work surface (a cutting board or countertop works great). Turn the dough out onto the floured surface and knead it gently for 1 to 2 minutes. The dough will become smooth, elastic, and less sticky. Avoid over-kneading, as this can make the crust tough.
- Roll Out the Dough: Using a rolling pin, roll the dough out into a large rectangle. Aim for a thickness of approximately 1/8-inch (about 3mm). The thinner the dough, the flakier your pop tarts will be, but don’t make it so thin that it tears easily.
Part 2: Assembling Your Pop Tarts
- Preheat Oven and Prepare Baking Sheet: Preheat your oven to 450 degrees Fahrenheit (230 degrees Celsius). Line a large baking sheet with parchment paper. This prevents sticking and makes cleanup a breeze.
- Cut the Dough: If using homemade dough, trim the edges to form a neat large rectangle. Then, cut the large rectangle into 8 equal-sized pieces (approx. 3×4 inches or whatever size you prefer for individual pop tarts). If using refrigerated pie crusts, unroll them and gently press any cracks together, then cut each crust into 4 pieces, giving you 8 pieces total from one box.
- Add the Filling: Take half of your dough pieces. Spoon a small amount (about 1-2 teaspoons) of your chosen jam into the center of each of these pieces. Be sure to leave a clear border of about 1/2-inch around all the edges. This space is crucial for sealing the pop tarts and preventing the jam from oozing out during baking.
- Cap with Dough: Carefully place the remaining dough pieces directly on top of the jam-filled halves. Gently align the edges to form neat pop tarts.
- Seal the Edges: Using the tines of a fork, firmly press down all the way around the edges of each pop tart. This not only creates a decorative crimped border but, more importantly, seals the two dough layers together, locking in the delicious jam filling. You can also prick the top of each pop tart a few times with the fork to allow steam to escape, preventing puffiness.
- Bake to Golden Perfection: Transfer the assembled pop tarts to your prepared baking sheet. Bake in the preheated oven for 10 minutes, or until the crust is lightly golden brown and puffed. Keep an eye on them, as oven temperatures can vary.
- Cool Slightly: Once baked, remove the pop tarts from the oven and let them cool on the baking sheet for a few minutes before transferring them to a wire rack to cool slightly more. They are delicious warm, but allowing them to cool a bit makes them easier to handle and prevents the icing from melting completely.
Part 3: Making the Icing and Decorating
While the pop tarts are cooling, prepare your simple and sweet icing:
- Mix the Icing: In a small bowl, combine the powdered sugar and milk. Whisk them together until the mixture is completely smooth and free of lumps. The consistency should be thick enough to drizzle but thin enough to flow easily. If it’s too thick, add a tiny bit more milk (a few drops at a time); if too thin, add a tiny bit more powdered sugar.
- Drizzle and Decorate: Once the pop tarts have cooled slightly (they can still be warm, but not piping hot), use a spoon to drizzle the prepared icing over the tops. Be as artistic as you like! Immediately add sprinkles over the wet icing. The icing will firm up as it cools, setting the sprinkles in place.
Storage and Reheating Tips for Homemade Pop Tarts
One of the best things about these homemade pop tarts is how well they store, allowing you to enjoy them for days or even weeks after baking. Proper storage ensures they remain fresh and delicious.
Storing at Room Temperature
For immediate enjoyment, these pop tarts can be stored in an airtight container at room temperature for up to 2 days. Make sure they are completely cool before storing to prevent condensation, which can make them soggy. A cookie tin or a plastic container with a tight-fitting lid works perfectly. Keep them away from direct sunlight or heat sources.
Refrigeration for Extended Freshness
If you want to keep your pop tarts fresh for a bit longer, store them in an airtight container in the refrigerator for up to 4 days. The cooler temperature helps preserve their freshness, especially if your kitchen is warm or humid. Again, ensure they are thoroughly cooled before placing them in the fridge.
Freezing for Long-Term Storage
Homemade pop tarts freeze beautifully, making them an excellent make-ahead option. You can freeze them either unglazed or fully glazed:
- Unglazed: Allow the baked pop tarts to cool completely. Arrange them in a single layer on a baking sheet and freeze until solid (about 1-2 hours). Once solid, transfer them to a freezer-safe airtight container or a heavy-duty freezer bag, layering with parchment paper if stacking. They can be frozen for up to 2 months.
- Glazed: If freezing with icing, ensure the icing has completely set and hardened before freezing. Follow the same steps as above for freezing.
When ready to enjoy, you can reheat them directly from frozen.
Reheating Instructions
Reheating brings these homemade treats back to their warm, tender glory:
- Oven/Toaster Oven: This is the preferred method for the best texture. Place pop tarts (fresh or frozen) on a baking sheet and reheat in a preheated oven or toaster oven at 300°F (150°C) for 5-10 minutes, or until warmed through. If frozen, they might need a few extra minutes.
- Microwave: While convenient, the microwave can sometimes make the crust a bit soft. Heat individual pop tarts on a microwave-safe plate for 10-20 seconds, or until warm. Be careful not to overheat.
Frequently Asked Questions About Homemade Pop Tarts
Here are some common questions to help you perfect your homemade pop tarts and customize them for your family’s preferences:
What kind of jam works best for homemade pop tarts?
Any smooth jam works wonderfully! For toddler-friendly pop tarts, we highly recommend classic flavors like strawberry, blueberry, raspberry, and apple jam. Apricot and cherry jam are also fantastic choices. If your jam has large fruit chunks, you might want to mash or finely chop them to ensure a smoother filling that won’t tear the dough during assembly or leak during baking. Low-sugar or all-fruit preserves are excellent options for a healthier treat.
Can kids really help make this recipe?
Absolutely, and we encourage it! This is truly a fantastic baking recipe for kids of all ages. Toddlers can easily help spread the jam onto the dough, which is a great activity for developing fine motor skills. They can also use a fork to press and seal the edges of the pop tarts, and, of course, they’ll love decorating them with sprinkles. Older children can assist with rolling the dough and cutting the shapes (with supervision). Involving kids makes the experience more fun and fosters an early interest in cooking.
How many pop tarts does this recipe make?
This recipe is designed to yield 8 delicious homemade pop tarts, perfect for a family breakfast or several snack times throughout the week. You can easily double or triple the recipe if you’re serving a larger crowd or want to make a batch for freezing.
Can I use whole wheat flour for the dough?
While self-rising flour is recommended for the best texture and ease, you can experiment with whole wheat self-rising flour. Keep in mind that whole wheat flour can result in a denser texture. If using regular whole wheat flour, you would need to add baking powder and salt separately. For a softer dough, a mix of half all-purpose self-rising and half whole wheat self-rising flour might be a good compromise.
How do I prevent the jam from leaking during baking?
Preventing leaks is key to perfect pop tarts! The most important steps are to:
- Don’t overfill: Use only 1-2 teaspoons of jam per pop tart, leaving a clear 1/2-inch border around the edges.
- Seal properly: Firmly press the edges all the way around with a fork. You can even go over the edges twice to ensure a tight seal.
- Prick the top: Gently prick the top layer of dough a few times with a fork to allow steam to escape. This prevents the pop tart from puffing up excessively and potentially bursting at the seams.
Can these be made ahead of time?
Yes, absolutely! You can prepare the pop tarts up to the point of baking and then refrigerate them on a parchment-lined baking sheet for up to 24 hours before baking. Just cover them loosely with plastic wrap. You can also freeze them unbaked; simply follow the freezing instructions and add a few extra minutes to the baking time when cooking from frozen.
Are these suitable for babies (older infants)?
For older infants who have been introduced to solids, these pop tarts can be a great option, especially if you control the sugar. You can make them without the icing for babies. Use unsweetened fruit purees (like apple, pear, or peach puree) instead of jam, or opt for a low-sugar jam. Ensure the texture is soft and easy for them to manage. Always consult with your pediatrician regarding introducing new foods to babies.
Can I use different fillings besides jam?
Definitely! The possibilities are endless. Consider using homemade fruit compotes, Nutella, cinnamon sugar, or even savory fillings like cream cheese and chives, or a small amount of cooked, finely chopped ham and cheese for a breakfast twist. Just ensure any savory fillings are not too moist to prevent a soggy crust.
These homemade pop tarts are more than just a recipe; they’re an invitation to create, share, and savor special moments with your loved ones. Easy to make, endlessly customizable, and wonderfully fresh, they transform a simple classic into a wholesome, delicious treat you can feel truly good about. From the joy of baking together to the delightful first bite, these toddler-friendly pop tarts are sure to become a cherished tradition in your family kitchen. So, gather your ingredients, enlist your little chefs, and get ready to enjoy the most delicious, heartwarming homemade treats!