
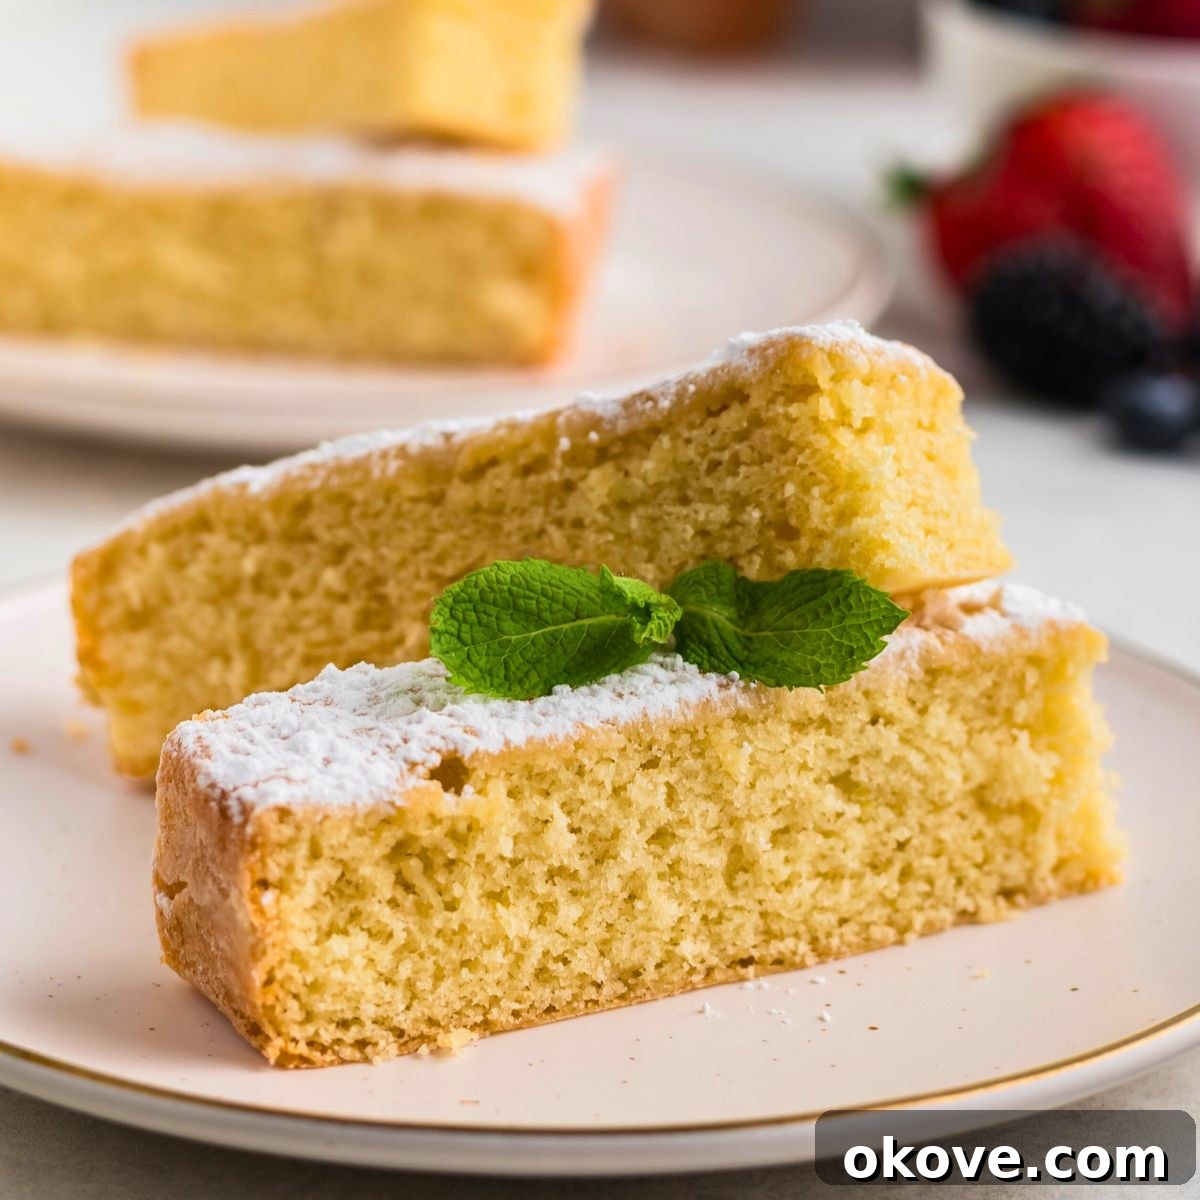
Embark on a delightful baking journey with this ultimate butter cake recipe, promising a dessert that’s exquisitely moist, incredibly rich, and utterly irresistible. This culinary masterpiece is far more than just a cake; it’s a celebration of classic flavors and comforting textures, making it the perfect centerpiece for any occasion. Whether you’re planning a lively birthday party, a festive holiday gathering, or simply craving a sweet, tender treat to round off a cozy dinner, this butter cake delivers an experience that melts in your mouth with every bite. Crafted with generous amounts of real butter, it boasts an unparalleled depth of flavor that speaks to its name, promising a truly authentic and decadent taste that will have everyone asking for a second slice.
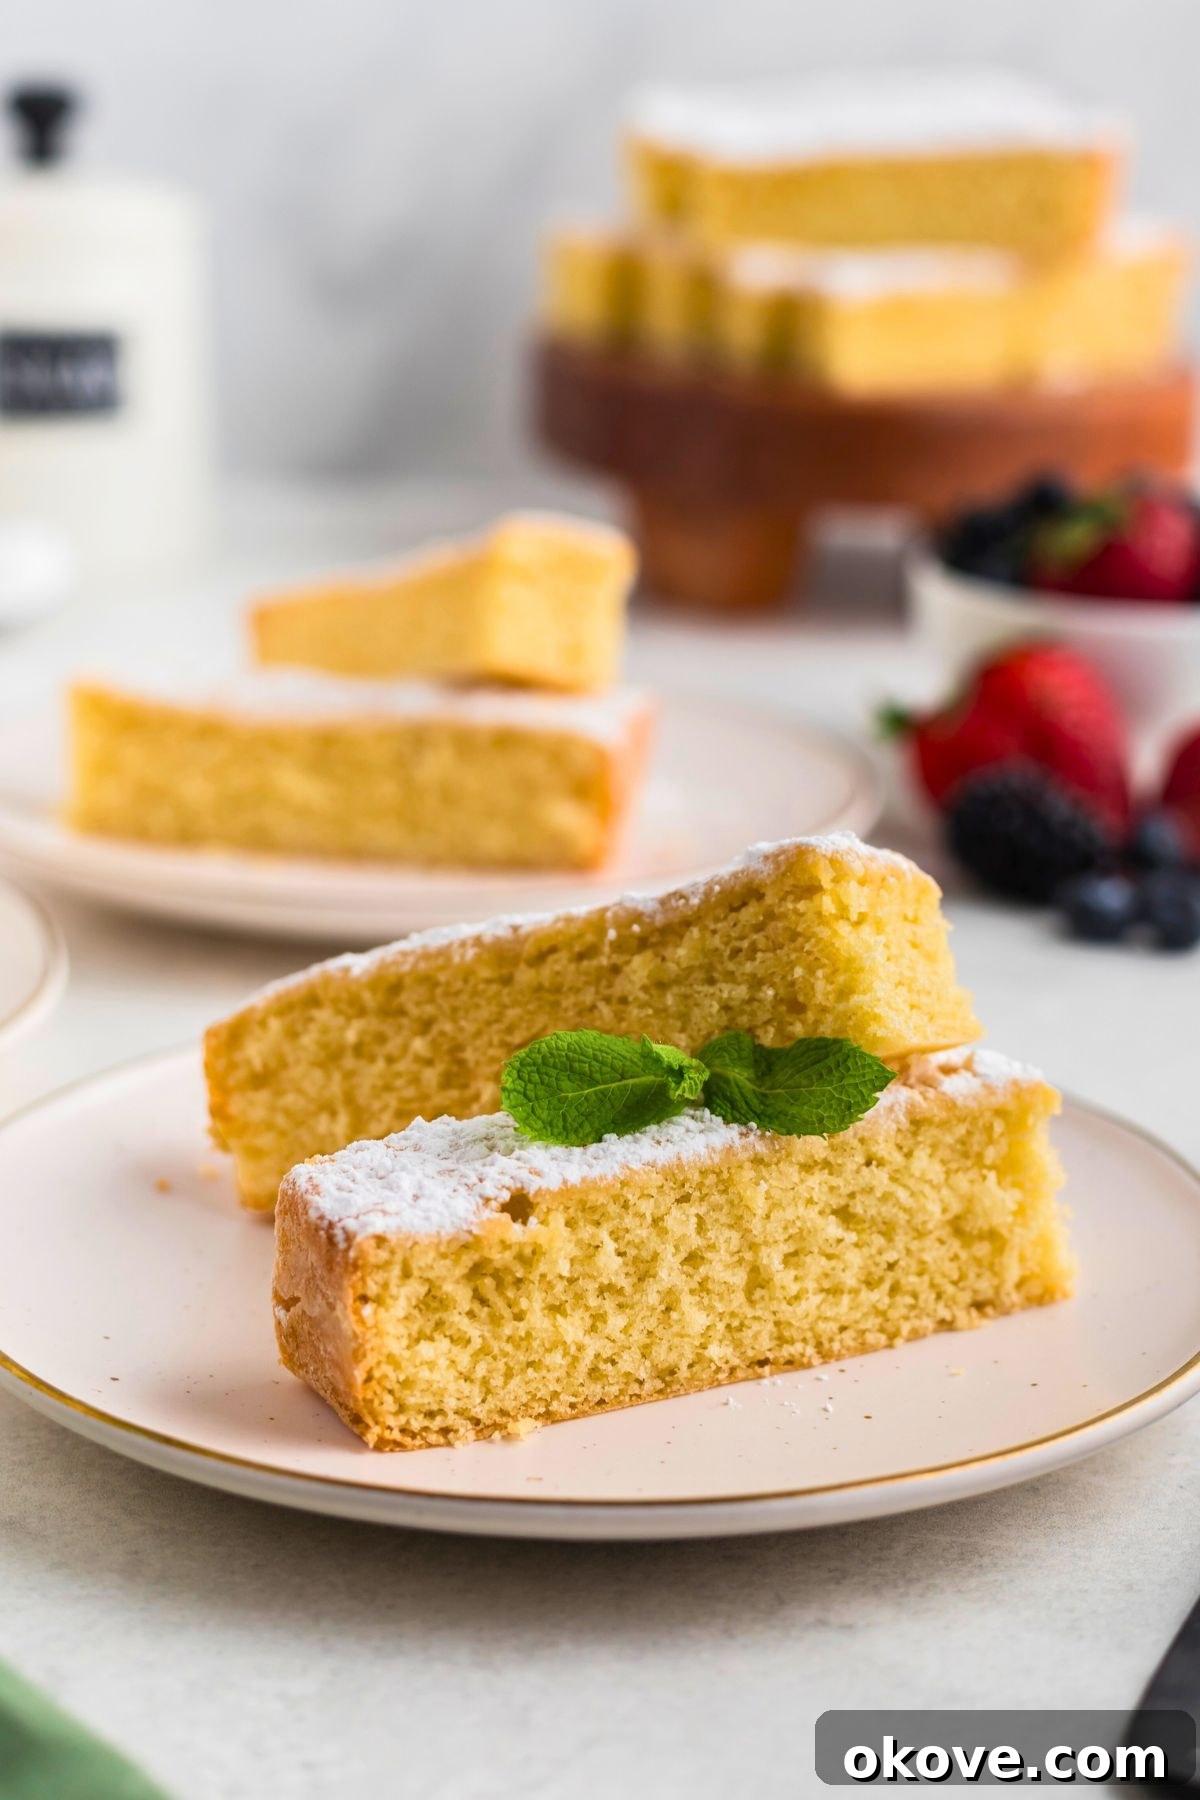
Moist Butter Cake Recipe: A Timeless Classic
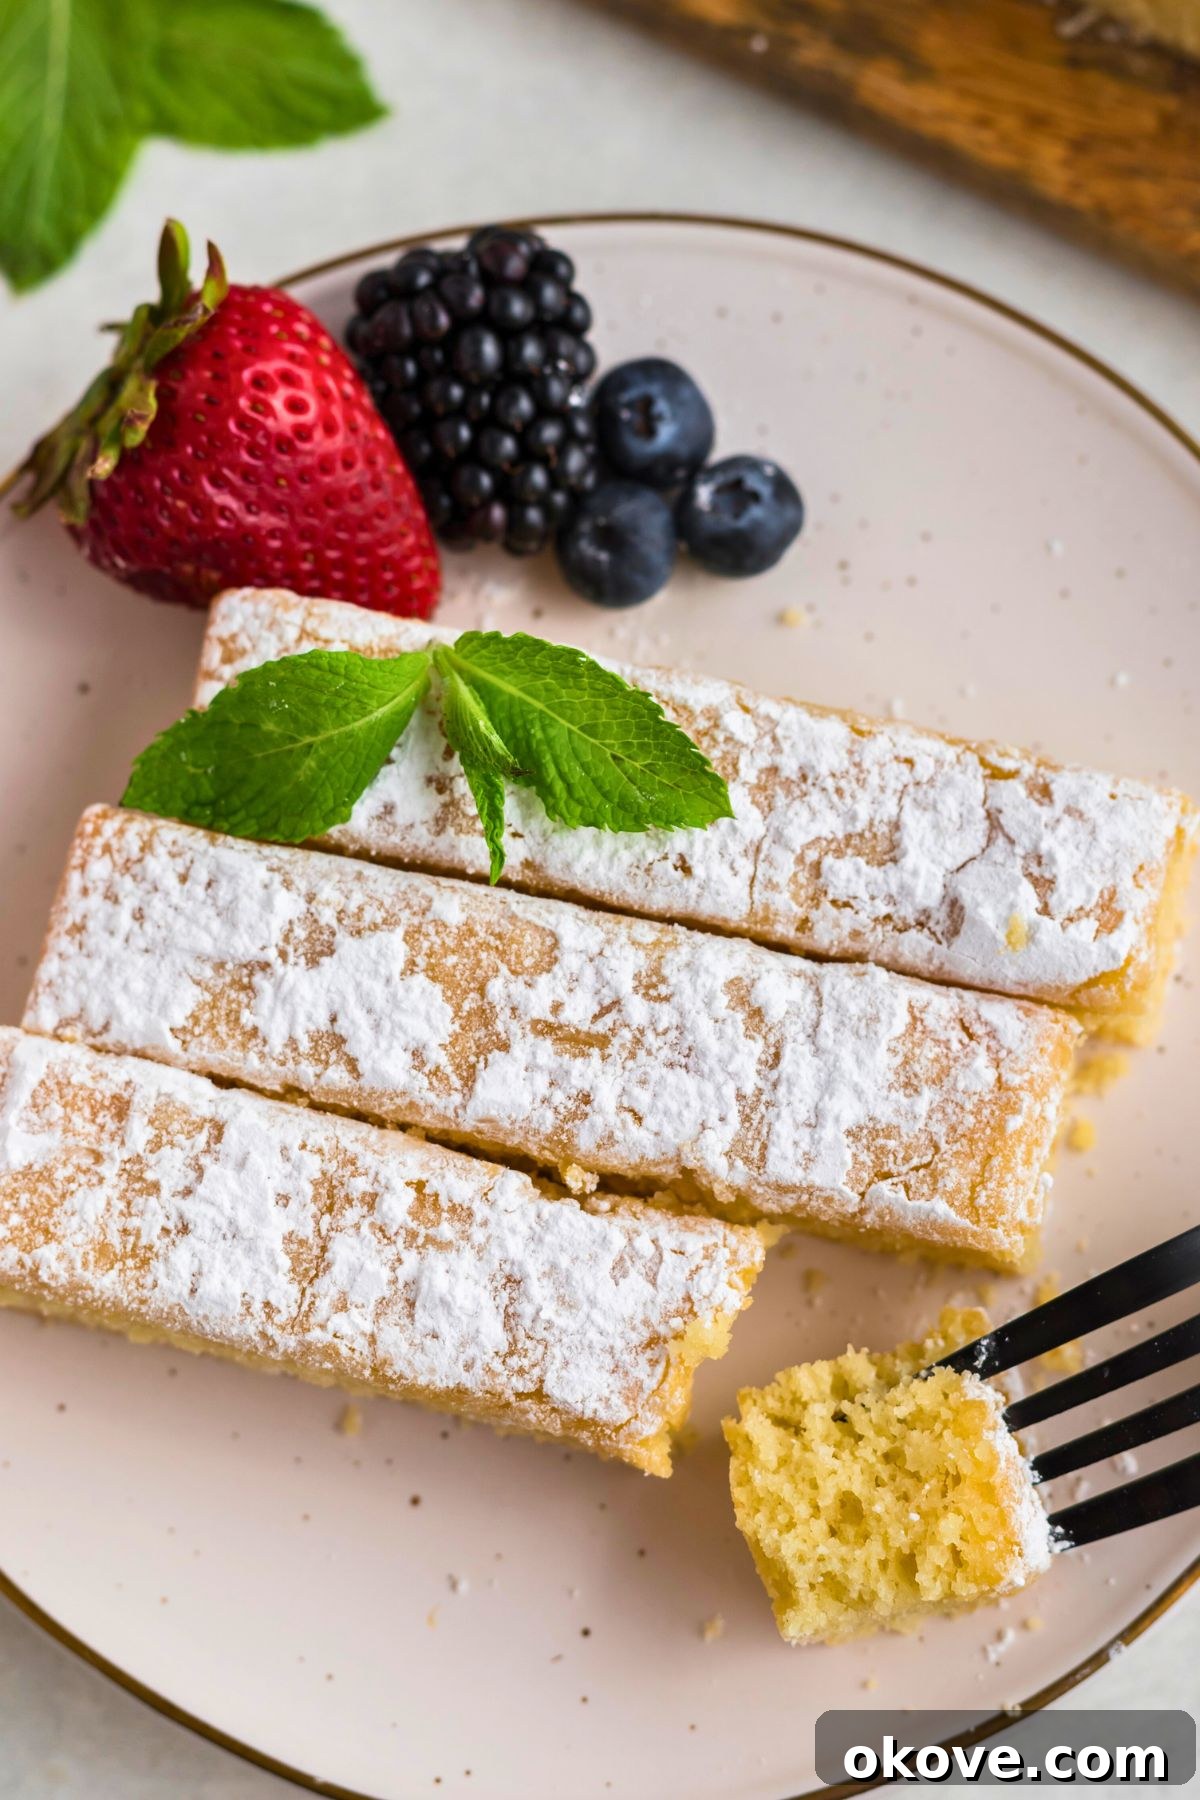
There’s something uniquely comforting about a classic butter cake, and this recipe elevates that comfort to an art form. Renowned for its luxurious texture and rich, buttery flavor, this dessert is a testament to simple ingredients coming together in perfect harmony. Unlike many modern cakes, a true butter cake embraces the wholesome goodness of butter, sugar, eggs, flour, and milk to create a dense yet tender crumb that practically dissolves on your tongue. It’s a versatile canvas for your culinary creativity; exquisite when enjoyed simply with a delicate dusting of powdered sugar and a warm cup of tea or coffee, yet equally magnificent when dressed up for a grand celebration. Imagine it adorned with a velvety smooth buttercream frosting, crowned with a dollop of fresh whipped cream, or embellished with a vibrant medley of seasonal berries. This butter cake isn’t just a dessert; it’s an invitation to savor the pure, unadulterated joy of baking and indulging in a truly exceptional treat.
Why Is This Dessert Called Butter Cake? The Heart of the Flavor
The name “butter cake” isn’t merely a casual label; it’s a declaration of its most defining characteristic. This iconic dessert proudly earns its title because butter is not just an ingredient, but the very essence of its being. Made primarily with generous amounts of butter, sugar, eggs, flour, and milk, the rich, creamy, and undeniably indulgent flavor is derived directly from its high butter content. It’s the star of the show, contributing to the cake’s signature melt-in-your-mouth tenderness, golden hue, and an aroma that fills your kitchen with pure comfort. Simply put, it’s called butter cake because it’s wonderfully, unapologetically buttery!
Essential Ingredients for Your Perfect Butter Cake
Creating a truly exceptional butter cake starts with understanding the role each ingredient plays. While seemingly simple, the quality and preparation of these core components are key to achieving that signature moist crumb and rich flavor. Ensure all your ingredients are at room temperature for optimal emulsification and a smoother batter, leading to a more consistent and tender cake.
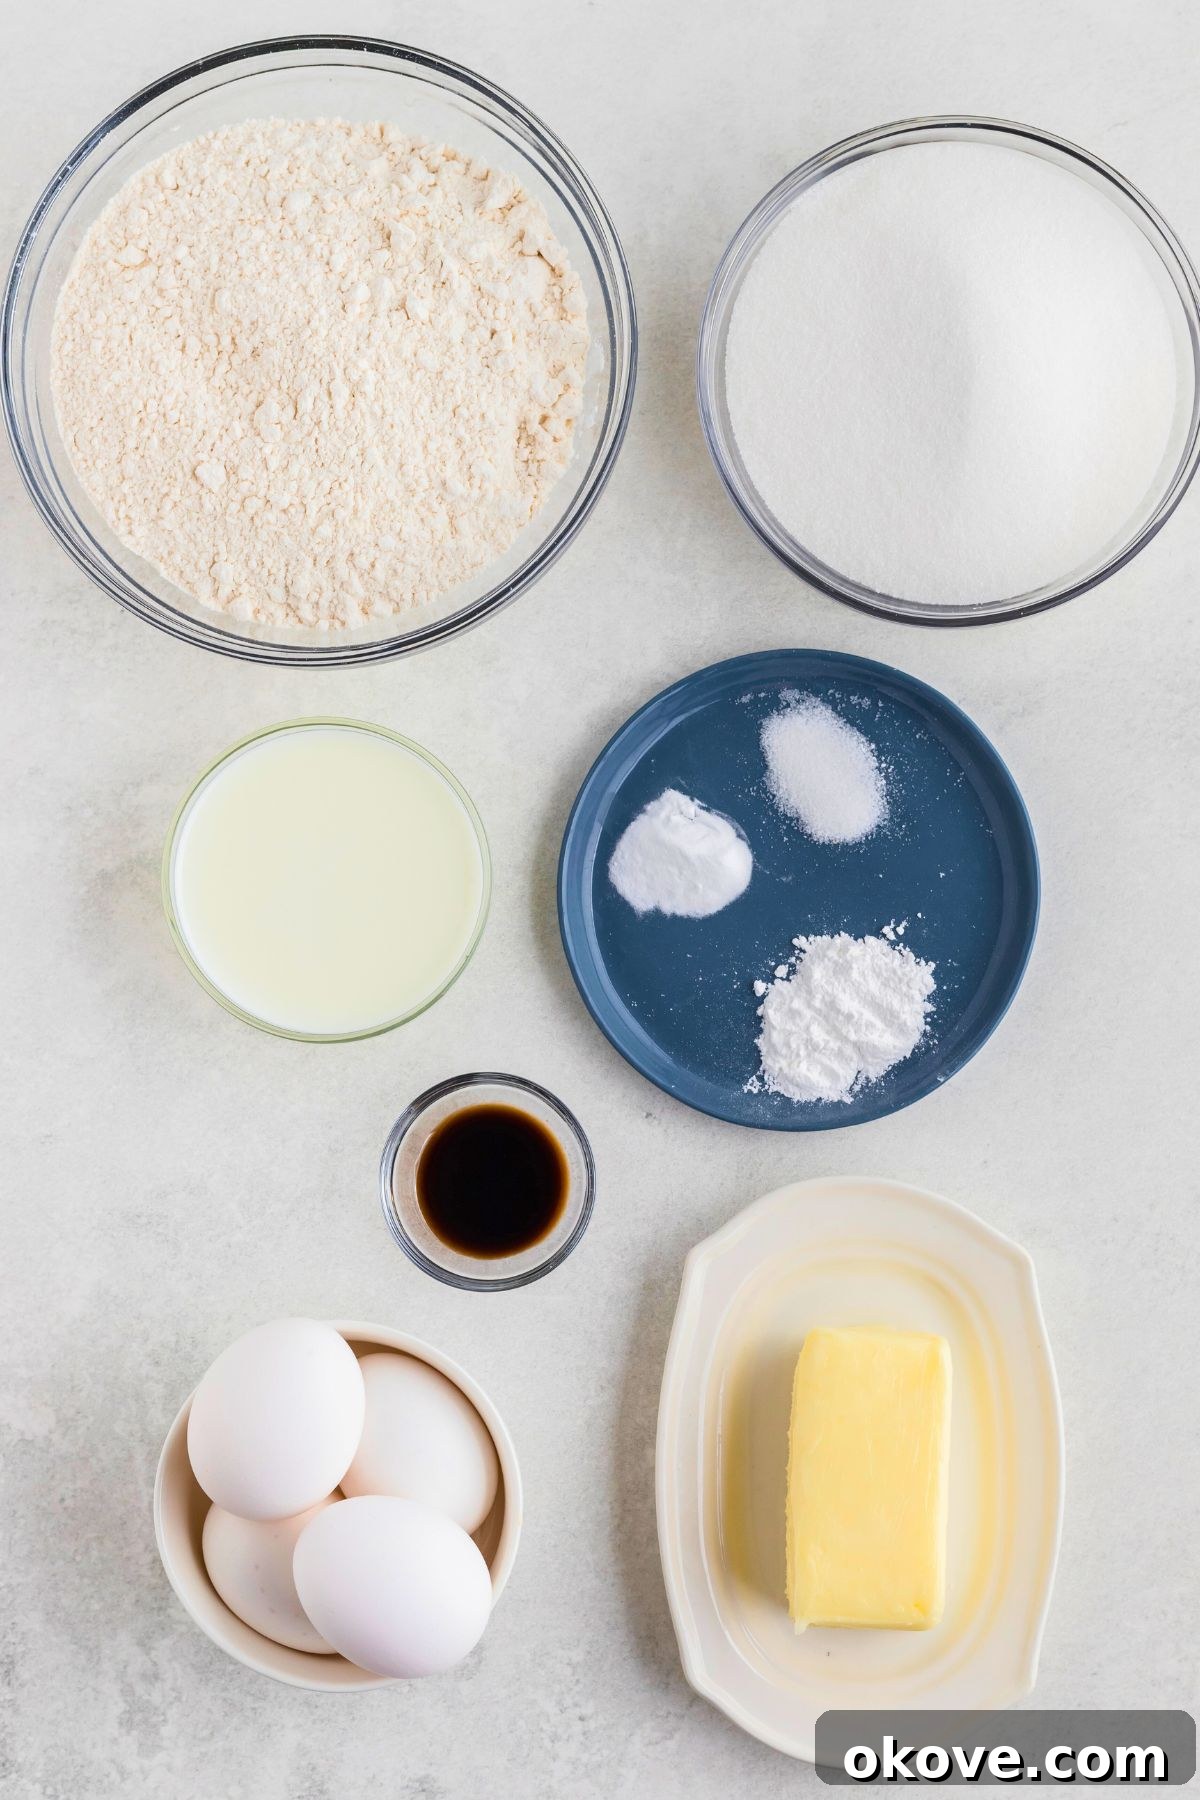
- Softened Unsalted Butter: This is the hero ingredient, providing unparalleled richness, deep flavor, and crucial moisture. Using unsalted butter allows you to control the overall salt content of your cake. Ensure it’s perfectly softened – not melted – for proper creaming with sugar.
- Granulated Sugar: Beyond simply adding sweetness, sugar contributes to the cake’s tenderness by interfering with gluten development. It also helps create that beautiful golden-brown crust during baking and aids in moisture retention, keeping the cake fresh longer.
- Large Eggs: Eggs are multifunctional, binding all the ingredients together, adding structure and stability, and contributing to the cake’s rich flavor and golden color. They also add moisture and help create a tender texture when properly incorporated.
- Pure Vanilla Extract: A staple in almost any dessert, vanilla extract significantly enhances and complements the buttery notes and sweetness of the cake, adding a layer of aromatic warmth that elevates the overall flavor profile.
- All-Purpose Flour: The primary structural component, all-purpose flour provides the necessary framework for the cake. Measuring it correctly (spooned and leveled, not scooped) is vital to avoid a dense or dry cake.
- Baking Soda: This powerful leavening agent works with acidic ingredients (like cream of tartar) to produce carbon dioxide, creating air bubbles that help the batter rise, resulting in a light and airy texture.
- Cream of Tartar: Often paired with baking soda, cream of tartar is an acidic salt that activates the baking soda and helps stabilize egg whites. In butter cakes, it plays a role in producing a finer, more tender crumb and preventing sugar crystallization.
- Fine Sea Salt: A pinch of salt is essential in sweet baking. It balances the sweetness, enhances the complex flavors of all the other ingredients, and brings out the true buttery essence of the cake.
- Whole Milk: Adding milk contributes significantly to the cake’s moisture content and creamy texture. The fat in whole milk also enriches the flavor and helps create a tender crumb.
Crafting Your Perfect Butter Cake: A Step-by-Step Guide
Baking a butter cake is a rewarding experience, and following these detailed steps will ensure a perfect result every time. Precision and patience are your best friends in the kitchen when aiming for that signature moist and tender crumb.
STEP 1: Prepare Your Baking Environment. Begin by preheating your oven to 350 degrees Fahrenheit (175 degrees Celsius). This ensures a consistent baking temperature from the moment your cake enters the oven. Thoroughly grease and flour a 9×13 inch baking dish. Alternatively, you can use a nonstick cooking spray specifically designed for baking. Proper preparation prevents sticking and ensures your beautiful cake releases easily once baked. Set the prepared dish aside.
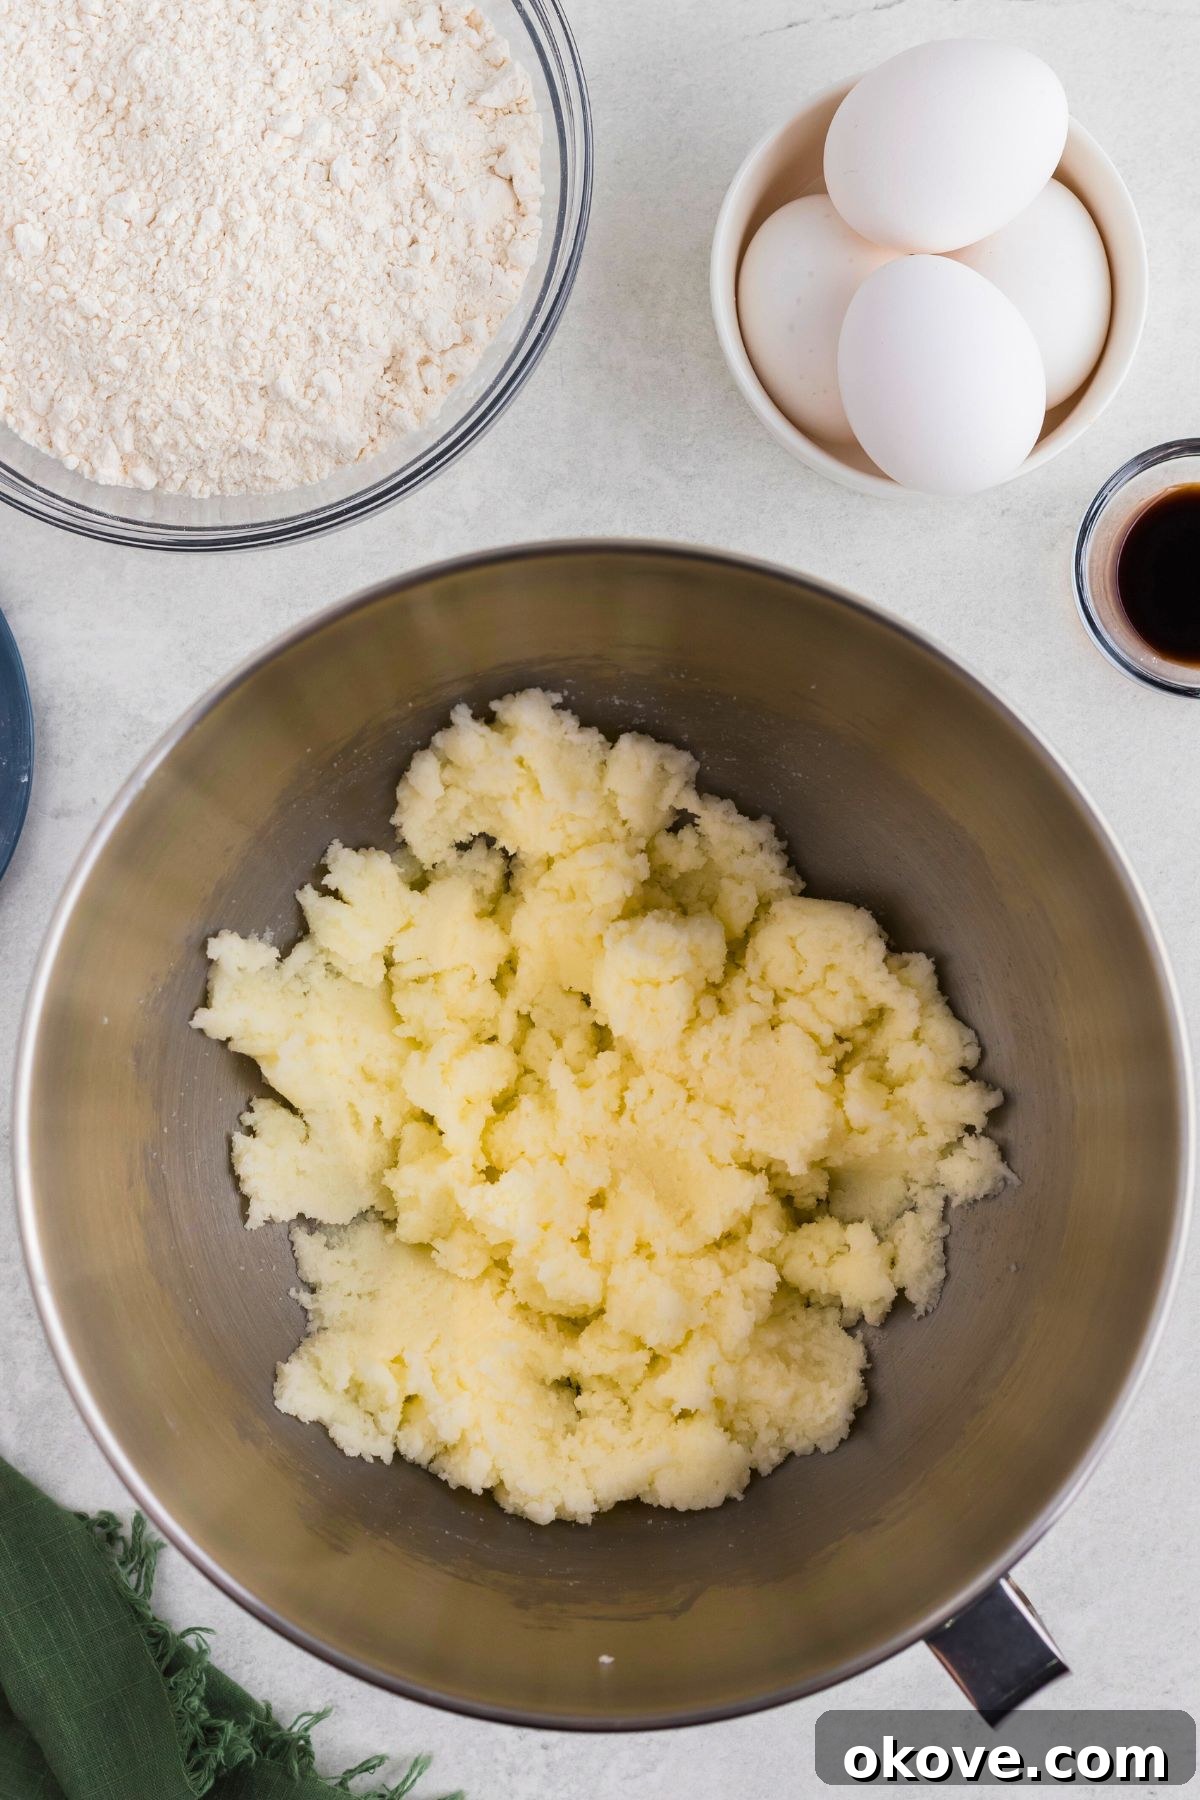
STEP 2: Cream Butter and Sugar to Perfection. In a large mixing bowl, combine the softened unsalted butter and granulated sugar. Using either a stand mixer fitted with the paddle attachment or a hand mixer, beat on medium speed. Continue mixing until the mixture is light, fluffy, and pale in color, resembling wet sand. This creaming process incorporates air into the butter, which is crucial for the cake’s structure and light texture. Scrape down the sides of the bowl periodically to ensure even mixing.
STEP 3: Incorporate Wet Ingredients. Add the large eggs one at a time, mixing well after each addition until fully combined. Follow with the vanilla extract, beating until just incorporated. Overmixing at this stage can develop gluten too much. In a separate medium-sized bowl, whisk together all your dry ingredients: the all-purpose flour, cream of tartar, baking soda, and salt. Whisking ensures these ingredients are evenly distributed, preventing pockets of leavening agent in your cake.
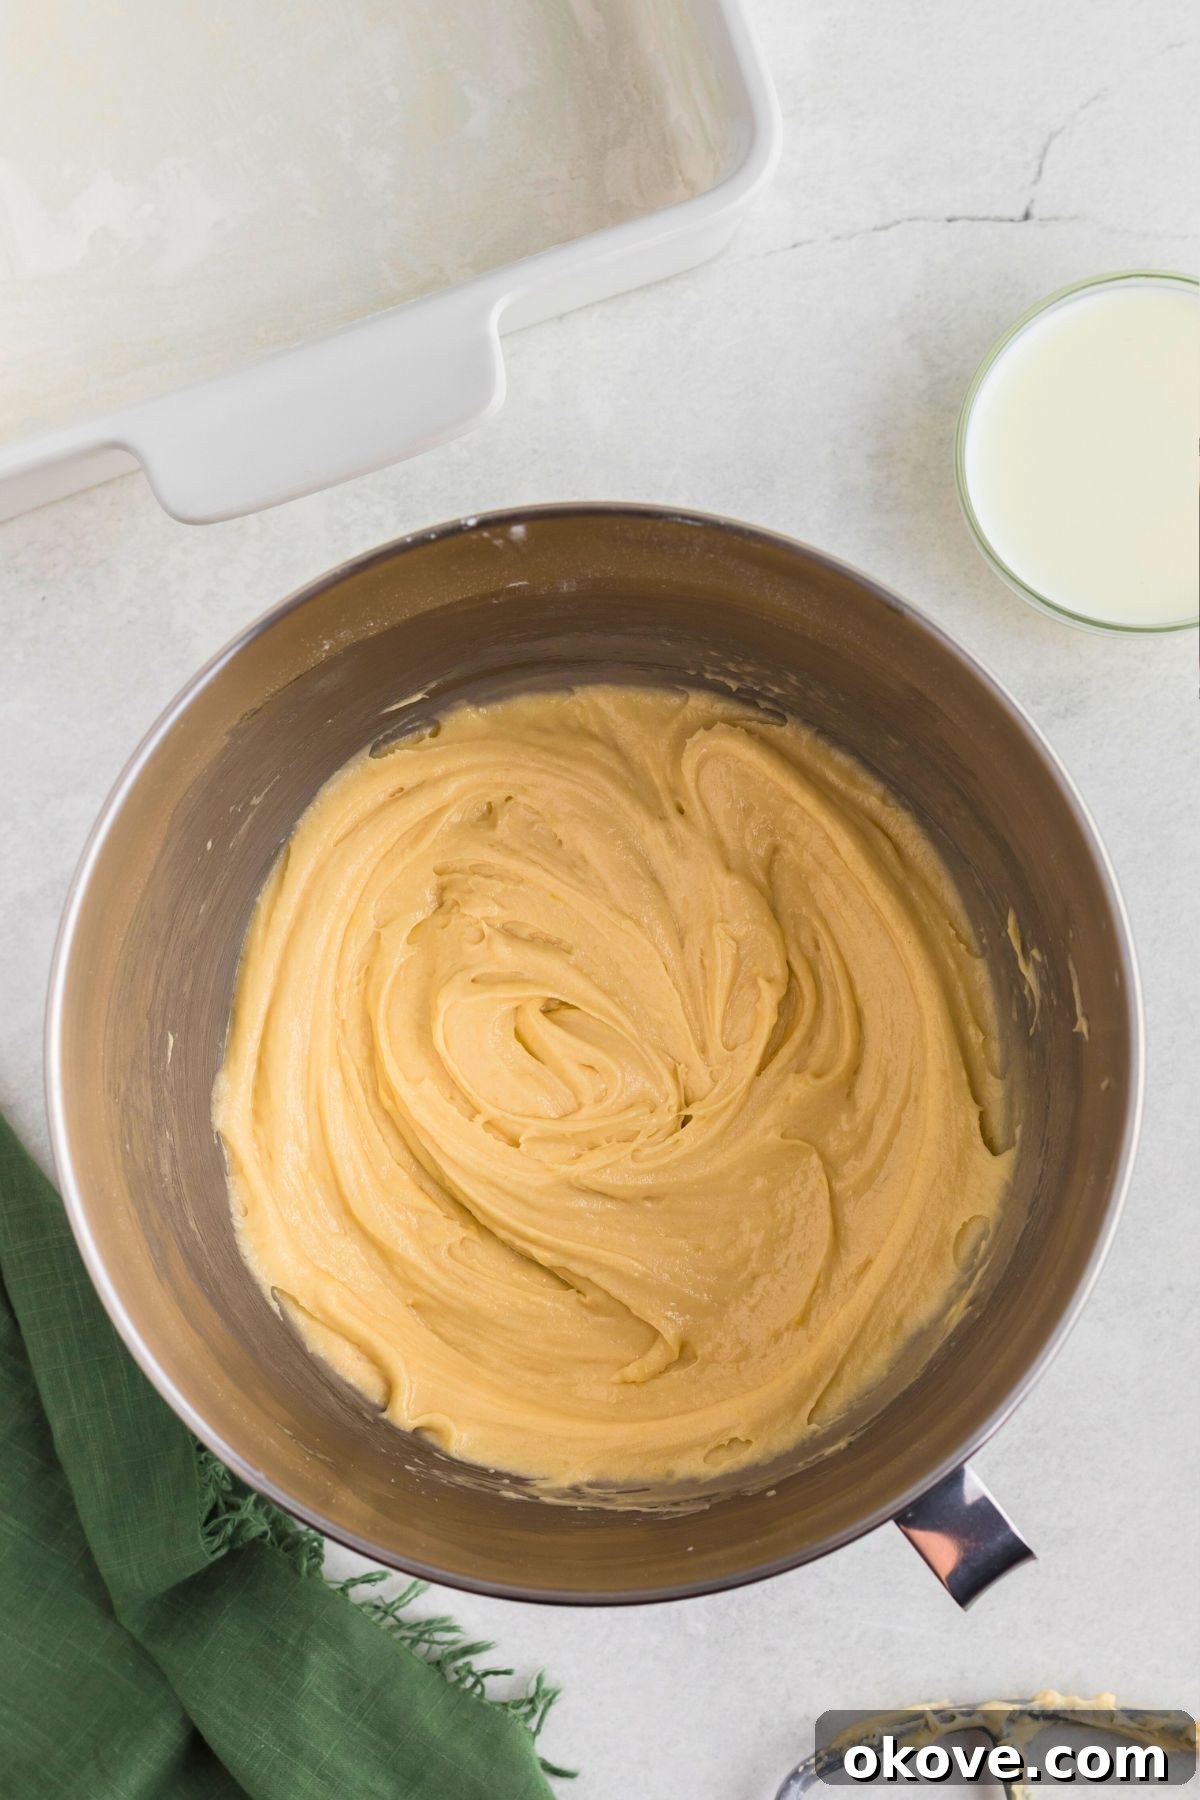
STEP 4: Combine Wet and Dry Mixtures. Gradually add the flour mixture to the butter and sugar mixture, alternating with the milk. Start and end with the flour mixture, adding it in three parts, with the milk added in two parts in between. Mix on the lowest speed until the cake batter is just combined and smooth. Be extremely careful not to overmix the batter, as this can lead to a dense, tough cake by overdeveloping the gluten.
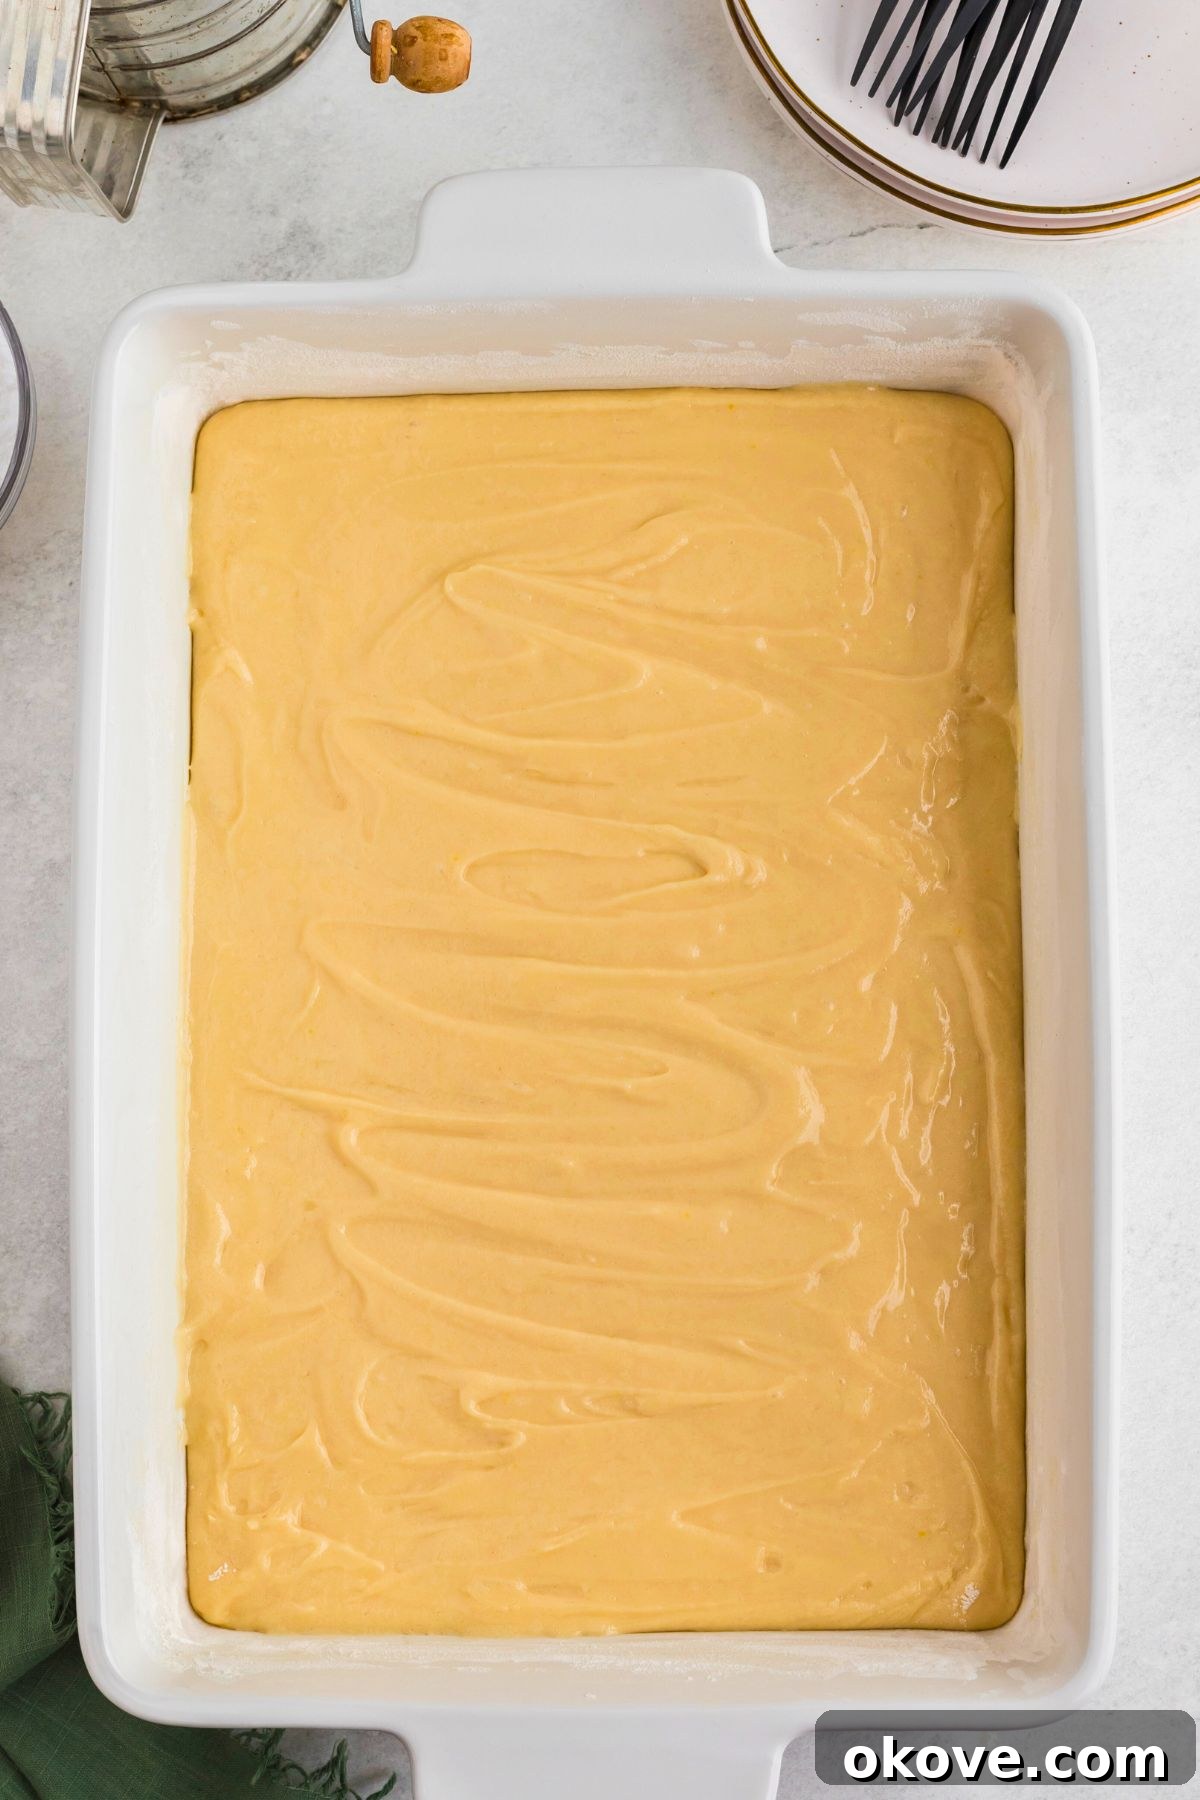
STEP 5: Bake Until Golden. Pour the perfectly mixed cake batter into your prepared baking pan and spread it evenly with a spatula. Place the baking pan in the center rack of your preheated oven. Bake for approximately 30-35 minutes. To check for doneness, insert a clean toothpick into the center of the cake. If it comes out clean or with a few moist crumbs attached, the cake is ready. If it comes out with wet batter, continue baking in 2-5 minute increments until done.
STEP 6: Cool Completely. Once baked, carefully remove the cake from the oven. Allow it to cool in the pan for 5-10 minutes. This crucial resting period allows the cake to firm up slightly before you attempt to remove it. After this initial cooling, invert the cake onto a wire cooling rack to finish cooling completely. Cooling on a rack allows air to circulate, preventing the bottom from becoming soggy. Ensure the cake is fully cooled before frosting or decorating.
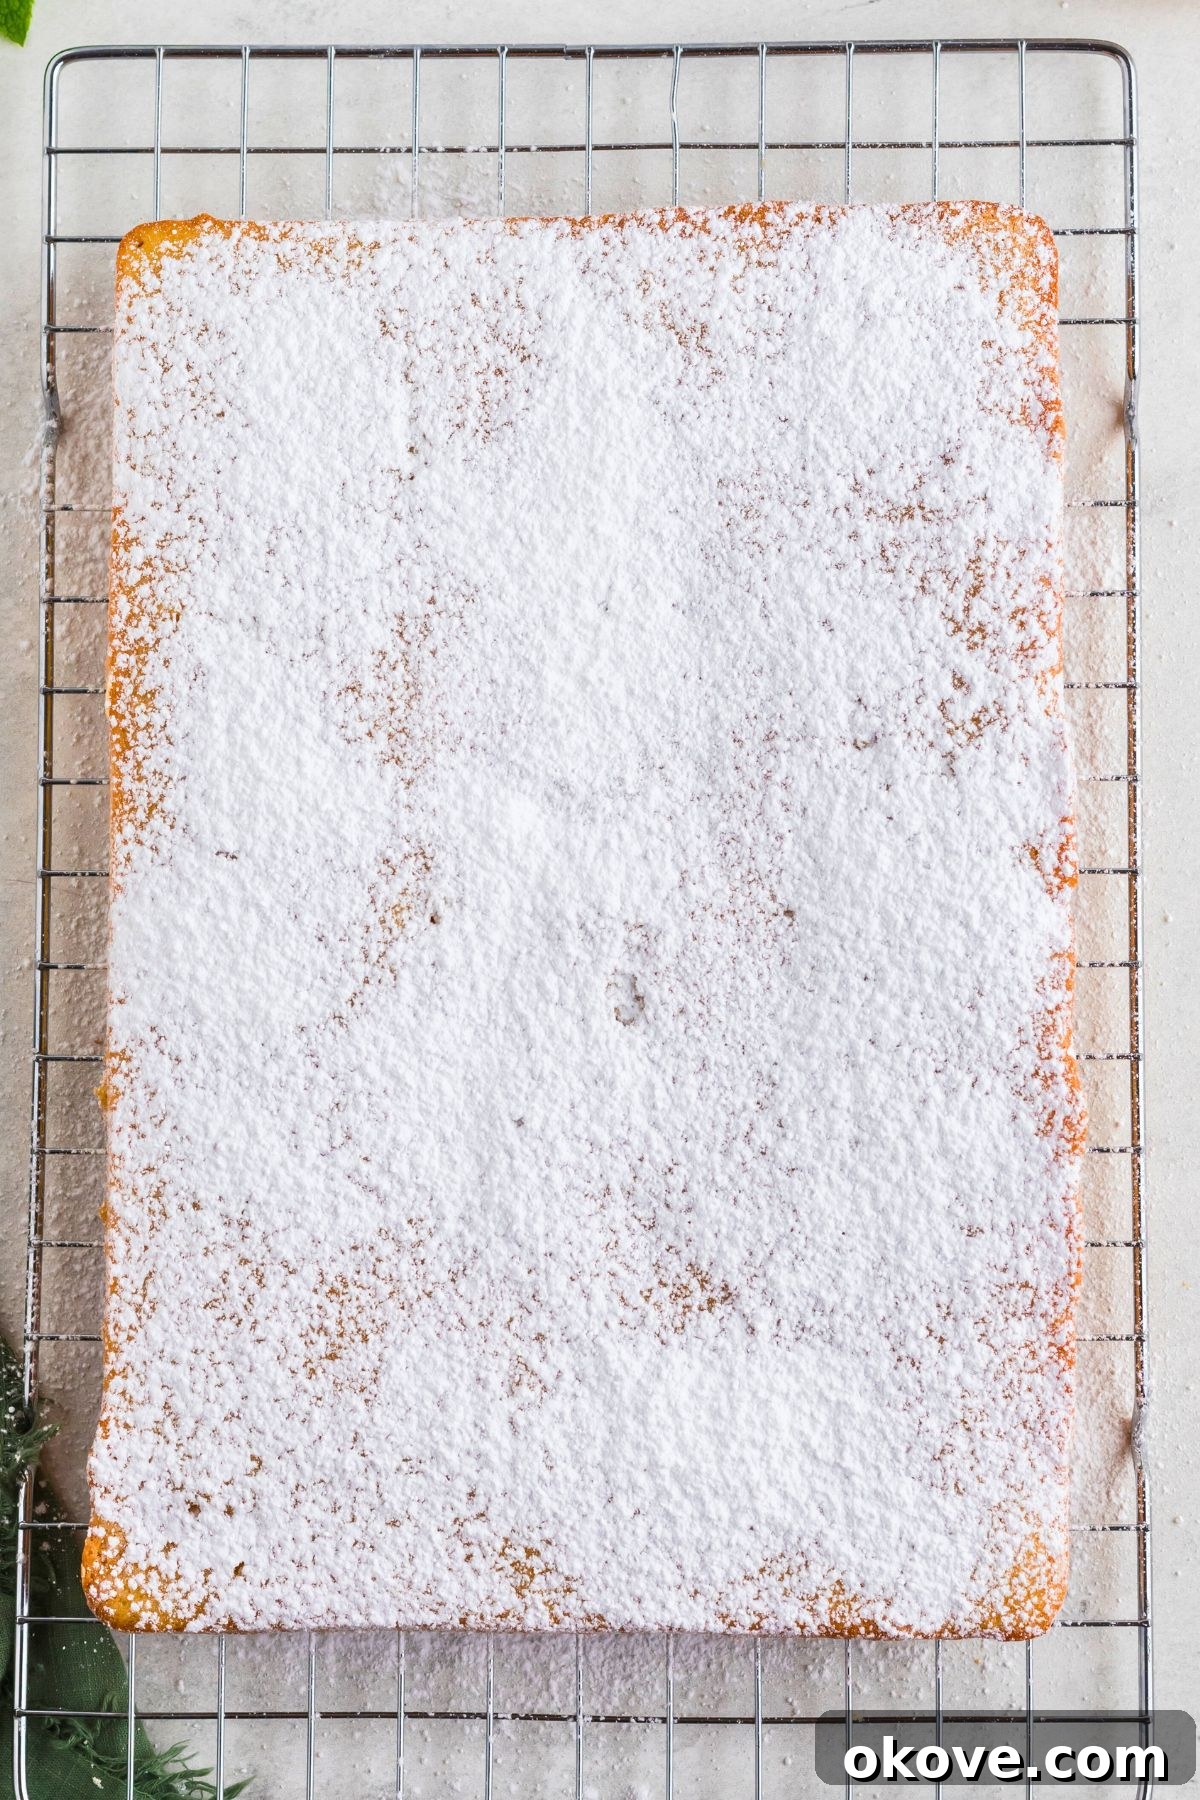
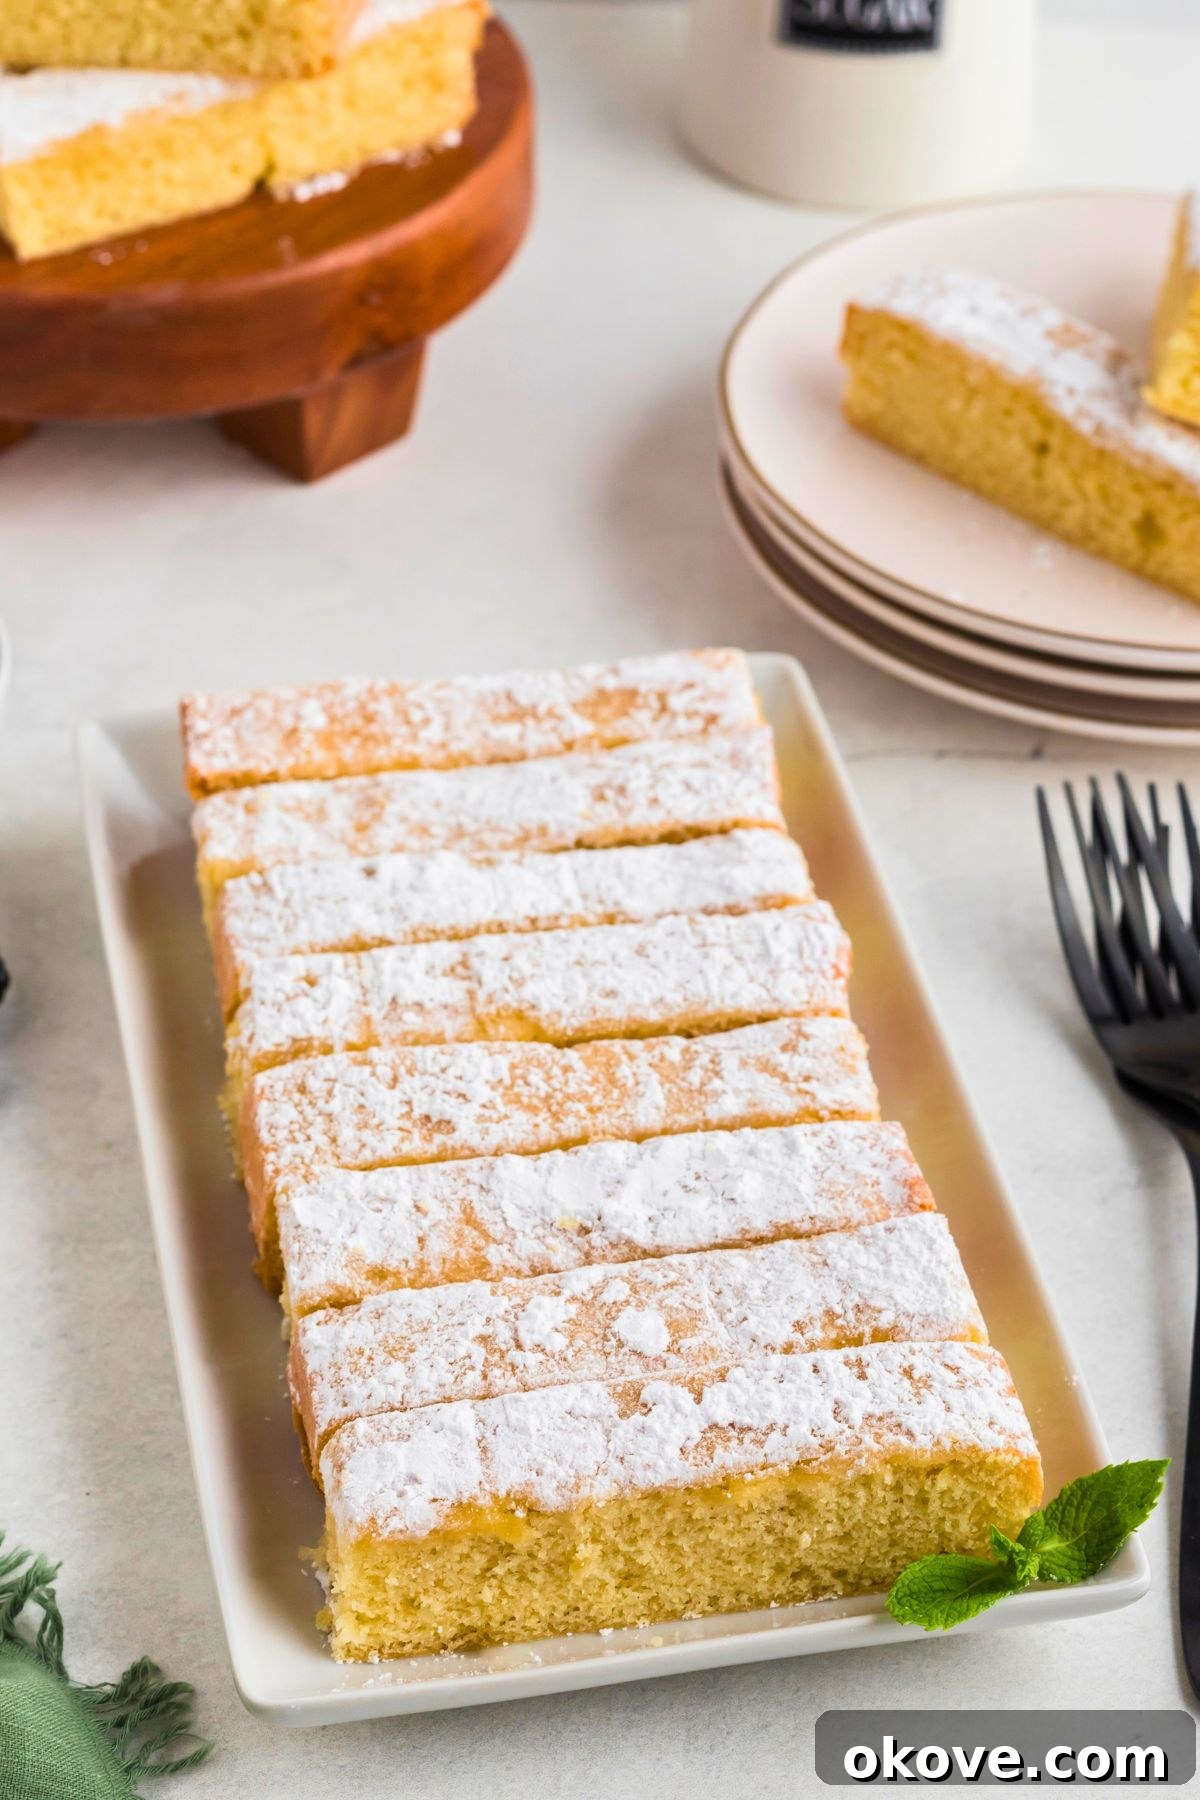
STEP 7: Serve and Enjoy. Once your butter cake is completely cooled, the real fun begins! You can frost it with your favorite buttercream, cream cheese frosting, or a simple glaze. Alternatively, for a lighter touch, dust generously with powdered sugar or serve it warm with a scoop of vanilla bean ice cream and fresh berries. Slice, serve, and savor this homemade delight!
Expert Tips for Baking the Best Butter Cake
Achieving a perfectly moist, tender, and flavorful butter cake consistently is easier with a few key techniques. These tips will help you avoid common baking pitfalls and elevate your homemade cake to bakery-quality standards.
- Use Room Temperature Ingredients: This is perhaps the most crucial tip for a successful butter cake. Room temperature butter creams better with sugar, incorporating more air, which leads to a lighter cake. Room temperature eggs and milk also emulsify more easily into the batter, preventing curdling and ensuring a smooth, cohesive mixture.
- Do Not Overmix the Batter: Once the flour is added, mix only until the ingredients are just combined. Overmixing develops the gluten in the flour, resulting in a tough, dense, and chewy cake rather than a tender, melt-in-your-mouth crumb. Stop mixing as soon as no dry streaks of flour remain.
- Accurately Measure Ingredients: Baking is a science, and precise measurements are paramount. Especially for flour, spoon it into your measuring cup and then level it off with a straight edge. Too much flour can lead to a dry cake, while too little can compromise its structure.
- Test for Doneness Properly: While a timer is a good guide, ovens can vary. Always use the toothpick test by inserting it into the center of the cake. If it comes out clean or with a few moist crumbs, your cake is perfectly baked. An underbaked cake will be gummy, and an overbaked cake will be dry.
- Invest in Quality Butter: Since butter is the star of this cake, using a high-quality butter will significantly impact the final flavor. European-style butters often have a higher fat content, which can make your cake even richer and more tender.
Exciting Butter Cake Variations to Explore
While the classic butter cake is a masterpiece on its own, its simple yet rich flavor profile makes it an excellent base for a myriad of delicious variations. Don’t be afraid to get creative and customize your cake to suit different tastes and occasions.
- Zesty Lemon Butter Cake: Infuse your cake with bright, refreshing citrus notes by adding the zest of two large lemons and 2 tablespoons of fresh lemon juice to the batter. A lemon glaze made from powdered sugar and lemon juice would be the perfect topping.
- Indulgent Chocolate Butter Cake: Transform your butter cake into a rich chocolate delight by stirring in 1/4 to 1/2 cup of unsweetened cocoa powder (adjust to desired intensity) along with the flour, or fold in 1/2 cup of chocolate chips for pockets of melted chocolate. A chocolate ganache or fudge frosting would be divine.
- Delightful Almond Butter Cake: Replace half of the vanilla extract with pure almond extract and consider folding in 1/4 cup of finely chopped almonds for a delightful nutty texture and flavor. This pairs wonderfully with a simple powdered sugar dusting or almond buttercream.
- Make Perfectly Portioned Cupcakes: For individual servings, divide the prepared butter cake batter evenly among standard cupcake liners in a muffin tin. Bake for a shorter duration, typically 18-22 minutes, or until a toothpick inserted into the center comes out clean. Frost with your favorite cupcake frosting.
- Seasonal Fruit Swirl Butter Cake: Gently swirl in 1/2 to 1 cup of fresh or frozen (not thawed) berries like raspberries or blueberries into the batter just before baking. The fruit will add bursts of juicy flavor and beautiful color.
Frequently Asked Questions About Butter Cake
The technique of alternating between wet and dry ingredients when incorporating them into the butter and sugar mixture is crucial for achieving a tender and well-emulsified batter. This method ensures that the gluten in the flour doesn’t overdevelop, which can make the cake tough. It also helps to create a smoother, more uniform batter by allowing the fats and liquids to be absorbed gradually and evenly, resulting in a consistently soft and moist cake.
To maintain the delightful freshness and moisture of your baked butter cake, store it in an airtight container. At room temperature, it will remain delicious for up to 3 days. If you need to extend its shelf life, you can store it in the refrigerator for up to a week. For longer storage, butter cake freezes exceptionally well; wrap slices or the whole cake tightly in plastic wrap and then in foil, and freeze for 1-2 months. Thaw at room temperature before serving.
Absolutely! While delicious on its own, butter cake is an excellent canvas for various frostings. A classic choice is a rich and creamy buttercream frosting, which complements the buttery flavor beautifully. For a tangy contrast, a cream cheese frosting works wonderfully. If you prefer something simpler, a delicate powdered sugar glaze (made with powdered sugar and a little milk or lemon juice) adds a lovely sheen and subtle sweetness without overpowering the cake. The possibilities are endless, so feel free to experiment with your favorite!
While unsalted butter is generally recommended for baking to give you precise control over the salt content, you can use salted butter in a pinch. If you do, make sure to reduce the amount of added salt in the recipe (in this case, reduce the 1/2 teaspoon of salt to 1/4 teaspoon or omit it entirely depending on the saltiness of your butter). Be aware that the flavor and salt content can vary significantly between brands of salted butter, so the final taste might be slightly different.
More Delightful Dessert Recipes
Desserts
Chocolate Peanut Butter Cake
Desserts
Peanut Butter Chocolate Chip Cookies
Desserts
Cherry Dump Cake
Desserts
Slutty Brownies
★
★
★
★
The Ultimate Moist Butter Cake
Equipment
-
Large Mixing Bowl
-
Electric Stand Mixer or Hand Mixer
-
9×13 Inch Baking Dish
-
Whisk
-
Wire Cooling Rack
Ingredients
- 1 cup unsalted butter, softened to room temperature
- 1 1/2 cups granulated sugar
- 4 large eggs, room temperature
- 1 teaspoon pure vanilla extract
- 2 cups all-purpose flour
- 1/2 teaspoon baking soda
- 1 teaspoon cream of tartar
- 1/2 teaspoon fine sea salt
- 1/2 cup whole milk, room temperature
Instructions
-
Preheat your oven to 350 degrees F (175 C). Thoroughly grease and flour (or spray with nonstick cooking spray) a 9×13 inch baking dish, then set aside.
-
In a large mixing bowl, using a stand mixer with the paddle attachment or a hand mixer, cream the softened butter and granulated sugar on medium speed until light, fluffy, and pale, about 3-5 minutes. Scrape down the sides of the bowl as needed.
-
Add the eggs one at a time, mixing well after each addition until fully combined. Stir in the vanilla extract. In a separate medium-sized bowl, whisk together the all-purpose flour, cream of tartar, baking soda, and salt.
-
Slowly add the dry flour mixture to the wet butter-sugar mixture, alternating with the milk. Begin and end with the flour mixture, mixing on low speed until just combined. Be careful not to overmix; stop as soon as no dry streaks remain.
-
Pour the cake batter into the prepared baking pan and spread it evenly. Place in the center of the preheated oven and bake for 30-35 minutes. Check for doneness by inserting a toothpick into the center; if it comes out clean or with a few moist crumbs, it’s ready. If not, continue cooking for 2-5 minutes at a time.
-
Once baked, remove the cake from the oven and let it cool in the pan for 5-10 minutes. Then, carefully invert it onto a wire cooling rack to cool completely before decorating or serving.
-
Once cooled, your butter cake is ready to be frosted with your favorite topping, dusted with powdered sugar, or served with a scoop of ice cream and fresh fruit. Slice and enjoy!
Recipe Notes
Nutrition Information
Nutrition information is automatically calculated and provided for approximation purposes only. Individual results may vary based on ingredient brands and preparation methods.