
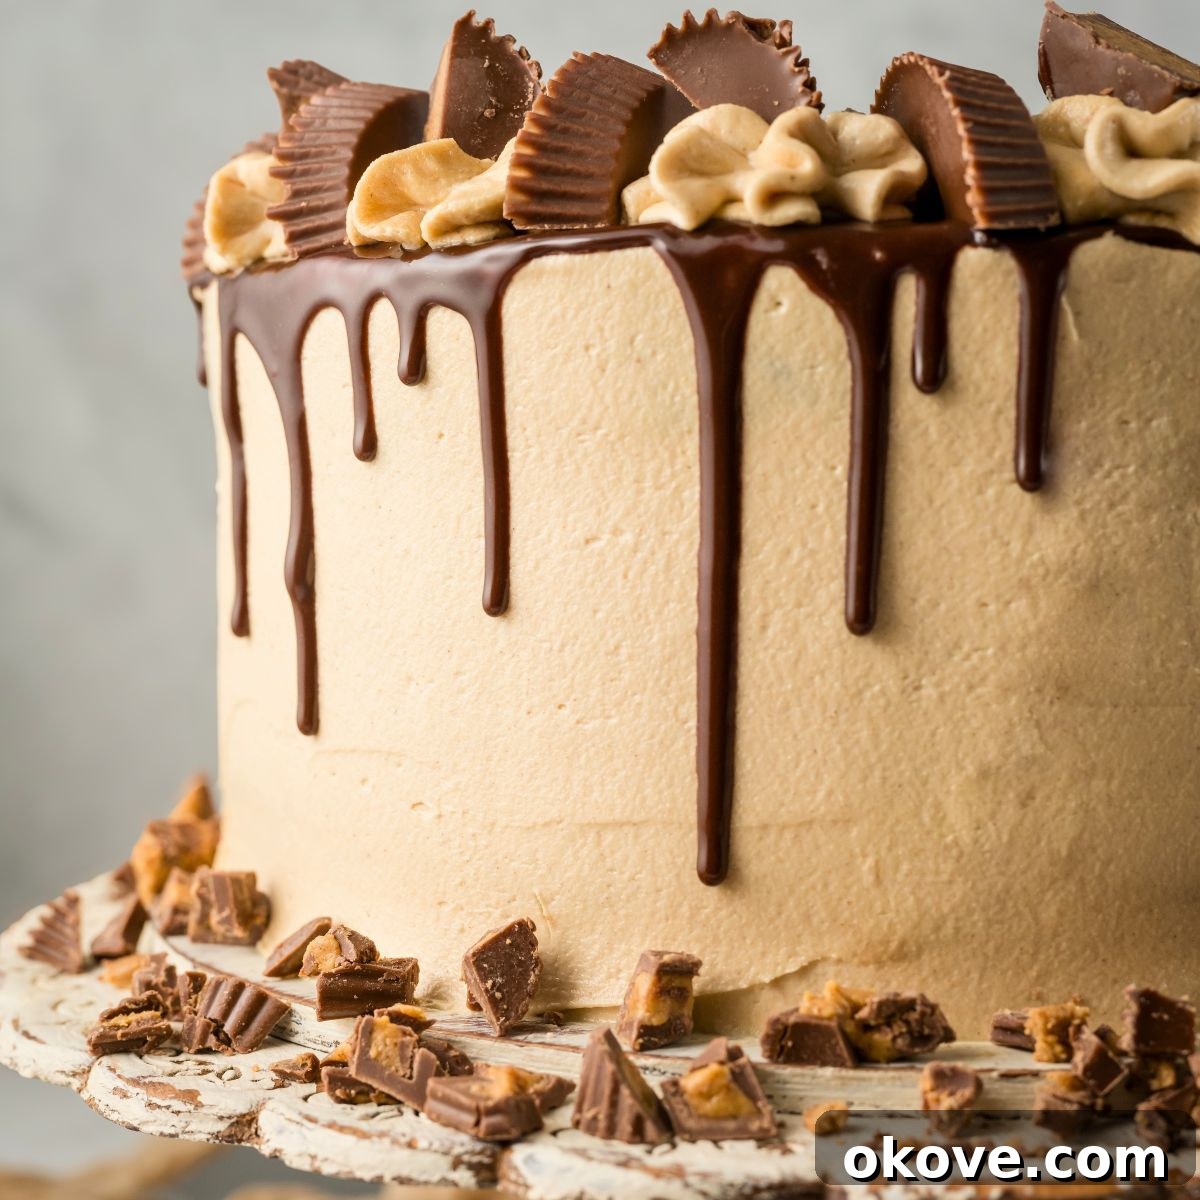
This chocolate peanut butter cake is the ultimate dessert for anyone who adores the classic, irresistible combination of rich chocolate and creamy peanut butter. With its three impressive layers, this cake isn’t just a dessert; it’s a guaranteed showstopper. Whether you’re celebrating a birthday, a holiday, or simply craving something extraordinary, this decadent creation promises to be the highlight of any special occasion.
The Ultimate Chocolate Peanut Butter Cake Recipe: A Decadent Delight
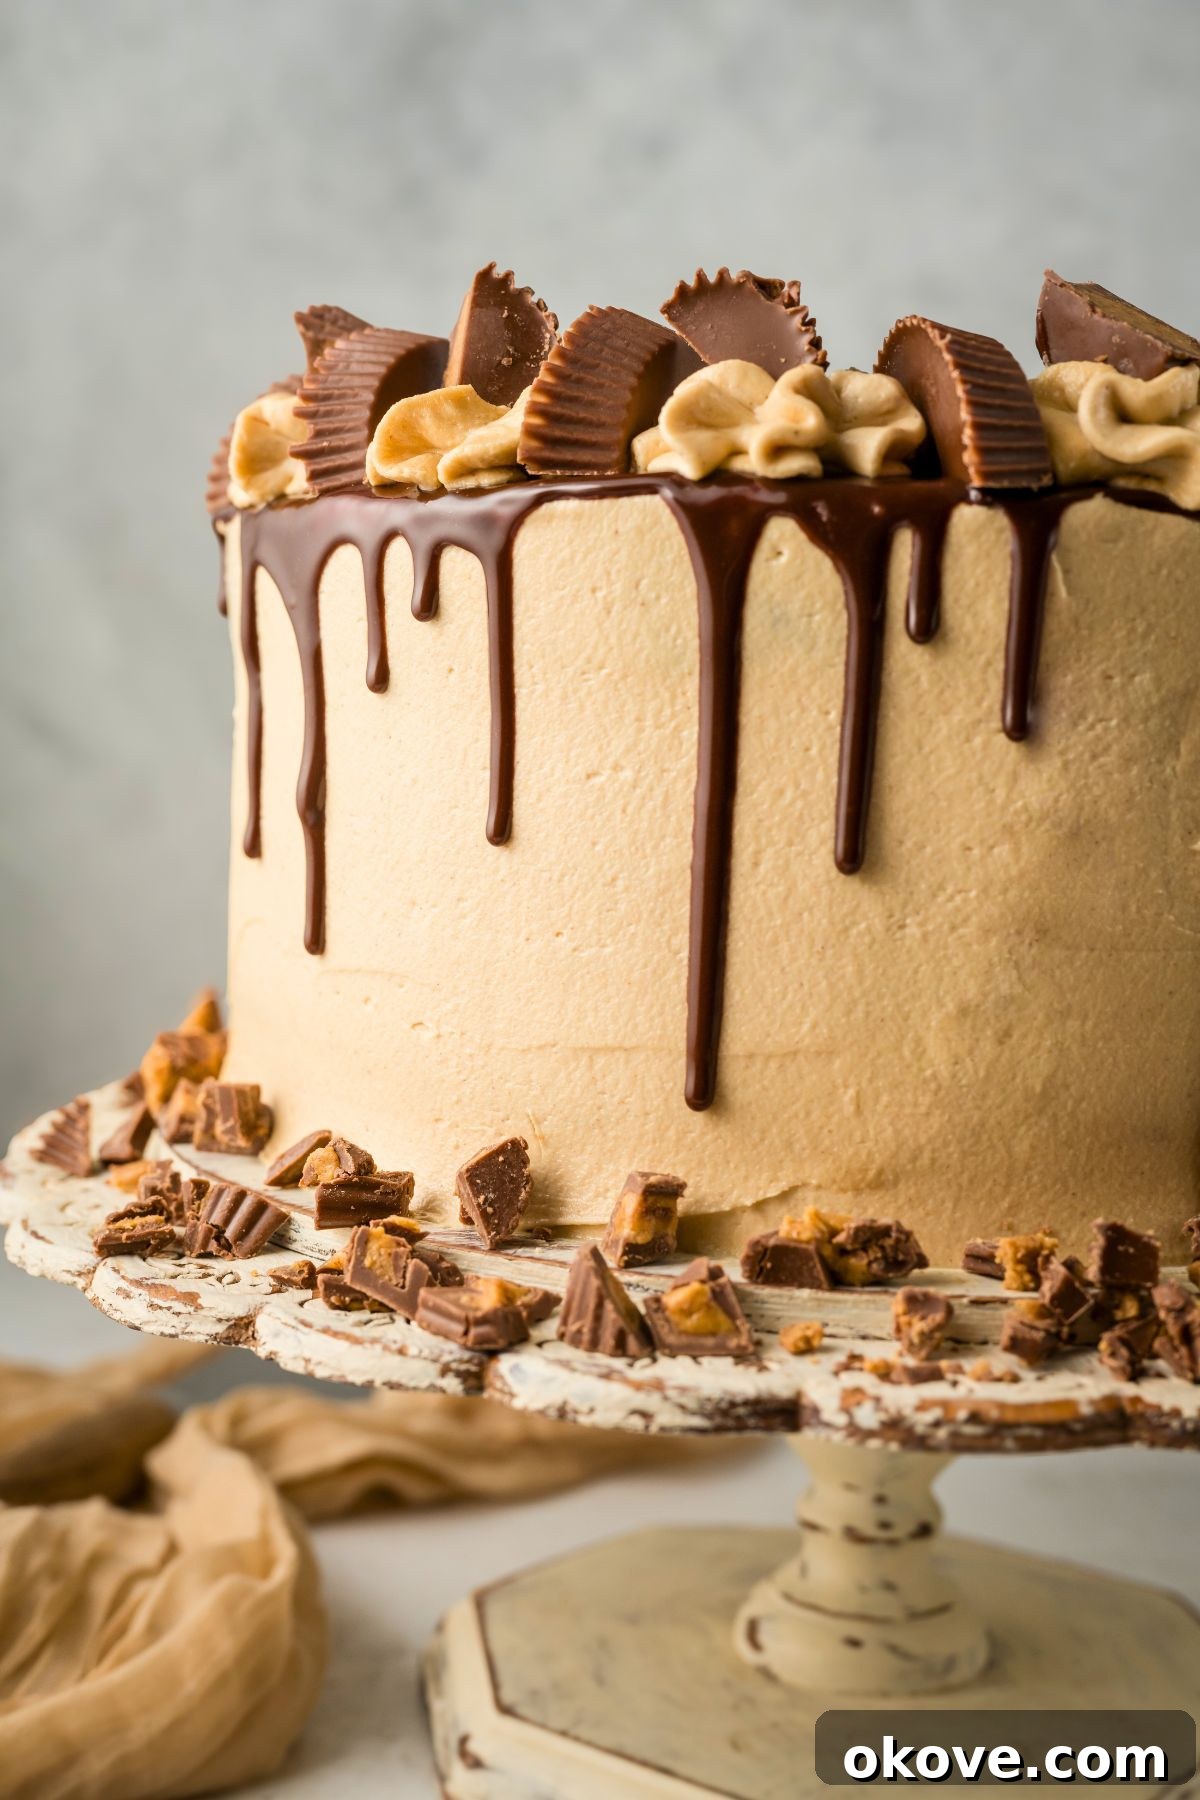
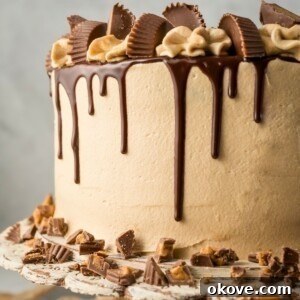
Prepare to fall in love with a cake that expertly marries the deep, luxurious notes of chocolate with the smooth, nutty goodness of peanut butter. This recipe elevates the humble cake to an art form, culminating in a masterpiece crowned with a glistening chocolate ganache drizzle and an abundance of perfectly sliced peanut butter cups. It’s a symphony of flavors and textures in every single bite.
What sets this cake apart is its bakery-quality appearance coupled with its surprising approachability for home bakers. You don’t need years of professional experience to create this stunning dessert. Every step is crafted to be straightforward, ensuring even novice bakers can achieve impressive results. And let’s be honest, who could ever resist the magical pairing of chocolate and peanut butter? Especially when it’s presented in such an elegant, yet fun, package. Imagine the delight on someone’s face receiving this as their birthday cake – pure joy guaranteed!
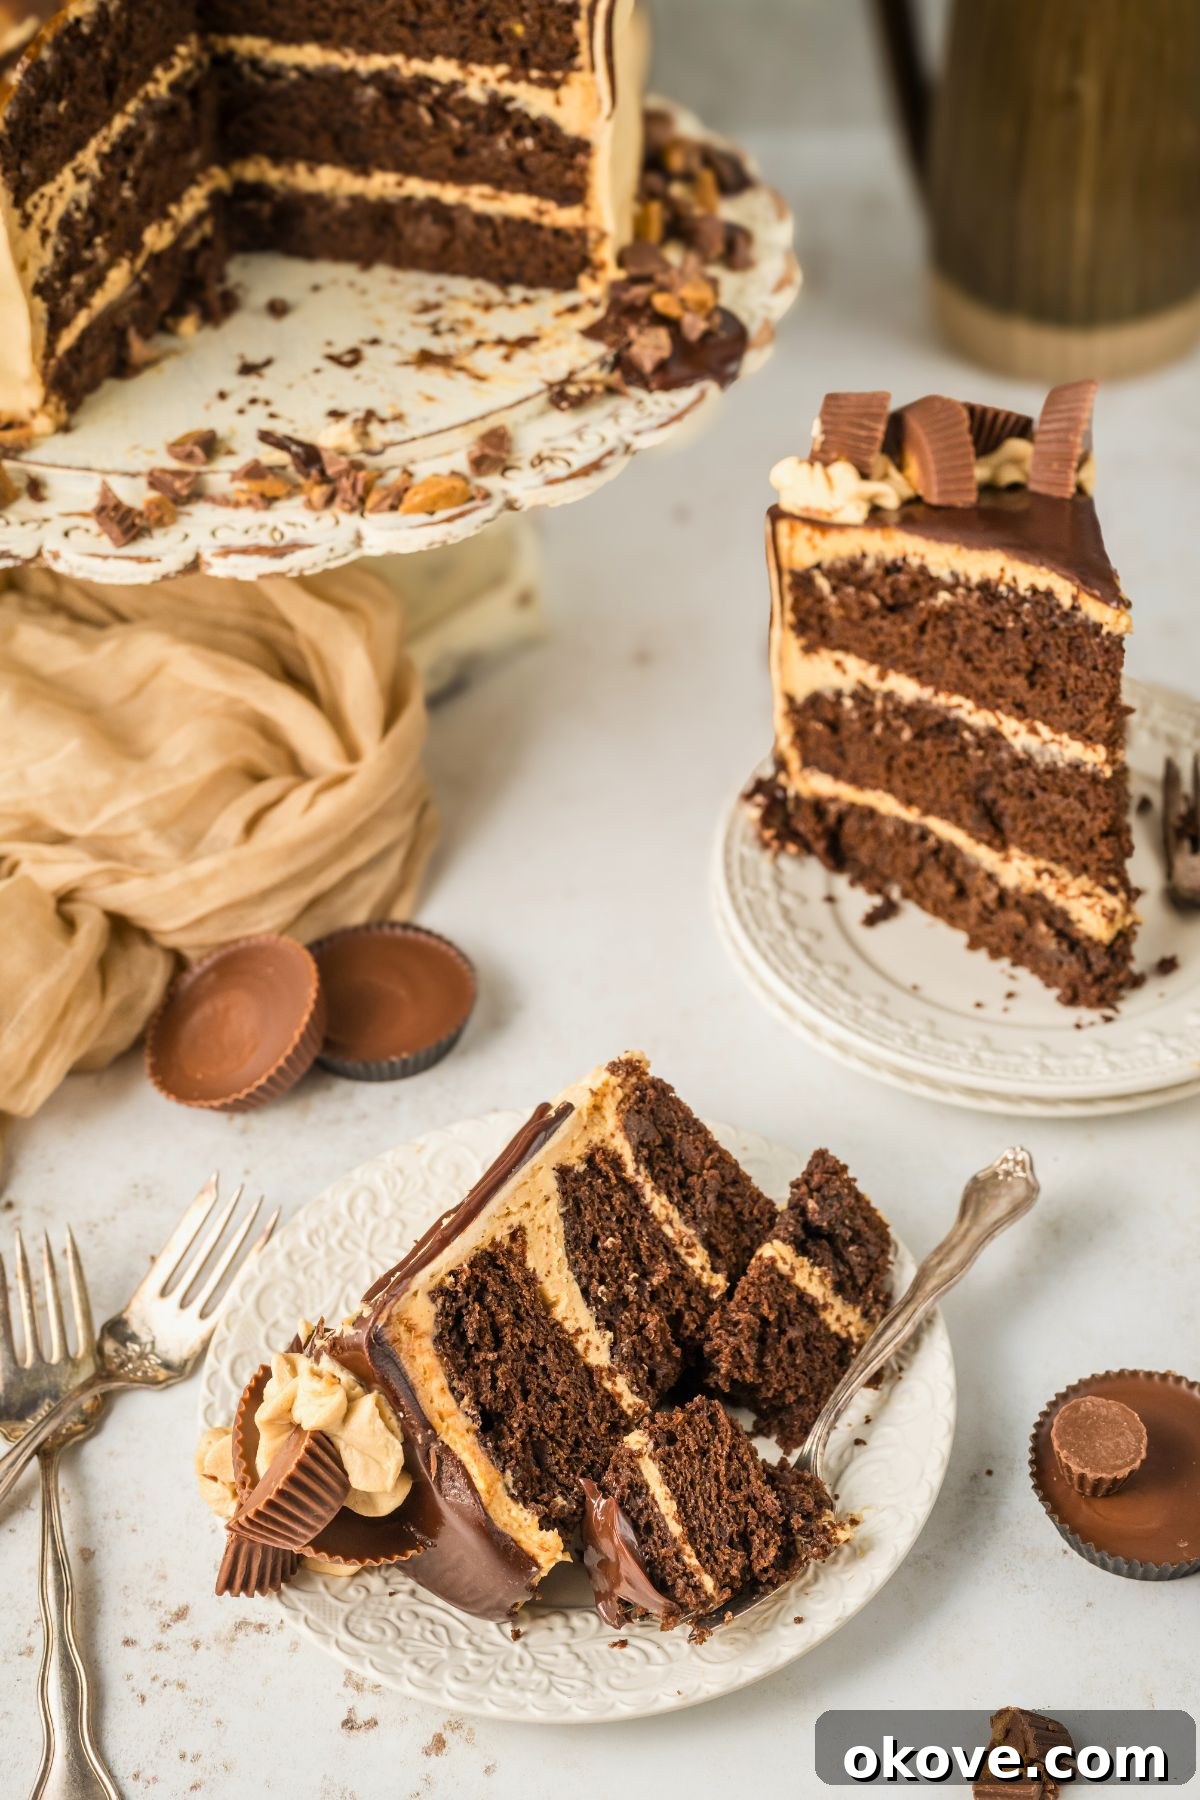
Beyond its aesthetic appeal, the texture of this chocolate peanut butter cake is simply divine. The chocolate layers are incredibly moist and tender, providing a perfect contrast to the rich, airy peanut butter frosting. The ganache adds another dimension of chocolate intensity, while the peanut butter cup garnishes offer a delightful textural pop and an extra burst of flavor. This isn’t just a cake; it’s an experience, designed to satisfy even the most discerning sweet tooth.
Essential Ingredients for Your Decadent Cake
Crafting a truly exceptional chocolate peanut butter cake begins with quality ingredients. Here’s a detailed look at what you’ll need for each component, along with why each item plays a crucial role in achieving perfection.
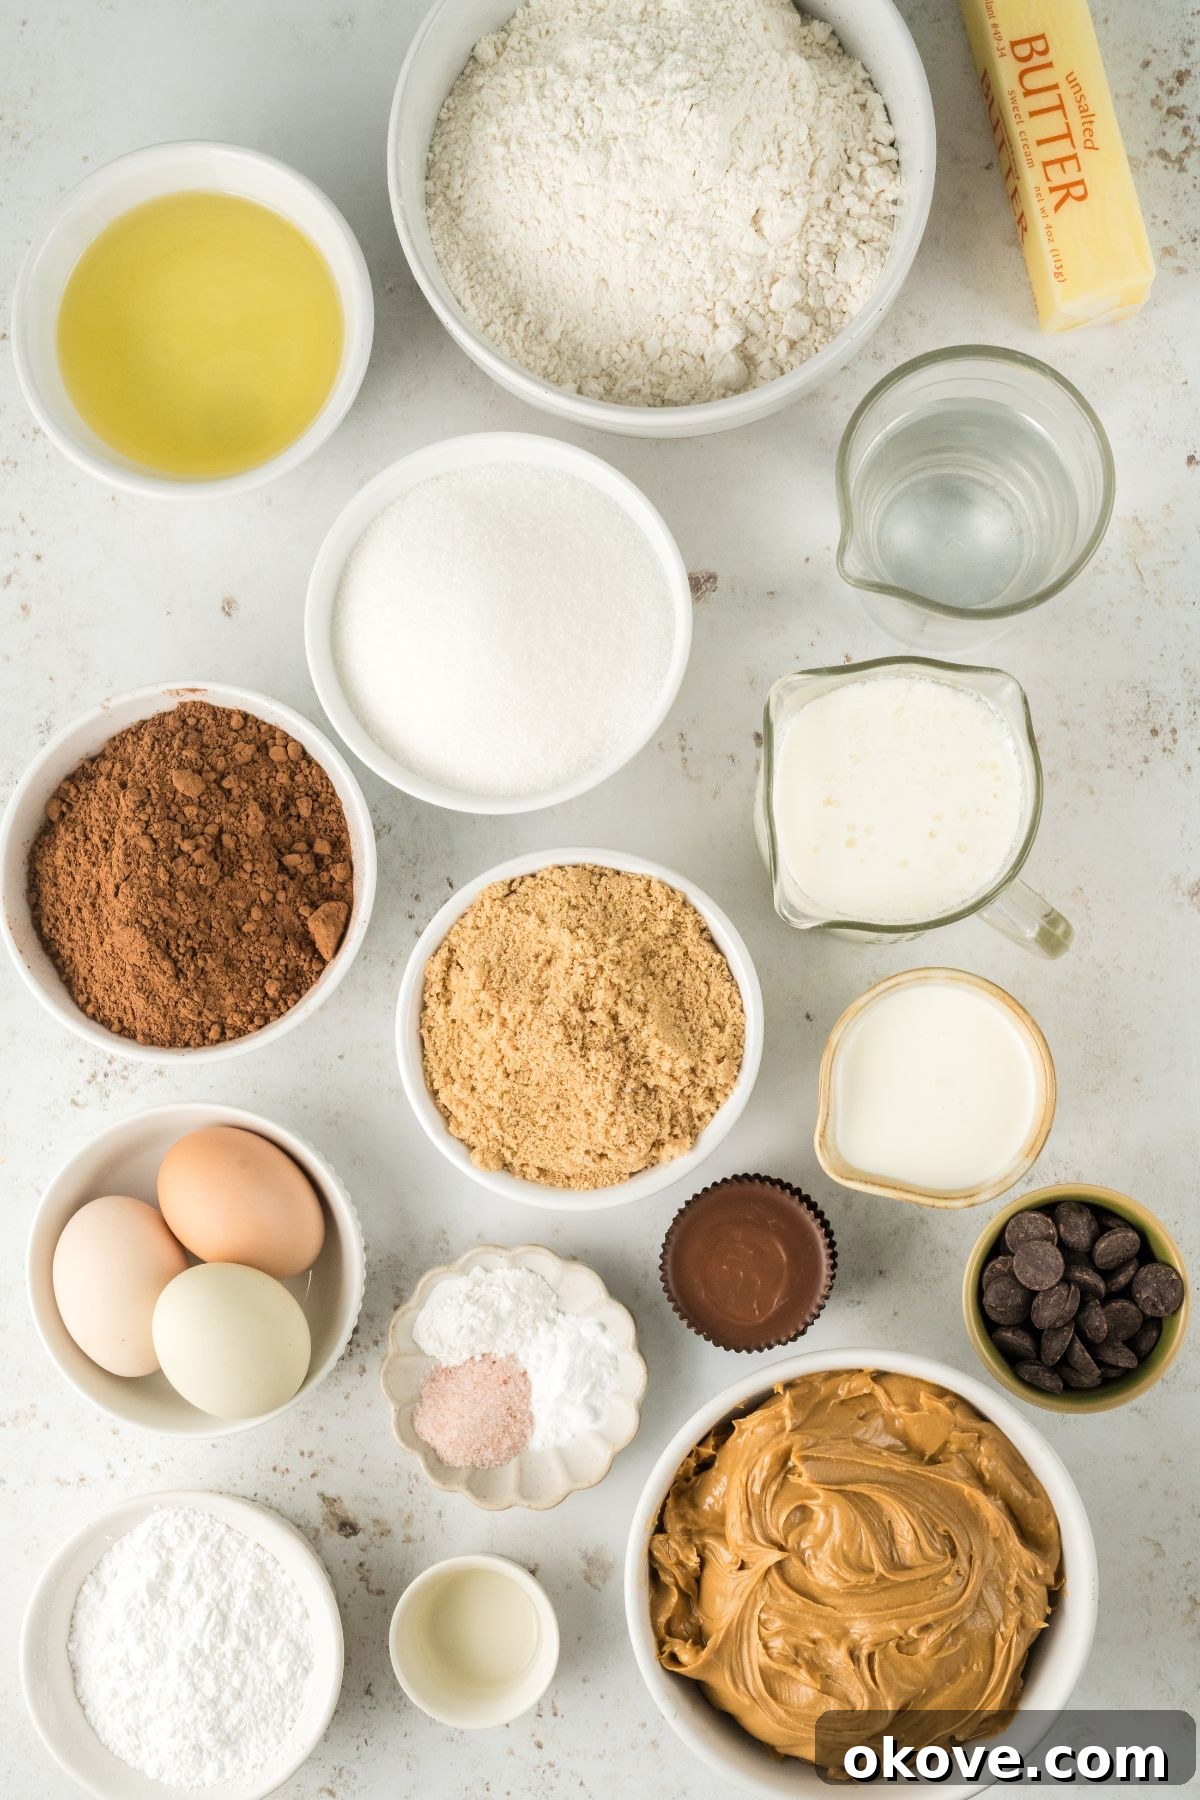
- All-Purpose Flour: The fundamental building block of our cake, providing structure and tender crumb. Ensure it’s measured correctly for the best texture.
- Granulated Sugar: Not just for sweetness, it also contributes to the cake’s moisture content, keeping it tender and delicious.
- Brown Sugar: Adds a deeper, more complex sweetness with hints of caramel, enhancing the overall flavor profile of the chocolate cake layers.
- Cocoa Powder: Essential for that deep, rich chocolate flavor. Opt for high-quality unsweetened cocoa powder for the best results; Dutch-processed will give a darker color and milder flavor.
- Baking Powder: A leavening agent that helps the cake rise, contributing to a light and fluffy texture.
- Baking Soda: Another leavening agent that reacts with the acidic buttermilk to create a tender crumb and helps the cake rise beautifully.
- Salt: A critical flavor enhancer that balances the sweetness and brings out the depth of the chocolate and other ingredients. Don’t skip it!
- Unsalted Butter (melted): Adds incredible richness and moisture to the chocolate cake batter. Melting it ensures it easily incorporates into the batter.
- Vegetable Oil: Guarantees an incredibly moist cake that stays fresh longer than butter alone would allow.
- Buttermilk: The secret to an exceptionally moist and tender chocolate cake. If you don’t have buttermilk, you can easily substitute it by adding 1 tablespoon of lemon juice or white vinegar to 1 cup of regular milk and letting it sit for 5 minutes before using.
- Eggs: Act as a binder, holding all the ingredients together, and contribute to the cake’s structure and richness. Ensure they are at room temperature for better emulsification.
- Vanilla Extract: A universal flavor enhancer that rounds out the chocolate and complements the peanut butter beautifully. Use pure vanilla for the best taste.
- Boiling Water: Surprisingly, hot water (or coffee!) is key to a smooth, thin, and remarkably moist chocolate cake batter, intensifying the chocolate flavor without adding extra fat.
- Reese’s Peanut Butter Cups (cut into halves): The perfect garnish and an extra burst of the beloved chocolate-peanut butter flavor, providing a delightful chew and visual appeal.
Crafting the Dreamy Peanut Butter Frosting
This creamy peanut butter frosting is the perfect complement to the rich chocolate cake layers. It’s smooth, luscious, and packed with irresistible peanut butter flavor.
- Creamy Peanut Butter: The star of the show! Use a good quality, creamy peanut butter for the best texture and flavor. Avoid natural peanut butter that separates, as it can make the frosting greasy.
- Unsalted Butter (softened): Provides the necessary richness and structure for a stable, creamy frosting. Softened butter is crucial for beating into a light and fluffy consistency.
- Powdered Sugar (confectioners’ sugar): Sweetens the frosting and, importantly, thickens it to the perfect spreadable consistency without grittiness. Sifting it can help prevent lumps.
- Milk: Used sparingly to achieve the desired thickness and smooth consistency for the frosting. Start with a small amount and add more as needed.
- Vanilla Extract: Enhances the nutty notes of the peanut butter and adds a warm, inviting aroma to the frosting.
- Salt: A pinch of salt is vital to balance the sweetness and deepen the flavor of the peanut butter.
The Glossy Chocolate Ganache Topping
A simple yet elegant chocolate ganache adds a beautiful, glossy finish and another layer of rich chocolate flavor to our spectacular cake.
- Semi-Sweet Chocolate Chips: These melt into a smooth, rich chocolate base for your ganache, providing a lovely balance of sweetness and deep cocoa flavor. High-quality chocolate chips will give the best results.
- Heavy Cream: Thins the melted chocolate to create a smooth, pourable ganache that elegantly drizzles down the sides of the cake, while also adding a luxurious creaminess.
Step-by-Step Directions for Your Masterpiece Cake
Follow these detailed instructions carefully to ensure your chocolate peanut butter cake turns out perfectly every time. Precision is key, but don’t be afraid to enjoy the baking process!
Bake the Chocolate Cake Layers
STEP 1. Prepare Your Pans: Preheat your oven to a steady 350°F (175°C). This ensures the oven is at the correct temperature when the cake goes in. Lightly grease three 9-inch round cake pans with butter or cooking spray. For effortless removal and to prevent sticking, line the bottoms of each pan with a circle of parchment paper. This simple step makes a huge difference!
STEP 2. Combine Dry & Wet Ingredients: In a large mixing bowl, whisk together all the dry cake ingredients: the all-purpose flour, granulated sugar, brown sugar, cocoa powder, baking powder, baking soda, and salt. Whisking ensures they are thoroughly combined and evenly distributed. In a separate bowl or directly into the dry ingredients (as the recipe specifies), add the buttermilk, vegetable oil, melted butter, eggs, and vanilla extract.
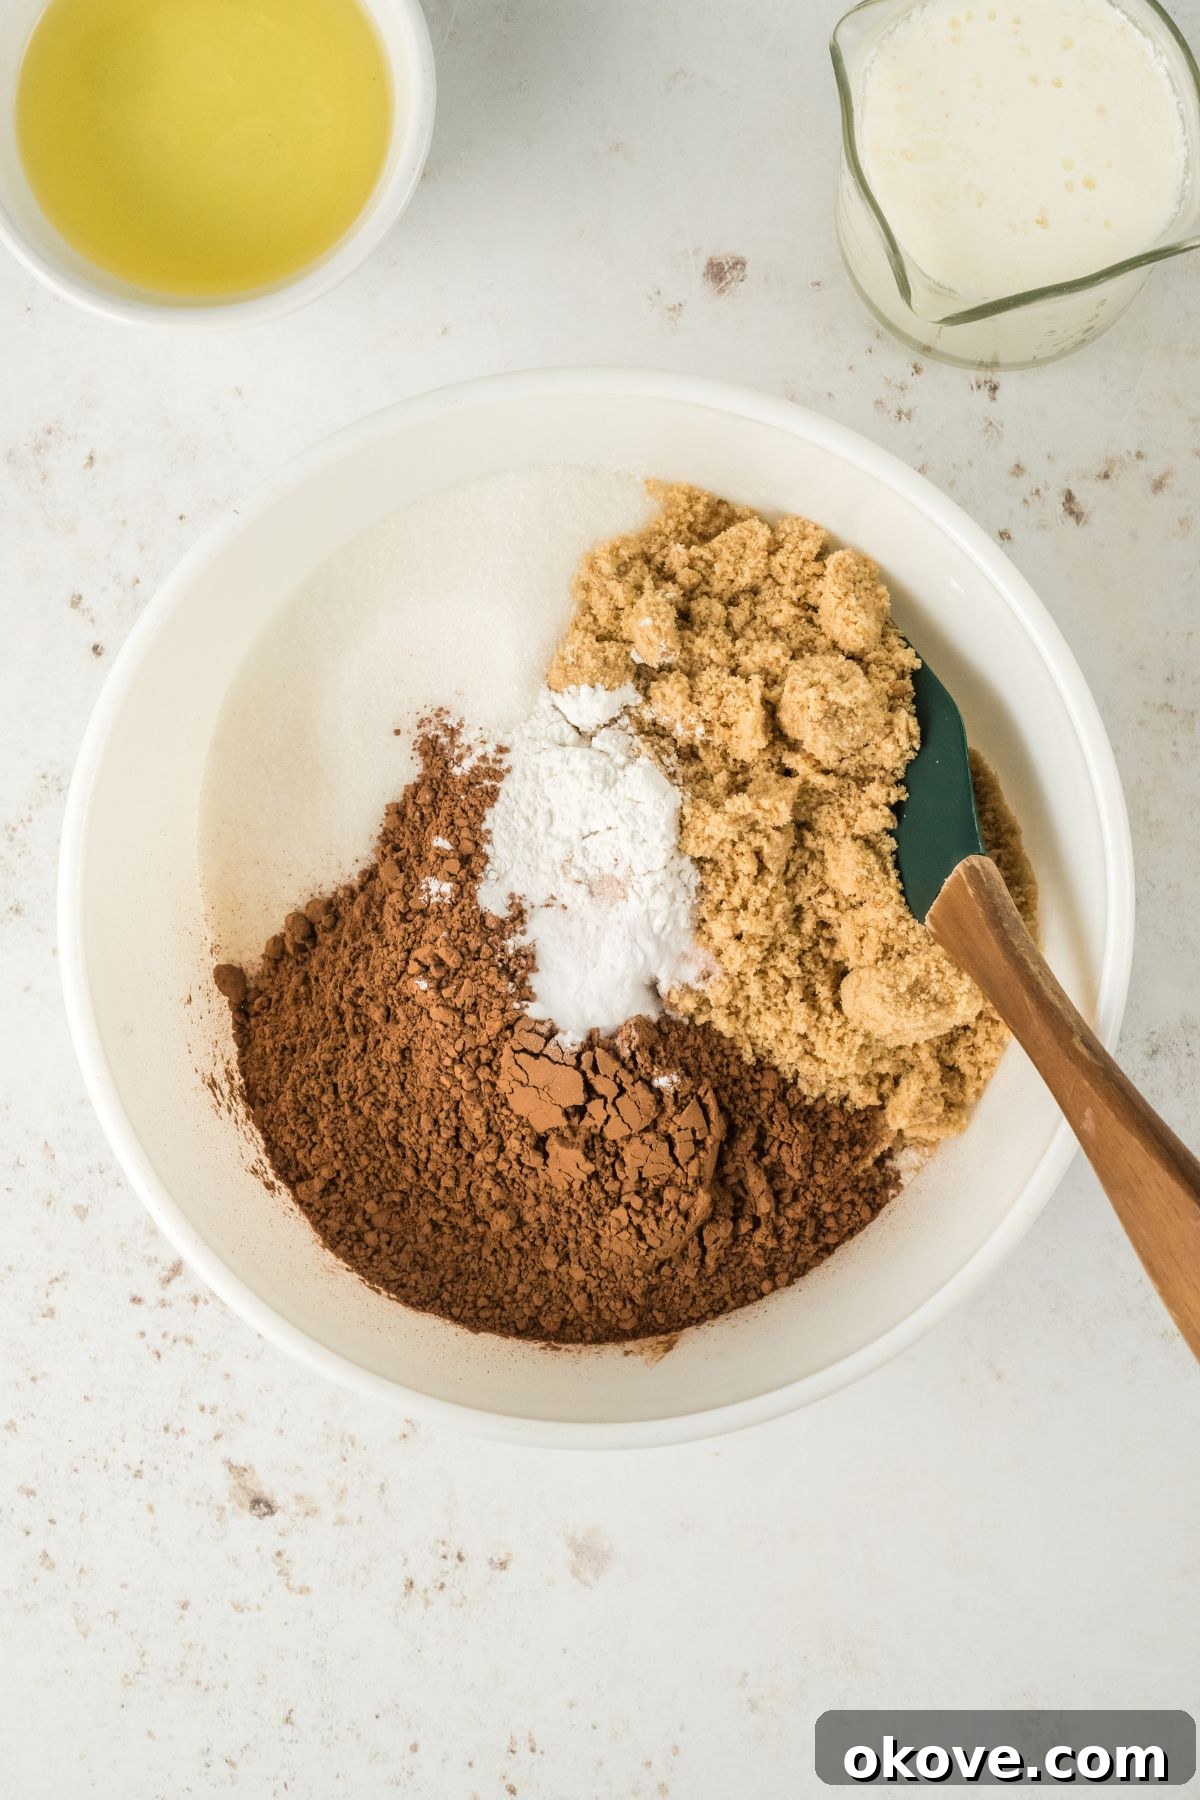
STEP 3. Mix the Batter: Using either a stand mixer fitted with the paddle attachment or a hand mixer, beat the mixture on medium speed until all the ingredients are just combined and smooth. Be careful not to overmix, as this can develop the gluten in the flour too much, leading to a tough cake. Once combined, gradually stir in the boiling water. The batter will become quite thin, which is exactly what we want for an incredibly moist cake.
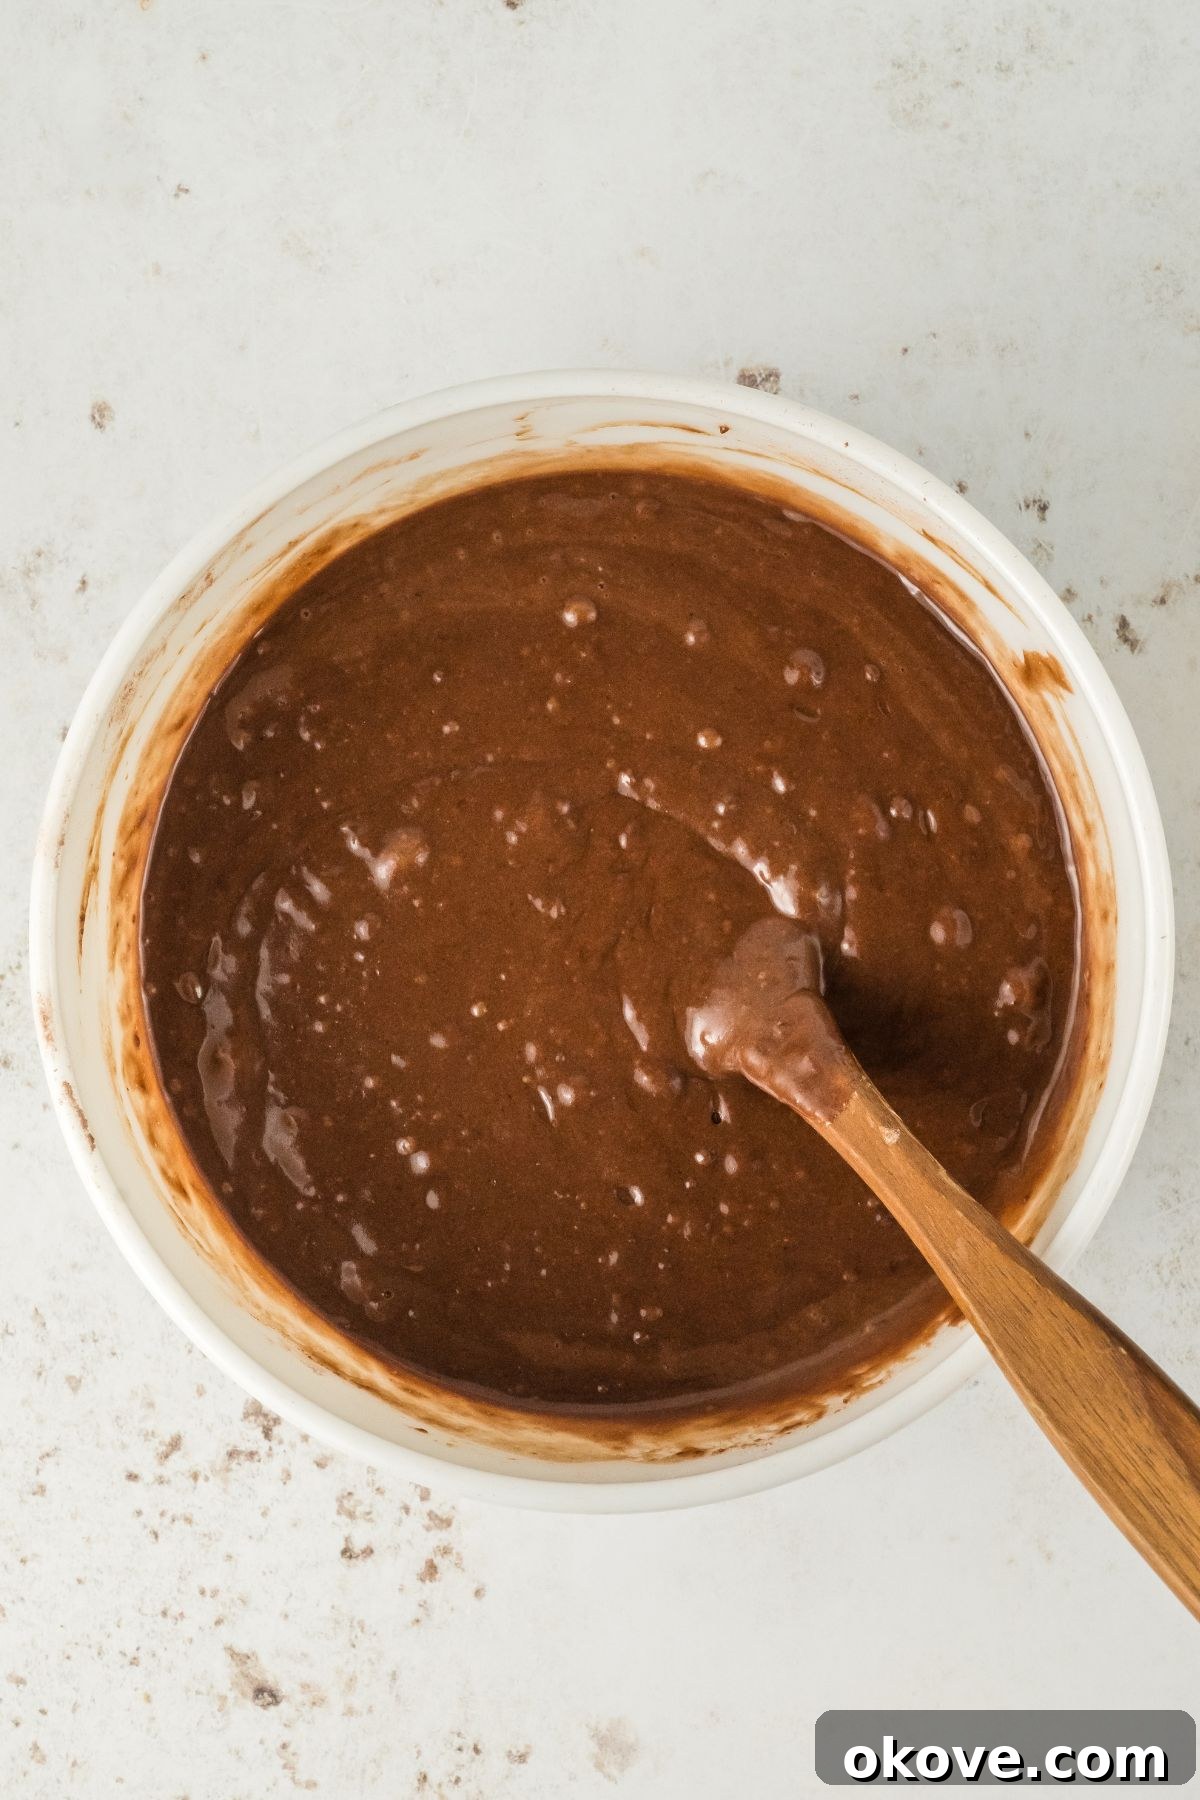
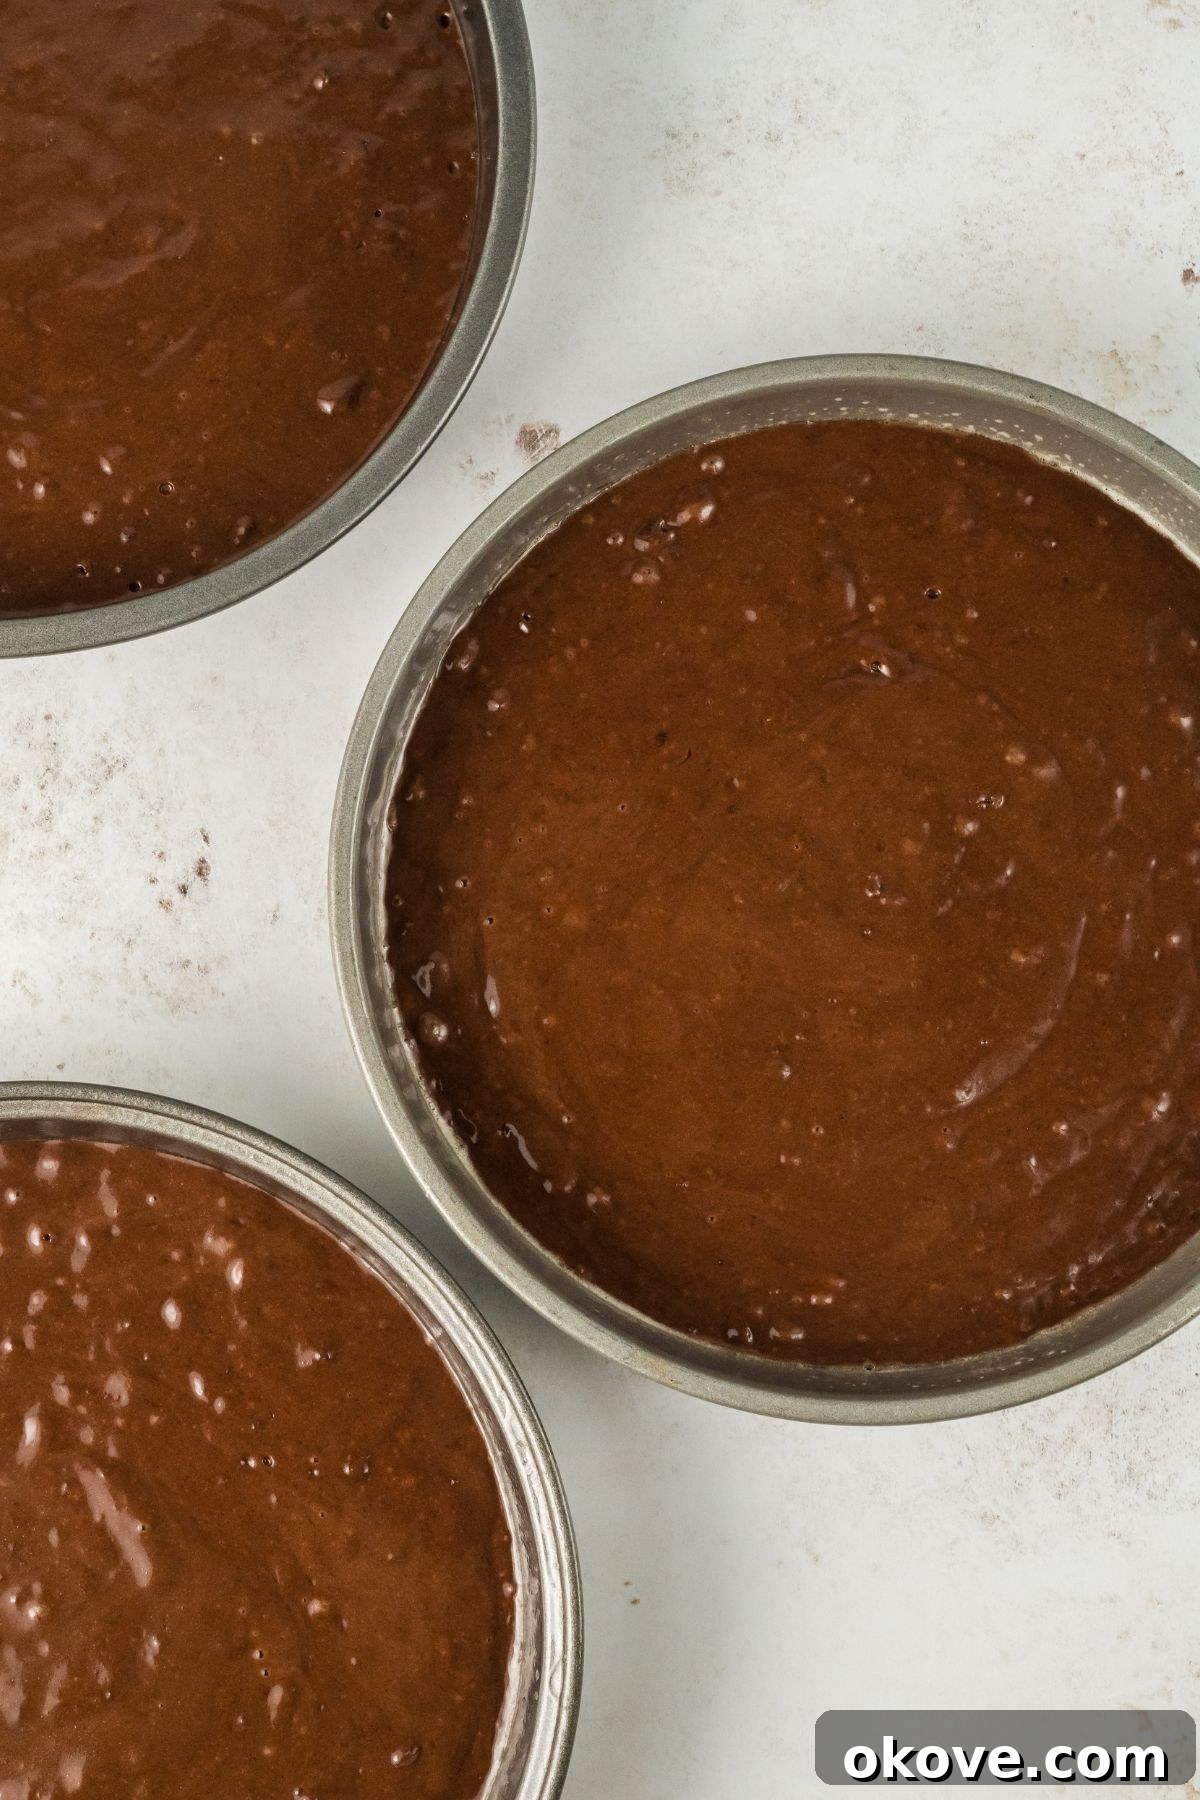
STEP 4. Bake to Perfection: Divide the thin chocolate batter evenly among your three prepared 9-inch cake pans. You can use a kitchen scale for precision to ensure even layers. Bake for approximately 20-23 minutes. Baking times can vary depending on your oven, so check for doneness by inserting a toothpick into the center of a cake layer. If it comes out clean or with a few moist crumbs attached, the cakes are ready.
STEP 5. Cool Completely: Once baked, remove the cake pans from the oven. Let them cool in the pans for about 10-15 minutes before carefully inverting them onto wire racks. Gently peel off the parchment paper. Allow the cake layers to cool completely on the wire racks before you even think about frosting them. Attempting to frost warm cakes will lead to melted frosting and a messy situation!
Whip Up the Creamy Peanut Butter Frosting
This frosting is a dream to work with and even better to taste!
STEP 1. Cream Butter and Peanut Butter: In a large mixing bowl, combine the creamy peanut butter and the softened unsalted butter. Using a stand mixer with a paddle attachment or a hand mixer, beat these two ingredients together on medium speed until the mixture is light, smooth, and well combined. This usually takes about 2-3 minutes, scraping down the sides of the bowl as needed.
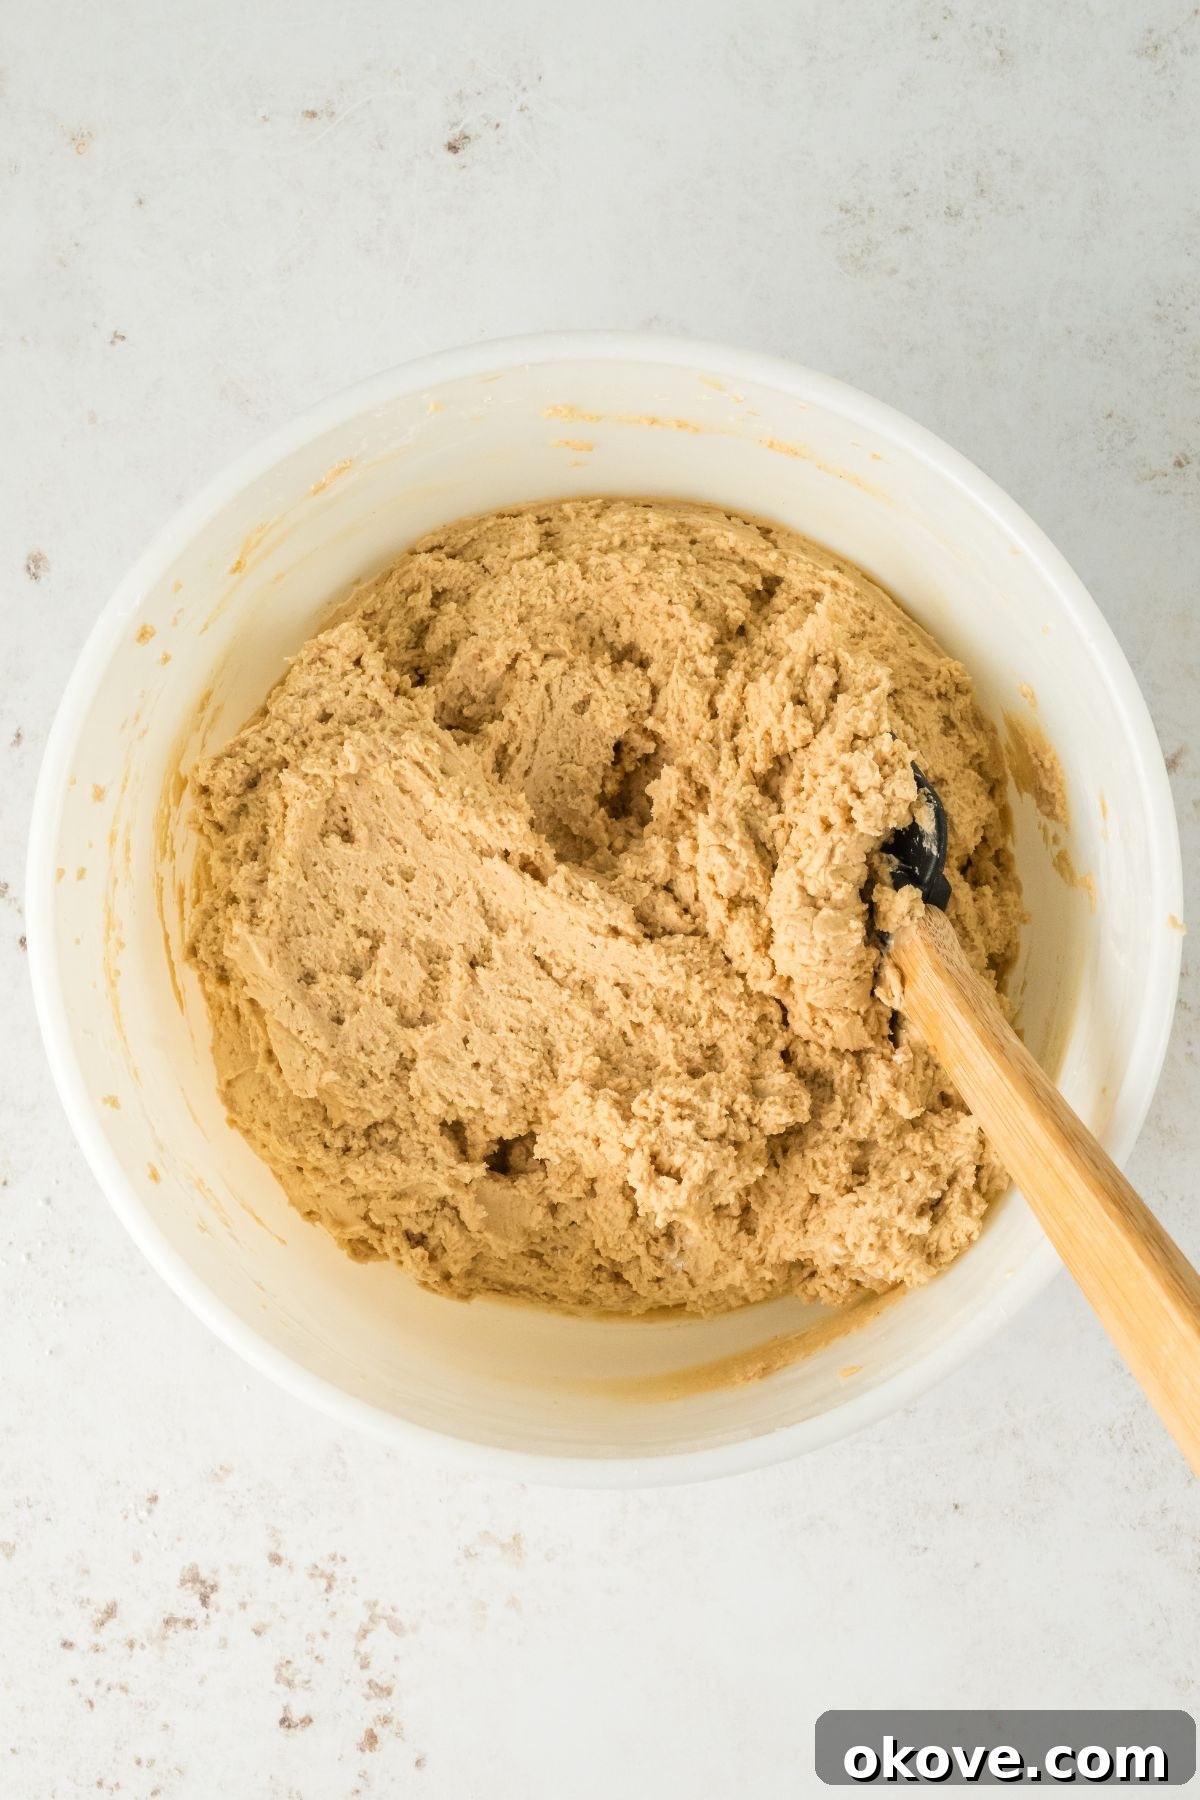
STEP 2. Add Remaining Ingredients: Gradually add the powdered sugar, one cup at a time, beating well after each addition until fully incorporated. The mixture will likely be quite thick at this point. Next, add the milk, vanilla extract, and salt. Continue beating on medium-high speed until the frosting becomes light, fluffy, and incredibly creamy. If the frosting is too thick, add one tablespoon of milk at a time, beating until you reach your desired spreadable consistency. If it’s too thin, you can add a bit more powdered sugar.
Prepare the Silky Chocolate Ganache
This ganache provides a gorgeous finish to your cake.
Combine the semi-sweet chocolate chips and heavy cream in a microwave-safe bowl. Microwave on high for 30-60 seconds. Remove from the microwave and let it sit for about 1 minute to allow the residual heat to melt the chocolate. Then, whisk vigorously until the mixture is completely smooth, shiny, and lump-free. Be patient, it might look like it won’t come together at first, but keep whisking!
Alternatively, to make the ganache on the stovetop, heat the heavy cream in a small saucepan over medium heat until it just begins to simmer around the edges (do not boil). Remove from heat, add the chocolate chips, and let sit for 5 minutes. Whisk until the chocolate is fully melted and the ganache is smooth and glossy. Let the ganache cool slightly at room temperature until it thickens to a pourable, yet viscous consistency – this prevents it from dripping off the cake too quickly.
Assemble Your Three-Layer Masterpiece
This is where all your hard work comes together!
STEP 1. First Layer and Frosting: Place your first cooled chocolate cake layer onto a serving plate or cake stand. Using an offset spatula or knife, evenly spread a generous amount of the creamy peanut butter frosting over the top of this layer, extending almost to the edges.
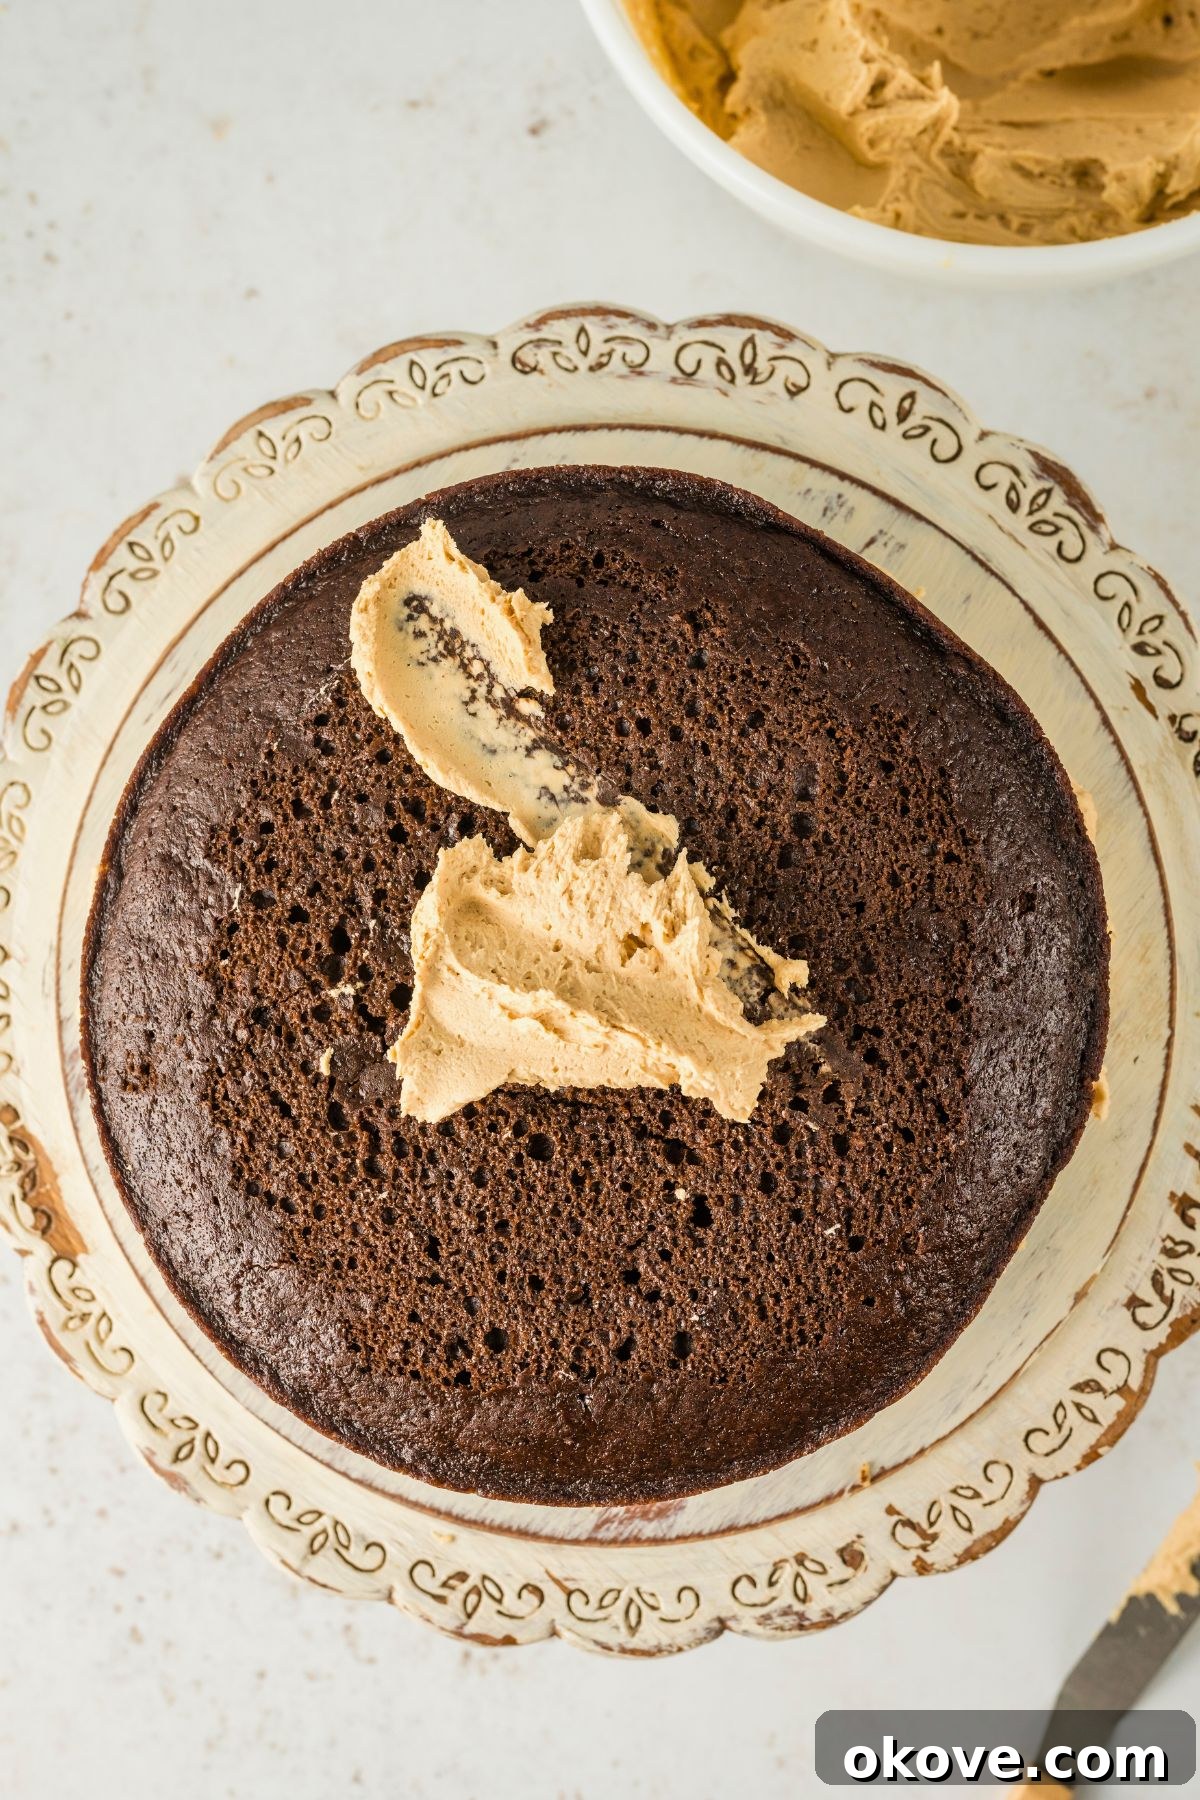
STEP 2. Stack and Frost: Carefully place the second cake layer on top of the first, aligning it as best you can. Repeat the process by spreading another generous layer of peanut butter frosting over the second cake. Finally, add the third and final cake layer. Now, generously frost the top and all the sides of the entire cake with the remaining peanut butter frosting. Use a bench scraper or long offset spatula to smooth the sides and top for a professional finish. For best results and to prevent the ganache from melting the frosting, chill the frosted cake in the refrigerator for 15-30 minutes. This step helps set the frosting.
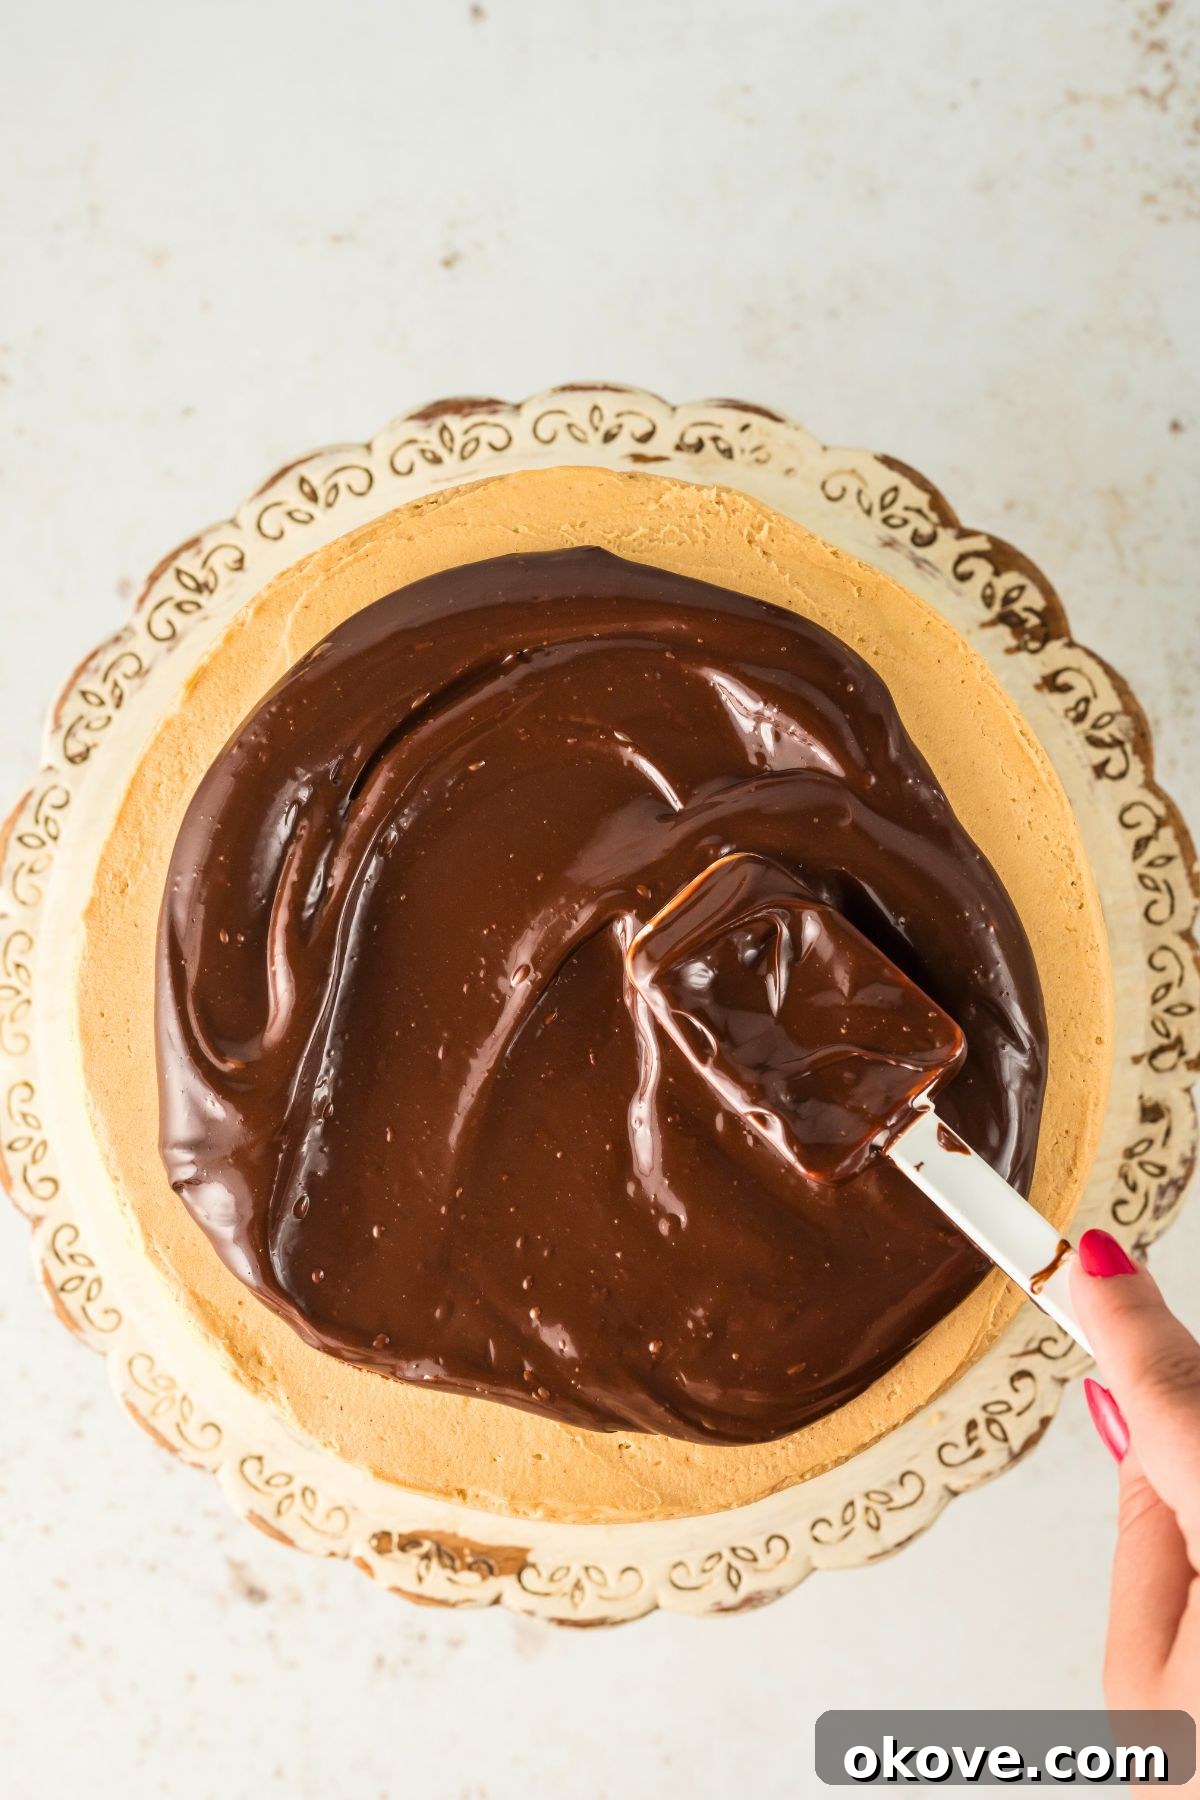
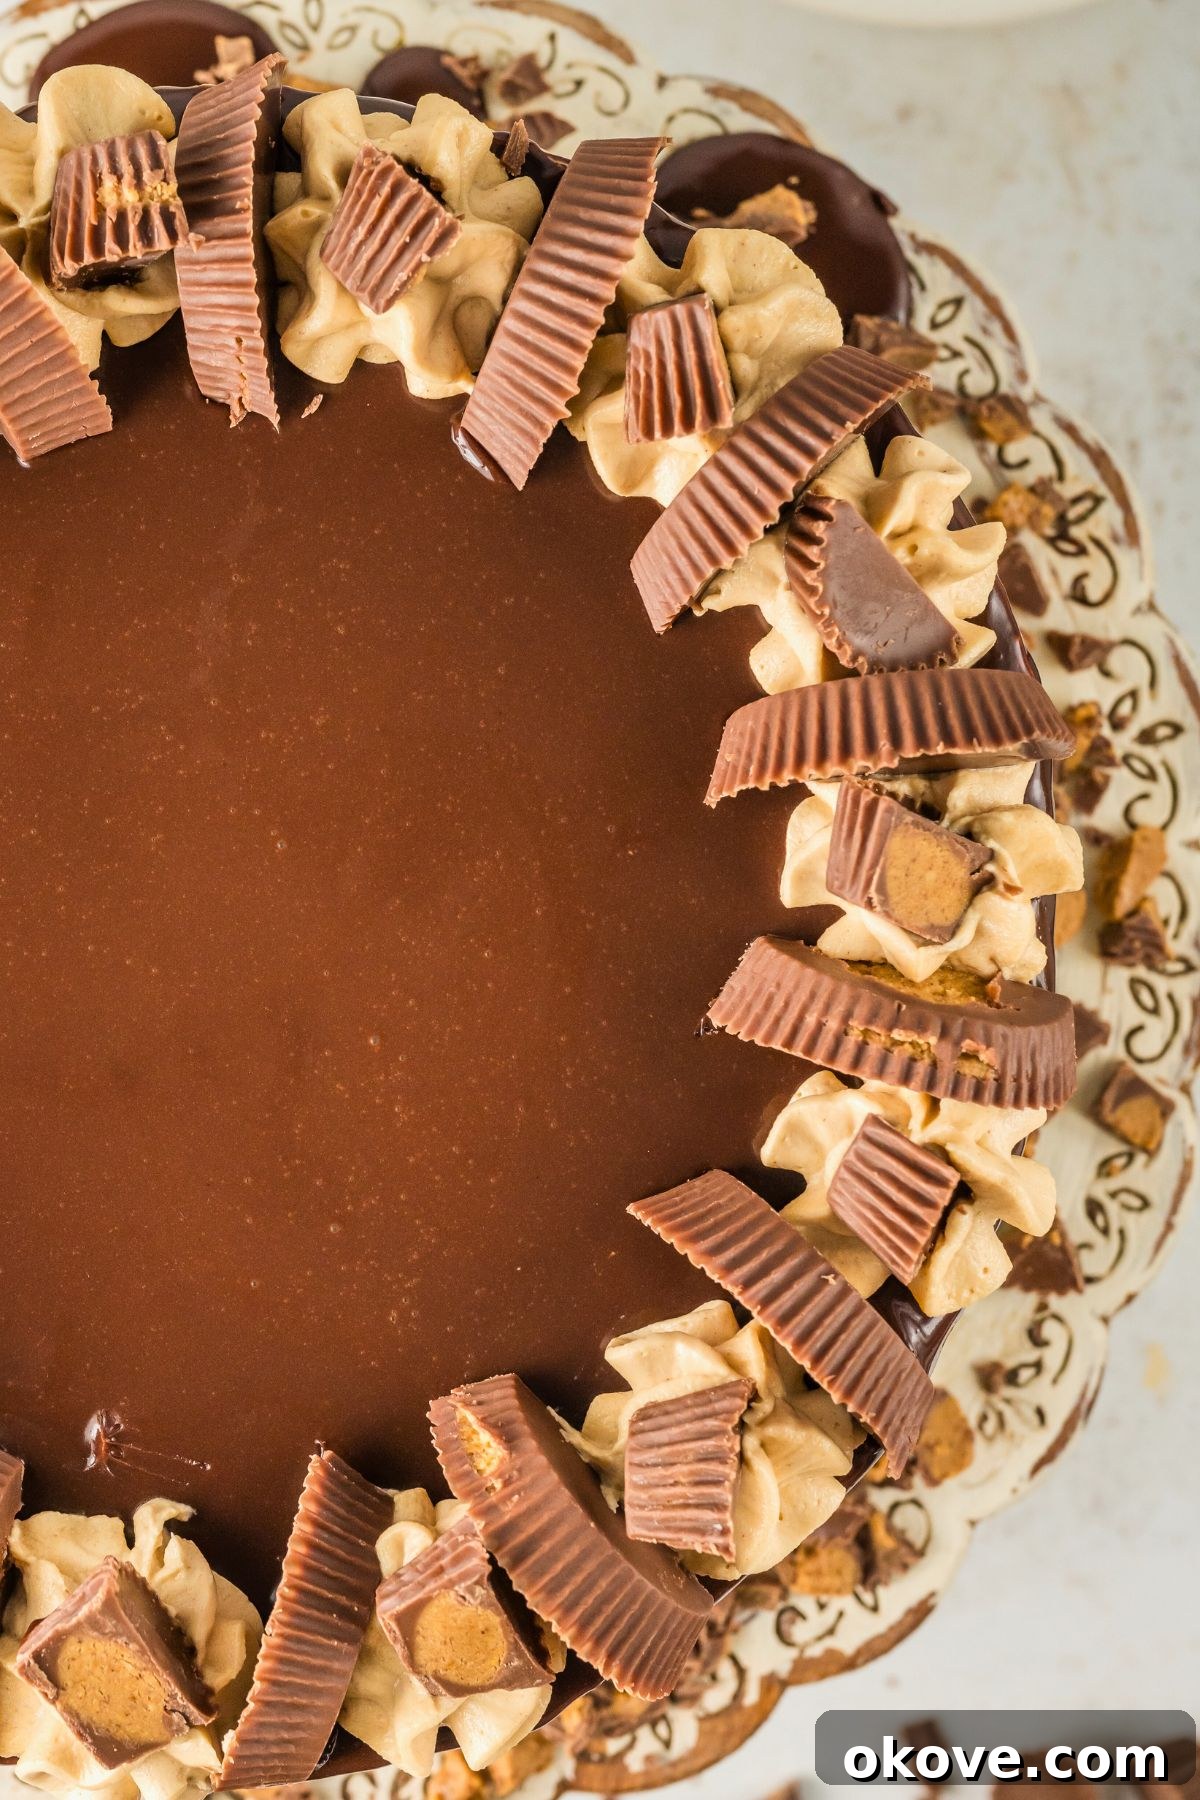
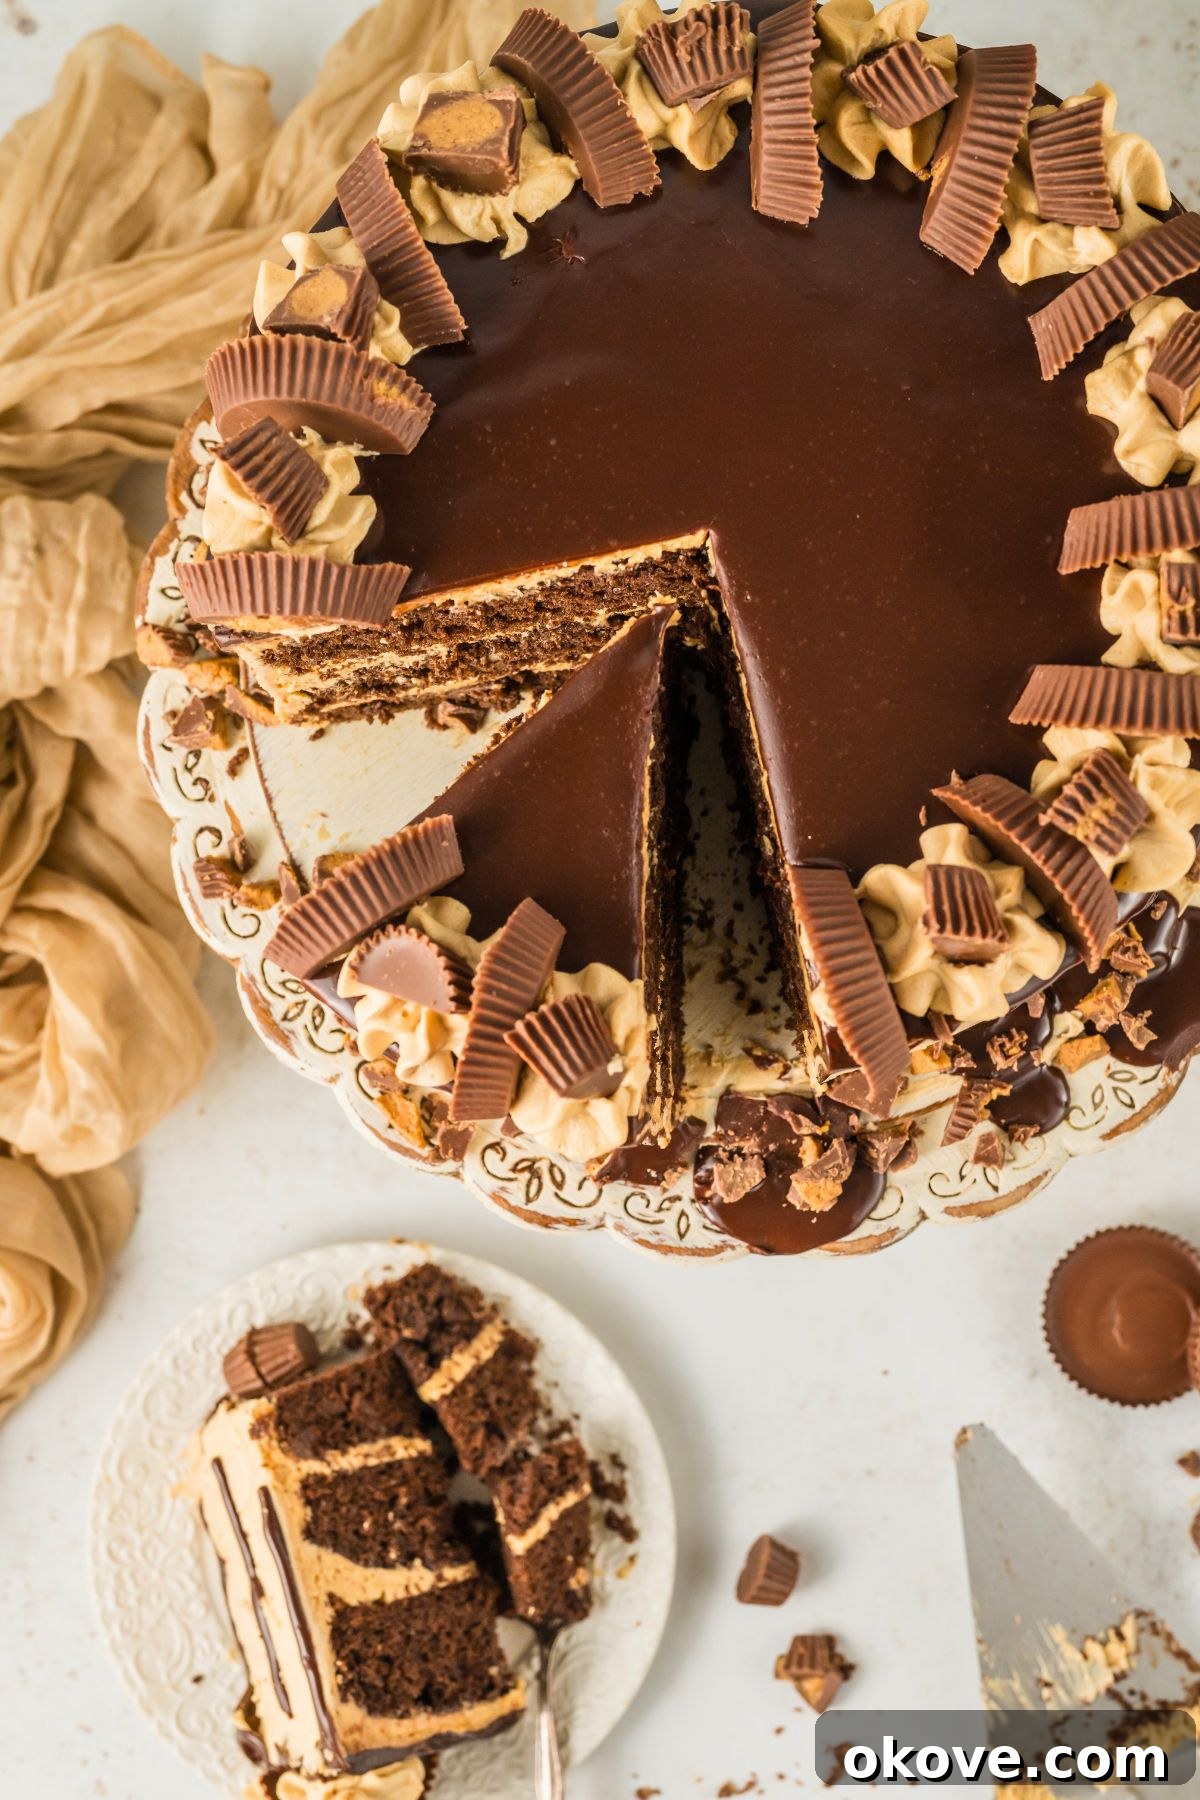
STEP 3. Ganache Drizzle and Garnish: Once the cake is sufficiently chilled and the frosting is firm, it’s time for the show-stopping chocolate ganache. Pour the cooled ganache over the top center of the cake, gently nudging it towards the edges with your spatula or spoon, allowing it to naturally drip down the sides. For a beautiful effect, let gravity do the work. Immediately after drizzling, decorate the top of the cake with chopped peanuts or the halved Reese’s Peanut Butter Cups for an extra layer of flavor and visual appeal. Allow the ganache to set slightly before serving.
Expert Tips for a Flawless Cake
Achieving bakery-level perfection with your homemade chocolate peanut butter cake is within reach with these helpful tips:
- Room Temperature Ingredients are Key: This cannot be stressed enough! Ensure your eggs, butter, and buttermilk are at room temperature. This allows them to emulsify properly, creating a smooth, lump-free batter and a creamy, cohesive frosting. Cold ingredients can result in a lumpy batter and a frosting that separates.
- Chill Before Frosting: Always allow your cake layers to cool completely before applying frosting. A warm cake will melt the frosting, leading to a runny, messy result. Likewise, refrigerate the frosted cake for 15–30 minutes before adding the ganache. This helps set the outer layer of frosting, preventing the warm ganache from melting it.
- The Power of a Crumb Coat: For a professional, smooth finish, apply a thin layer of peanut butter frosting all over the cake (top and sides) – this is called a crumb coat. This thin layer traps any loose crumbs. Chill the cake in the refrigerator for 15-20 minutes until this coat is firm. Then, apply your final, thicker layer of frosting. This technique ensures a perfectly clean and smooth exterior for your cake.
- Measuring Flour Correctly: For accurate results, spoon your all-purpose flour into the measuring cup and then level it off with the back of a knife. Scooping directly from the bag can compact the flour, leading to an excessive amount and a dry cake.
- Don’t Overmix the Batter: Once you’ve added the wet ingredients to the dry, mix only until just combined. Overmixing can develop the gluten in the flour, resulting in a dense, tough cake rather than a tender, fluffy one.
- Even Cake Layers: To ensure your cake layers are perfectly even, use a kitchen scale to divide the batter equally among your three cake pans. This helps them bake uniformly and makes stacking much easier.
- Cooling Rack Essentials: Always transfer your cakes to wire racks to cool. This allows air to circulate around all sides, preventing condensation and soggy bottoms.
Creative Variations to Elevate Your Chocolate Peanut Butter Cake
While this chocolate peanut butter cake is perfect as is, it also serves as an excellent canvas for customization. Here are some delicious ideas to inspire your next baking adventure:
- Salted Caramel Chocolate Peanut Butter Cake: For an extra layer of decadence, spread a thin layer of homemade or store-bought salted caramel sauce over the peanut butter frosting between each cake layer. This adds a wonderful sweet and salty counterpoint.
- Garnish Galore: Beyond the classic Reese’s, consider drizzling extra salted caramel over the chocolate ganache and sprinkling with flaky sea salt for an irresistible sweet-and-salty treat. You could also use mini chocolate chips, chopped roasted peanuts, or even finely crushed pretzels for a salty crunch.
- Amplify the Chocolate: If you’re a true chocoholic, incorporate milk chocolate, dark chocolate, or white chocolate chips directly into the cake batter for an extra burst of chocolaty goodness in every bite. Alternatively, swap out some of the peanut butter frosting for a chocolate-peanut butter buttercream frosting to truly double down on the decadence.
- Add a Nutty Crunch: For those who love texture, sprinkle finely crushed nuts (like peanuts, pecans, or walnuts) over the chocolate ganache while it’s still wet. This adds a delightful crunch and extra nutty flavor.
- Turn into Cupcakes: Adapt this recipe to create individual chocolate peanut butter cupcakes. Divide the batter evenly among cupcake liners, filling each about three-quarters full. Bake at 350°F (175°C) for 18–22 minutes, or until a toothpick comes out clean. Once cooled, pipe the peanut butter frosting on top and drizzle with ganache for a mini version of this spectacular cake. These are perfect for parties or when you want portion control.
- Spice it Up: A pinch of cinnamon or a tiny dash of cayenne pepper in the chocolate cake batter can add an unexpected depth and warmth that pairs beautifully with chocolate.
- Peanut Butter Drip: Instead of a full ganache drizzle, create a peanut butter drip! Thin out some creamy peanut butter with a little warm milk or cream until it’s a pourable consistency, then drizzle it over the chocolate ganache for a striking two-tone drip effect.
Frequently Asked Questions About Chocolate Peanut Butter Cake
Here are answers to some common questions you might have while baking this delicious cake:
Absolutely! This cake is excellent for making ahead. You can bake the chocolate cake layers up to 2 days in advance. Once completely cooled, wrap each layer tightly in plastic wrap and store them at room temperature. You can then assemble and frost the cake when you’re ready to serve. Once fully frosted, the cake can be stored in an airtight container in the refrigerator for 2-3 days. For longer storage, unfrosted cake layers can be wrapped tightly and frozen for up to 3 months. Thaw them overnight in the refrigerator before frosting.
Buttermilk is crucial for making the cake incredibly moist and enhancing its flavor, especially when reacting with baking soda. If you don’t have buttermilk on hand, it’s easy to make a substitute. For 1 cup of buttermilk, simply measure 1 cup of regular milk (dairy or non-dairy works) and stir in 1 tablespoon of lemon juice or white vinegar. Let the mixture sit for about 5-10 minutes until it slightly curdles. This DIY buttermilk will work perfectly in the recipe.
The key to a beautiful ganache drizzle is allowing it to cool slightly so it thickens to a pourable but viscous consistency. If it’s too hot and thin, it will run off the cake too quickly. Once it reaches the right consistency, you have a few options: Use a spoon to carefully drizzle it around the top edges of the chilled cake, allowing gravity to create natural drips down the sides. For more control, transfer the ganache to a piping bag (or a Ziploc sandwich bag with a small corner snipped off) and pipe it around the edges, letting it drip as desired, then fill in the top. Practice makes perfect!
Store the frosted cake or any leftover slices in an airtight container to keep it fresh. It will keep well in the refrigerator for up to 5 days. If you want to store it for longer, you can freeze the cake (either frosted or unfrosted). Wrap it tightly first in plastic wrap, then in aluminum foil, ensuring no air can get in. It can be frozen for up to 3 months. When you’re ready to enjoy it, thaw the cake overnight in the refrigerator before bringing it to room temperature for serving.
Explore More Decadent Dessert Recipes
If you loved this ultimate chocolate peanut butter cake, you’ll surely enjoy these other delightful dessert creations. Expand your baking repertoire with more sweet treats!
Desserts
Homemade Thin Mint Cookies
Desserts
Peanut Butter Balls
Desserts
Homemade Pie Crust
Desserts
Pecan Pie Recipe
Chocolate Peanut Butter Cake
Rebecca
12
1 hour
20 minutes
15 minutes
1 hour 35 minutes
Share by Email
Print Recipe
Equipment
-
Cake Pans (three 9-inch round)
-
Large Mixing Bowl
-
Stand Mixer or Hand Mixer
-
Microwave Safe Bowl (for ganache)
-
Wire Racks (for cooling)
-
Offset Spatula (for frosting)
Ingredients
For the Chocolate Cake Layers:
-
2 1/4 cups all-purpose flour -
1 cup granulated sugar -
1 cup packed brown sugar -
1 cup dark cocoa powder -
1 1/2 teaspoons baking powder -
1 teaspoon baking soda -
1 teaspoon salt -
1/2 cup unsalted butter, melted -
2/3 cup vegetable oil -
1 cup buttermilk -
3 large eggs, room temperature -
2 teaspoons vanilla extract -
3/4 cup boiling water
For the Topping:
-
Reese’s Peanut Butter Cups, cut in half (for decoration)
For the Creamy Peanut Butter Frosting:
-
1 cup unsalted butter, softened -
2 cups creamy peanut butter -
4 cups powdered sugar -
2 tablespoons milk -
2 teaspoons vanilla extract, may need 1-2 extra tablespoons -
1/2 teaspoon salt
For the Chocolate Ganache:
-
1/2 cup semi-sweet chocolate chips -
1/2 cup heavy cream
Instructions
Directions for the Chocolate Cake Layers:
-
Preheat your oven to 350°F (175°C) and grease three 9-inch round cake pans. Line the bottoms of each pan with parchment paper for easy release.
-
In a large mixing bowl, whisk together the flour, granulated sugar, brown sugar, cocoa powder, baking powder, baking soda, and salt until well combined.
-
Add the buttermilk, vegetable oil, melted butter, room temperature eggs, and vanilla extract to the dry ingredients. Use a stand mixer or hand mixer on medium speed to mix until just combined.
-
Gradually stir in the boiling water. The batter will be thin, which is normal for this recipe and contributes to a moist cake. Divide the batter evenly between the prepared pans. Bake for 20-25 minutes, or until a wooden skewer or toothpick inserted into the center comes out clean.
-
Remove the cakes from the oven and let them cool in the pans for about 10-15 minutes. Then, carefully invert them onto wire racks to cool completely before frosting.
Directions for the Creamy Peanut Butter Frosting:
-
In a large bowl, using an electric mixer, beat the creamy peanut butter and softened unsalted butter together until smooth and well combined.
-
Gradually add the powdered sugar, one cup at a time, mixing well after each addition. The mixture will be thick.
-
Add the milk, vanilla extract, and salt. Beat on medium-high speed until the frosting is light, fluffy, and reaches your desired spreadable consistency. If it’s too thick, add an additional tablespoon of milk at a time.
To Make the Silky Chocolate Ganache:
-
Add the heavy cream and semi-sweet chocolate chips to a microwave-safe bowl. Microwave for 30-60 seconds, then let sit for 1 minute before whisking until the chocolate is completely melted and the ganache is smooth and shiny. Let it cool slightly to thicken before drizzling.
To Assemble Your Cake:
-
Place one cooled cake layer on your serving plate or cake stand. Evenly spread a generous amount of peanut butter frosting on top.
-
Carefully add the second cake layer and frost the top. Then, place the third layer, and use the remaining frosting to generously coat the top and all the sides of the cake. Smooth with an offset spatula.
-
Chill the frosted cake in the refrigerator for 15-30 minutes to set the frosting. Once chilled, pour the cooled chocolate ganache over the top, gently nudging it to drip down the sides for a beautiful effect. Immediately sprinkle with chopped peanuts or the halved Reese’s Peanut Butter Cups for decoration. Serve and enjoy!
Notes
Nutrition
Carbohydrates: 136g
Protein: 20g
Fat: 67g
Saturated Fat: 26g
Polyunsaturated Fat: 14g
Monounsaturated Fat: 22g
Trans Fat: 1g
Cholesterol: 122mg
Sodium: 816mg
Potassium: 545mg
Fiber: 7g
Sugar: 83g
Vitamin A: 963IU
Vitamin C: 0.1mg
Calcium: 214mg
Iron: 5mg
Nutrition information is automatically calculated, so should only be used as an approximation.
Additional Information
Cakes, Dessert
American
Tried this recipe?
Mention @celebratingsimplyrecipes or tag #celebratingsimplyrecipes!