
Effortless Toddler Meals: 4 Favorite Freezer-Friendly Lunch Ideas
As parents, we’re constantly searching for smart ways to simplify daily routines without compromising on nutrition for our little ones. One of my top hacks for busy weekdays is stocking the freezer with pre-made, healthy toddler meals. This strategy transforms mealtime from a daily scramble into a seamless experience, freeing up precious time for other activities or much-needed breaks. Batch cooking and freezing means you don’t have to cook from scratch every single day, which is a true game-changer for maintaining sanity in a bustling household.
I’m thrilled to share four of my absolute favorite freezer-friendly lunch ideas for toddlers that I rely on to keep our freezer well-stocked. These aren’t just easy; they’re genuinely delicious, versatile, and designed to make your life significantly easier. Each recipe below includes simple instructions, serving suggestions, and tips for optimal freezing and reheating. Get ready to embrace the convenience and enjoy more relaxed mealtimes!
Why Freezer Meals Are a Parent’s Best Friend
Freezer meals offer a multitude of benefits for parents of toddlers, extending beyond just saving time. They contribute to a more organized kitchen, reduce food waste, and ensure that nutritious options are always on hand, even on the busiest days. When you prepare meals in advance and freeze them, you’re investing in your future self – no more last-minute cooking stress or resorting to less healthy takeout options. This approach also allows for greater control over ingredients, ensuring your toddler gets a balanced diet tailored to their needs, free from excessive salt, sugar, or preservatives often found in store-bought alternatives.
Moreover, freezer meals can be a lifesaver when dealing with picky eaters. By offering a variety of pre-made options, you can cater to their changing preferences and ensure they’re still getting a wholesome meal. They’re also perfect for introducing new textures and flavors gradually. Think about the joy of simply pulling a nutritious, homemade meal from the freezer, warming it up, and serving it, all within minutes. It’s truly a game-changer for anyone navigating the delightful chaos of toddlerhood.
General Tips for Freezing and Reheating Toddler Meals
- Portion Control is Key: Freeze meals in individual toddler-sized portions. This makes thawing and reheating quick and prevents food waste. Small containers, muffin tins (for smaller items like pinwheels), or freezer-safe bags are ideal.
- Cool Completely Before Freezing: Always allow cooked food to cool down to room temperature before placing it in the freezer. This prevents ice crystals from forming and maintains food quality.
- Use Air-Tight Containers: Air is the enemy of frozen food! Use freezer-safe containers or bags that seal tightly to prevent freezer burn and maintain freshness. Remove as much air as possible from bags.
- Label Everything: Don’t underestimate the importance of clear labels. Include the meal name and the date it was prepared. Most toddler freezer meals are best consumed within 1-3 months.
- Thawing Safely: For best results and food safety, transfer frozen meals to the refrigerator to thaw overnight. For quicker thawing, use the microwave on a defrost setting or place the sealed container in a bowl of cold water.
- Reheating: Reheat until piping hot throughout. Microwaves are quick, but ovens or stovetops can also be used depending on the dish. Always check the internal temperature before serving to your toddler.
- Batch Cooking Efficiency: When you decide to make one of these recipes, double or triple the batch. This maximizes your effort and ensures you have a good supply of grab-and-go meals.
#1: Delicious Bean and Cheese Burritos for Toddlers
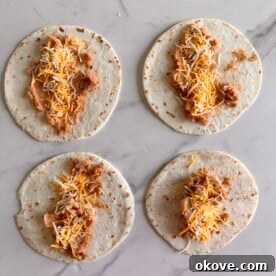
These basic bean and cheese burritos are an absolute hit with toddlers and remarkably versatile. They’re fantastic for freezing, making them a go-to option for a quick, wholesome lunch or dinner. You can easily customize them with extra ingredients to suit your toddler’s preferences, such as finely diced bell peppers or corn. I love serving them with a side of fluffy rice, fresh tomato slices, or creamy avocado for a complete and satisfying meal. The beauty of these burritos lies in their simplicity and the ease with which they can be prepared in bulk.
For assembly, I typically opt for fajita-sized flour tortillas, which are perfect for little hands. Using canned refried beans makes this recipe even faster; just warm them up slightly before spreading to ensure an even consistency. You can prepare a large batch of these burritos in one go and store them in the freezer for up to three months, ensuring you always have a healthy meal option ready.
Bean and Cheese Burritos
Cook: 10 mins
Servings: 6 burritos
Ingredients
- 1 can refried beans (about 15-16 oz)
- 1 cup shredded cheddar cheese
- 6 flour tortillas (fajita size recommended)
Instructions
- Transfer the refried beans to a microwave-safe bowl. Warm them in the microwave for approximately 30 seconds to 1 minute, or until slightly softened and easy to spread. This step ensures an even distribution within the tortilla.
- Lay each tortilla flat on a clean surface. On one side of each tortilla, spread a generous layer of the warmed refried beans. Sprinkle about 2-3 tablespoons of shredded cheddar cheese over the beans.
- Starting from the side with the filling, carefully roll the tortilla up tightly, tucking in the sides as you go, to form a compact burrito.
- Place the rolled burritos in a non-stick pan on the stove over medium heat. Cook each side for a few minutes, until the tortilla is lightly browned and the burrito holds its shape firmly. This also helps to melt the cheese and seal the burrito.
- Serve immediately for a fresh meal, or allow to cool completely before storing in the freezer.
To Defrost and Reheat
- Remove a frozen burrito from the freezer. Microwave for about 30 seconds to begin defrosting, then continue heating in 15-20 second intervals until thoroughly warmed through. Alternatively, you can thaw overnight in the refrigerator and then warm in the microwave or a pan.
Nutrition information is automatically calculated, so should only be used as an approximation.
Additional Info
Cuisine: Mexican
#2: Quick and Customizable Mini Pizzas
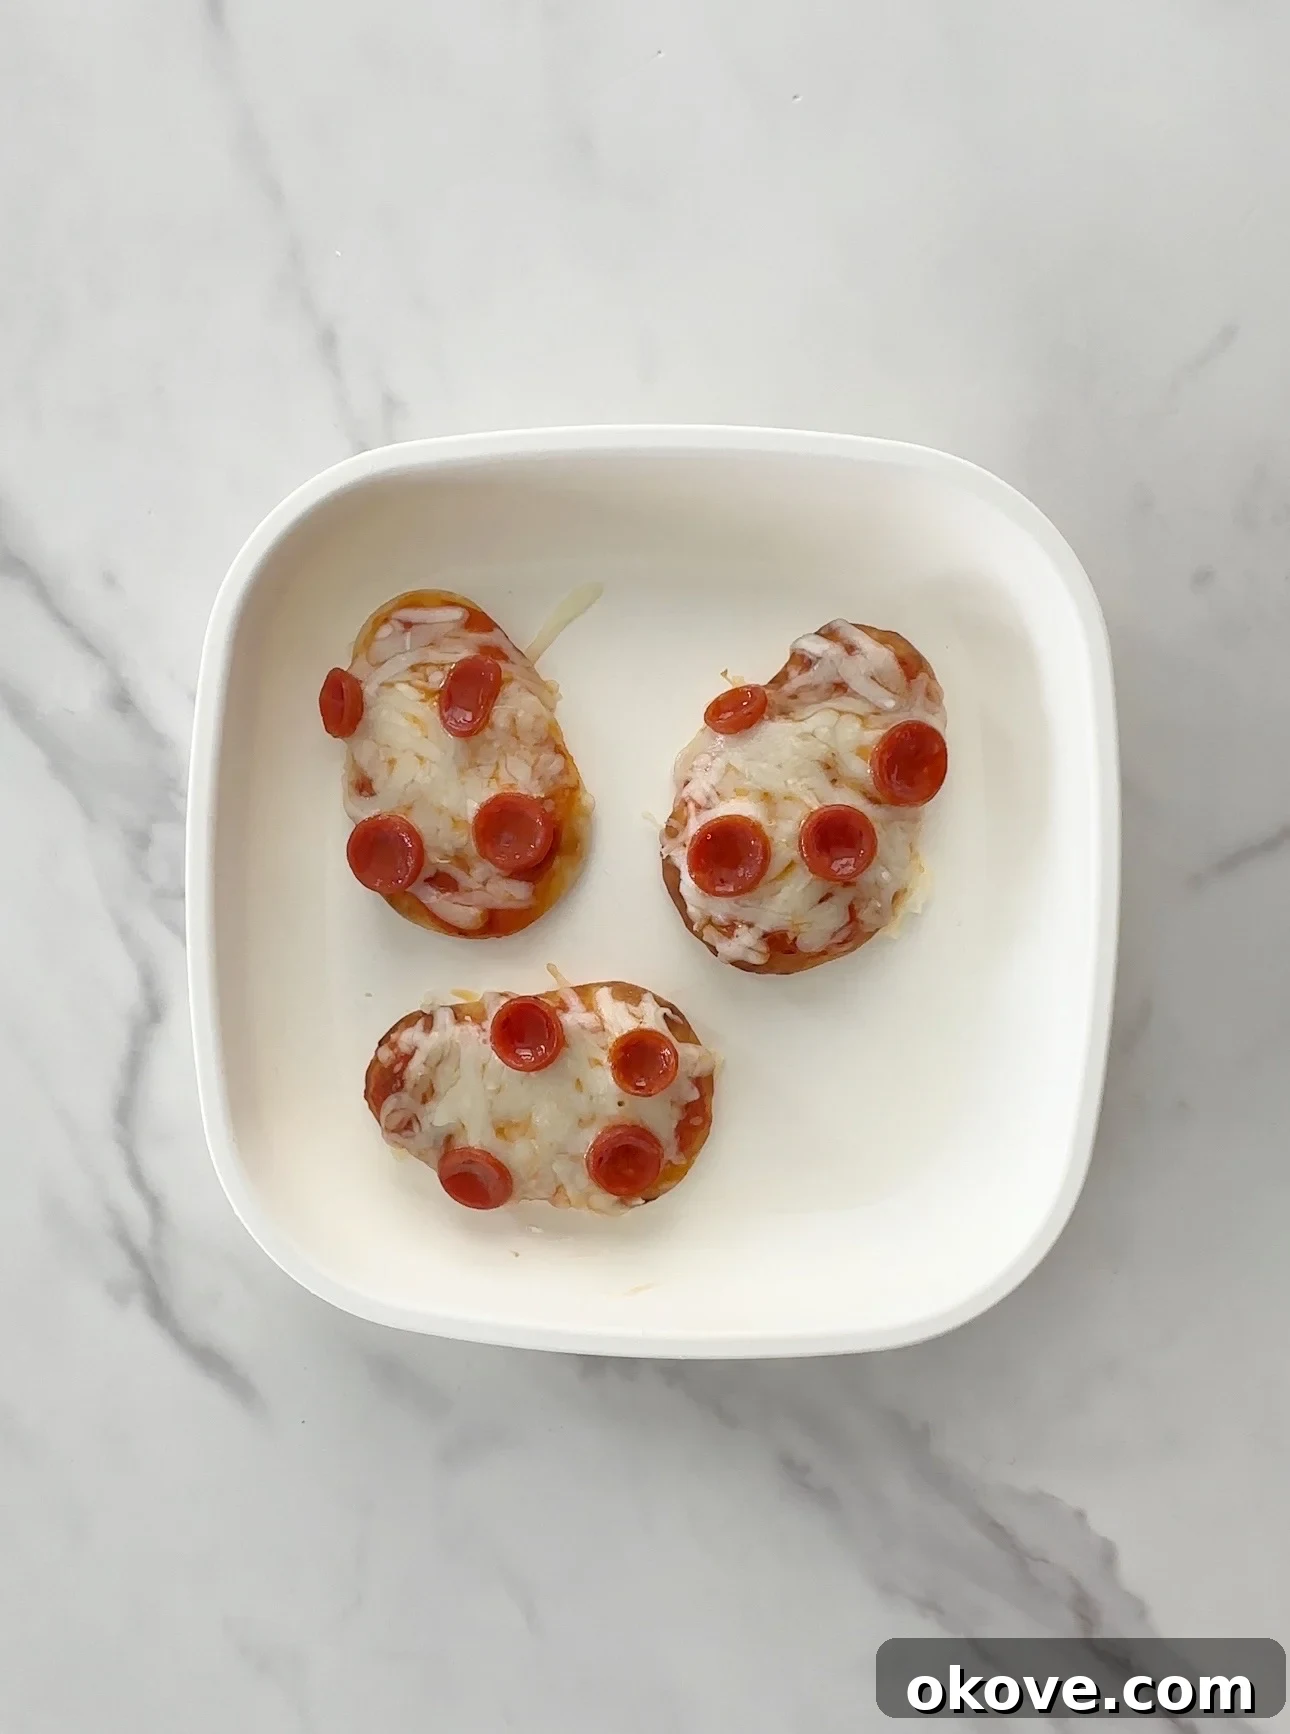
Pizza is an incredibly versatile and perpetually popular lunch choice, making it ideal for toddlers due to its adaptability to various toppings. The possibilities are endless, allowing you to get creative with flavors and ingredients. For a clever way to sneak in extra vegetables, try blending pureed carrots into your pizza sauce – your little one won’t even taste the difference! I also frequently add fresh spinach leaves on top of our mini pizzas before baking, which wilts down and adds a nutritional boost.
My secret for these mini pizzas is using store-bought mini naan dippers as the base. They’re perfectly sized for toddlers and bake up beautifully. If naan isn’t available, don’t worry! You can easily substitute with sliced bagels, normal bread, or even larger tortillas cut into smaller rounds. This flexibility means you can always whip up these delightful mini pizzas with whatever you have on hand, making them an excellent choice for a freezer meal prep day.

Mini Pizzas
Cook: 5 mins
Servings: 4 pizzas
Ingredients
- 8 mini naan dippers (or alternative bases like bagels, bread, or tortillas)
- 1 jar pizza sauce (approximately 15 oz)
- 2 cups shredded mozzarella cheese
- Optional Toppings: pepperoni, cooked finely chopped spinach, finely diced onion, cooked mushrooms, etc.
Instructions
- Preheat your oven to 350 degrees F (175 degrees C). Prepare a baking sheet by lining it with parchment paper for easy cleanup.
- Place the naan dippers (or chosen base) on the prepared baking sheet. Spread a generous amount of pizza sauce over each base, leaving a small border for the crust.
- Evenly distribute the mozzarella cheese over the sauce. Now is the time to add any desired toppings, such as small pieces of pepperoni, finely chopped spinach, or other child-friendly vegetables.
- Bake in the preheated oven for 5-7 minutes, or until the cheese is thoroughly melted, bubbly, and the crusts are lightly golden. Keep a close eye on them to prevent overbrowning.
- Allow to cool slightly before serving. For freezing, cool completely then store.
To Defrost and Reheat
- To reheat from frozen, microwave a mini pizza for approximately 30 seconds, then continue heating in short bursts until warmed through. Alternatively, you can reheat in a toaster oven or conventional oven at 350°F (175°C) for 5-10 minutes, or until cheese is melted and crust is crispy again.
Nutrition information is automatically calculated, so should only be used as an approximation.
Additional Info
Cuisine: American
#3: Fun and Fast Sandwich Roll-Ups
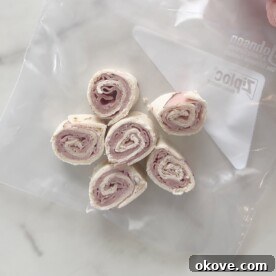
Sandwich roll-ups are an incredibly fun and appealing meal for toddlers, transforming a standard sandwich into an exciting, bite-sized treat. While there are countless variations you can create and freeze, these classic deli meat and cheese roll-ups are my absolute favorite for their simplicity and universal appeal. They are perfect for a grab-and-go lunch; just pull them out of the freezer in the morning, and by lunchtime, they’ll be perfectly defrosted and ready for your little one to enjoy. The rolling method makes eating sandwiches a much more engaging experience for kids, often encouraging them to try new fillings!
If you don’t have tortillas on hand, don’t worry – you can still make a similar version using regular bread. Simply flatten the bread slices with a rolling pin before assembling and rolling. This makes them just as fun and delicious. These roll-ups are not only a hit with children but also a fantastic solution for parents seeking quick, minimal-fuss meal options that can be prepped in advance.
Sandwich Roll Ups
Servings: 4 servings
Ingredients
- 1 pack flour tortillas (medium-sized)
- 1 pack deli meat (e.g., turkey, ham, or chicken breast, low sodium preferred for toddlers)
- 1 pack sliced cheese (e.g., cheddar, provolone, or American cheese)
- Mayonnaise and mustard (optional, to taste)
Instructions
- Lay a tortilla flat on a clean surface. If desired, spread a thin layer of mayonnaise and/or mustard over the entire surface of the tortilla.
- Place 1-2 slices of your chosen deli meat evenly over the tortilla, followed by 1-2 slices of cheese. Ensure the fillings cover most of the tortilla, leaving a small edge.
- Starting from one edge, tightly roll up the tortilla, creating a compact log. Press gently to seal.
- Using a sharp knife, slice the rolled-up tortilla into approximately 1/2-inch to 1-inch pieces (often called “pinwheels”). Arrange them neatly.
- Once all roll-ups are prepared, place them in a freezer-safe zip-top bag or air-tight container. They can be stored in the freezer for up to 3 months.
To Defrost and Reheat
- Take the desired number of roll-ups out of the freezer. You can microwave them for about 15-20 seconds to quickly defrost and warm slightly. Alternatively, and ideal for packed lunches, remove them from the freezer in the morning and let them thaw at room temperature for a few hours. They will be perfectly defrosted and ready to eat by lunchtime!
Nutrition information is automatically calculated, so should only be used as an approximation.
Additional Info
Cuisine: American
#4: Irresistible Broccoli Cheese Pinwheels
These broccoli cheese pinwheels are a resounding favorite in our household, consistently earning rave reviews from both toddlers and adults alike! They are incredibly yummy, surprisingly easy to prepare, and best of all, they’re absolutely perfect for meal prepping and freezing. These savory, flaky bites pack a delightful combination of cheesy goodness and hidden veggies, making them an excellent way to introduce broccoli to even the most discerning eaters. The simplicity of using crescent roll dough makes them a quick and satisfying project that yields delicious results. You truly need to give these a try today!
Their convenient size and appealing spiral shape make them a fun finger food for toddlers, while the creamy, cheesy filling ensures they are packed with flavor. Whether you serve them warm from the oven or reheated from the freezer, these pinwheels are guaranteed to be a hit. They’re also highly adaptable; feel free to experiment with different cheeses or add other finely chopped vegetables to the mix.

Broccoli Cheese Pinwheels
Flaky, cheesy, and packed with broccoli, these Broccoli Cheese Pinwheels make a delicious, easy meal the whole family will love!
Cook: 15 mins
Servings: 4 servings
Equipment
- Calphalon Self-Sharpening Knife Set
- Nordic Ware Baking Sheets
Ingredients
- 1 can (8 oz) crescent roll dough
- 4 oz cream cheese, softened
- 1 cup chopped steamed broccoli (fresh or frozen, thawed)
- 1 cup shredded cheddar cheese
Instructions
- Preheat your oven to 350 degrees F (175 degrees C). Line a baking sheet with parchment paper to prevent sticking.
- Carefully unroll the crescent roll dough onto the prepared baking sheet. Gently press the seams together to form a solid rectangular sheet of dough, ensuring there are no gaps.
- Spread the softened cream cheese evenly over the entire surface of the crescent roll dough.
- Distribute the chopped steamed broccoli over the layer of cream cheese. If using frozen broccoli, ensure it is fully thawed and drained of any excess water before adding.
- Generously sprinkle the shredded cheddar cheese over the broccoli layer. You can adjust the amount to your preference.
- Starting from one of the longer ends, carefully and tightly roll up the entire dough sheet into a log.
- Using a sharp knife, slice the rolled log into approximately 1-inch thick pinwheels. Place these pinwheels onto the prepared baking sheet, leaving a small space between each.
- Bake for 15-18 minutes, or until the crescent roll dough is cooked through, golden brown, and the cheese is melted and bubbly.
Notes
After cooling completely, you can store these pinwheels in an air-tight container in the refrigerator for up to 3 days. For longer storage, freeze them in a zip-lock bag or freezer-safe container for up to two months. To reheat from frozen, microwave for 30-second increments until warmed through, or pop them in a toaster oven for a crispier finish.
Feel free to customize these pinwheels to your liking! You can mix in chopped ham or turkey, crumbled bacon, shredded chicken, or even some finely diced bell peppers for extra flavor and nutrients. A sprinkle of garlic powder, onion powder, or Italian seasoning can also add a tasty twist to the cheesy filling.
Nutrition
Carbohydrates: 2g
Protein: 8g
Fat: 19g
Saturated Fat: 11g
Polyunsaturated Fat: 1g
Monounsaturated Fat: 5g
Cholesterol: 57mg
Sodium: 274mg
Potassium: 59mg
Sugar: 1g
Vitamin A: 664IU
Calcium: 227mg
Iron: 0.1mg
Nutrition information is automatically calculated, so should only be used as an approximation.
Additional Info
Cuisine: American
Implementing freezer-friendly meals into your routine is one of the most effective strategies for reducing daily stress and ensuring your toddler always has access to nutritious, homemade food. These four recipes – Bean and Cheese Burritos, Mini Pizzas, Sandwich Roll-Ups, and Broccoli Cheese Pinwheels – are tried-and-true favorites that are easy to prepare, delicious, and perfectly suited for batch cooking and freezing. By dedicating a little time upfront, you’ll reap the benefits of effortless meal times for weeks to come.
Embrace the power of your freezer and reclaim your precious time. Happy cooking and stress-free parenting!
Tried one of these recipes? Share your creations on Instagram and tag @reallittlemeals or use the hashtag #reallittlemeals! We love seeing your toddler meal successes!