
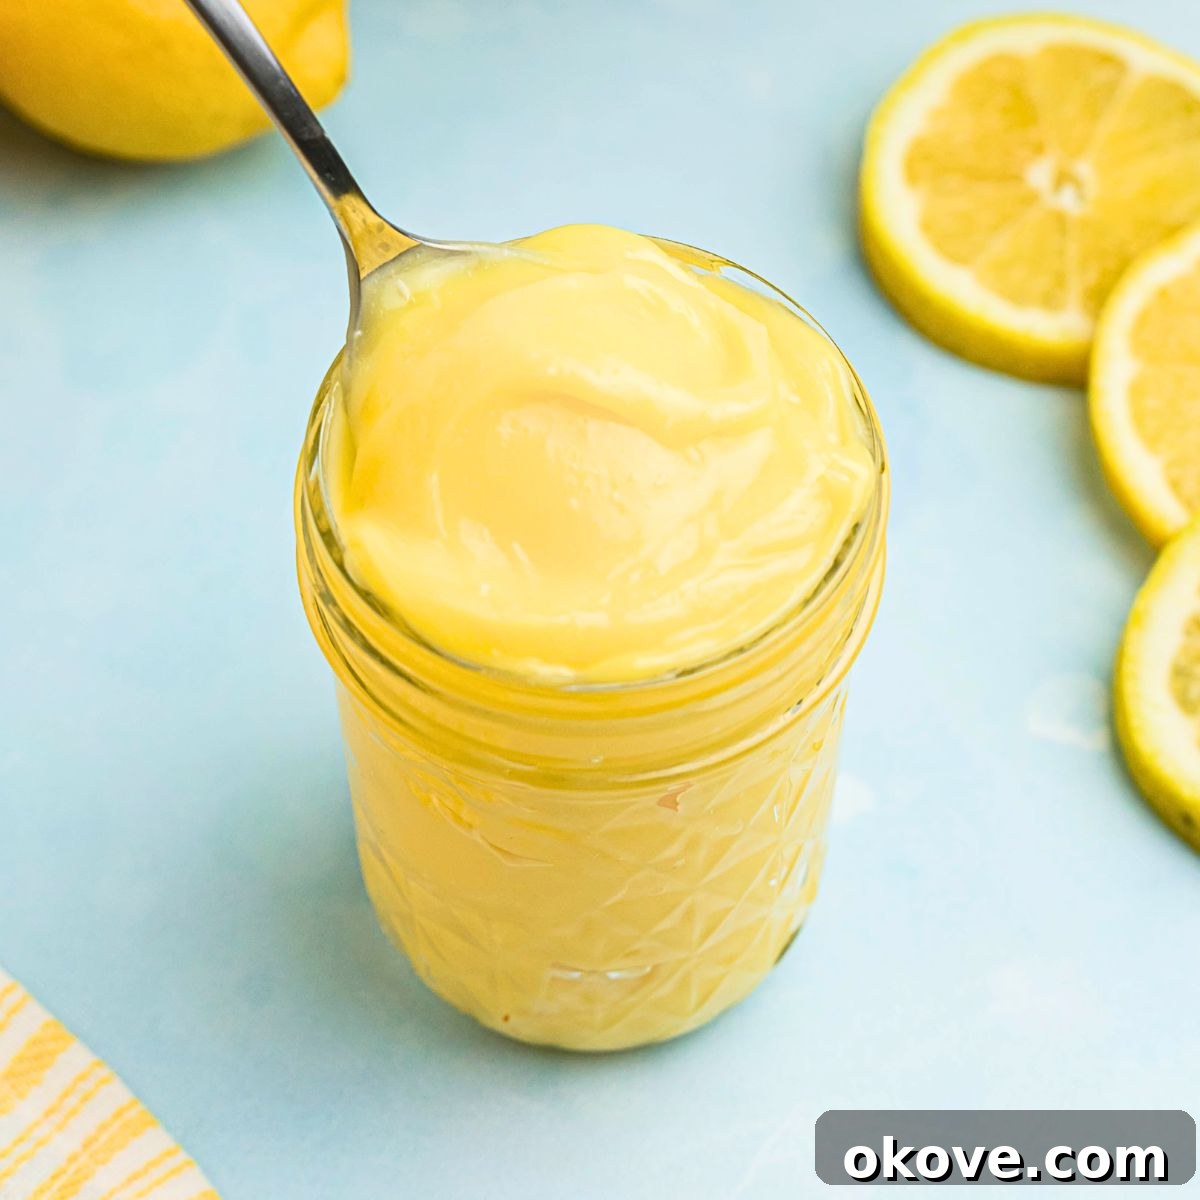
The Ultimate Homemade Lemon Curd: Your Guide to a Smooth and Creamy Citrus Delight
There’s truly nothing quite as delightful as **homemade lemon curd**. This luscious, velvety spread is a culinary masterpiece, brimming with the bright, tangy zest of fresh lemons. Forget the lackluster store-bought versions; crafting your own lemon curd is surprisingly simple and yields a product that’s infinitely superior in flavor, texture, and vibrancy. Whether you dream of delicate lemon tarts, rich cake fillings, or a luxurious topping for warm scones, this easy **lemon curd recipe** will become an indispensable part of your dessert repertoire.
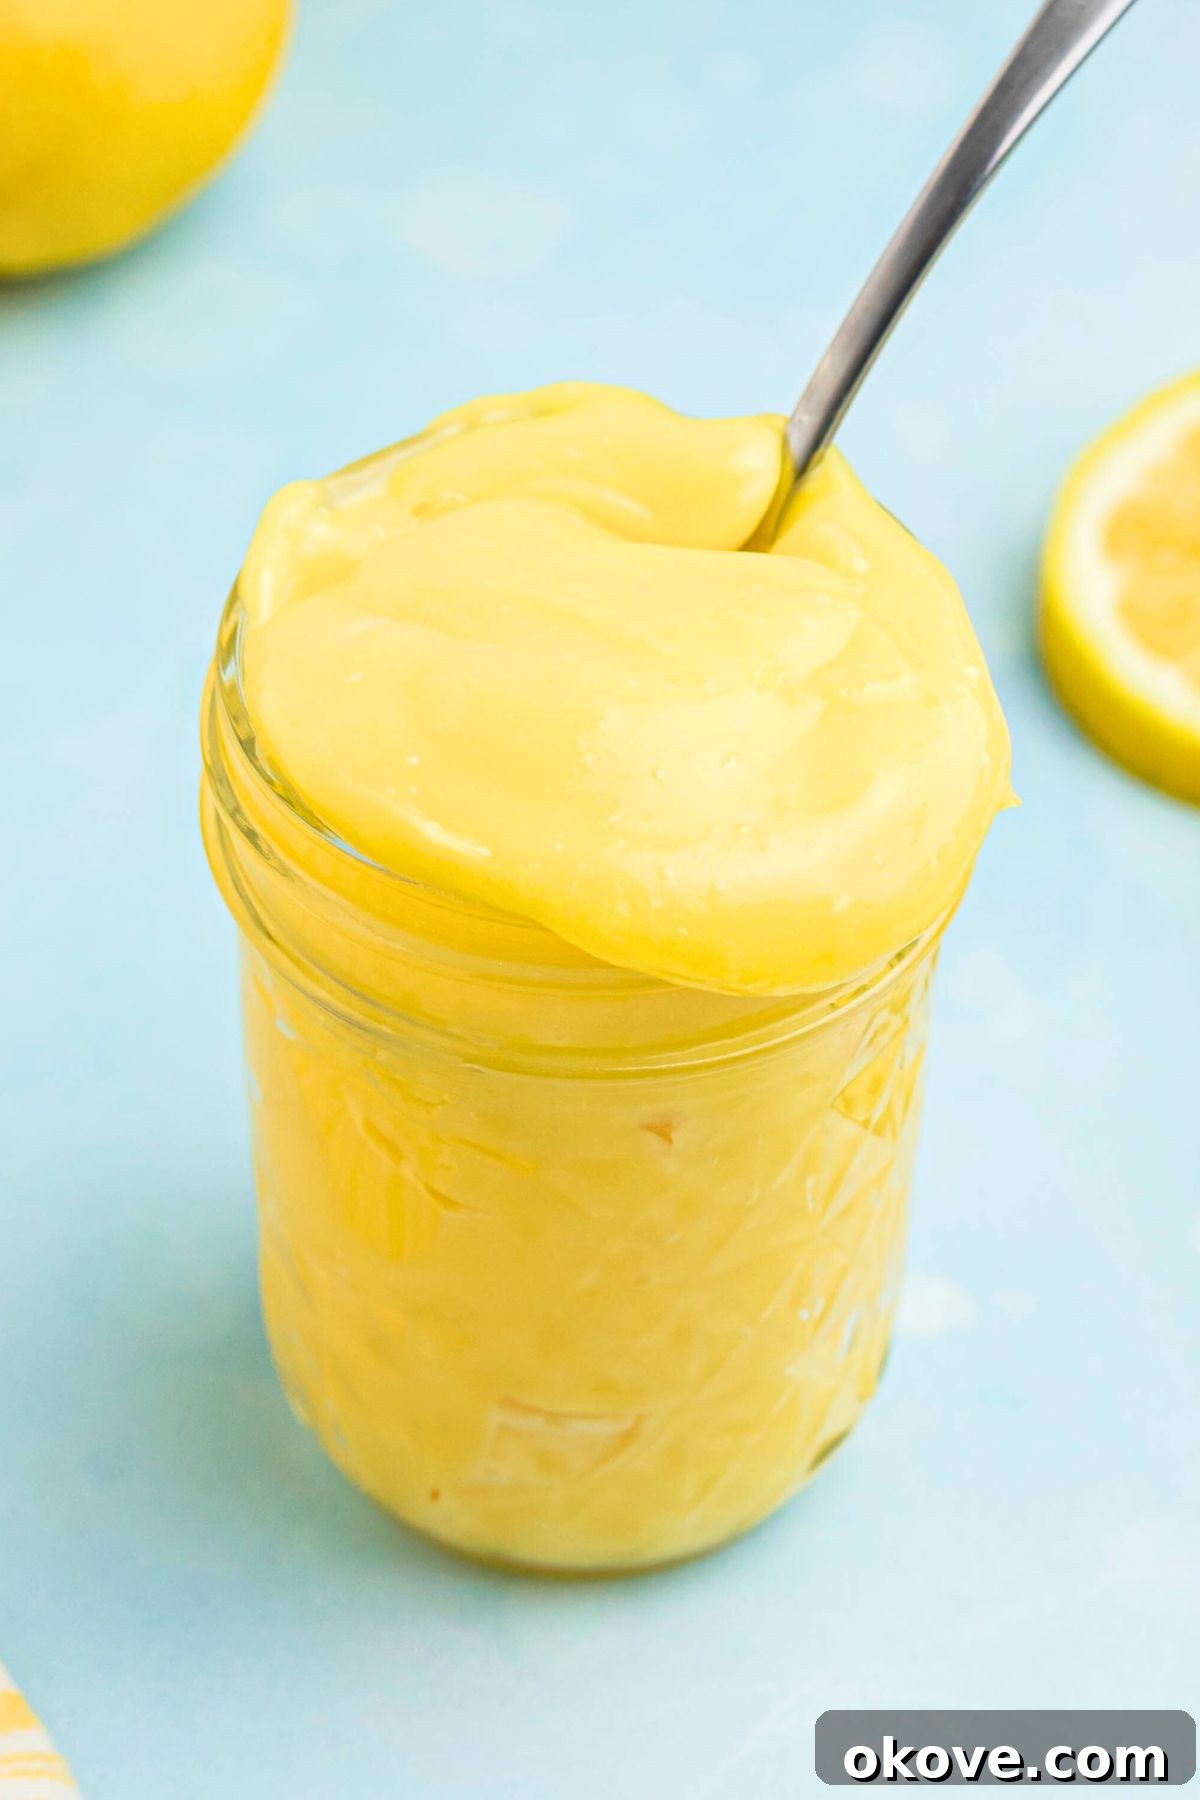
Table of Contents
- Why Homemade Lemon Curd is a Must-Try
- Ingredients for the Perfect Lemon Curd
- How to Make Lemon Curd: Step-by-Step Guide
- Expert Tips for Lemon Curd Success
- Delicious Ways to Enjoy Your Homemade Lemon Curd
- Variations to Explore
- Storing and Preserving Your Curd
- Common Lemon Curd FAQs
- More Easy Dessert Recipes
- Lemon Curd Recipe Card
Why Homemade Lemon Curd is a Must-Try
Embarking on the journey of making **homemade lemon curd** is a decision your taste buds will thank you for. This isn’t just another spread; it’s an experience. The vibrant yellow hue, the silky-smooth texture, and the intense burst of natural lemon flavor are simply unparalleled. When you crave a fresh lemon dessert, incorporating your own lemon curd elevates it from good to extraordinary. Imagine the zesty filling of a classic lemon meringue pie, the unexpected delightful center of a thumbprint cookie, or the refreshing tang nestled within a cupcake.
This **easy lemon curd recipe** requires only a handful of common ingredients, transforming them into a luxurious condiment with endless possibilities. It’s incredibly versatile, making it a fantastic addition to both sweet and savory applications. Start your day by generously spreading it on warm toast, fluffy pancakes, or crispy waffles. Elevate your afternoon tea with a dollop on freshly baked scones. Or, incorporate it into more elaborate desserts, like filling cupcakes, layering in trifles, or creating a show-stopping lemon roulade.
For instance, try filling cupcakes like these Hydrangea Cupcakes or festive Easter Cupcakes with a spoonful of this rich curd. The bright, tangy center provides a wonderful contrast to the sweet cake and frosting, adding an exciting burst of flavor to every bite. The beauty of homemade curd lies in its pure, unadulterated lemon essence, free from artificial flavors or excessive preservatives often found in store-bought alternatives. It’s a taste of sunshine in every spoonful!
Ingredients for the Perfect Lemon Curd
Creating an exceptional batch of **creamy lemon curd** begins with selecting fresh, high-quality ingredients. Each component plays a vital role in achieving that perfect balance of tartness, sweetness, and rich, smooth consistency. You’ll be amazed at how simple ingredients can yield such a gourmet result.
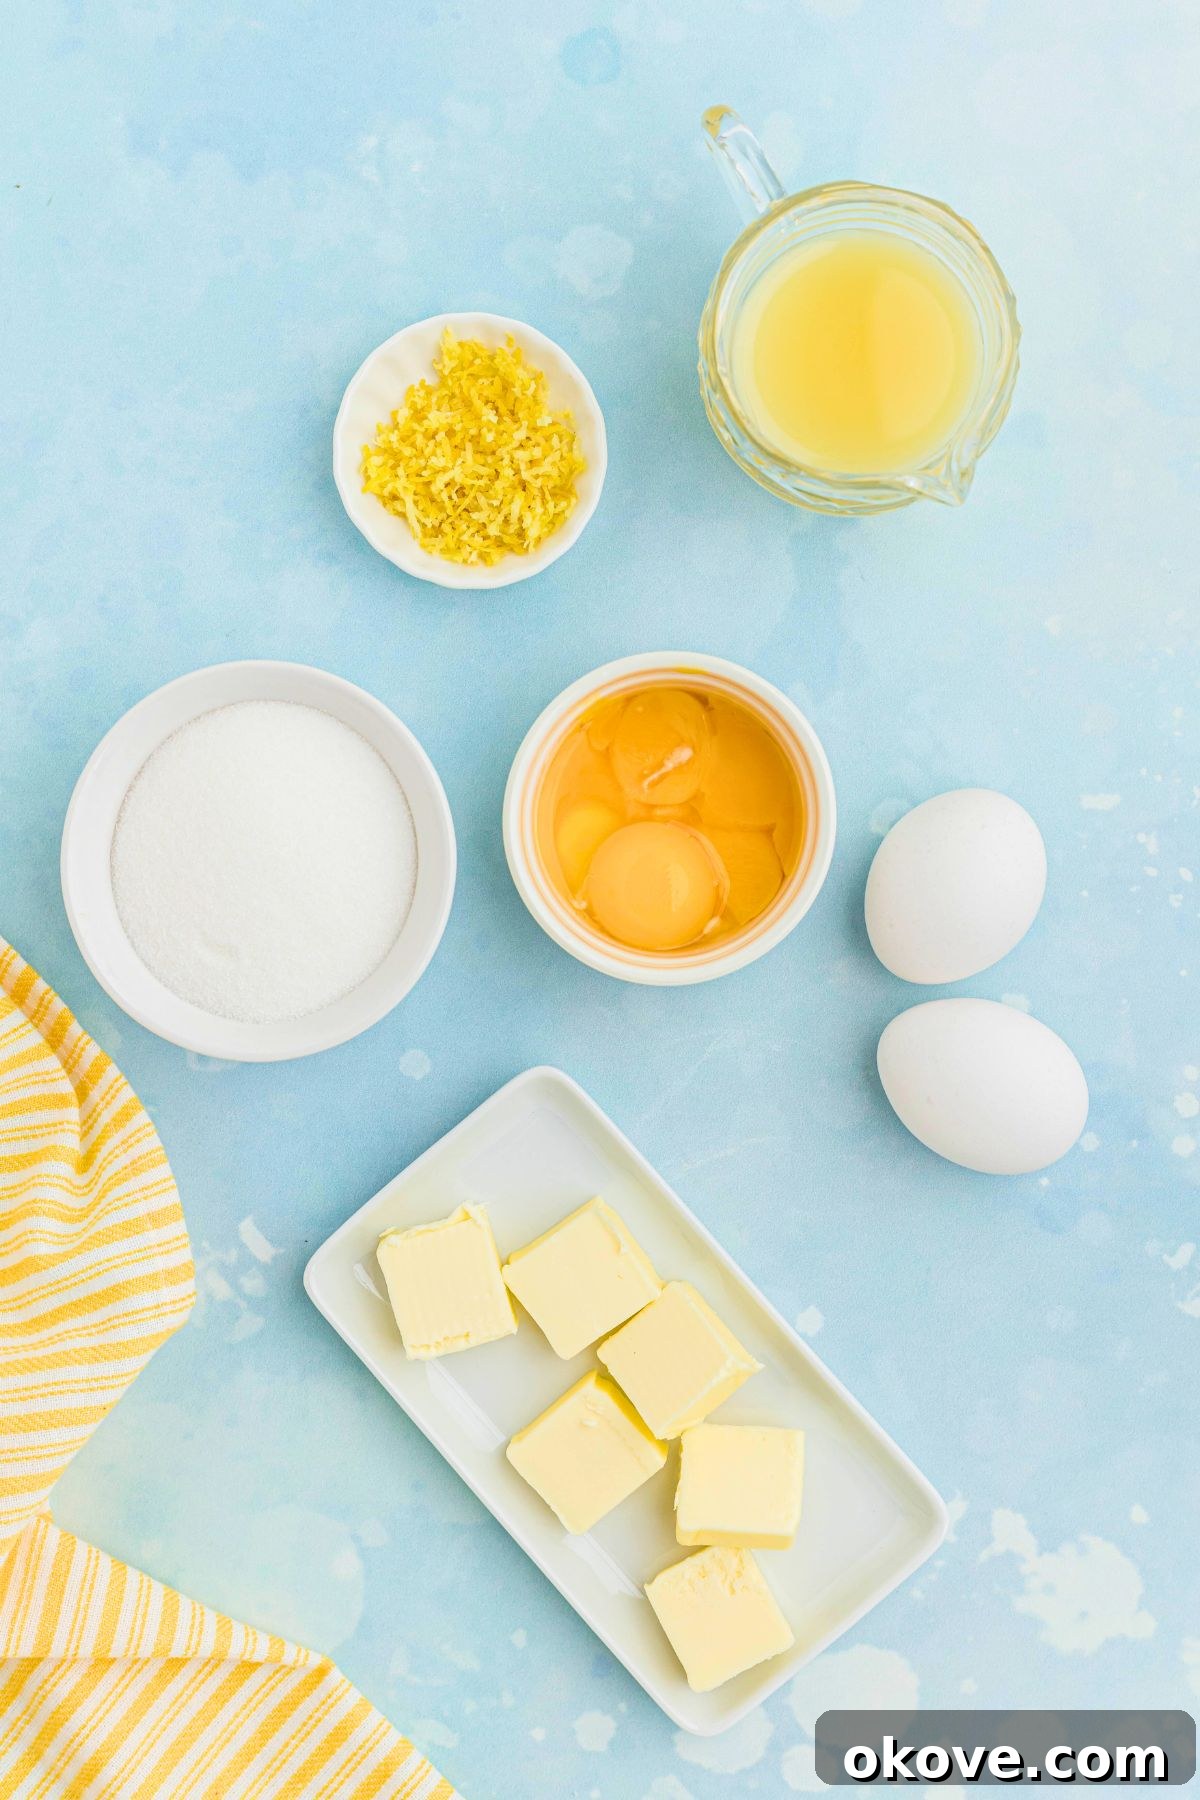
- 3 Egg Yolks & 2 Large Eggs: The combination of egg yolks and whole eggs provides the essential base, contributing to the curd’s rich color, silky texture, and thickening power. Yolks add richness, while whole eggs ensure proper setting.
- 3/4 cup Granulated Sugar: This sweetens the intensely tart lemon juice, creating a harmonious balance. Sugar also helps to thicken the curd and contributes to its glossy appearance.
- 1/2 cup Fresh Lemon Juice: This is the star ingredient! Always opt for freshly squeezed lemon juice for the brightest, most authentic citrus flavor. Bottled juice simply won’t deliver the same vibrant tang. You’ll typically need 2-3 medium-sized lemons to yield this amount.
- 1 tablespoon Lemon Zest: The zest contains concentrated lemon oils, intensifying the lemon flavor without adding extra acidity. Use a fine grater or microplane to get only the bright yellow part, avoiding the bitter white pith. This step is crucial for a truly aromatic curd.
- 6 tablespoons Unsalted Butter, cut into small pieces: Butter is added at the end to provide richness, smoothness, and a luxurious mouthfeel. Cutting it into small pieces helps it melt quickly and evenly into the warm curd, emulsifying beautifully. Using unsalted butter allows you to control the overall salt content of your final product.
Ensuring your ingredients are at room temperature, especially the eggs and butter, can sometimes aid in a smoother emulsion, though it’s less critical for curd than for some baking recipes.
How to Make Lemon Curd: Step-by-Step Guide
Making **homemade lemon curd** is a straightforward process that primarily involves careful whisking and gentle heating. Follow these steps for a perfectly smooth and creamy result every time.
Step 1: Combine Wet Ingredients
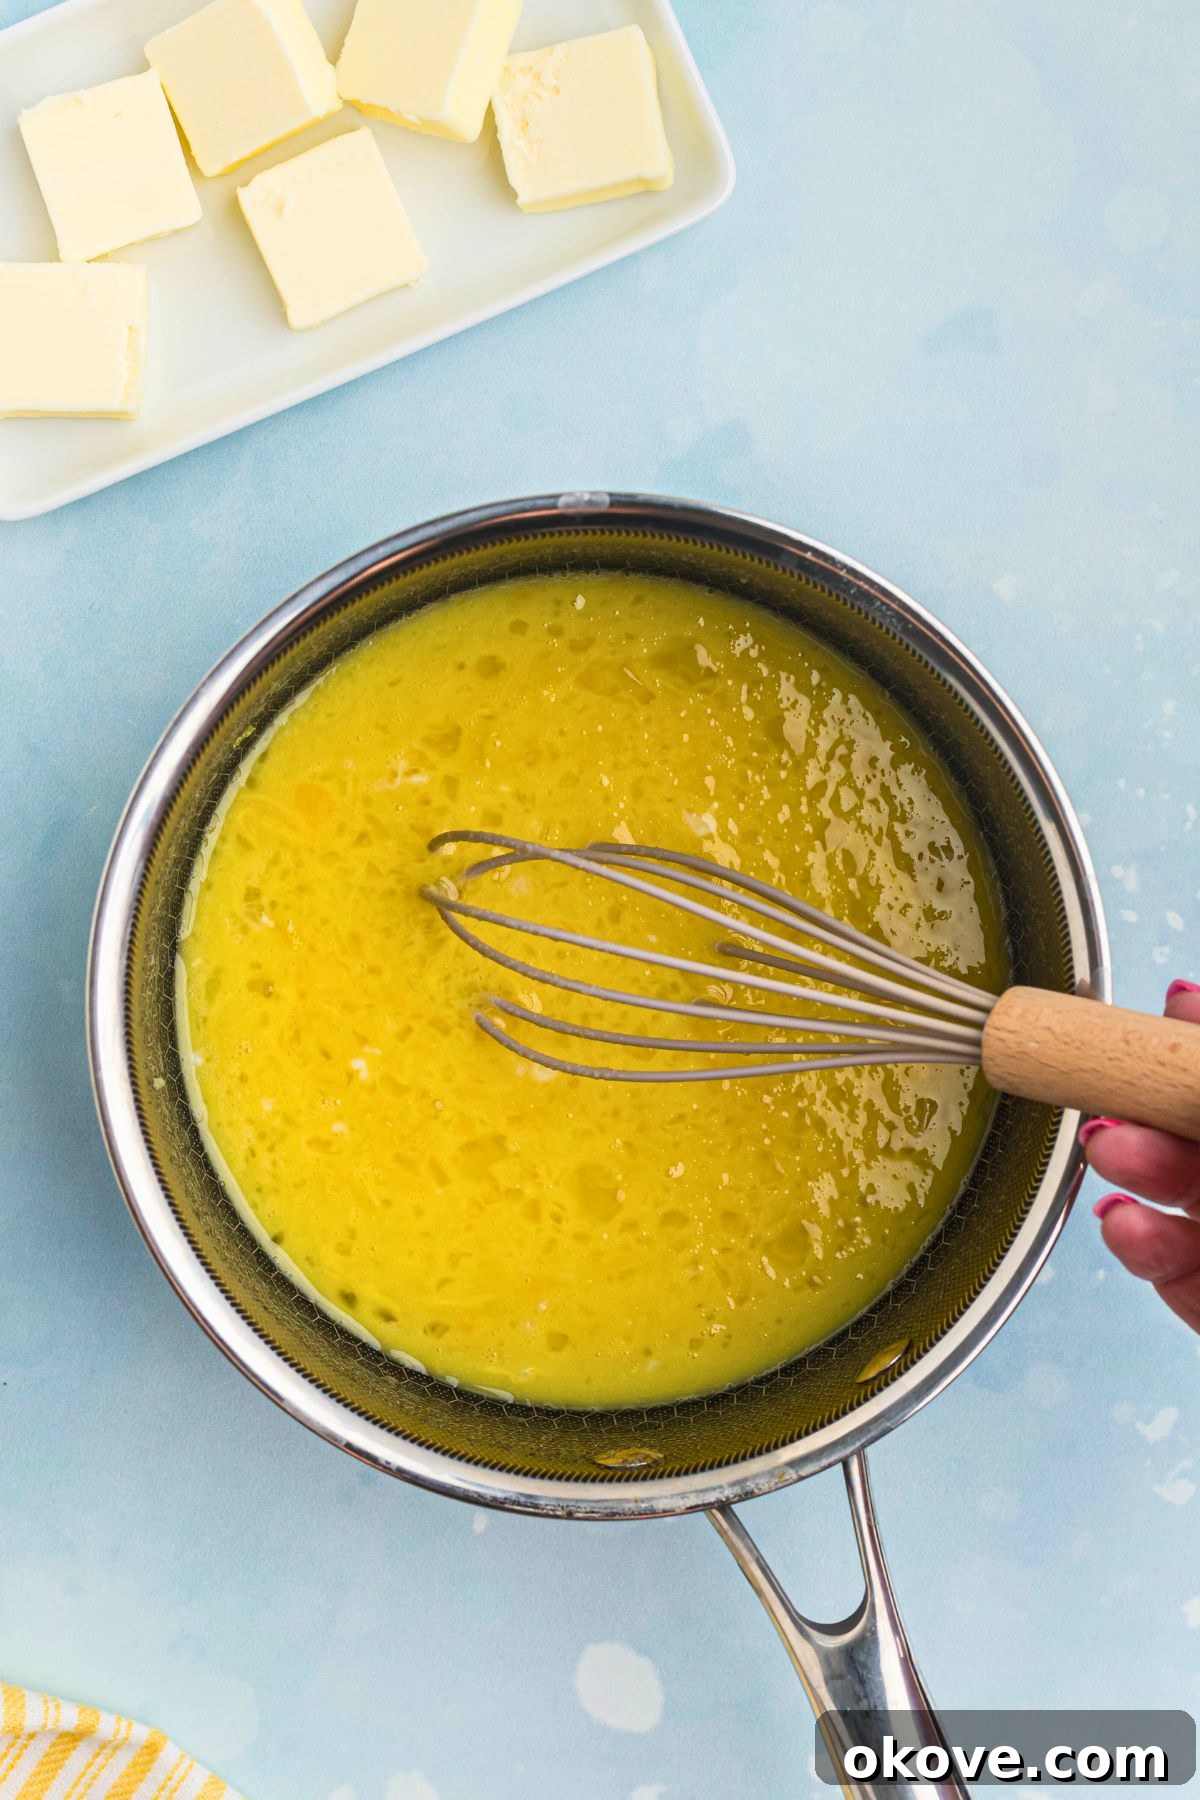
In a medium-sized, heavy-bottomed saucepan, whisk together the egg yolks, whole eggs, granulated sugar, fresh lemon juice, and finely grated lemon zest until the mixture is completely smooth and well combined. A heavy-bottomed saucepan is recommended as it distributes heat more evenly, preventing the eggs from cooking too quickly at the bottom.
Step 2: Cook the Curd Gently
Place the saucepan over low to medium heat. This is the most crucial step. Whisk constantly and gently, scraping the bottom and sides of the pan, until the mixture visibly thickens. This process usually takes about 5-10 minutes. The curd is ready when it coats the back of a spoon and you can draw a clean line with your finger. Alternatively, use a thermometer; the curd should reach approximately 170°F (77°C).
Step 3: Incorporate the Butter
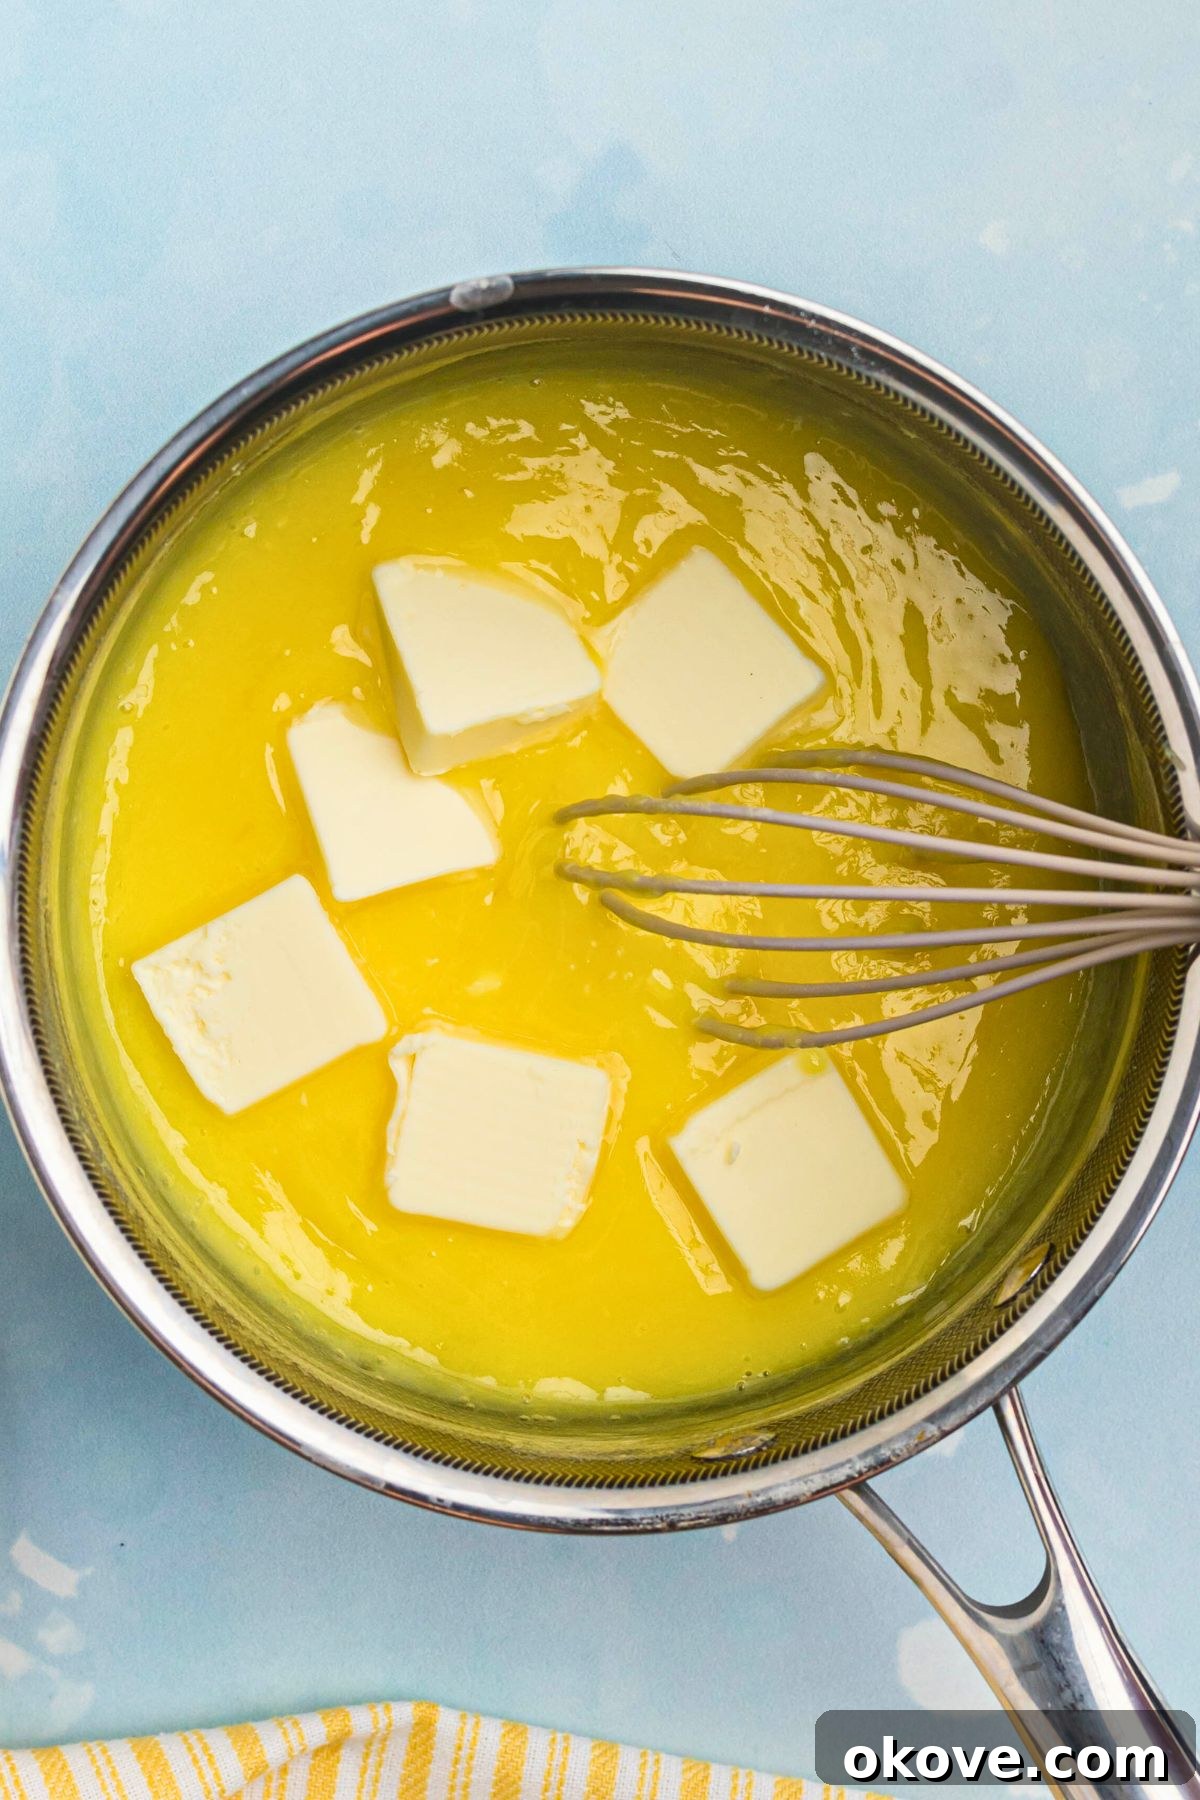
Remove the saucepan from the heat immediately to prevent overcooking the eggs. Add the unsalted butter, one small piece at a time, stirring continuously until each piece is fully melted and incorporated. The butter will enrich the curd, making it wonderfully smooth, glossy, and creamy. Continue stirring until the curd looks uniformly smooth and luxurious.
Step 4: Strain for Silky Smoothness
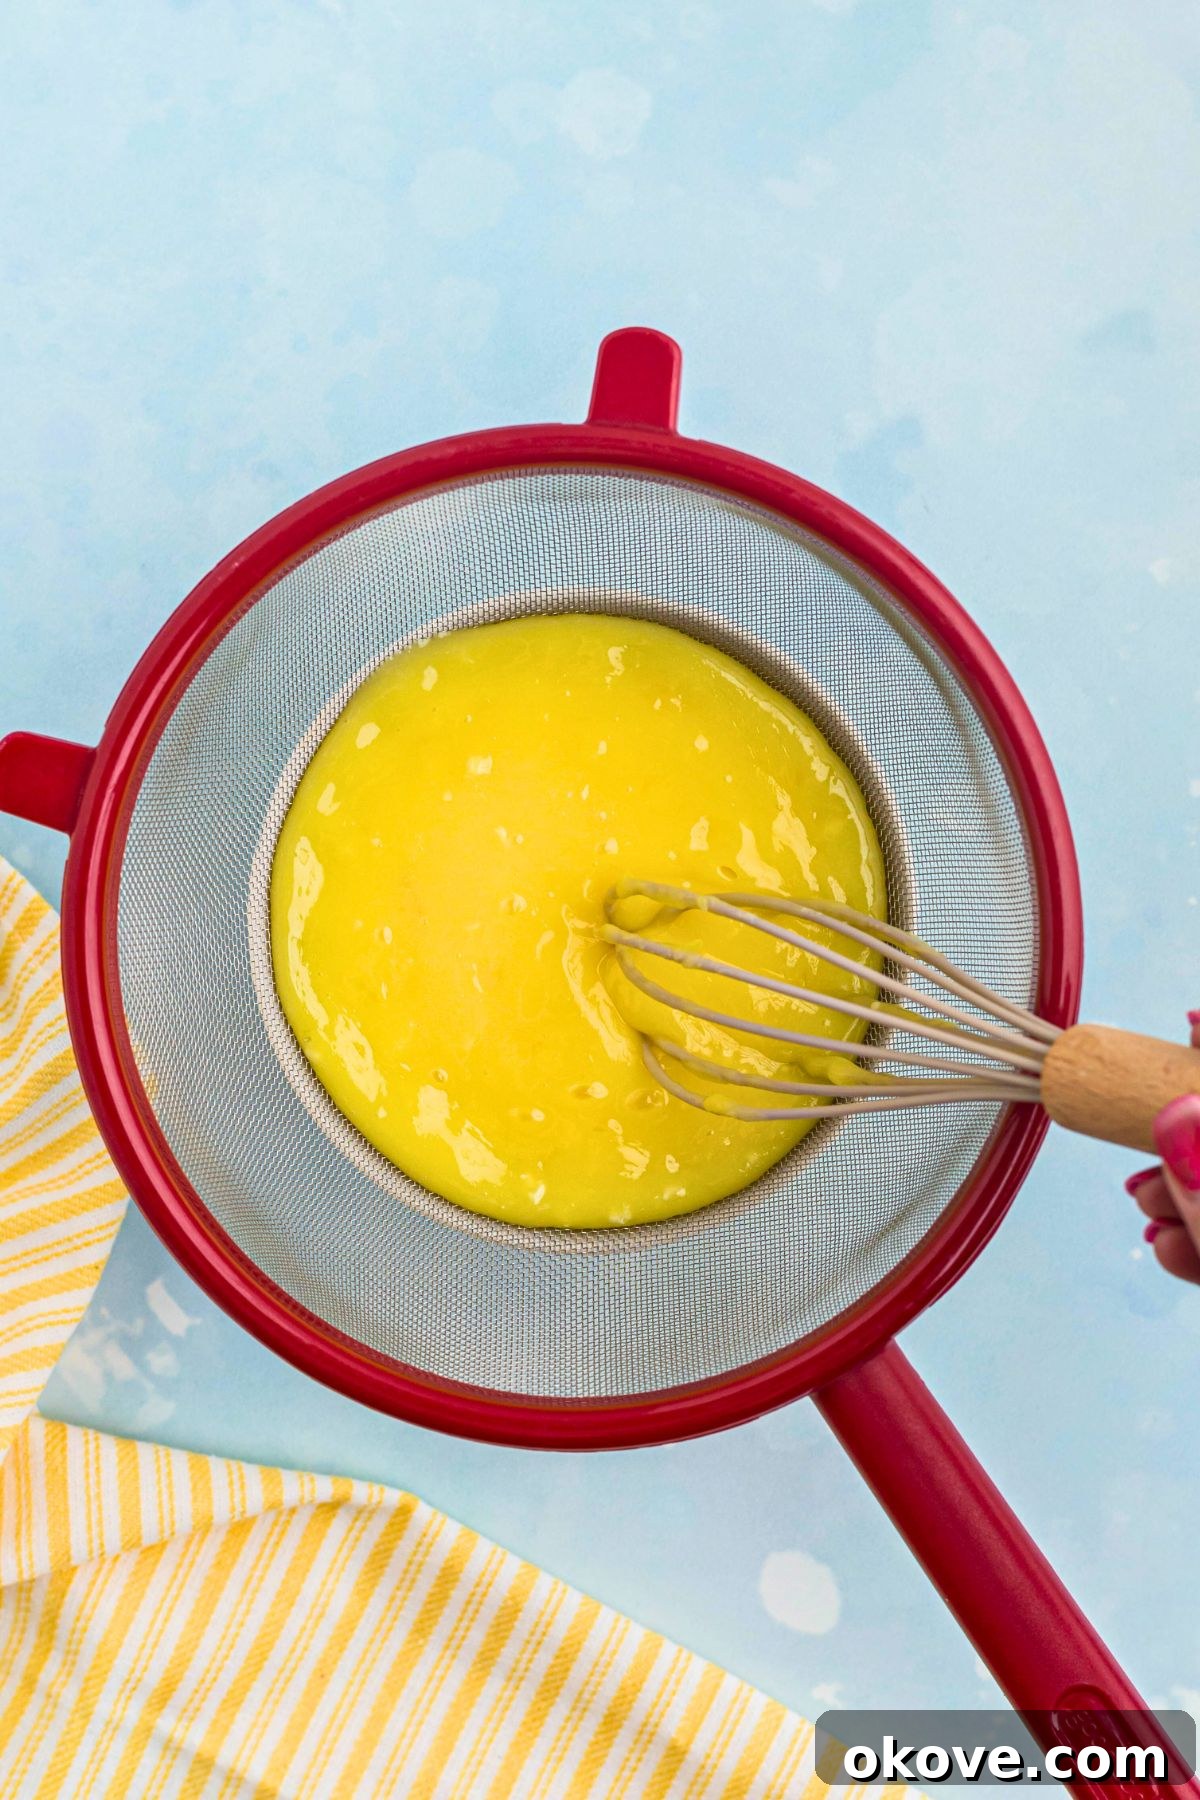
For that signature silky-smooth texture, it’s essential to strain the lemon curd. Place a fine mesh sieve or a fine strainer over a clean, heatproof bowl. Pour the hot curd through the sieve, pressing gently with a spatula to push all the smooth curd through. This step will catch any tiny bits of cooked egg or stray pieces of lemon zest, ensuring a truly refined consistency. Do not skip this step if you desire a perfectly smooth curd!
Step 5: Cool and Chill
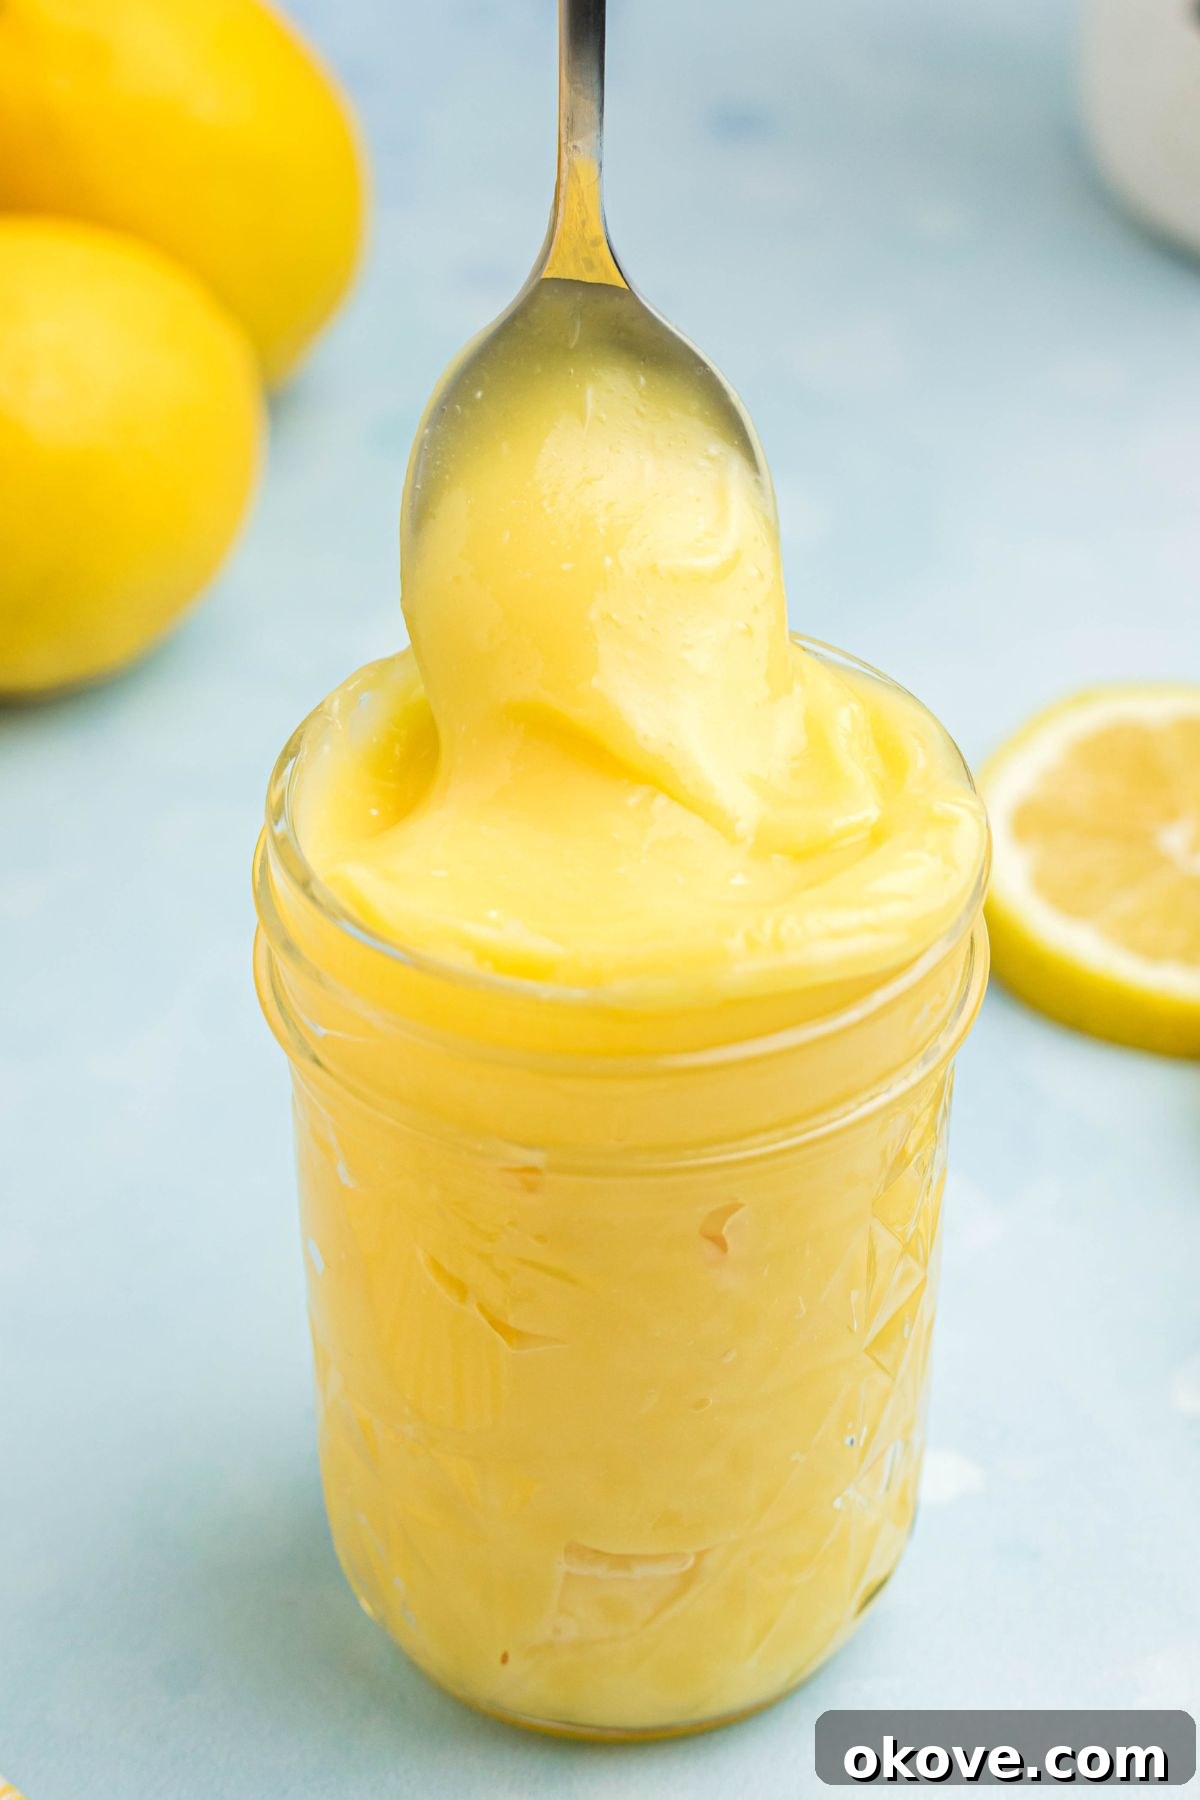
Once strained, transfer the warm lemon curd to a clean glass jar or an airtight container. Place a piece of plastic wrap directly on the surface of the curd to prevent a skin from forming as it cools. Allow the curd to cool completely to room temperature on your countertop. Once cooled, refrigerate it until it’s thoroughly chilled and firm. As it cools, the curd will thicken considerably, achieving a consistency similar to a rich pudding or custard. It’s now ready to be enjoyed!
Expert Tips for Lemon Curd Success
Achieving perfectly smooth and flavorful **homemade lemon curd** is simple when you follow a few key guidelines. These tips will help you avoid common pitfalls and ensure your curd is nothing short of perfection.
- Always Use Fresh Lemon Juice and Zest: This cannot be stressed enough. Bottled lemon juice contains preservatives and lacks the bright, nuanced flavor of freshly squeezed lemons. The zest, rich in essential oils, further amplifies that vibrant lemony aroma and taste. For best results, zest your lemons before juicing them.
- Whisk Constantly and Gently: This is the secret to preventing scrambled eggs. Continuous whisking over low to medium heat ensures that the eggs cook slowly and evenly, incorporating smoothly into the mixture without curdling. Be diligent and patient during this step. If you’re nervous, you can use a double boiler, though it often takes longer.
- Don’t Overcook: As soon as the curd thickens enough to coat the back of a spoon (or reaches 170°F/77°C), remove it from the heat. Overcooking will result in a curd that is too thick, lumpy, or has a grainy texture due to the eggs curdling. It will continue to thicken as it cools.
- Strain for Ultimate Smoothness: A fine mesh sieve or strainer is your best friend for achieving that characteristic silky, uniform texture. Straining removes any tiny bits of cooked egg, pulp, or zest, leaving you with a luxurious finish. This step is non-negotiable for professional-quality curd.
- Cover with Plastic Wrap: Once transferred to a jar or container, press a piece of plastic wrap directly onto the surface of the warm curd. This prevents a “skin” from forming as it cools, keeping your curd perfectly smooth on top.
- Patience During Chilling: Lemon curd needs time to chill thoroughly in the refrigerator (at least 2-4 hours, or preferably overnight) to fully thicken and set. Don’t rush this step!
Delicious Ways to Enjoy Your Homemade Lemon Curd
The versatility of **homemade lemon curd** knows no bounds! Once you’ve mastered this easy recipe, you’ll find countless ways to incorporate its bright, tangy flavor into your meals and desserts. Here are some of our favorite ideas:
- Breakfast & Brunch:
- Spread it on toast, crumpets, English muffins, or warm croissants.
- Swirl into Greek yogurt or oatmeal for a refreshing kick.
- Drizzle over pancakes, waffles, or French toast.
- Serve alongside fresh berries and granola.
- Desserts & Baking:
- Fill mini tarts or a full-sized lemon tart.
- Use as a vibrant layer in trifles or parfaits.
- Spread between cake layers or as a topping for cupcakes.
- Fold into whipped cream for a light lemon mousse.
- Fill crepes or choux pastry (eclairs, cream puffs).
- Make lemon curd bars or thumbprint cookies.
- A delicious topping for cheesecakes or pavlova.
- Simple Delights:
- Spoon directly onto vanilla ice cream or sorbet.
- Serve with fresh fruit, especially berries like raspberries or blueberries.
- Enjoy straight from the spoon – no judgment here!
From simple breakfasts to elegant desserts, **classic lemon curd** adds a touch of gourmet sophistication and a burst of sunny citrus flavor to any dish.
Variations to Explore
While classic lemon curd is a timeless favorite, don’t hesitate to experiment with different citrus fruits and flavor combinations. This allows you to tailor your curd to your personal preferences or specific recipes.
- Change the Citrus:
- Orange Curd: Use fresh orange juice and zest instead of lemon for a sweeter, milder citrus flavor. Perfect for a less tart alternative.
- Lime Curd: For a zippier, more intense tang, substitute lime juice and zest. Great for Key Lime-inspired desserts.
- Grapefruit Curd: Offers a slightly bitter, sophisticated citrus profile.
- Mixed Citrus Curd: Combine different citrus juices and zests (e.g., lemon and orange) for a unique flavor blend.
- Add Extracts: A touch of vanilla extract (added with the butter) can soften the lemon’s edge. Almond extract can also add an interesting depth.
- Spiced Curd: A pinch of cardamom or ginger can add a warm, aromatic note, especially delicious during colder months.
- Herbal Infusion: Gently infuse the milk with a sprig of rosemary or thyme before making the curd for an unexpected savory-sweet twist. Remember to strain out the herbs before adding to the eggs.
These variations offer exciting new ways to enjoy the creamy texture and vibrant flavor of homemade curd, allowing you to customize it for any occasion.
Storing and Preserving Your Curd
Once you’ve made a batch of delicious **homemade lemon curd**, proper storage is key to maintaining its freshness and extending its shelf life. Knowing how to store it correctly ensures you can enjoy its vibrant flavor for as long as possible.
- Refrigeration: The best way to store homemade lemon curd is in an airtight container, such as a clean glass jar with a tight-fitting lid, in the refrigerator. When stored properly, your curd will remain fresh and delicious for up to 2 weeks. Always ensure the curd has cooled completely before refrigerating.
- Freezing: For longer-term storage, lemon curd freezes exceptionally well. Transfer the cooled curd to a freezer-safe, airtight container or a heavy-duty freezer bag, leaving a little headspace as it may expand slightly. It can be frozen for up to 3-4 months. Thaw frozen curd in the refrigerator overnight before use. Give it a gentle whisk after thawing to restore its smooth consistency.
- Signs of Spoilage: Always inspect your curd before consuming, especially after a week or two. Signs of spoilage include any discoloration, mold growth, an off-smell, or unusual sliminess. When in doubt, it’s always best to discard it.
With proper storage, you can always have this glorious **citrus spread** on hand for impromptu desserts or delightful breakfasts.
Common Lemon Curd FAQs
Got questions about making or using **homemade lemon curd**? We’ve got answers to some of the most frequently asked questions to help you become a lemon curd expert!
How long does homemade lemon curd last?
When stored in an airtight container in the refrigerator, homemade lemon curd typically stays fresh for up to 2 weeks. For longer storage, it can be frozen for 3-4 months.
Why is my lemon curd lumpy or grainy?
Lumpy or grainy curd usually occurs if the eggs cook too quickly or unevenly, causing them to scramble. To prevent this, always cook the curd over low to medium heat, whisking constantly and diligently. If it does become lumpy, straining the curd through a fine-mesh sieve after cooking will help remove most of the lumps, leaving you with a smoother consistency.
How can I use lemon curd?
Lemon curd is incredibly versatile! It’s delicious on scones, pancakes, waffles, and toast. You can swirl it into yogurt or oatmeal, use it as a filling for cakes, cupcakes, tarts, and pies, or even fold it into whipped cream for a quick mousse. It also makes a fantastic topping for cheesecakes, ice cream, or fresh fruit.
Can I make lemon curd without lemon zest?
While you can technically make lemon curd with just lemon juice, the zest is crucial for achieving that intensely bright, aromatic lemon flavor. It adds depth and complexity that juice alone cannot provide. For the best flavor, we highly recommend including the zest.
My lemon curd is too thin/thick. What went wrong?
If your curd is too thin, it likely needed to cook a little longer to reach the correct thickening point. Continue whisking gently over low heat until it coats the back of a spoon. If it’s too thick, it might have been overcooked. You can sometimes thin it slightly by whisking in a very small amount of hot water or lemon juice, but be careful not to add too much.
More Easy Recipes You’ll Love
Drinks
Orange Creamsicle Jello Shots
Desserts
Homemade Thin Mint Cookies
Appetizers
Spinach Artichoke Dip
Desserts
Peanut Butter Balls
Rating: 5 out of 5 stars (from 1 vote)
Lemon Curd Recipe Card
Rebecca
16 Tablespoons
5 minutes
10 minutes
15 minutes
This smooth and creamy lemon curd is bursting with citrus flavor. Whether you use it for tarts, cakes, or as a topping for scones, this homemade lemon curd is easy to make and far better than anything store bought.
Equipment
- Medium Saucepan
- Whisk
- Fine Mesh Sieve or Strainer
- Heatproof Bowl
- Airtight Container or Jar
Ingredients
- 3 egg yolks
- 2 large eggs
- 3/4 cup granulated sugar
- 1/2 cup fresh lemon juice
- 1 tablespoon lemon zest
- 6 tablespoons unsalted butter, cut into small pieces
Instructions
-
In a medium, heavy-bottomed saucepan, whisk together the egg yolks, whole eggs, sugar, fresh lemon juice, and lemon zest until the mixture is completely smooth.
-
Place the saucepan over low to medium heat. Whisk constantly, scraping the bottom and sides of the pan, until the mixture thickens considerably (about 5-10 minutes). It should be thick enough to coat the back of a spoon. Do not boil.
-
Remove the saucepan from the heat immediately. Stir in the unsalted butter, one piece at a time, until it is fully melted and incorporated, and the curd is smooth and glossy.
-
Strain the lemon curd through a fine mesh sieve or a fine strainer into a clean, heatproof bowl. This step removes any bits of cooked egg or excess zest, ensuring a perfectly smooth and silky texture.
-
Transfer the strained curd to a clean glass jar or airtight container. Press a piece of plastic wrap directly onto the surface of the curd to prevent a skin from forming. Allow it to cool completely to room temperature before refrigerating. Chill until firm and ready to use.
Notes
- Use fresh lemon juice: Bottled lemon juice will not provide the same bright, authentic flavor.
- Whisk constantly: This prevents the eggs from scrambling and ensures a smooth curd.
- Strain for smoothness: Don’t skip straining! It’s essential for a truly silky texture and removes any potential lumps.
- Patience is key: Do not rush the cooking process. Gentle heat and constant whisking are crucial.
Nutrition Information (Approximate per serving)
Calories: 94 kcal
Carbohydrates: 10 g
Protein: 1 g
Fat: 6 g
Saturated Fat: 3 g
Polyunsaturated Fat: 0.4 g
Monounsaturated Fat: 2 g
Trans Fat: 0.2 g
Cholesterol: 71 mg
Sodium: 11 mg
Potassium: 14 mg
Fiber: 0.04 g
Sugar: 9 g
Vitamin A: 214 IU
Vitamin C: 0.5 mg
Calcium: 10 mg
Iron: 0.2 mg
Nutrition information is automatically calculated and should only be used as an approximation.
Additional Info
Dessert
American
Tried this recipe? We’d love to see your creations! Mention @celebratingsimplyrecipes or tag #celebratingsimplyrecipes on Instagram!